All-machine binding
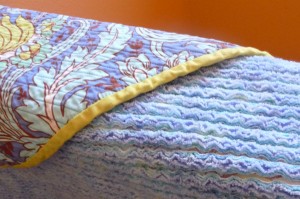 |
This post is an unplanned one, and not one I’d normally post here because it’s just a personal project. But a number of people have asked about binding entirely by machine, and as I was working on this, I decided to grab my camera and do a post.
So finishing a binding entirely by machine, whether it be bias-tape binding of an edge or a full quilt binding, is something that makes many sewers pull their hair out. I’m among those. There are some little tricks for bias-tape binding, addressed in this tutorial, but it’s not fool-proof. For this blanket, I decided I didn’t have it in me to hand-stitch the back side of the entire binding, so I was determined to get the binding done by machine. For me, machine-stitched binding is like the holy grail of sewing. I’m always searching the Internet for the magic solution, and I never find it. |
| What I’ve done here is not a magic solution, admittedly, and it isn’t the solution for many projects, like fancy quilts that you’ve spent a ton of money and time on. But for smaller projects or simple baby blankets, it might be sufficient.
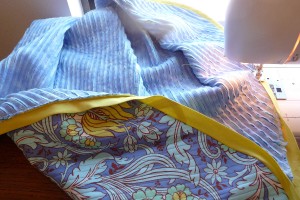
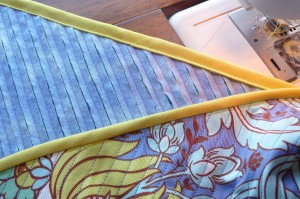
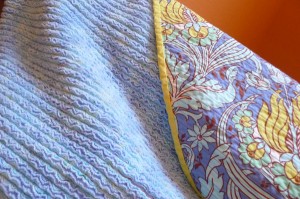
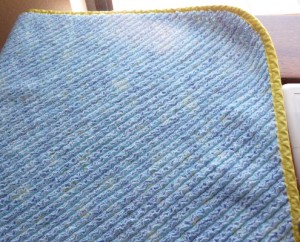
This cut-chenille blanket project is really neat. I found it on Aesthetic Nest. It looked fun and simple, but it’s deceptively time-consuming. I suggest you check out her tutorial, but the basic idea is three layers of flannel topped with a piece of quilters cotton. Channel quilt, cut through the layers of flannel only, bind and wash. The washing fluffs the cut flannel into a beautiful chenille, and if you choose different colors, it’s variegated and lovely. About quilt bindingsI’ve done a tutorial about quilt bindings before, and it can be found here. I’m going to gloss over the initial steps and assume you know the basics and have done this before. If not, please visit the other tutorial for more detail. 1. You’ll cut your binding strips at 2.5″ wide. I cut mine on the bias because my blanket has rounded corners and the bias will hug those curves. Join your binding strips into one long strip and press it in half length-wise. 2. Align your raw edges of the binding strip with the raw edge of your blanket on the right side, and sew using your quarter-inch foot. Start a good distance from the end of the strip. Just leave it flopping around there for now. 3. Since this project has rounded corners, I didn’t need to worry about mitering the corners. But if you have square corners, you’ll need to do that. Here is a tutorial on that. If it sounds scary, it’s not. It’s super-easy, but produces beautiful, neat corners. I always stare adoringly at my mitered corners. I wish I could say I am kidding. 4. When you get around to where you started, you’ll need to join the ends. This blanket was the first time I did it this way, by actually measuring and sewing the ends together to fit perfectly. (Incidentally, I did try to use her method of machine binding but I still got my usual results.) Usually, I do it the way I did in this tutorial. I found I had to do it a few times before I understood, but it worked great once I got it. I think that will be my new preferred method. 5. Once your ends are joined, finish sewing the binding down on the front. 6. Press the binding away from the front and flip toward the back of the blanket or quilt. 7. Here’s where it usually gets ugly. Your goal is to sew down the back of the binding, but if you sew on the front by stitching in the ditch (stitch in the seam line where the binding meets the blanket so the seam is hidden), you end up catching the binding in the back unevenly. Some places you’ll miss it altogether, some places you’ll get it just right along the edge, and some places you’ll get it too far in. Or you could sew it from the back and hope to get in the ditch of the front seam, but that will never happen. So that’s when I grab a needle, thread, wax and a leather thimble, settle in on the couch with a good show and start sewing by hand. But that’s not the point of this post, so read on for another option. |
|
The process
Other views
(Click for bigger views)
 |
 |

