Car seat coverup
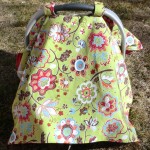
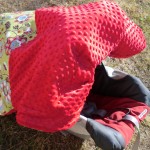
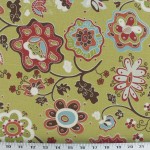
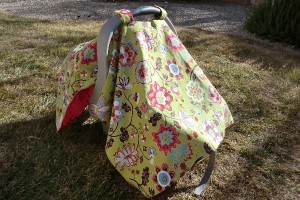 I wish I had something like this when my son was an infant. It’s a great way to protect a tiny baby from the elements (temporarily! A kid needs airflow, after all). But this blanket won’t lie on the baby’s face or blow away from a gust of wind. The outside is a really cute and fun floral and the inside is super-soft Minky.
Supplies

The width of your fabric is sufficient for the length of your cover, but if it’s directional, you’ll need to get 1.5 yards of fabric and turn it the other way. If your fabric is not directional, you can use 1.25 yards. You’ll need 1 yard of Minky (because you can use the width of the Minky as the length of the blanket, since it’s not directional).
The pattern
From both your fabric and your Minky, cut a rectangle 35″x42″ (WxH). Round the corners, if desired, using a bowl (see first photo below). You’ll need two straps measuring 8″x6″ (WxH). You’ll need two pieces of Velcro (both sides) measuring 2.5″.
The process
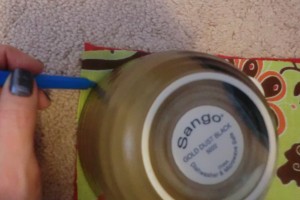
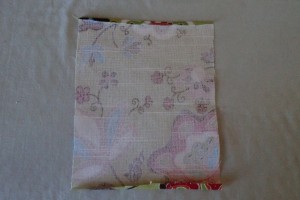
Round the corners of your fabrics by tracing the edge of a bowl.
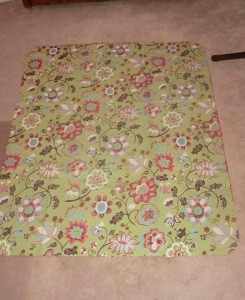
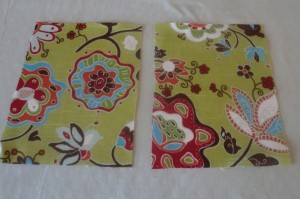
Here are my two pieces, one on top of the other, with rounded corners. I cut out the main fabric and then used that as the pattern to cut the Minky. Minky is very stretchy, so be quite careful as you lay it out and then lay the other fabric on top.
TIP: Lay your Minky right-side up and your fabric “pattern” right-side down. Then, after you cut the Minky, your fabrics are already positioned right-sides together for sewing. You can simply pin and go without rearranging. Use a lot of pins because, as mentioned above, the Minky may stretch and it will also curl. You really want to secure the edges all the way around.
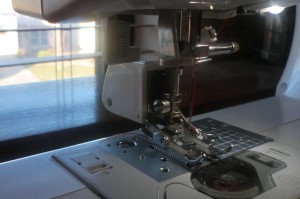
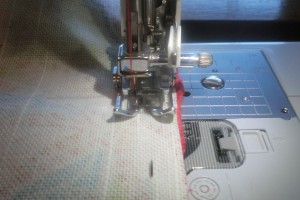
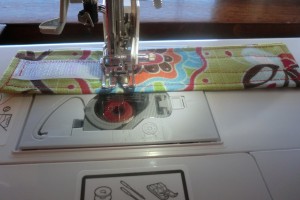
I prefer my walking foot for fabrics like Minky that might shift and stretch while sewing.
Sew a 1/2″ seam allowance around the fabrics, leaving a hole for turning right-side out.
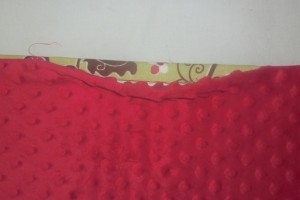
Turn it right-side out and gently press the seam all the way around. Shown above is the opening. Press the seam allowance of the opening under and pin.
NOT SHOWN: Top stitch all the way around the blanket, closing up the hole as you go.
You’ll need two straps (see dimensions above in the Pattern section).
On each, press under a small amount on either short end.
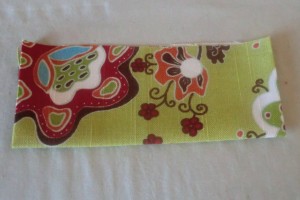
Then fold it in half lengthwise and press.
Open it up and fold both long ends to meet in the center (along the first line you pressed) and press again.
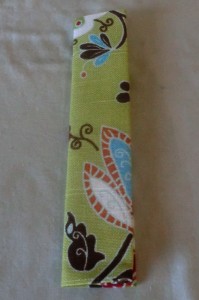
Now fold again on that first pressed line and pin and press in place.
Top stitch all the way round each strap.
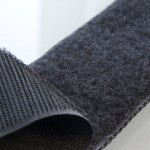
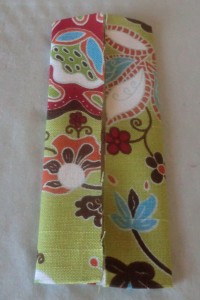
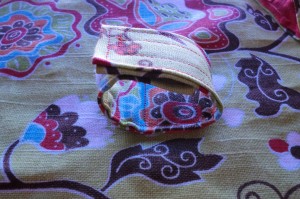
Sew Velcro as shown above on either end of the strap, but on opposite sides. So on the right side of the picture above, the opposite piece of Velcro is on the underside.
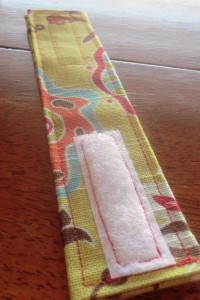
Finished strap.

Drape your blanket over your carrier and use pins to mark approximately where you’ll place the straps.
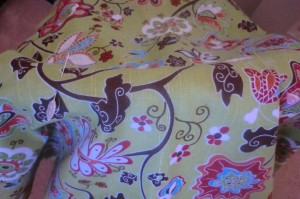
If you open up the picture, you can see the pins. This doesn’t need to be exact right now.
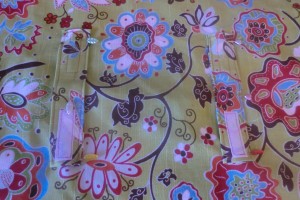
Lay your blanket flat and even out the placement of your straps by measuring from the top and either side. For instance, my pins were 14″ from one side and 12″ from the other, so I simply made them 13″ from either side. I placed mine 20.5″ from the top, but this could vary slightly depending on the carrier, so if you have it handy, you may want to measure yours.

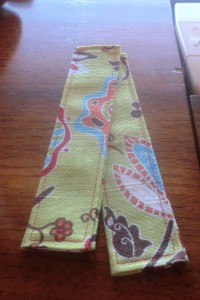
Stitch a square in the center of the strap. Mine looks a bit blue because I marked it with disappearing fabric marker. Repeat on other strap.
And your finished strap wraps around like this.
Other views