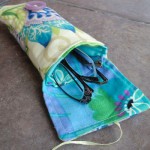
Double-eyeglass pouch
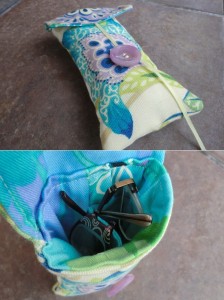
Do you have multiple pairs of eyeglasses to tote around? Do you wish you could keep them in one handy case? Me too! Instead of two cases, I now have one with a little divider in the middle to keep them from rubbing against each other. You can adjust this pattern to suit your glasses.
Supplies
|
|
|
|
|
|


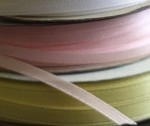
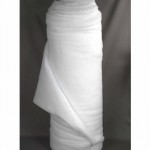
This is a great scrap buster. You won’t need large pieces. You’ll need two fabrics, some batting, a piece of very thin ribbon and a medium sized button.
Pattern
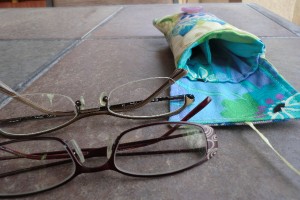
Please note that both of my pairs of glasses are quite small, unlike the current larger ones that are popular among youths but remind me too much of the ’80s and make me want to run for the hills in my severely tapered pants. Wait … aren’t those called skinny pants now? Yeah, I can’t handle those either. I guess I never really recovered from the ’80s. I’m just not ready to see them again. Obviously, those big glasses won’t fit in this case. You can adjust the case for larger glasses quite easily. Just make sure you expand the lining, flap and outer pieces by the same amount.
Cut out the following pieces:
Outer bag: 4.5″x7″ – cut 2
Lining: 2-3/4″x7″ – cut 4
Divider (part of lining): 2-1/4″x6.5″ – cut 2
Flap: 4.5″x3.5″ – cut 1 from lining fabric, 1 from outer fabric
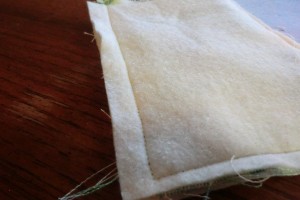
Batting: 4.5″x7″ – cut 2
*1/2″ seam allowances
The Process
Take the two divider pieces and stitch the top edge with right sides together and a 1/2″ seam allowance.
Flip it around, press and top-stitch along the top edge.

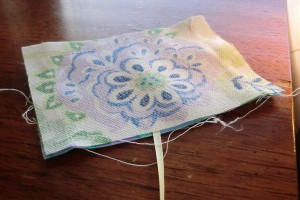
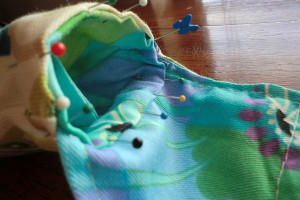
Lay the flap on one of the lining pieces as shown, with raw edges at bottom.

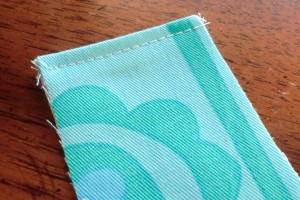
Lay another lining piece on top as shown, sandwiching the divider. Stitch along the edge where all three pieces line up (the right side in the photo). Isn’t my mint green nail polish rockin’? Wait … what was I saying about not wanting to see the ’80s again?

When you open it up, it will look like this.
Fold the two lining pieces out of the way so you can easily access the other side of the divider piece. Repeat the process with the other two lining pieces. It will end up looking like the picture above. Now you’ll want to sew the lining together.
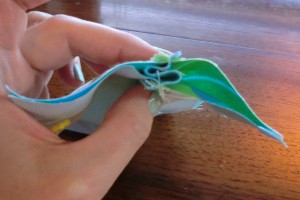
The divider piece will have to squish up at the bottom edge where you sew the lining flat, so I just sort of folded up as shown above.

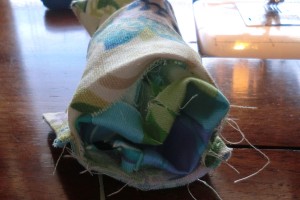
Sew your lining all the way around the sides and bottom as shown above. If you have good eyes (but then, why would you need an eyeglass case?), you might notice that I left a hole on one side of my lining. Please disregard that. I was initially confused about how I would end up putting this together and thought I’d end up turning it right-side out through the hole, but because of the divider, things didn’t work that way. So, just sew all the way around the sides and bottom. Leave the top open.
Take one of your flap pieces and baste a length of ribbon to the center of one of the long sides. I cut a longer piece of ribbon than I’d need and then trimmed it when I was done.
Place your other flap piece on top, right sides together, and stitch around the sides and the edge where you basted your ribbon. So the ribbon is hanging out of the open side of the flap right now.
Turn it right side out and press, then top stitch around the top and sides of the flap.
Then baste the OPEN edge of the flap along the top edge of the BACK outer piece.
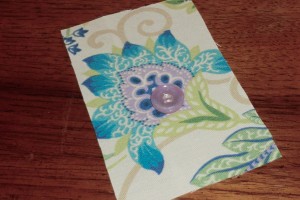
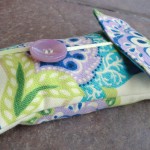
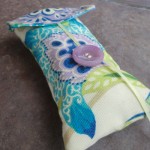
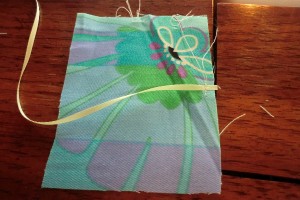
On the FRONT outer piece, sew on the button somewhere below the halfway point.
It doesn’t have to be very precise, just below where the flap will sit when folded over.
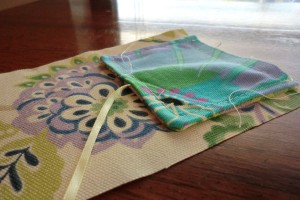
Place the outer pieces right sides together and place the batting on top on either side. Sew all the way around the sides and bottom. Make sure not to catch your flap in the stitching (the flap is sandwiched inside).
Turn the outer bag right side out. Turn the lining wrong side out. Place the lining inside of the outer bag. Turn under the top edges of both about 1/2″.
Pin all the way around the top edge, with the flap sticking up, as shown.
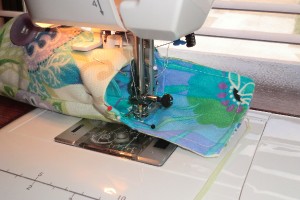
Sew around the top edge, maybe 1/4″ from the folded edges. With something so small, it’s easier to sew with the bag positioned as shown.
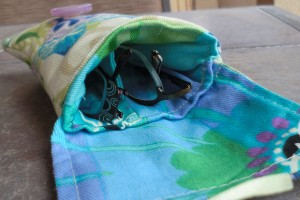
Now you have a divided eyeglass case!
Incidentally, I decided it would be nice to have the divider be a tad higher, so I already added that into your pattern pieces above. Fold the flap over and wrap the ribbon around the button a few times. Let a few more inches hang down and trim your ribbon.
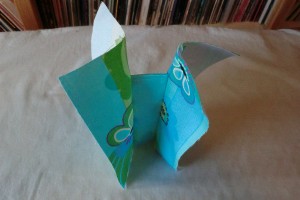
Other Views