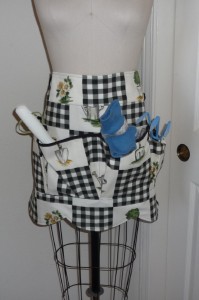
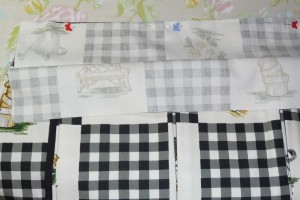
| So you want to garden, huh? But you keep putting down your tools and forgetting where they are? How about a chic and functional apron? Grab your shovel … but, first, we have some sewing to do! |
Supplies
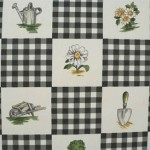
(Click fabrics for direct links for purchase at Warehouse Fabrics Inc.)
| THESE MEASUREMENTS ASSUME 54″ WIDTH
OPTION 1/all one fabric/directional print: 2-3/4 yards. In order to cut the ties, you’ll have to unfold the fabric and cut four ties using the full width of the fabric. (This is assuming you’ll be using the same fabric for the inside and outside of the apron, along with ties, waistband and pocket.) OPTION 2/one directional fabric/solid lining: 1.5 yards of directional print, 1-1/4 of the other. You’ll be able to cut the ties by turning them the length of the fabric on the non-directional or solid fabric. You’ll also need either some pre-packaged black bias tape or some lightweight fabric with which to make your own. See the tutorial below for a how to do that. |
|||
The pattern
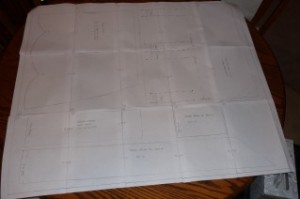
| Garden apron pattern 1 [5] Garden apron pattern 2 [6] Garden apron pattern 3 [7] Garden apron pattern 4 [8] Garden apron pattern 5 [9] Garden apron pattern 6 [10] Garden apron pattern 7 [11] Garden apron pattern 8 [12] Garden apron pattern 9 [13] Garden apron pattern 10 [14] Garden apron pattern 11 [15] Garden apron pattern 12 [16] Garden apron pattern 13 [17] Garden apron pattern 14 [18] Garden apron pattern 15 [19] Above are pdf files of all of the pattern pieces. They are printable on regular computer paper. You’ll then tape them together as indicated by the markings on the pattern pieces. The end result should look something like the picture above (it’s hard to see, but you get the gist of how it’s all taped into a big pattern). Then just cut out the pattern pieces and proceed from there. ALL SEAMS 1/2″ |
The process
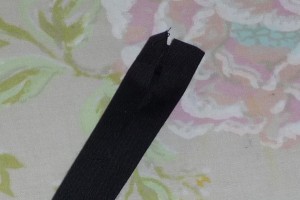
| Previously, I demonstrated how to make bias tape. Here, I’ve made some black bias tape to bind the edges of my apron pocket. See this tutorial [21] for the bias tape how-to.
In this photo, I have taken the raw edge of the bias tape and folded it in, the refolded the sides of the tape and pressed. I want a nice, finished edge. |
|
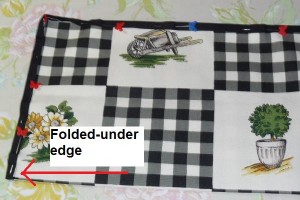
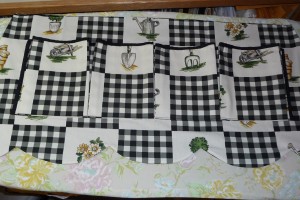
| Take your pocket piece and fold it in half, lengthwise, so that the raw edges are on the sides and top. Make sure if you’re using a directional fabric that the fold is on the bottom and the fabric still faces the right way.
Encase your raw edges in the bias tape, with the edge shown in the step above at the bottom corner. When you get to the other corner, trim your tape, leaving enough to fold over like we did in the step above. |
|
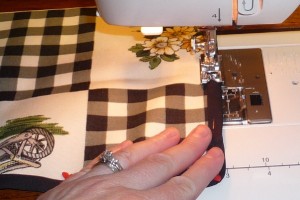
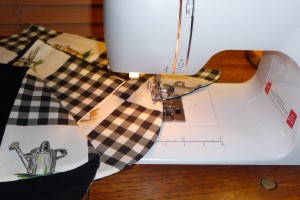
| Sew close to edge of bias tape. |
|
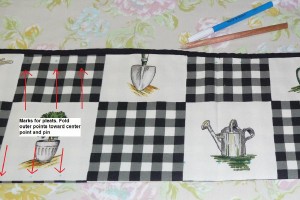
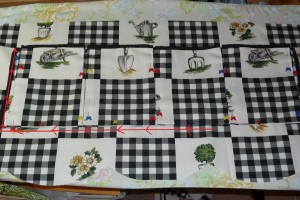
| I waited until this point to mark my pleats, but if you did this before, then skip this step. Click for a bigger picture with descriptions. |
|
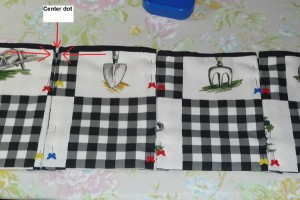
| Pin the pleats by bringing each outer dot toward the center dot. Press. |
|
| Pin pocket to apron. I just eyeballed this. Sew all the way around sides and bottom. |
|
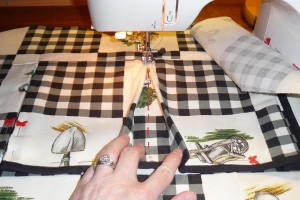
| To form pleats, open them up and sew down the center, from the bottom of the pocket up to the top. I have drawn a dotted line in the photo where I’m going to sew. |
|
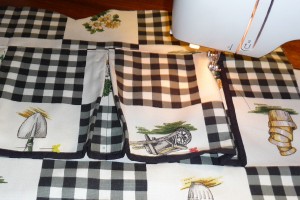
| Sew on the outside edges, too. |
|
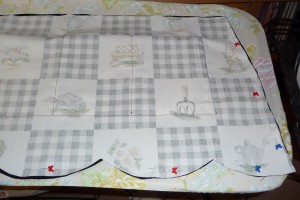
| Place apron front with completed pocket and lining right-side together and pin. Sew all the way around the sides and bottom. Do not sew the top. |
|
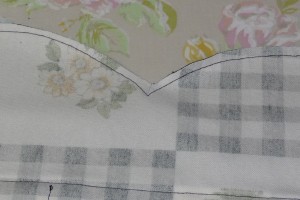
| Clip up to the seam line on the scallops. I also trim away excess fabric here. | |
| Turn right side out and work with your fingers to smooth out scallops. Press all the way around. |
|
| Top stitch the sides and bottom. |
|
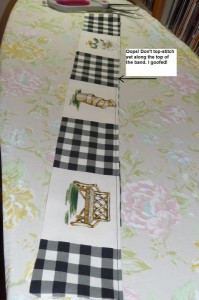
| Next up is the waist band. Place the two waist band pieces right-sides together and sew along one long side. Be mindful of the direction of the fabric if it’s a directional print. Turn right-side out and press.
DON’T DO WHAT I DID: No matter how many aprons I do, I ALWAYS make the mistake at this step of top stitching the waist band. You can see this in the photo. It’s always several steps later that I realize I did it too soon. I’m not sure what my block is here, but just don’t top stitch yet. |
|
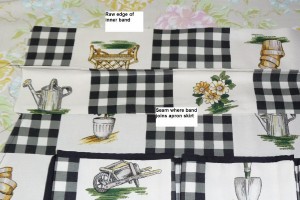
| In this photo, I’m attaching the waist band to the apron. Take the front of your waist band and place the raw edge against the raw edge of the apron top, right-sides together. Let the other side of the waist band hang free. Sew. |
|
| Flip the waist band up and press seam open. |
|
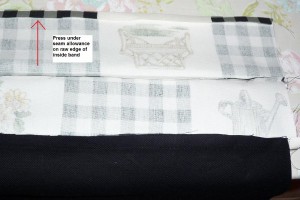
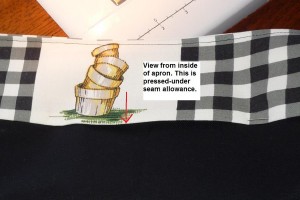
| Turn apron and turn under the seam allowance on the raw edge of the inside of the waist band and press. |
|
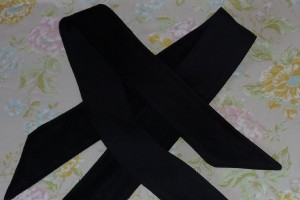
| Make the ties by placing two ties, right-sides together and sewing all the way around, except for the small, straight end. Trim at the point and turn right-side out. Press and top stitch. |
|
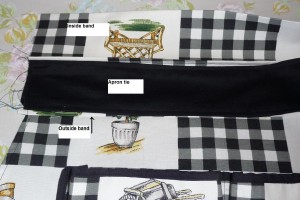
| Attach the ties to the apron by having the apron face-up. Lay one tie with the short, raw edge along the raw edge of the front of the waist band. Make sure the pointy end of the tie will be with the longest edge (the point) on top. | |
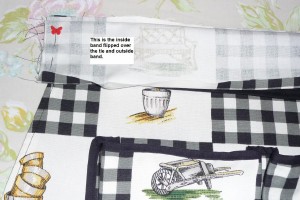
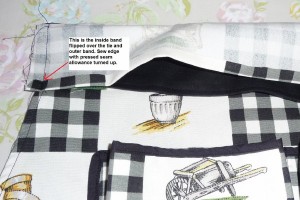
| Fold the back side of the waist band over the tie and pin (right sides of the waist band face each other, with the tie sandwiched in between). This is where you’ll not want there to be top-stitching on the waist band, or it won’t fit properly. I just took some of my top stitching out for this step since I’d messed up. |
|
| Sew, making sure the seam meets up with the edge of the apron where the arrow is pointing in the photo. Clip the corners and turn right-side out. Your tie should now point away from the apron and you should have a nice, crisp corner. Repeat for other tie. |
|
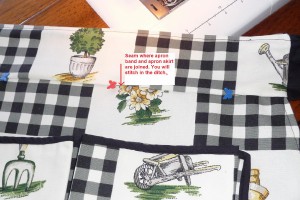
| Everything should be finished except for the inside of the waist band, which is folded under and pressed, but still hanging loose. You can finish this by hand, but in this case I am going to stitch in the ditch from the front using my machine.
What I’ve done in the picture is pin along the waist band/apron seam, catching the open edge of the inside waist band on the other side. See next photo. |
|
| You can see where the pins have caught the open edge from the other side. Now turn it back over and stitch along that seam line, being sure to catch this open edge of the apron as you sew.
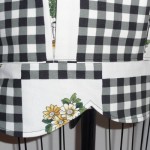
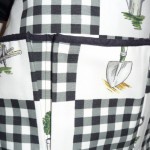
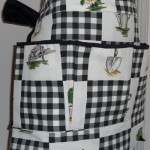
Below are other views of the apron. My 7-months-pregnant belly wouldn’t allow me to model this apron, but thankfully my dress form has kept her girlish figure! |
Other views
(Click for bigger views)
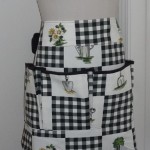 [43] [43] |
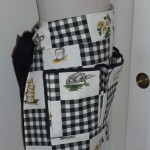 [44] [44] |
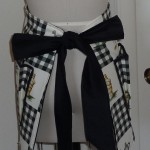 [45] [45] |
 [46] [46] |
 [47] [47] |
 [48] [48] |
