
How to recover an existing headboard!
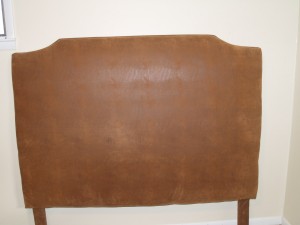
During this blog, I will demonstrate how to recover this headboard to make it more up to date!
SUPPLIES NEEDED:
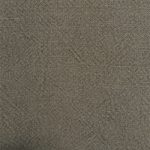
I used approximately 2 and one half yards of Gimlet Tussah to recover my existing headboard.
PROCEDURE:
The first step in recreating this headboard was to measure the width and height to determine the amount of fabric I would need.
The width of my headboard is 64″ wide plus three inches thick and the height is 44″ high plus three inches thick, so I need my width to be at least 76″ plus I need the height to be at least 54″.
After measuring I cut the fabric to measure 76″ by 54″.
Next I found the center of the top of the headboard and started using the staple gun and stapled from center point to each side.
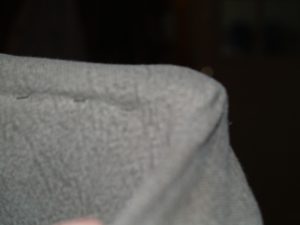
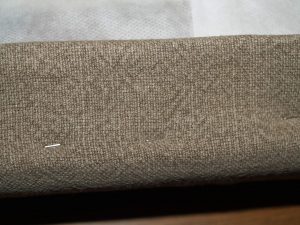
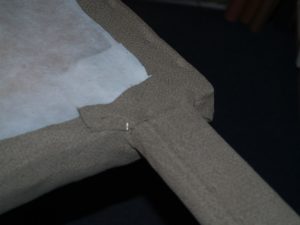
At the corner of the top, I folded the side back as shown in the photo and stapled. Do this to both top corners making sure to make them look the same.
Then continue to staple down both sides.

The legs are also covered on my headboard so I do this step before finishing the bottom of the headboard.
Staple down the center on the back side of the headboard legs.

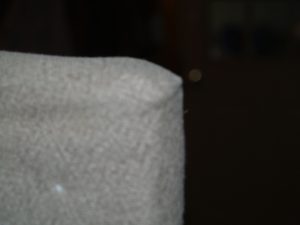
Next bring the fabric around the leg, fold it under to hide the raw edge and staple.
Now finish of the leg bottom by tucking and stapling.
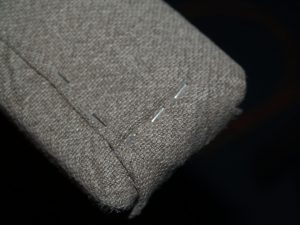
The last step in recovering the headboard is to pull the fabric tight at the bottom, once again starting in the center and work your way to the sides stapling.
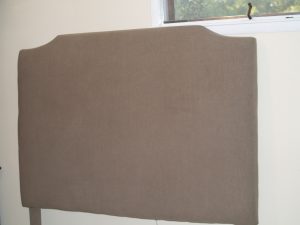
Now you know how to recover your existing headboard so start that remodeling project! This was easy and it is the beginning of my remodel.
Happy sewing until next time!!

