Insert an invisible zipper on a pillow
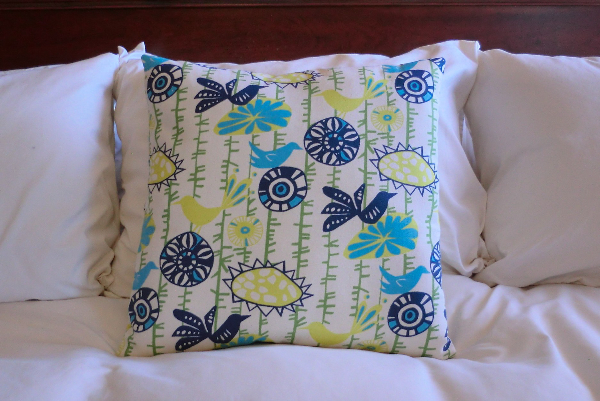
 Make an easy-to-remove pillow cover with an invisible zipper opening. It’s quick and easy to do, and allows for easy washing. Also makes it easy to switch up your decor a bit. Simply buy a couple of pillow forms and then make different covers.
Supplies

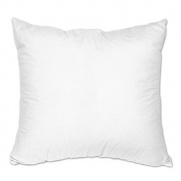
Start with a pillow form. You’ll need two pieces of fabric the size of your pillow form and a matching invisible zipper that’s preferably smaller than your pillow form, but if it’s bigger, we can work with that.
The pattern
Cut two pieces of fabric 1/2″ wider and taller than your pillow form. If you want a really snug pillow, make the fabric the same size as your pillow form (no seam allowances added) so that you really stuff the pillow form in the cover.
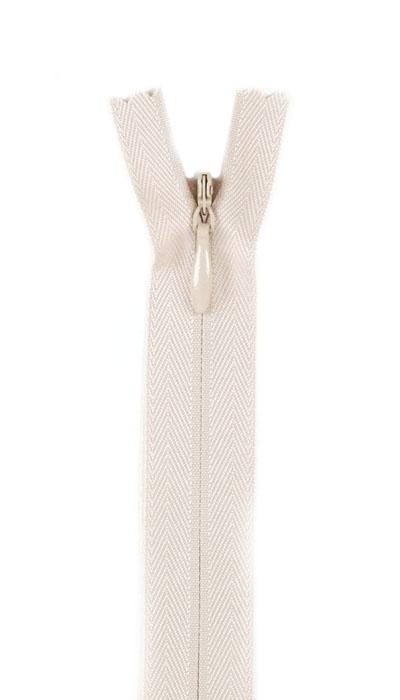
You’ll need an invisible zipper too. Preferably, your zipper would be about 3″-4″ shorter than the bottom of your pillow. For some reason, invisible zippers weren’t offered in a variety of lengths where I bought mine, so mine is longer than my pillow. I’ll show you how to shorten it.
Process
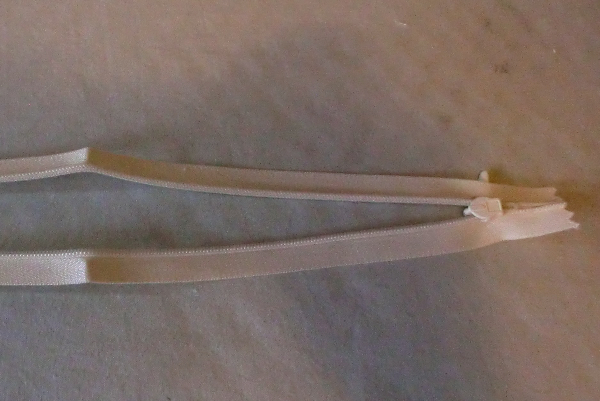
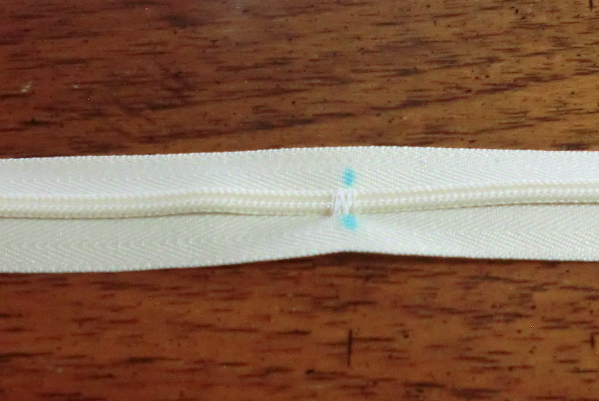
Your zipper will be all bent up. Open it up and press it smooth. Press up against the zipper teeth, as well, to push them away from the zipper tape a little.
Sorry, it looks like this will be one of those blog posts where my lighting is awful in all of the photos. Sigh.
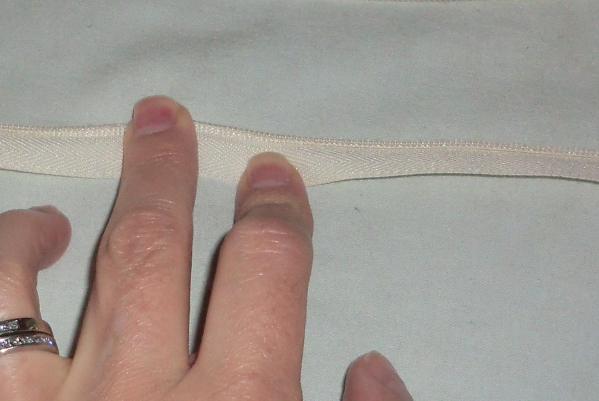
It may be hard to see, but you can sort of roll the zipper teeth away from the tape. You’re going to want to sew really close to the teeth, so that’s why you want to press them away and make some space.
You can see that my zipper is too long for my pillow.
I marked about an inch in from the edge, where I will have my zipper end. On the other end (where the zipper pull is), I put the end of the zipper tape along the edge of the pillow.
In hindsight, I would have liked my zipper set in just a little more from either edge, but it worked fine as I did it. Just a personal preference after all was said and done.
I zigzagged in place where I marked the zipper. This will serve as a zipper stop for now.
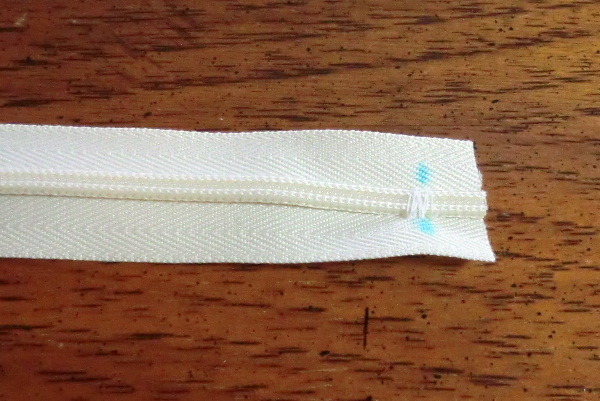
Clip the end of the zipper off.
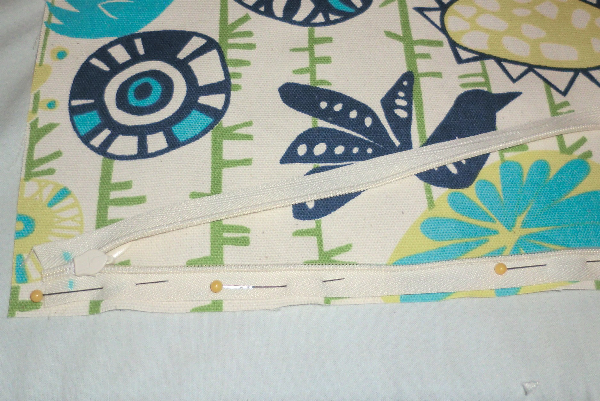
With the zipper and the pillow fabric right-sides together, and the zipper just a little ways from the edge of the fabric so you get an 1/2″ seam allowance, pin the zipper to the fabric. Please note which side of the zipper is along the fabric and where the free side of the zipper is in the photo.
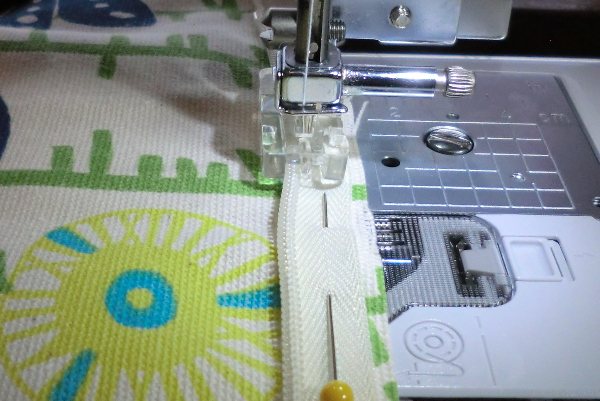
This is what my invisible zipper foot looks like. It has a little screw that loosens so that I can slide the foot to the right or left and get it aligned just right. I have the zipper teeth in the left-hand groove and the needle going through the center hole just to the very right of the zipper teeth.
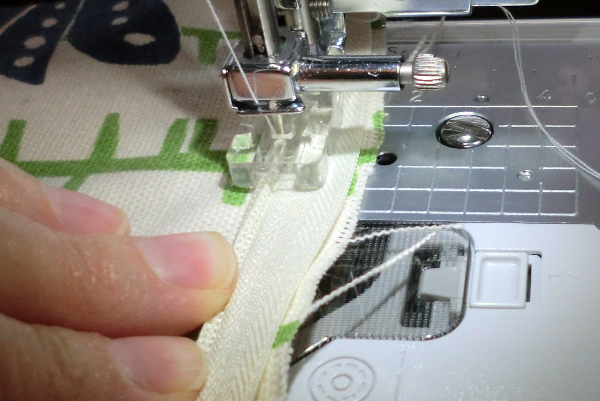
As I sew, I’m pulling the teeth away from the tape and getting in quite close to the teeth.
A photo after the zipper is sewn to the first side. Note: You will need to stop before you reach the zipper pull, backstitch, remove the fabric and then move the zipper pull up out of the way. Then put the fabric back under and continue to the bottom.
Also, don’t press.
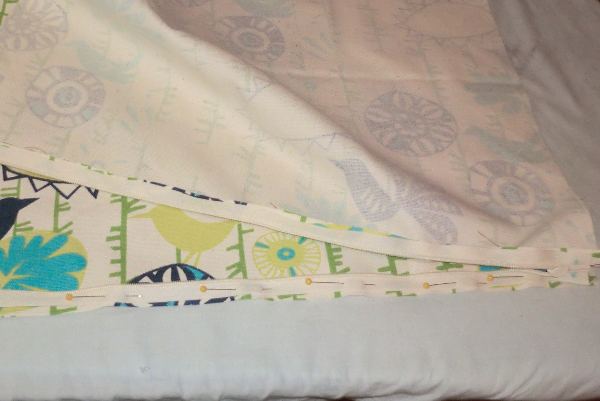
Attach the other side of the zipper tape to the other piece of fabric in the same manner.
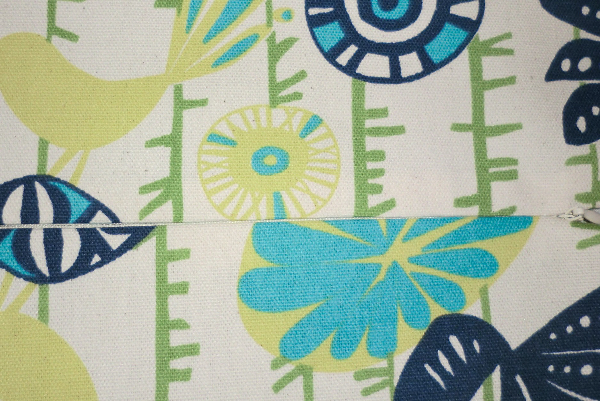
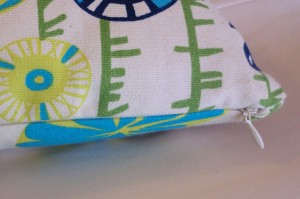
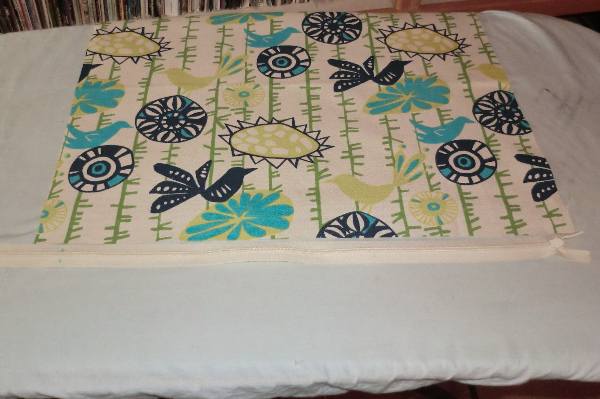
After sewing, it looks like this. Pretty much looks like a seam and not a zipper, right?
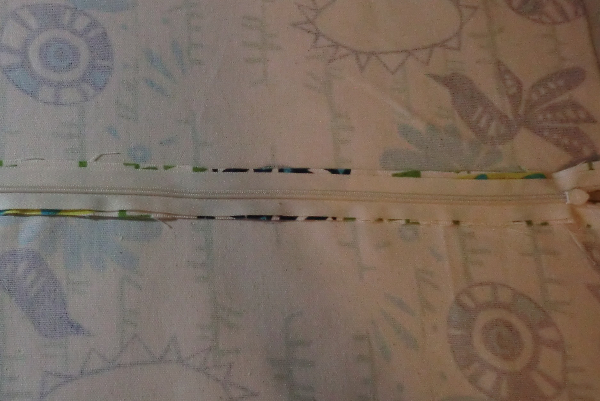
This is the view from the back.
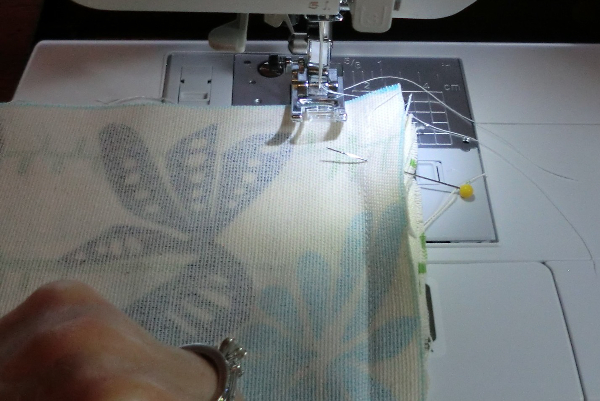
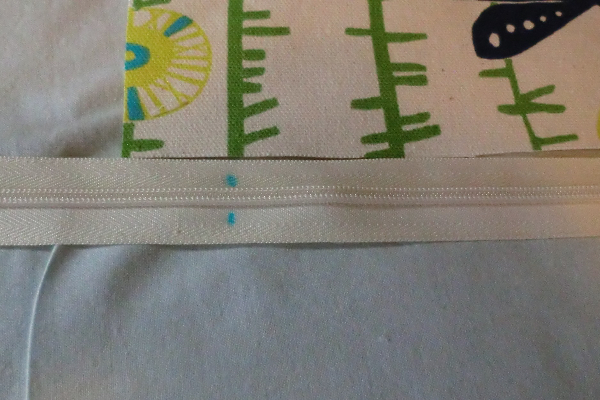
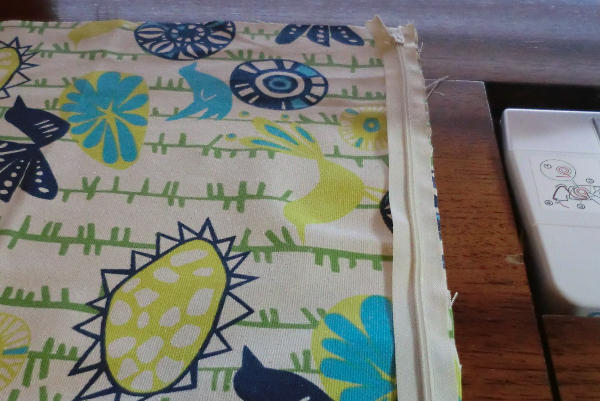
Now you must finish the seam where the zipper is — meaning whatever seam would be on either end of the zipper. On the “end” side, I have about an inch to sew. I used that yellow pin to mark where my zipper ends and where I’ll stop sewing. Then I sewed a regular seam on that end.
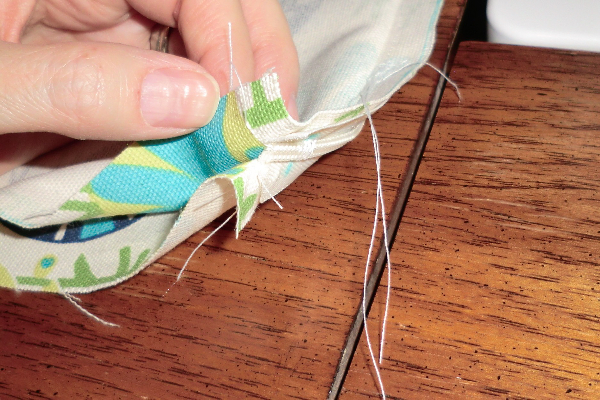
On the other end, I only have about 1/2″ and so not much to stitch closed. That’s why I was saying I might have preferred to have had a slightly shorter zipper.
OK, somehow I forgot to get a picture of the last step, which is to sew the sides and top of the pillow together. It’s pretty basic. The bottom seam is already done. OPEN THE ZIPPER. Now just sew (using a 1/2″ seam allowance) along the other seams. Trim the corners. Turn right-side out through the zipper hole, poke out the corners gently and stuff your pillow form in.
Other views