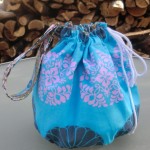
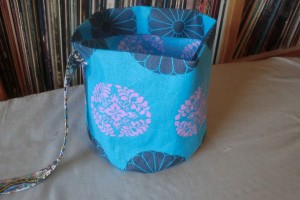
Knitting wristlet – with project dividers
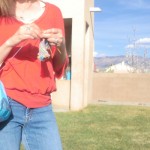
 Have you ever been that weird woman who loves to knit so much that you even do it standing in line at the airport? I was — B.C. (before child). And before the Mexican airport officials confiscated my brand-new $30 Addi Turbo needles.
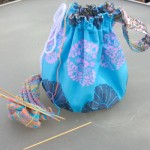
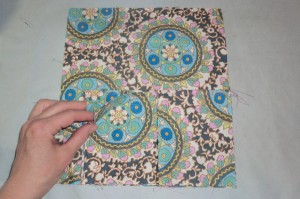
I’d seen bags of this sort before — something you can sling over your wrist or hook on your belt loop to hold a small project. This one has dividers to keep your yarn separate if you are working with multiple colors or, as I do, knitting two socks simultaneously. It also has interior loops to keep your yarn organized.
Supplies


The Pattern
As for fabric, this was a major trial and error project for me, and I recut many pieces. So I’m sorry to say that I don’t have an exact yardage, but 3/4 of a yard should be plenty. You’ll cut the following pieces:
Exterior
Side – 23″x9.5″ (WxH) – cut 1
Bottom – Print this pattern piece and cut 1 of the circle (sorry, it’s just a half circle. Put it on the fold and cut. I use pages with a border so they print to scale. It’s complicated and I don’t fully get it, but it’s sorta what I’ve figured out!)
Strap – 4″x12.5″ – cut 1
Interior
Sides – 8.5″x9.5″ (WxH) – cut 3
Bottom – Cut 3 from the pattern piece you printed before.
Big divider – 7″x5″ (WxH) – cut 1
Small dividers – 4″x5″ (WxH) – cut 4
Other pieces
Drawstring – use any piece of cording or make your own drawstring out of fabric. I didn’t measure mine, but you probably want a few feet worth.
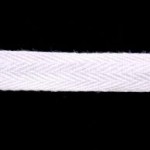
Yarn guides – small pieces of twill tape to act as yarn loops – 3 pieces 1.5″ long. You only need a little bit, so if you don’t have twill tape, you don’t necessarily need to buy some. Feel free to use ribbon or make them from fabric.
The Process
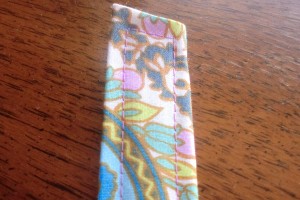
First, make a strap using our Non-Turn Strap Tutorial. Press one end under so that it’s finished on one end. The other end can remain a raw edge.
On your outer piece, press the top edge down 1.5″. Then place your strap parallel to the top edge with the top edge of the strap along that crease. That crease will eventually be the top edge of your bag, so you want the strap just below that. Baste strap along raw edge.
Unfold your crease and sew the side edges of your outer piece together, forming a tube. The strap is inside there, and you don’t want to catch the finished edge of the strap, just the unfinished edge.
Turn your pressed edge over again. Press the bag in quarters at the bottom, to make four even markings. Press as shown on either side (just at the bottom) and then flip it so you’re pressing along the seam and the side opposite it.
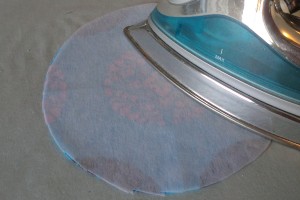
Add interfacing to the wrong side of your bottom circle.
Press your bottom circle into quarters (just the edges). These quarters you are pressing will help you when pinning your bottom piece to the tube you made earlier.
Line up the quarters of both the tube and bottom and pin in those places. Then distribute the fabric evenly and pin in between the quarters until you’ve pinned all the way around.
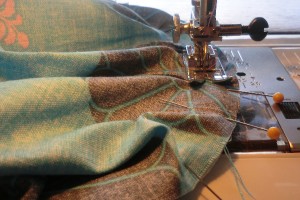
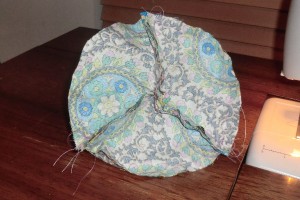
Sew with 1/2″ seam allowance. You may find that the fabric is a bit bunchy when you are sewing 1/2″ in from the edge. I just distributed it as I went and sewed over it. It kind of has a gathered appearance. If you want to be really super-duper careful, you could always run a line of basting stitches to help you distribute the excess fabric more evenly. Trim the seam allowance to reduce the stiffness and bulk from the interfacing.
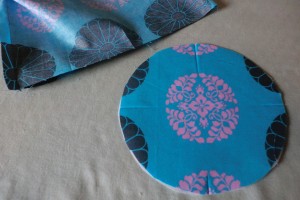
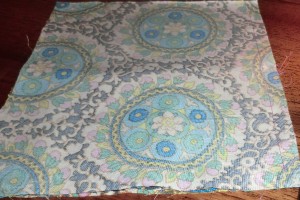
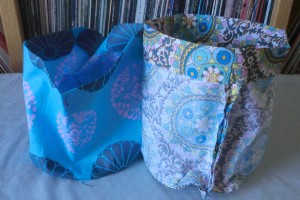
Here is your outside bag.
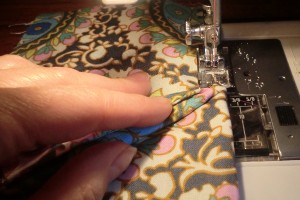
Now we’ll start on the interior dividers. Take two of the small divider pieces and place them right-side together. Sew along only the top and then flip over, press and top-stitch.
Take your other two small divider pieces and sandwich the one you just finished in between them, with the bottom edges aligned. Sew along one side edge, STOPPING 1/2″ FROM THE BOTTOM EDGE.
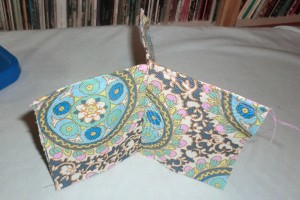
This makes the divider piece you finished above jut out from between the other two.
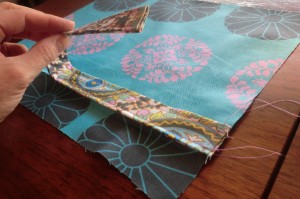
Now, take your big lining piece and place it right-side together on the piece you just finished. Sew along the top edge, being mindful not to catch the little finished divider piece. In the photo above, I’ve sewn the pieces along the top and flipped it open. Now I’ll fold that top piece back and press it down.
Then top-stitch along the long piece, being careful around the divider piece that comes out perpendicular to it. I just sort of folded it down, as shown in the photo.
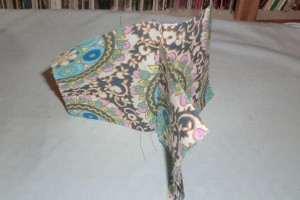
Now you’ve got this 3-way divider.
OK, now take your divider piece (from photo above). Flip two of the flaps on top of each other so that just one is pointing to the right. Align that one on the bottom and right edge of one of the interior side pieces.
Align another interior side piece on top, right-sides together. Sew along the right-hand edge – STOP 1/2″ FROM THE BOTTOM!
Take the next divider piece and sandwich it between two side pieces – sew again, but once again, stop 1/2″ from the bottom edge. Repeat until it looks like the photo above.
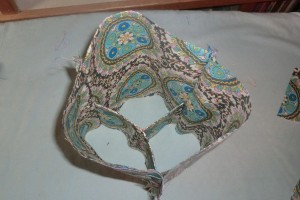
Take one of your interior bottom “pie pieces” and pin it over one of the triangles on the bottom. The fact that you stopped sewing the side seams 1/2″ from the bottom is going to make this part much easier. Stop 1/2″ from each corner on these steps, too. This leaves room for the other pieces.

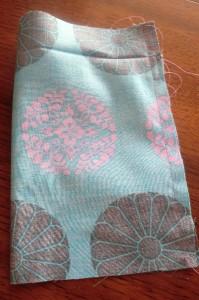
This is what it looks like after adding a bottom piece.
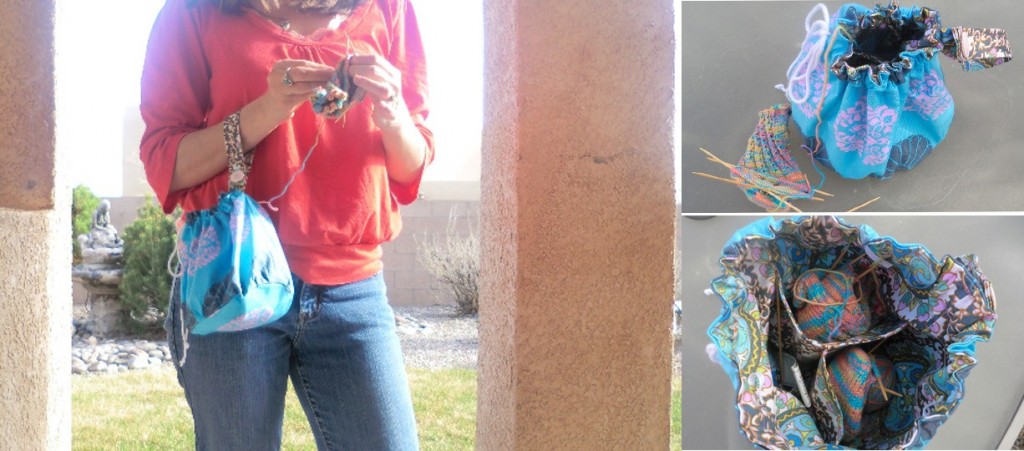
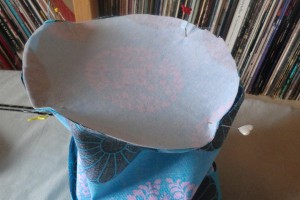
Repeat with the other two. Here it is from the bottom.
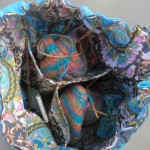
And here it is from the inside.
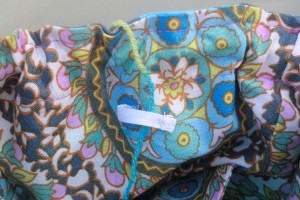
Take some small pieces of twill tape to form the yarn guides. I measured 3.5″ down the interior sides for each pocket inside. I zigzagged one end of the tape to the lining and then sewed a snap to the other end. Then I sewed the opposite side of the snap to the bag lining. This provides loops for your yarn so that if you have multiple balls of yarn, they won’t be as likely to tangle in the bag. Genius, huh? Yeah, I didn’t invent it.

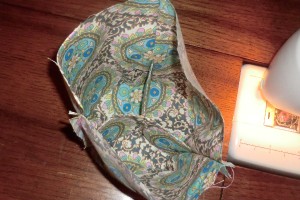
Take your outer bag and press it on the top edge opposite the strap/seam.
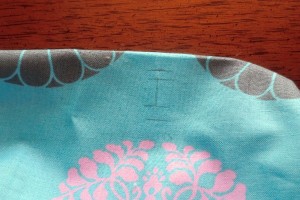
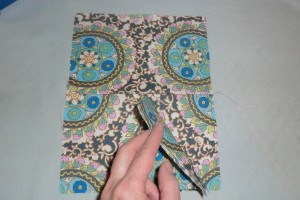
On that pressed spot, make a few marks with a fabric marker or pencil (this is a fabric pencil, and it really does erase!). I marked 1/4″ down, 3/8″, 1″ and 1.25″. The top and bottom ones represent where you will stitch all the way around, forming a casing (don’t do that yet) and the other two are where you’ll make a button hole for your drawstring. (The exact size depends on the size of your cord or whether you make a fabric drawstring, which might be a little wider than a piece of cord.)
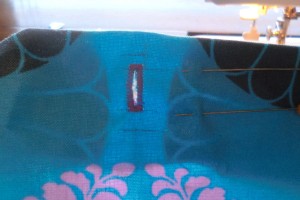
Here I’ve made my buttonhole. I made the buttonhole while the fabric was folded over at the top and cut through both layers.
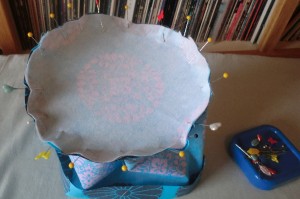
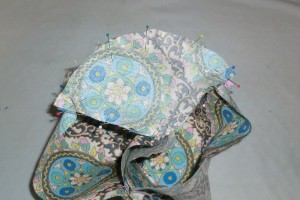
With your outer bag right-side out and your lining inside-out, place the lining inside the outer bag. (Oh yeah, press the top of your lining bag over 1.5″.)
Pin evenly around the top.
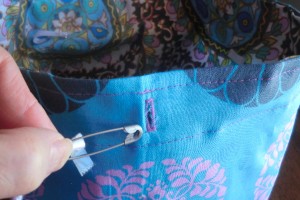
Stitch around the top 1/4″ from the top and 1.25″ from the top, forming a casing. Then, using a safety pin, thread your drawstring through the casing.
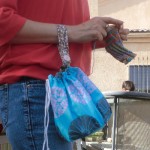
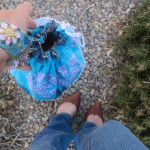
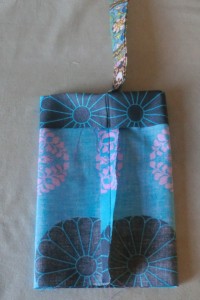
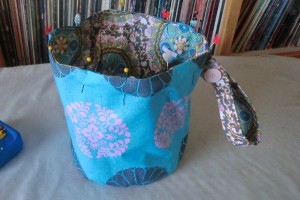
Other views