
Learn how to make this beautiful cushion

SUPPLIES NEEDED:


I used approximately 2 yards of Casablanca Geo Aquamarine, a yard of beige zipper, beige slider, and six yards of piping.
PROCEDURE:
My customer has a bench at the end of her bed that needed recovering!


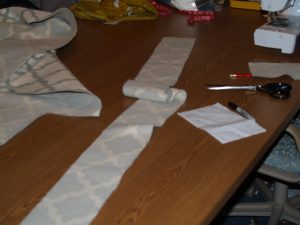

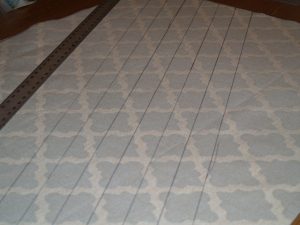


Let’s start putting the zipper together. The first step is to take the piece of fabric which was cut 6″ by 38.5″ and sew the open sides together. This may be a little different for most folks but I like to make my zippered side this way. Next cut the fabric to make it make it look like the photo.

Now take your fingers and gently press the fabric where the stitches are, making a surface to place your zipper. Then start sewing the zipper face down on the fabric as shown in the photo.

Since the coil zippers do not have stays or stops at the ends you always need to make a stopper for the zippers. Notice I took a piece of fabric, folded it in half and placed it at the end and stitched it down.

This is the finished zipper section.

Now take the zipper section and the 5″ by 71.5″ strip of fabric and sew the ends together making the box for the side panel.

Using the bias strip of fabric start covering your piping. Zipper foot is definitely needed for this step.

Take the covered piping and start adding it to the top and bottom sections of the cushion.

Once all the piping has been added to the cushion top and bottom, it is time to add the box side panel. Add it to the top section then add it to the bottom section. Always make sure to leave the zipper open so you will be able to turn the cushion right side out when finished.

That is all there is to making this beautiful bench cushion!
Now that you know how to make it get going!!
Happy sewing until next time.

