
Leather Coaster
Do you ever use the fun stitches on your sewing machine? Or do you only use a straight stitch? For so long, I’ve been guilty of only using my straight stitch with an occasional zig zag for knits, or for finishing a raw edge, but I’m trying to walk more on the wild side (ha!) and have been doing a bit of experimenting with some of those lesser appreciated stitches that came on my sewing machine. Fortunately, this is a quick project that utilizes a fun stitch plus you’re left with a lovely finished product. Are you in?
Here’s what you’ll need for a set of four coasters:
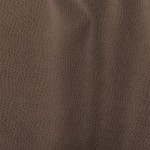

1/4 yd faux leather ostrich chocolate and at least 2 sheets of felt. I personally think it’d be fun to use four different colors of felt & then coordinate your thread, but feel free to use what you like. Oh, and you’ll need coordinating thread and either a clothes pin, binder clip, or even a paper clip will do. 🙂
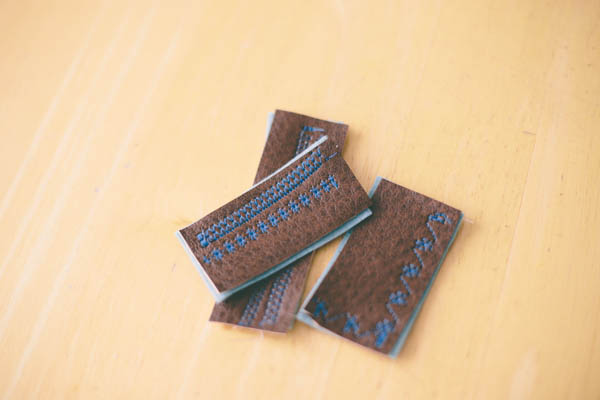
I cut some practice pieces. I wanted to try out a few different stitches as well as make sure the tension was right. These can be any size, but make sure you cut both the leather and the felt. This is important as you want to practice working with them together.

I cut out 5 inch squares of both the leather and felt.
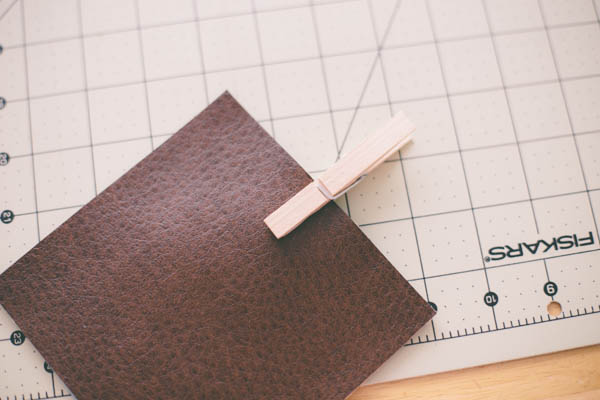
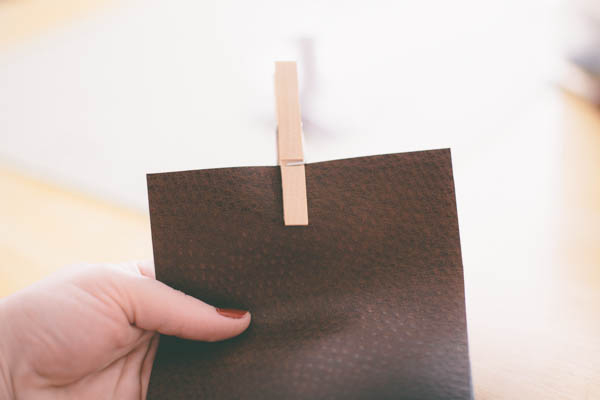
Line them up perfectly, then clip them together with whatever you chose to use (paper clip, binder clip, or clothes pin). The leather cannot be pinned because it will pierce a hole through the fabric and it will not heal. Not good! It is important to hold them together, though, as they will not stay together on their own.
I forgot to take a photo of this next step, but it’s not that difficult: I took a sharpie pen and measured out half an inch from each side & marked 4 dots, just as a guideline.
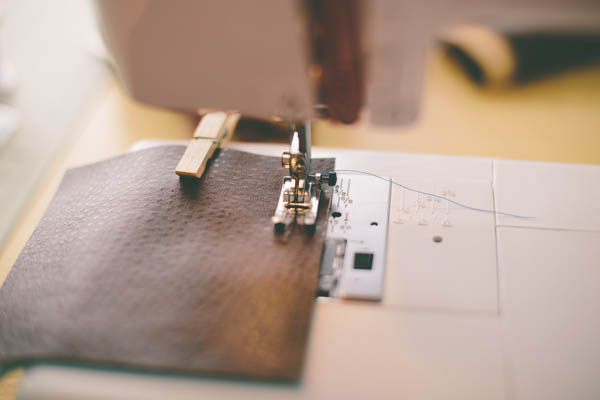

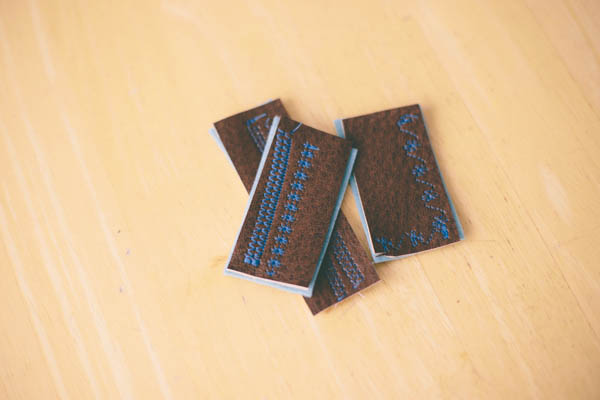
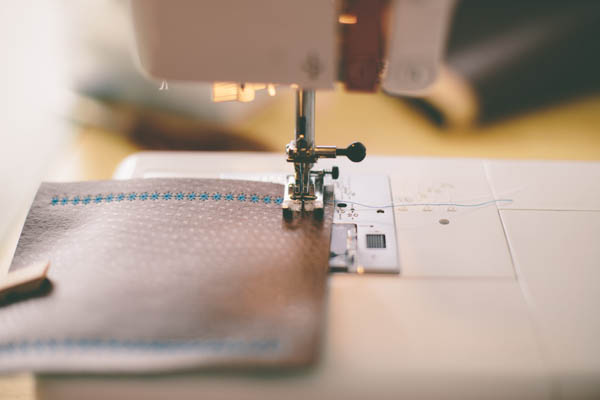
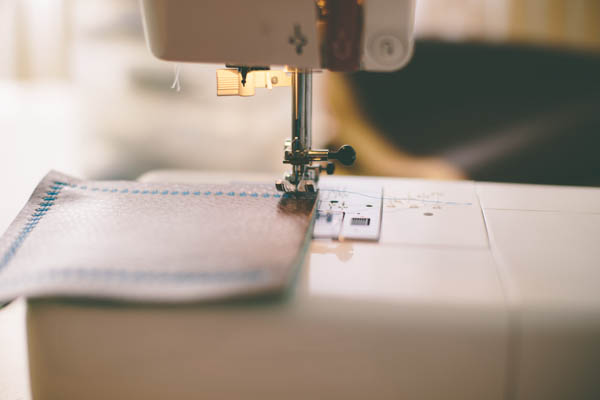
Choose your stitch, then line up your needle with your first dot and GO!
Stop at the next dot, pivot your fabric leaving the needle in the fabric, and repeat until all four sides are stitched. You’ll need to move the clothes pin around as you sew each side.
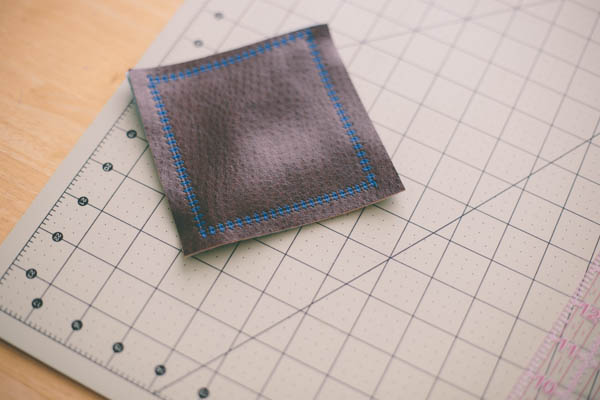
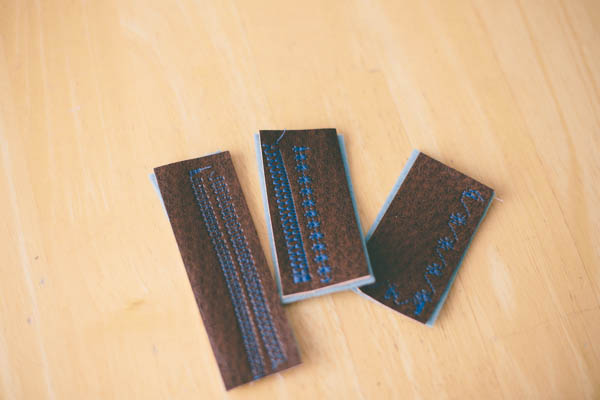
Mine looked like this when I was finished, so I just used my rotary cutter and ruler and trimmed about 1/4″ from the edge of the stitch for a more finished look.
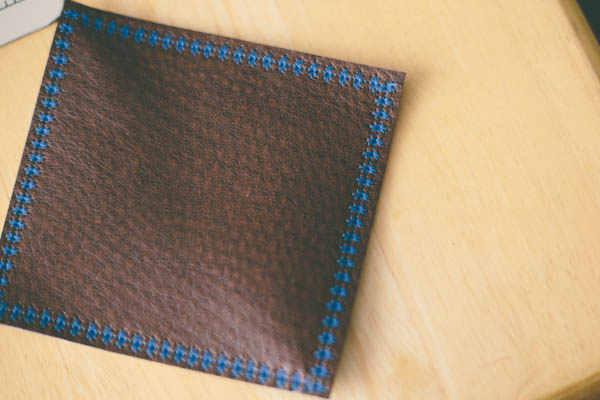
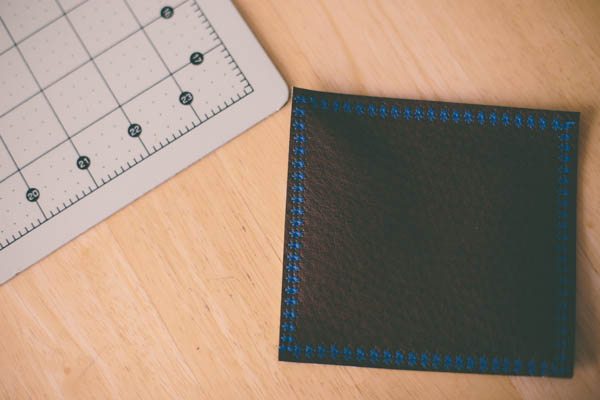
Voila! You’re finished! What do you think?

