
Let’s make a coverlet!
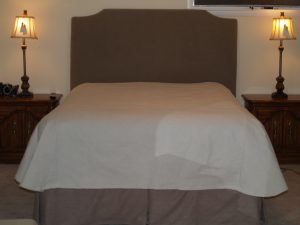
During this blog, I will demonstrate how to make this beautiful coverlet!
SUPPLIES NEEDED:
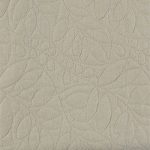
I used approximately 7.5 yards of Woodgate Natural.
PROCEDURE:
The first step in creating this beautiful coverlet was to measure the length of my bed plus the hangover for the end of the bed. My bed measures 79″ plus I need the hangover for the end of the bed to be at least 20″. Since I want this coverlet to be washable I cut one piece of the Woodgate Natural 3.5 yards and another 4 yards. Next, I took both pieces of fabric and washed then dried, this will allow for possible shrinkage.
Am I ever glad I allowed for shrinkage because there was some, but the fabric ended up being so soft! I absolutely love the feel of this fabric once washed!!
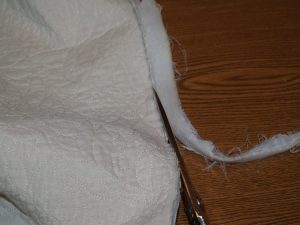
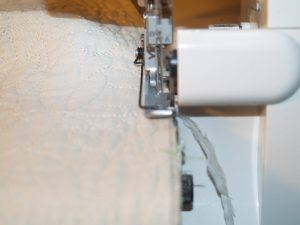
Next be sure to cut off the selvage as shown in the photo.
I kept the 3.5 yard piece of fabric in tact but the 4 yard piece of fabric I cut it in half.
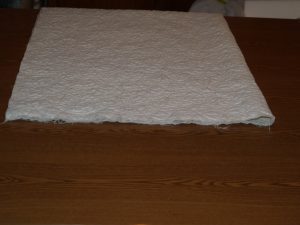
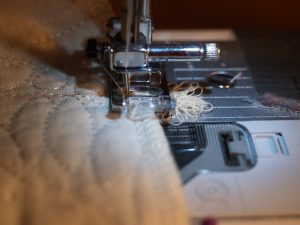
Now take the pieces and serge the edges of the three pieces of fabric.
At this time you will have a wide piece of fabric which measures 50″ once washed and two pieces of fabric that measures 25″ each.
Take the more narrow pieces and a match them to either side of the wider piece of fabric with the wrong sides faces each other. Make sure to align your pattern.
For this coverlet I am going to use a French seam so the coverlet will not have any raw edges.
To start the french seam make sure your wrong sides of your fabric are together. Sew a one fourth inch stitch down the length of the fabric.

Take your fingers and open the seam as shown in the photo.
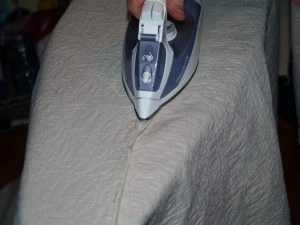
Next take the coverlet and use a seam iron and press the seam open.

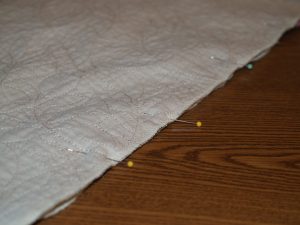
I don’t know if this photo is good enough to explain the next step, so here it goes. Take the coverlet and fold the fabric with the face side of the fabric together and pin.

Maybe this photo will demonstrate better what I am trying to explain.

Now take the fabric which has been pinned face sides together and using a one half inch seam allowance, stitch it down the entire length of the seam.
Once you have sewn this seam you have created a french seam which has no raw edges.
Once you have all your pieces sewn together, it is time to cut the fabric to length and width. Since my bed measured 79″ in length plus I wanted a 20″ drop and allowing for the hem at the head of the bed and the foot of the bed, I cut the length to 103″. I did not have to cut the width down any because it hung the length I desired.

Since the bed has a natural curve at the foot, it looks better to make the corners at the foot rounded as shown in the photo.

This is what the foot will look like.

Since there has been some more cutting done since I serged to begin with, I took the coverlet back to the serger and serged it once again at the raw edge at the foot of the coverlet.
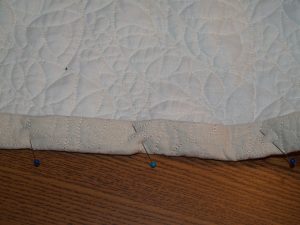
Take your coverlet and begin pinning the hem. I used a two inch folded in half to create a one inch hem.
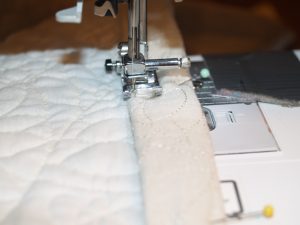
Starting at the long side of the coverlet straight stitch the hem down. The head of the coverlet should be the last place to pin and hem.
Now you know how to make this beautiful coverlet!
Next week we will make the pillow shams for this bedding project!
Happy sewing until next time!!!

