
During this blog, I will demonstrate how to make a Euro sham.
SUPPLIES NEEDED:
 [1]
[1] [2]
[2]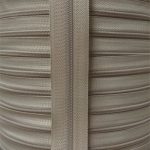 [3]
[3] [4]
[4]
For this blog, I used approximately three yards of fabric, nine yards of piping, two yards of zipper coil, and three slider heads.
PROCEDURE:
The first step in creating my Euro shams was to decide how many I wanted to use on my queen size bed. Since I love a beautifully made bed with lots of pillows I decided to go ahead and create three.
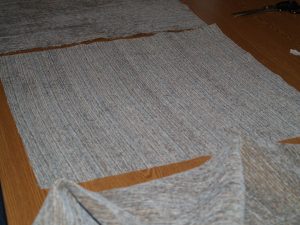
The pillow forms I purchased are 27″ square, so I cut out six 26″ squares of the Hocus Pocus Dove fabric.
I know you are probably thinking, she messed up because everyone knows that you have to cut the fabric larger than the form but in this case I wanted my pillows to be full and appear overly stuffed. When finished the pillows will measure 25″ square.
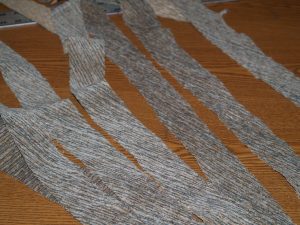
Next I cut two inch wide strips of fabric on the bias for piping cover. Making sure to cut enough that each form will have approximately three yards of piping cover.

Sew the strips of piping cover together to create one long strip.
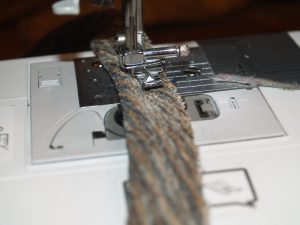
Now place the cottoning welt inside the strip and using a zipper foot start sewing.

Once you have all the piping covered start adding to the front of each pillow. In my case, I have six 26″ squares cut out so I placed the piping on three of the 26″ squares.
I love to put zippers in my pillow covers which makes it easier to send to the cleaners and get cleaned as needed.
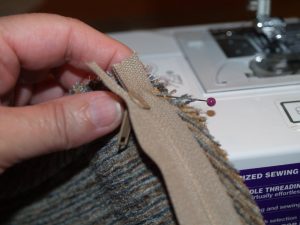
I started by placing the zipper face down as shown in the photo close as possible to the piping.
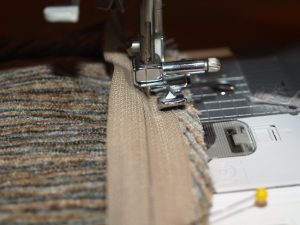
Notice how close I am sewing the zipper to the piping.
This is how it should look when you sew the first side close to the piping.
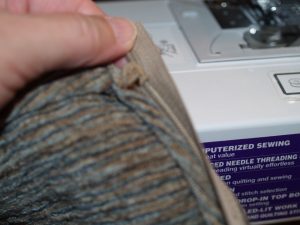
For the opposite side of the zipper, pin down one half inch seam allowance as shown.

Next place it face side up as shown in the photo and stitch.

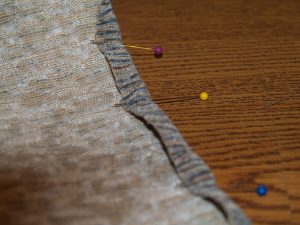
The last step is to sew the front and back of the Euro together. Begin by starting at one corner of the zipper and sewing around the perimeter of the Euro until you reach the other corner of the zipper opening. Sew close to the piping.
Remember to always leave the zipper opened so you will be able to turn the finished product inside out.

Now you know how to make a Euro sham!
Stayed tuned next week while I continue to add more decorative finishes to the bedroom.
Happy sewing until next time!!