
Let’s make a gathered on rod drape!
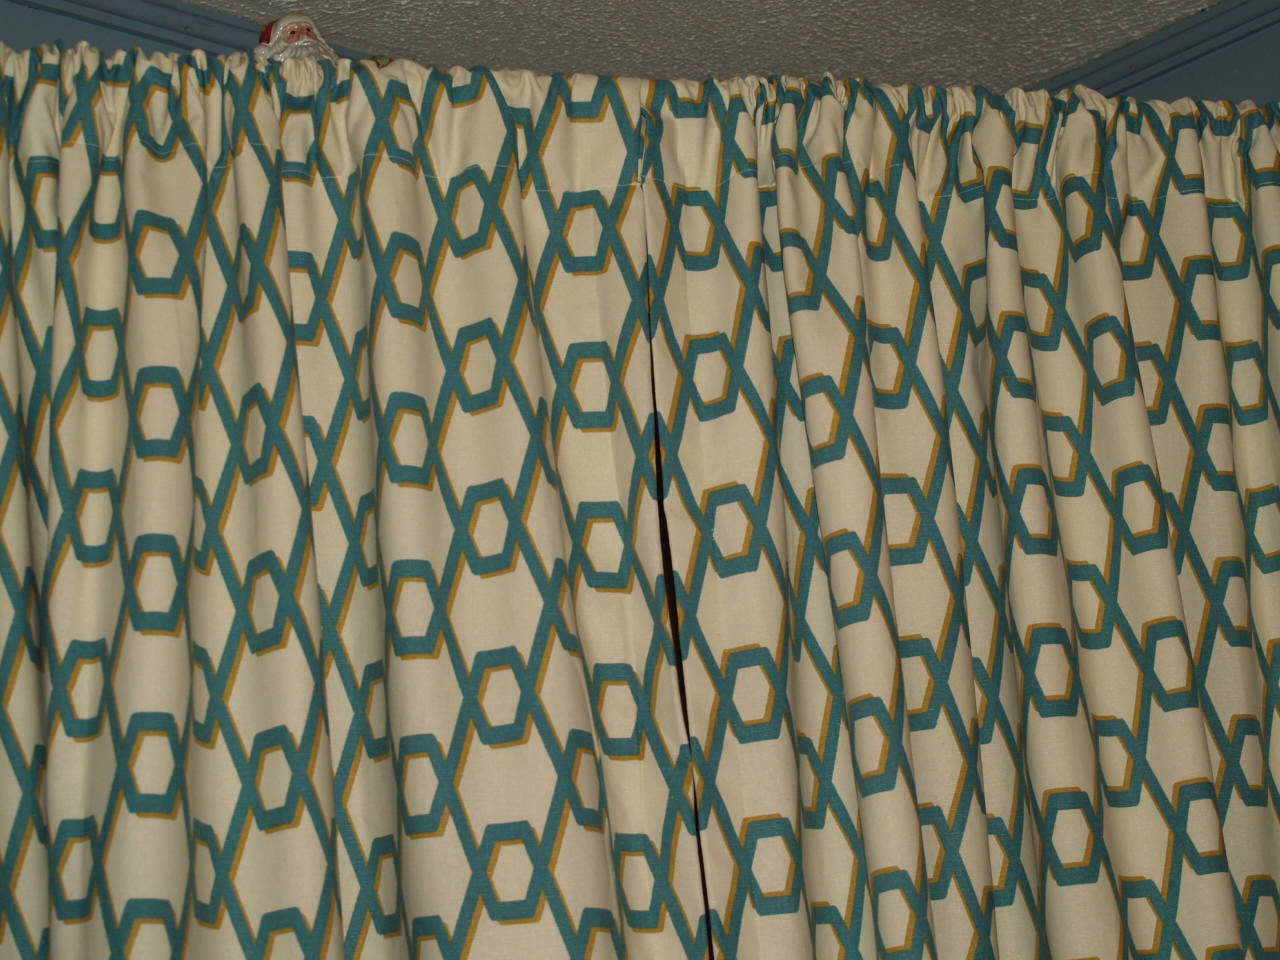 During this blog, I will demonstrate how to make a gathered on rod drapery panel.
SUPPLIES NEEDED:
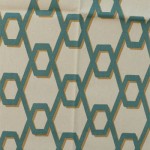

I used approximately 3 yards per panel of both the Wired Tropic and Dim out drapery lining.
PROCEDURE:
The first step in this process is to measure from the rod to the floor or where you want your drapes to finish at. I wanted my drapes to finish at 84″.
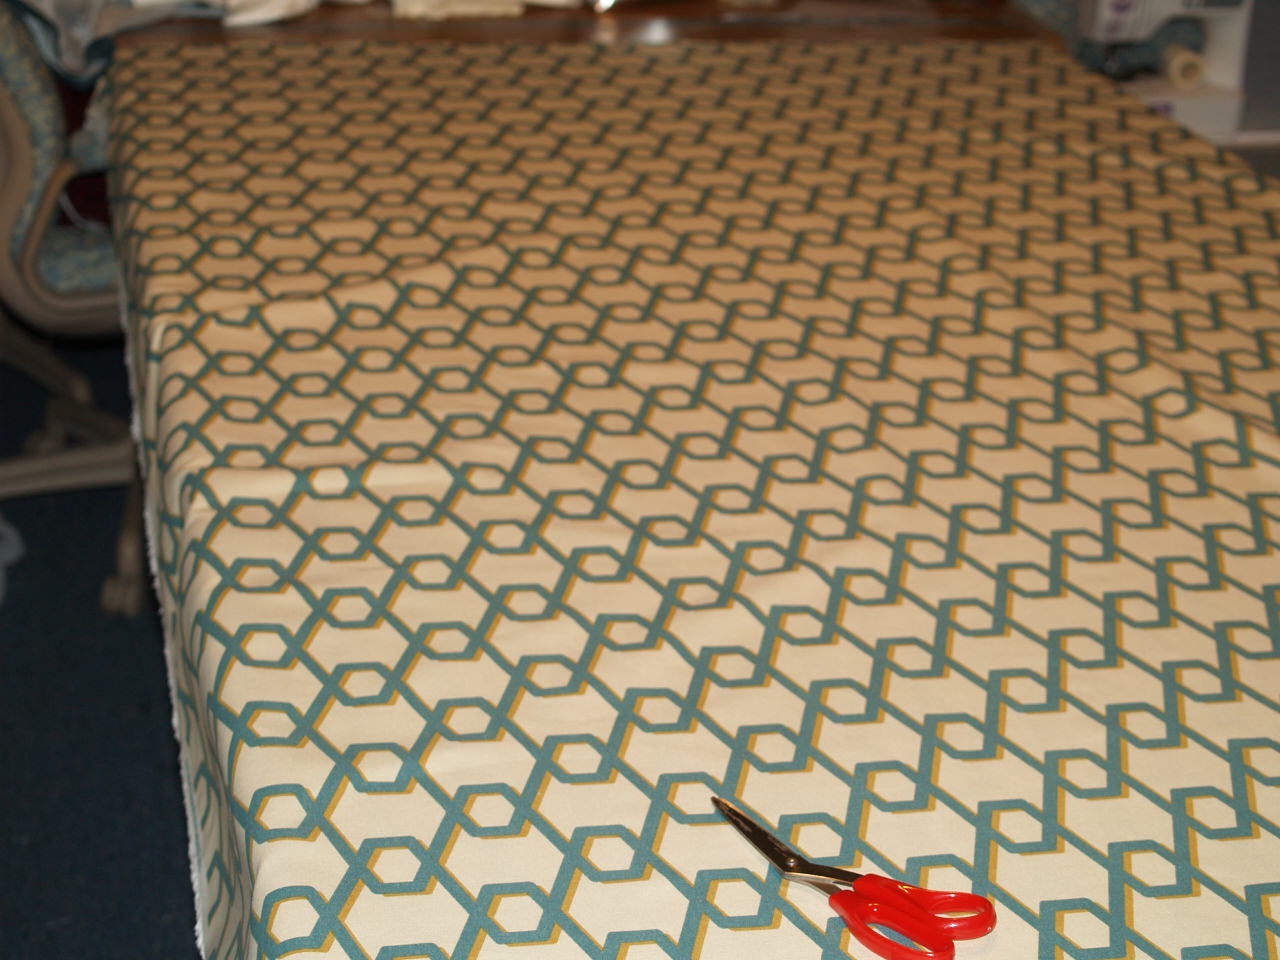 I am making four panels to finish at 84″ so I cut four panels to measure 96″. This measurement allows for the rod pocket and hem. After the first panel has been cut make sure to line up your prints (this is called repeats). The vertical repeat on Wired Tropic is only 4.5″ so there is little waste when allowing for repeats.
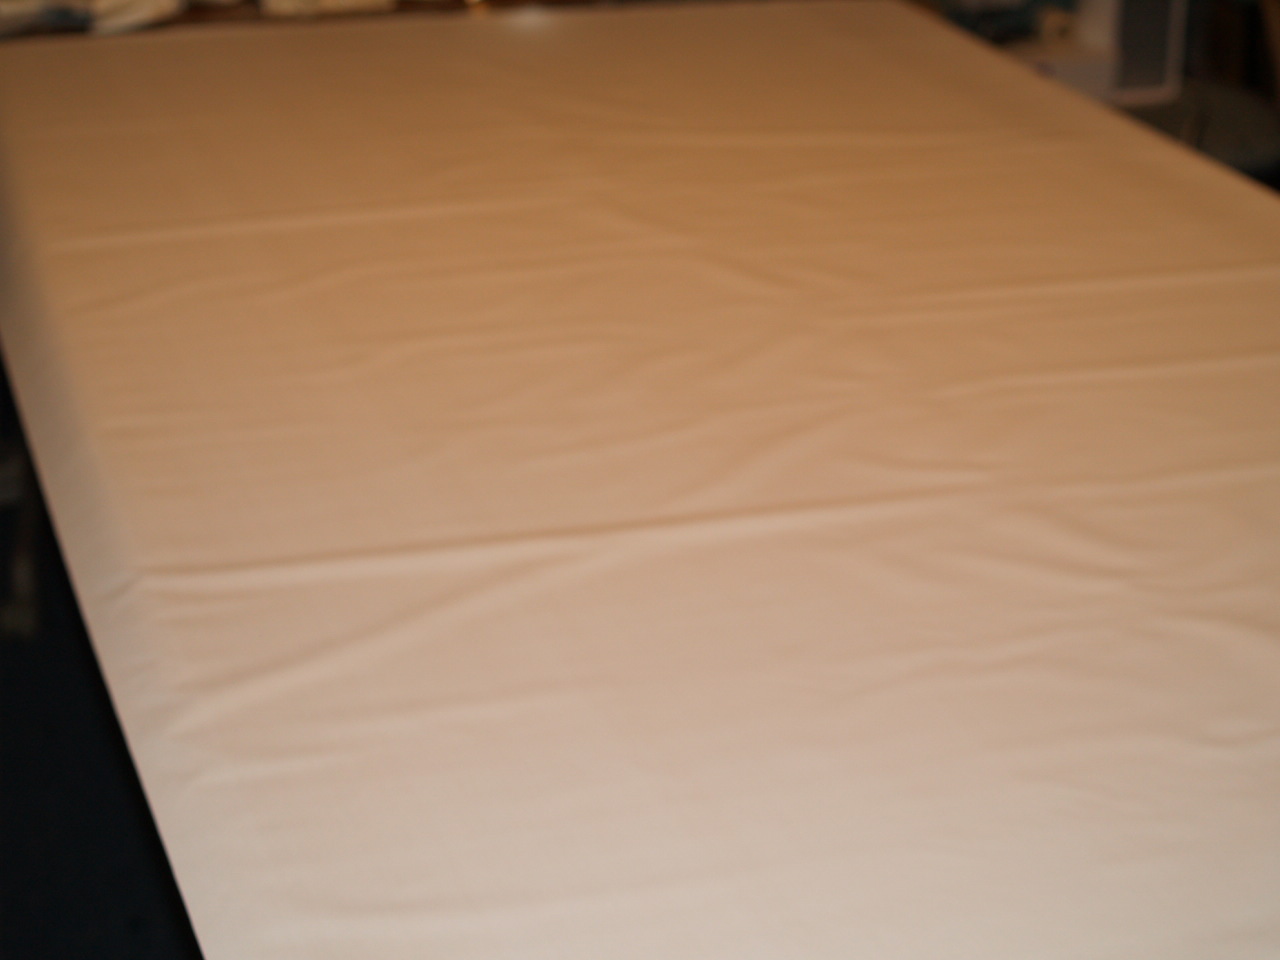 Next, cut out four panels of lining.
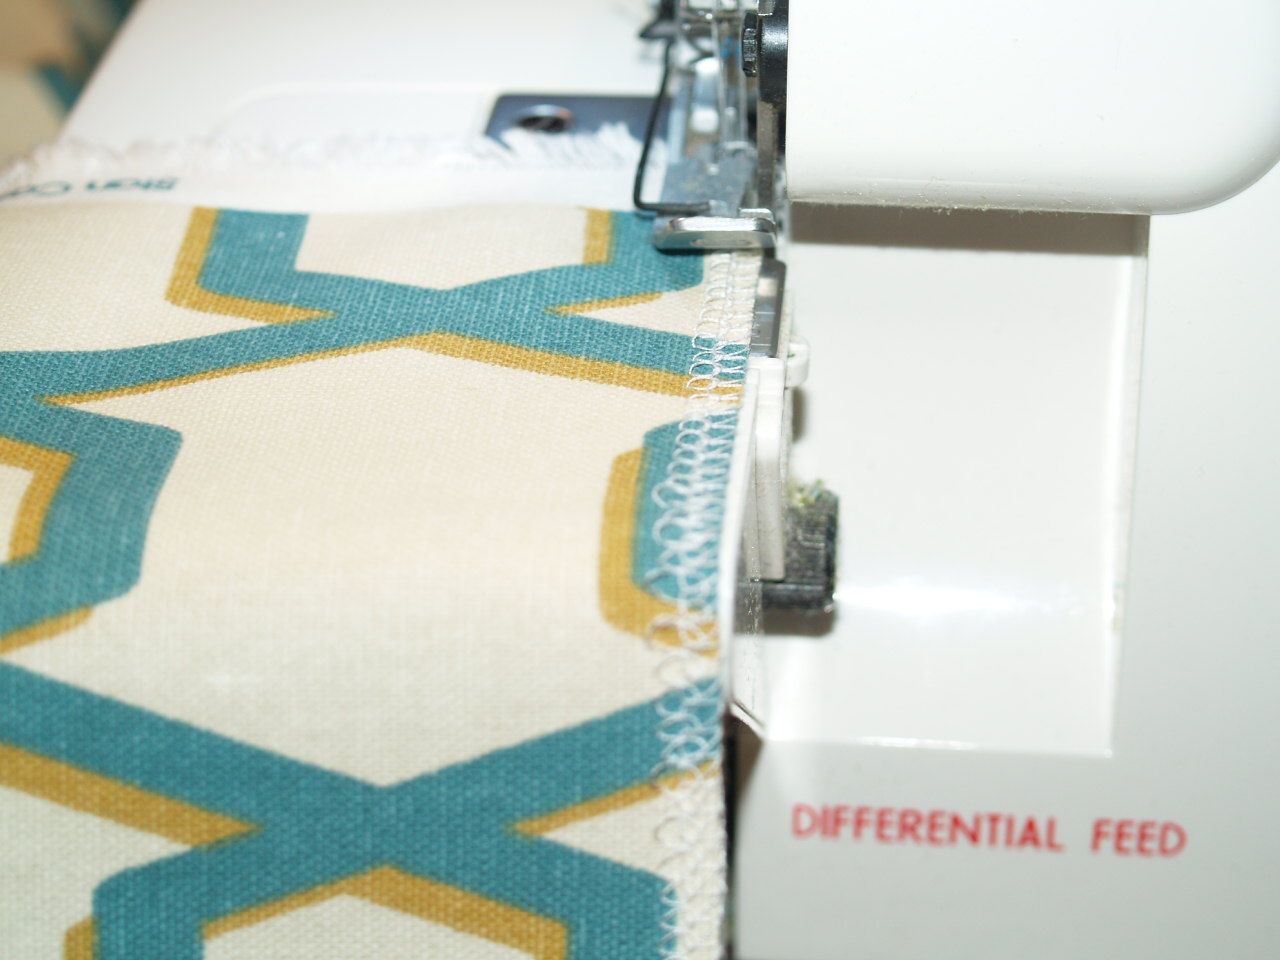 Next, take all the panels you have cut out and serge the top and bottom of each panel.
I had to turn the flash off my camera for this photo because the white lining did not want to show up.
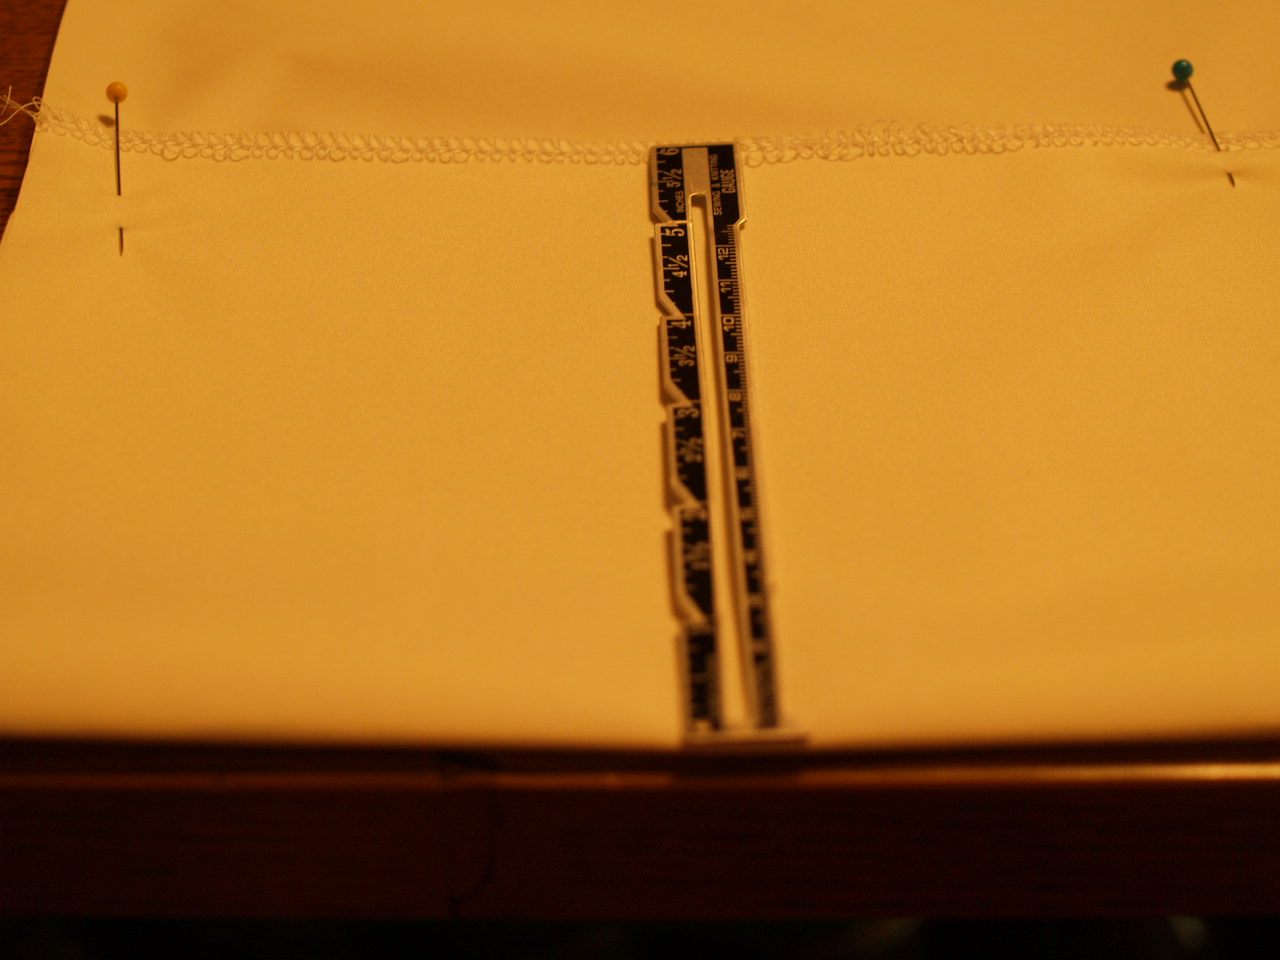
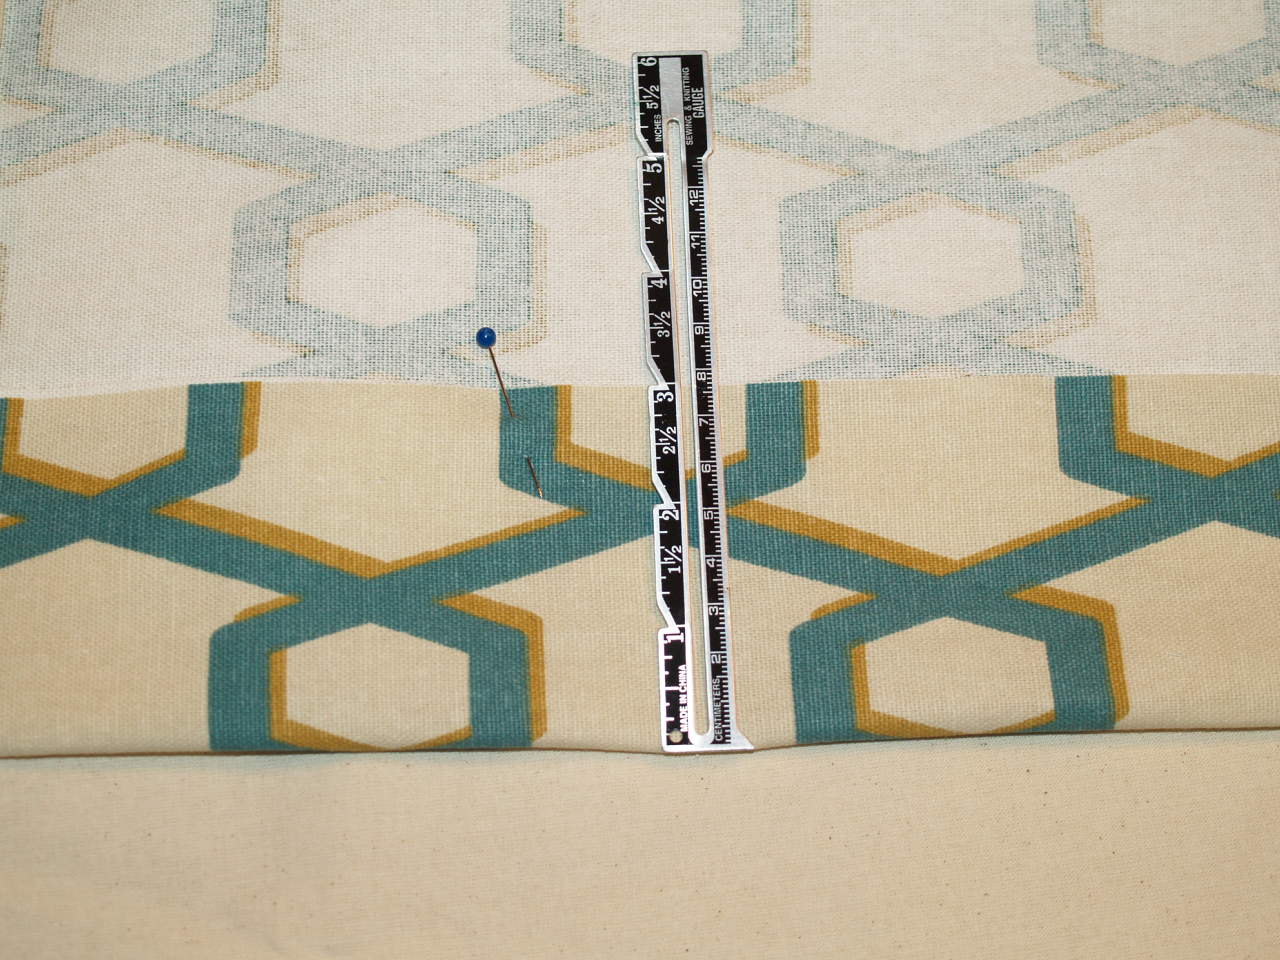
I took each of the lining panels and measured the bottom up 6″, pressed in the fold then turned inside to create a three inch hem.
Take the lining panels and straight stitch down a the hem.
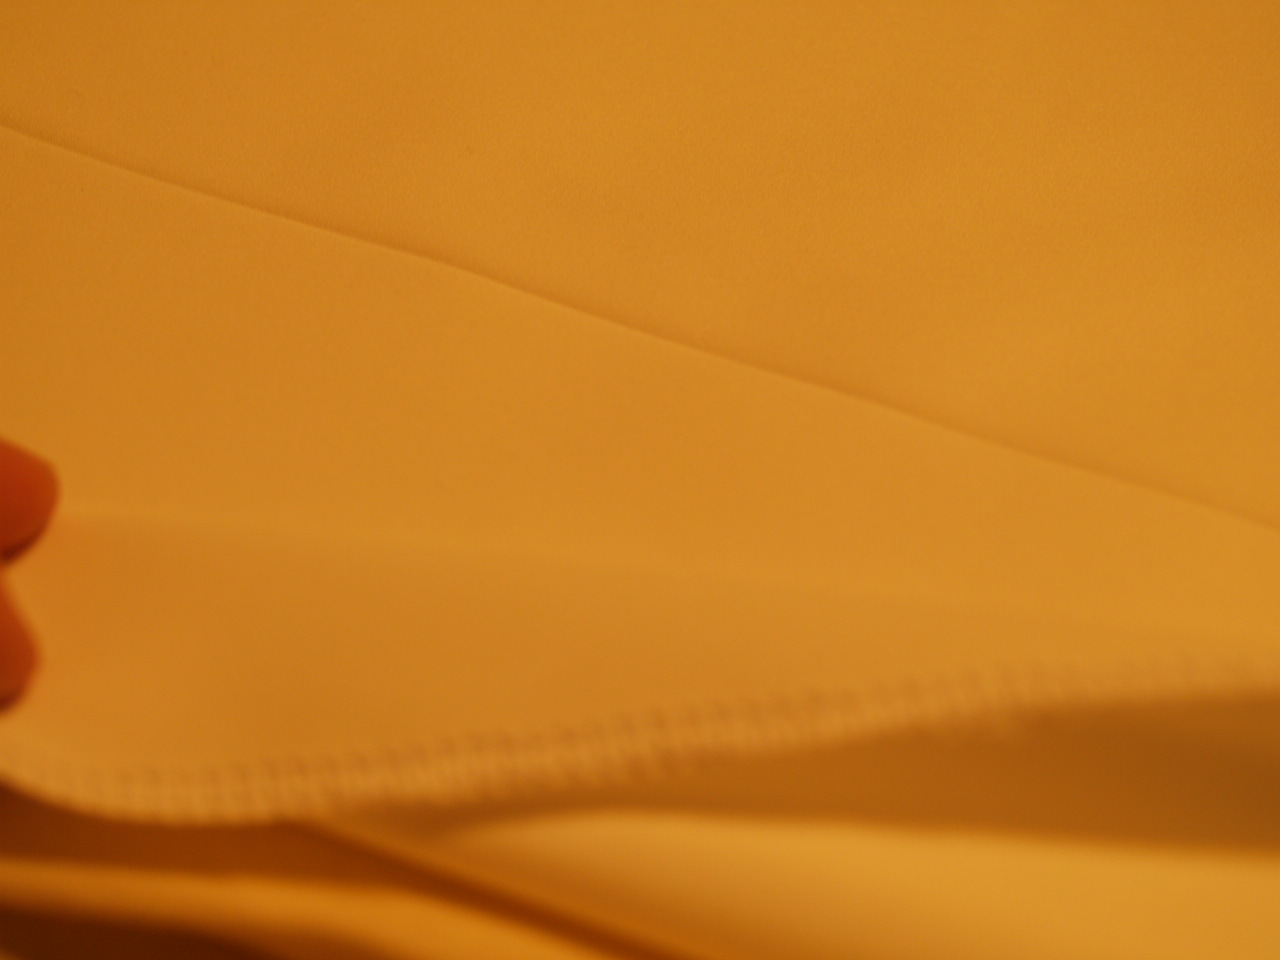
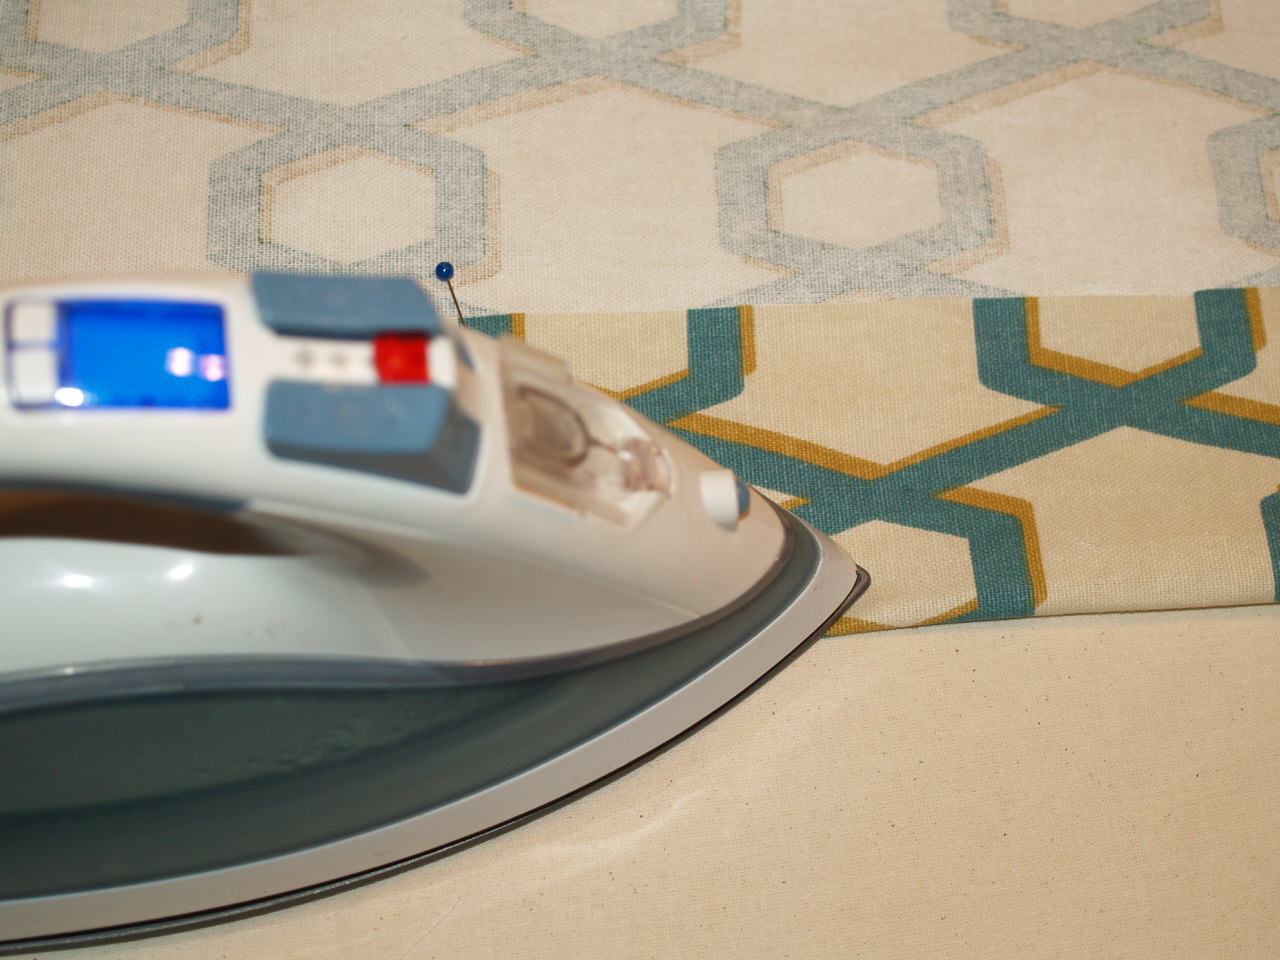
Now do the same with your decorator fabric. Measure a 6″ hem.

Press and turn to make a 3 inch hem as shown in the photos.
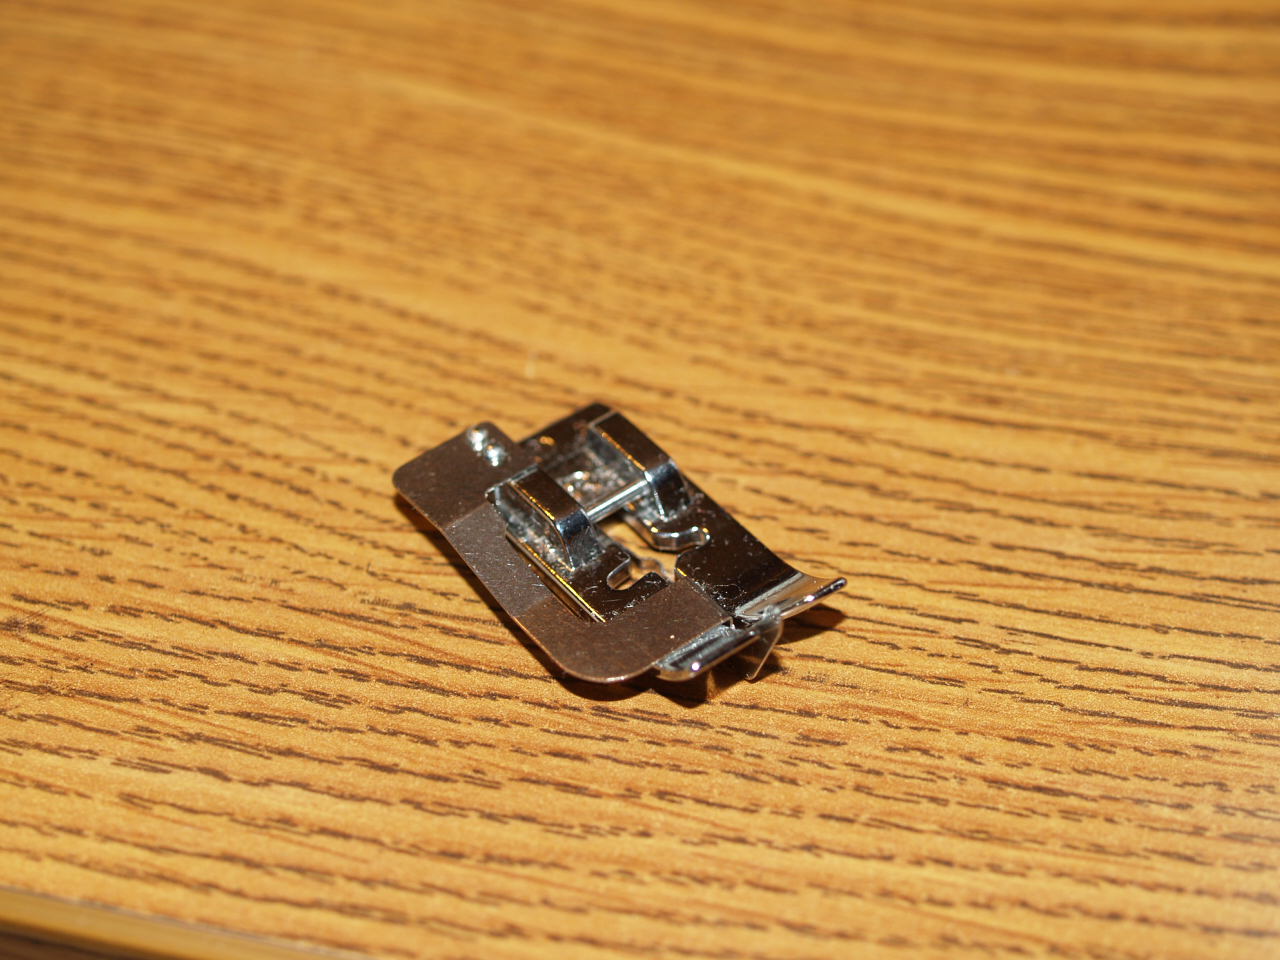
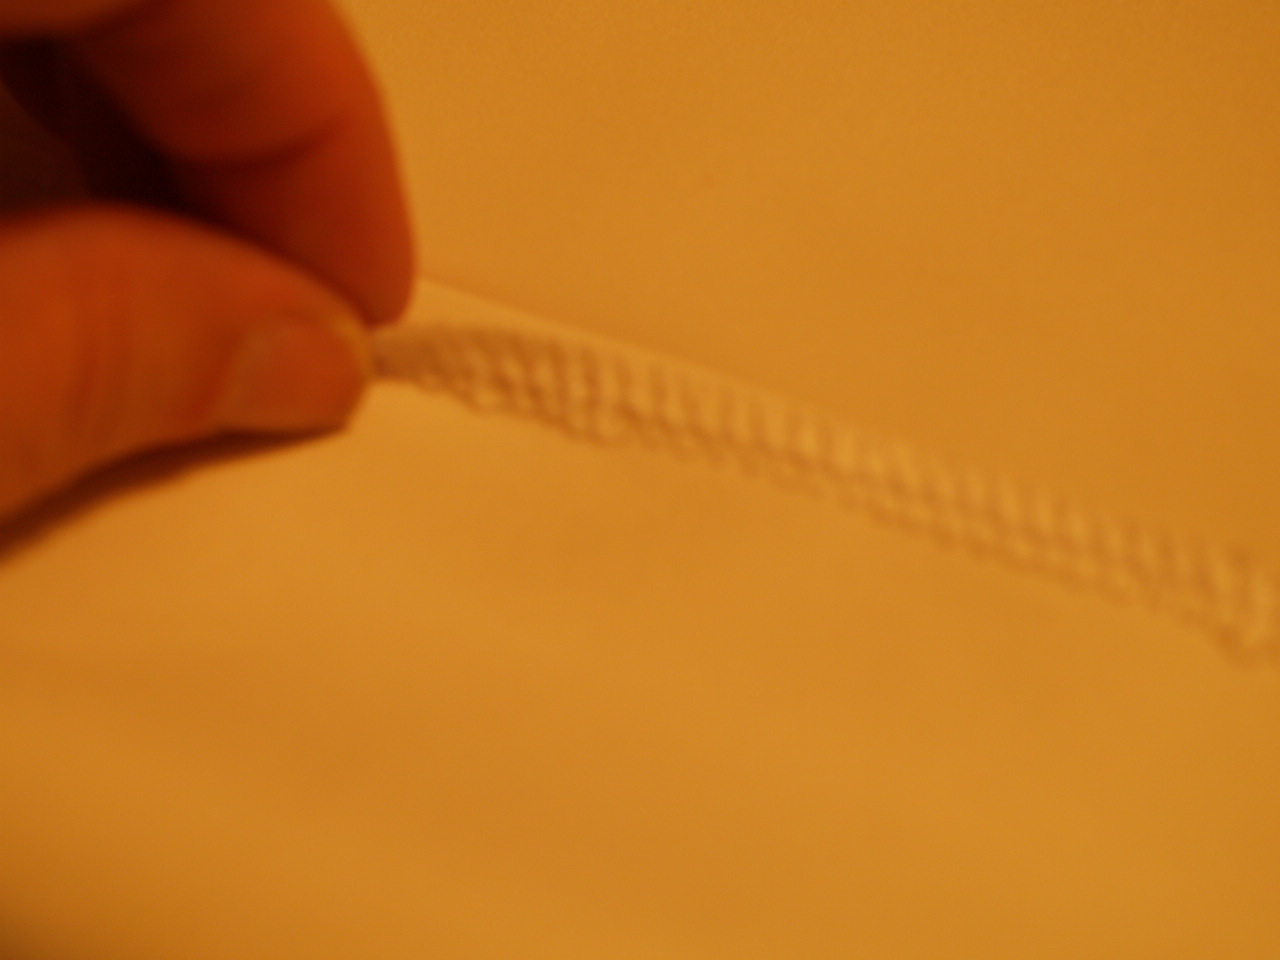
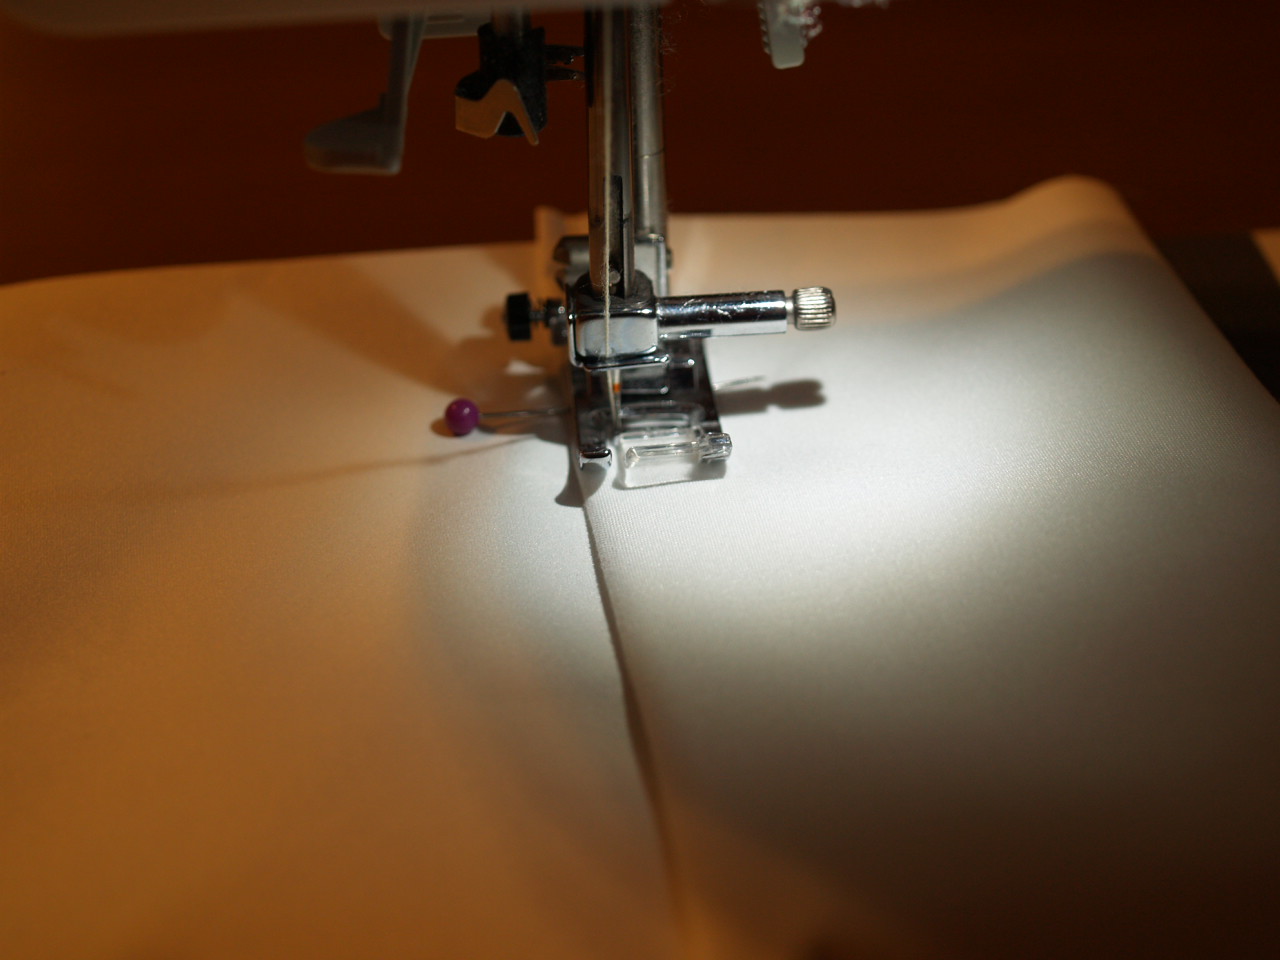
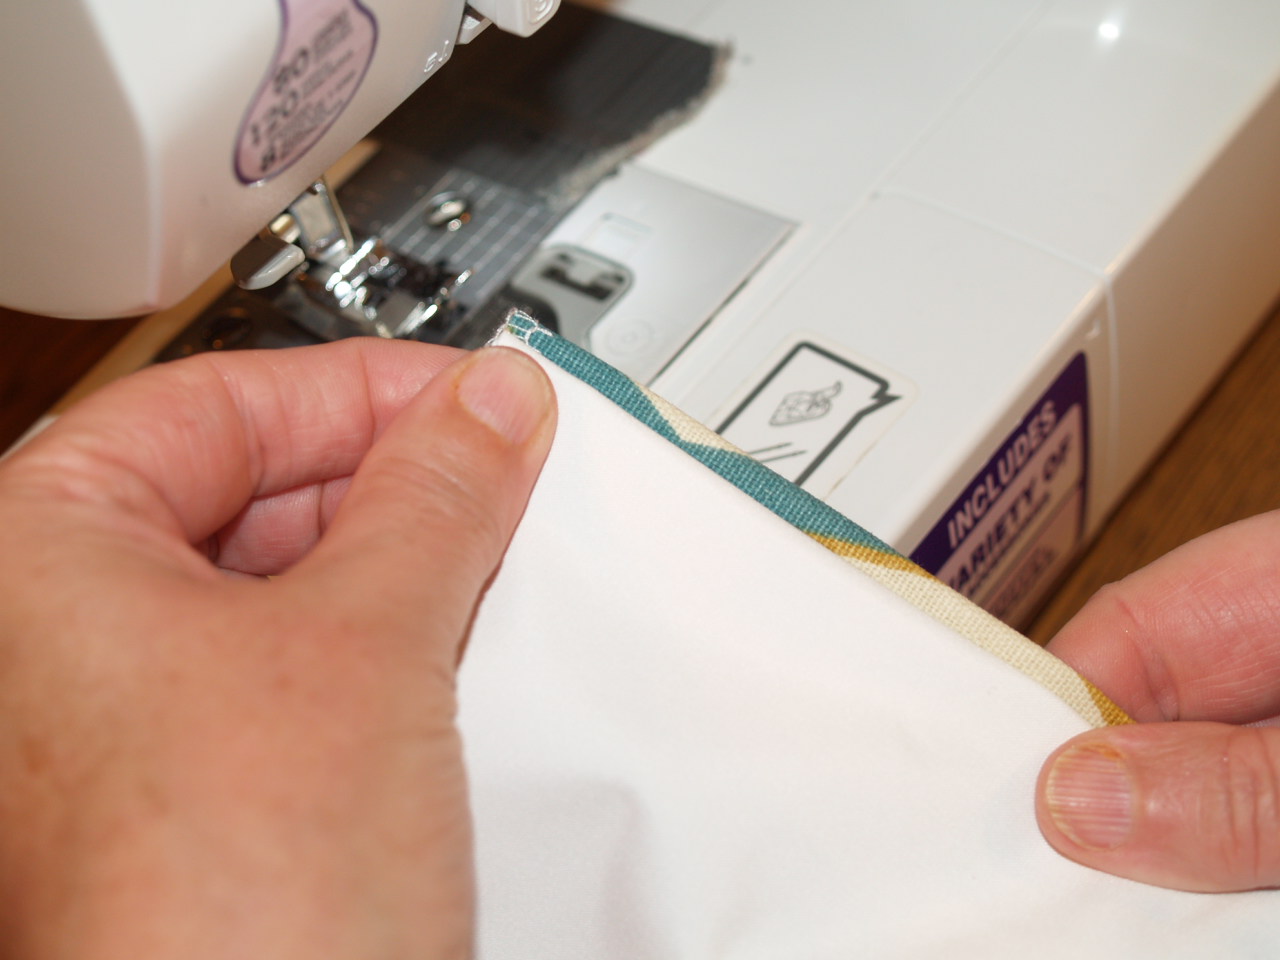
Most home machines come with a blind stitch hemmer. I usually use this to sew all the hems and side panels of my drapes.
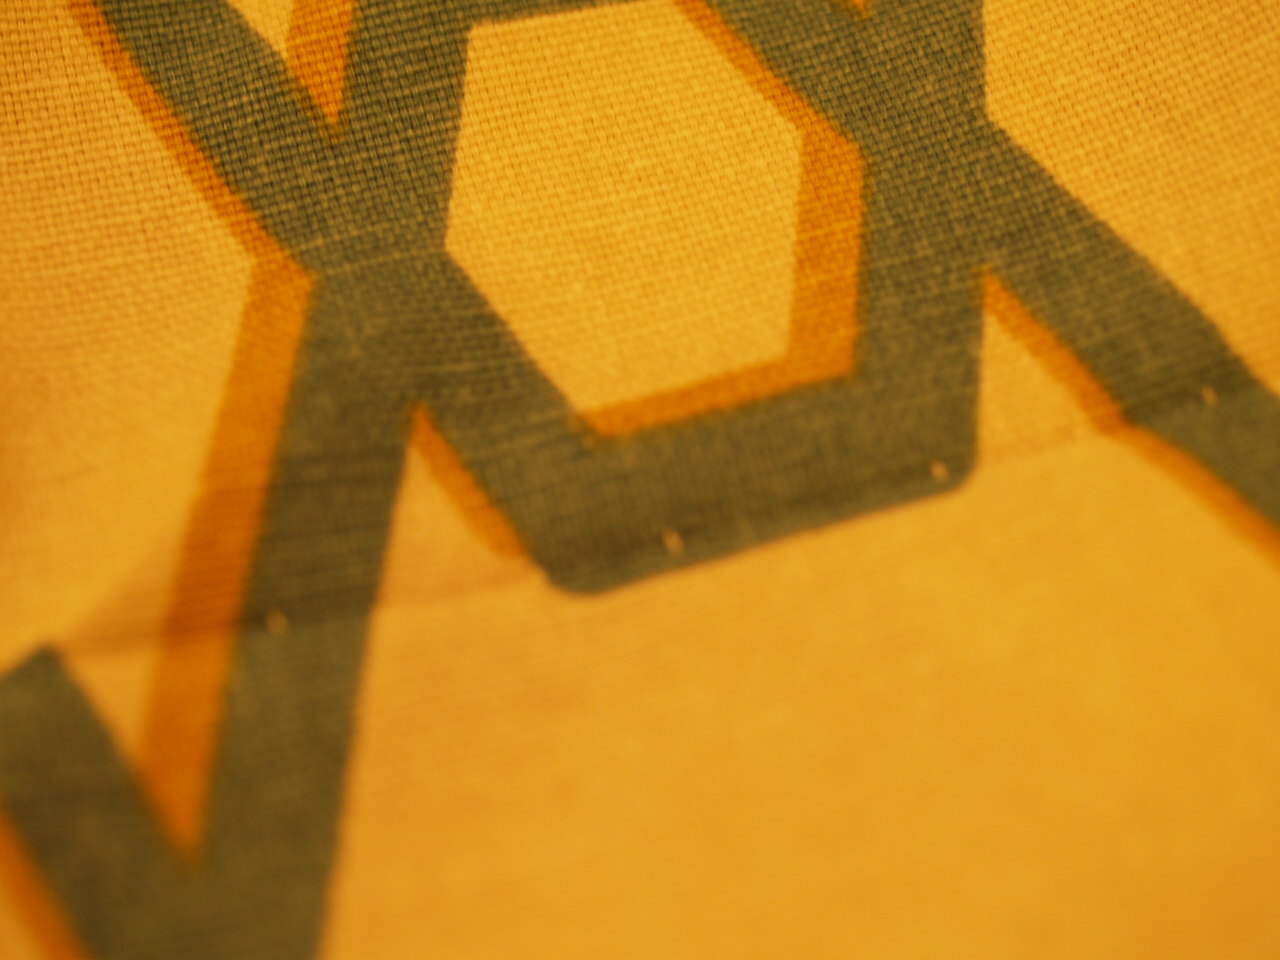
I hope you can see the stitches in this photo, the blind stitch hemmer makes small beautiful stitches on the front of the panels.
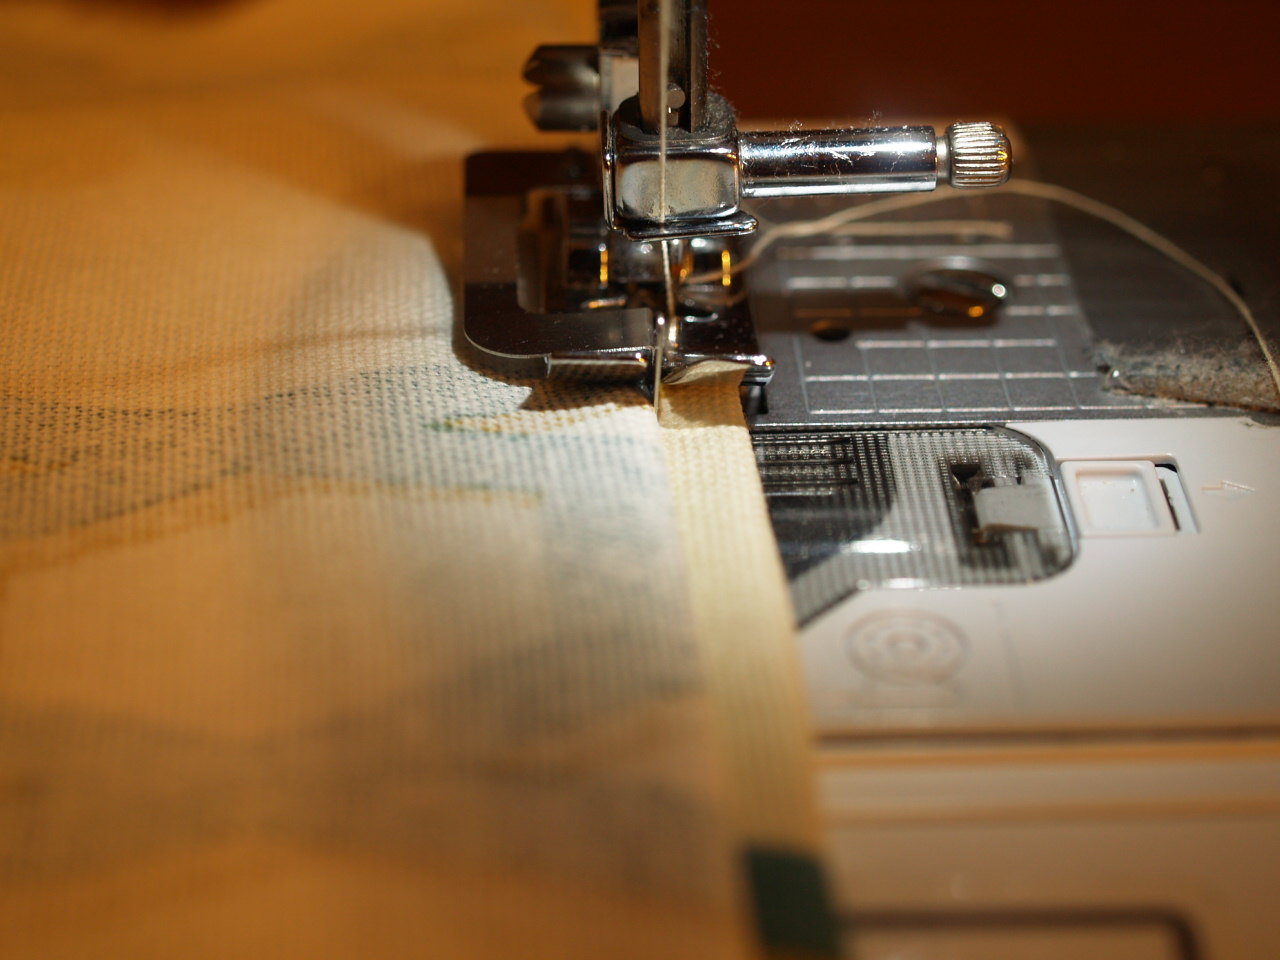
This photo just shows how to align the fabric on the back so the blind stitch hemmer will do its magic.
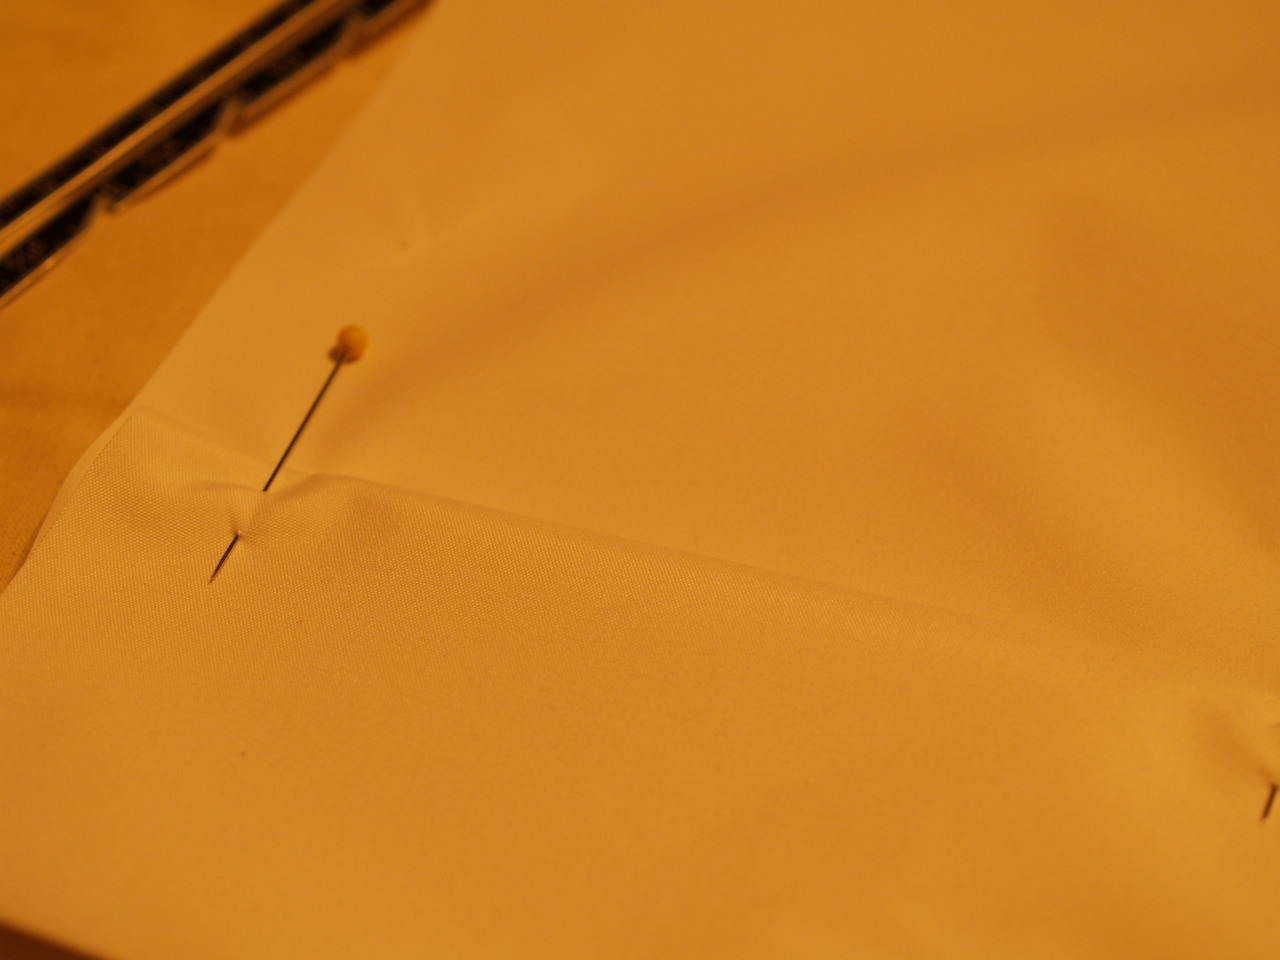
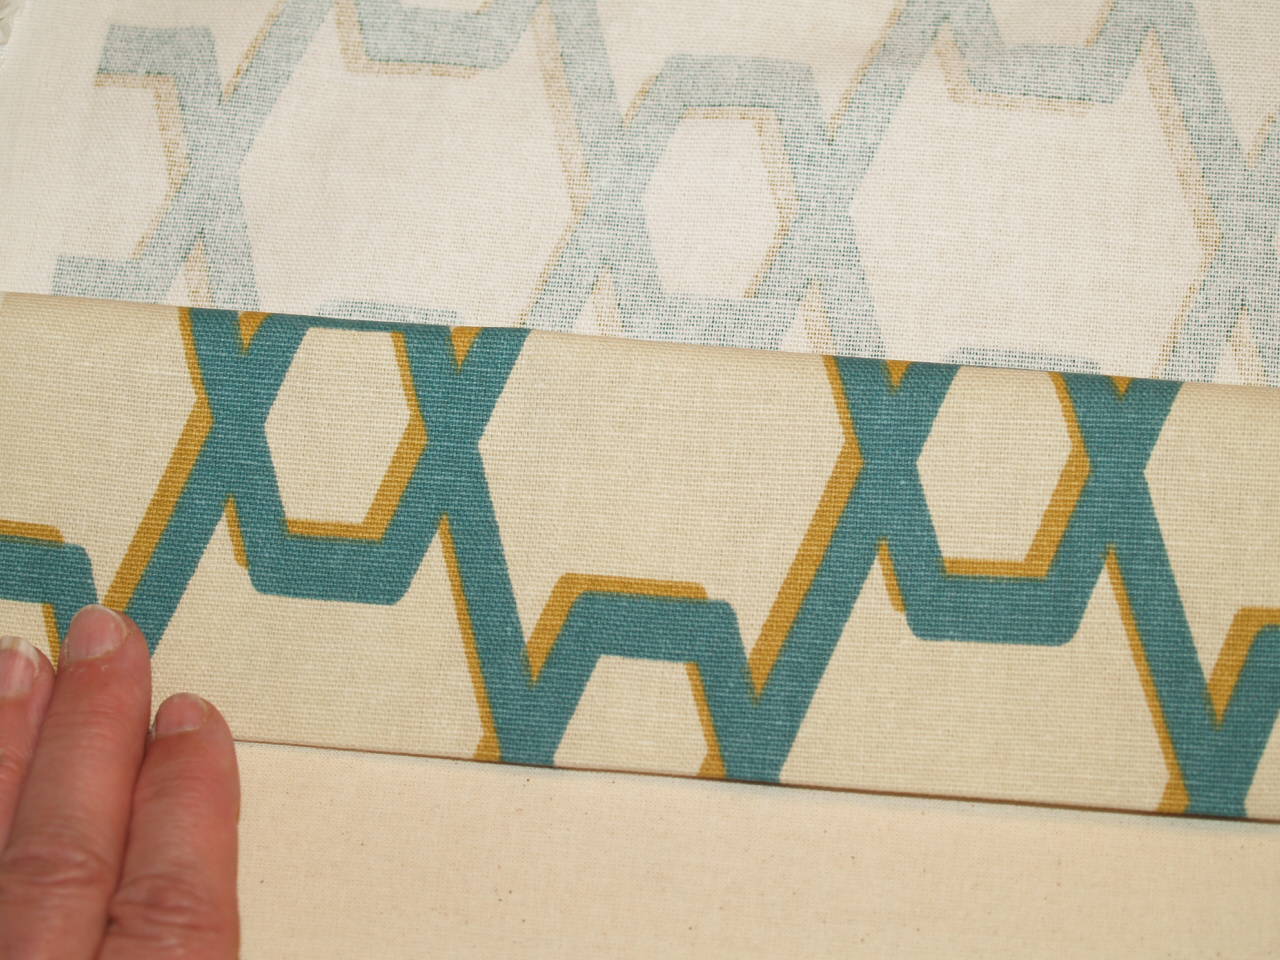
Next it is time to measure, press and fold the side panels. I like to make my side hems to finish at 1 and a half inches therefore I measure 3 inches then press and fold to make 1 and a half inch seams. Before you ever place the first stitch in the side of the panels you need to add the lining.  I placed my lining about one and a half inches from the bottom of my drapery panel as shown in the photo.
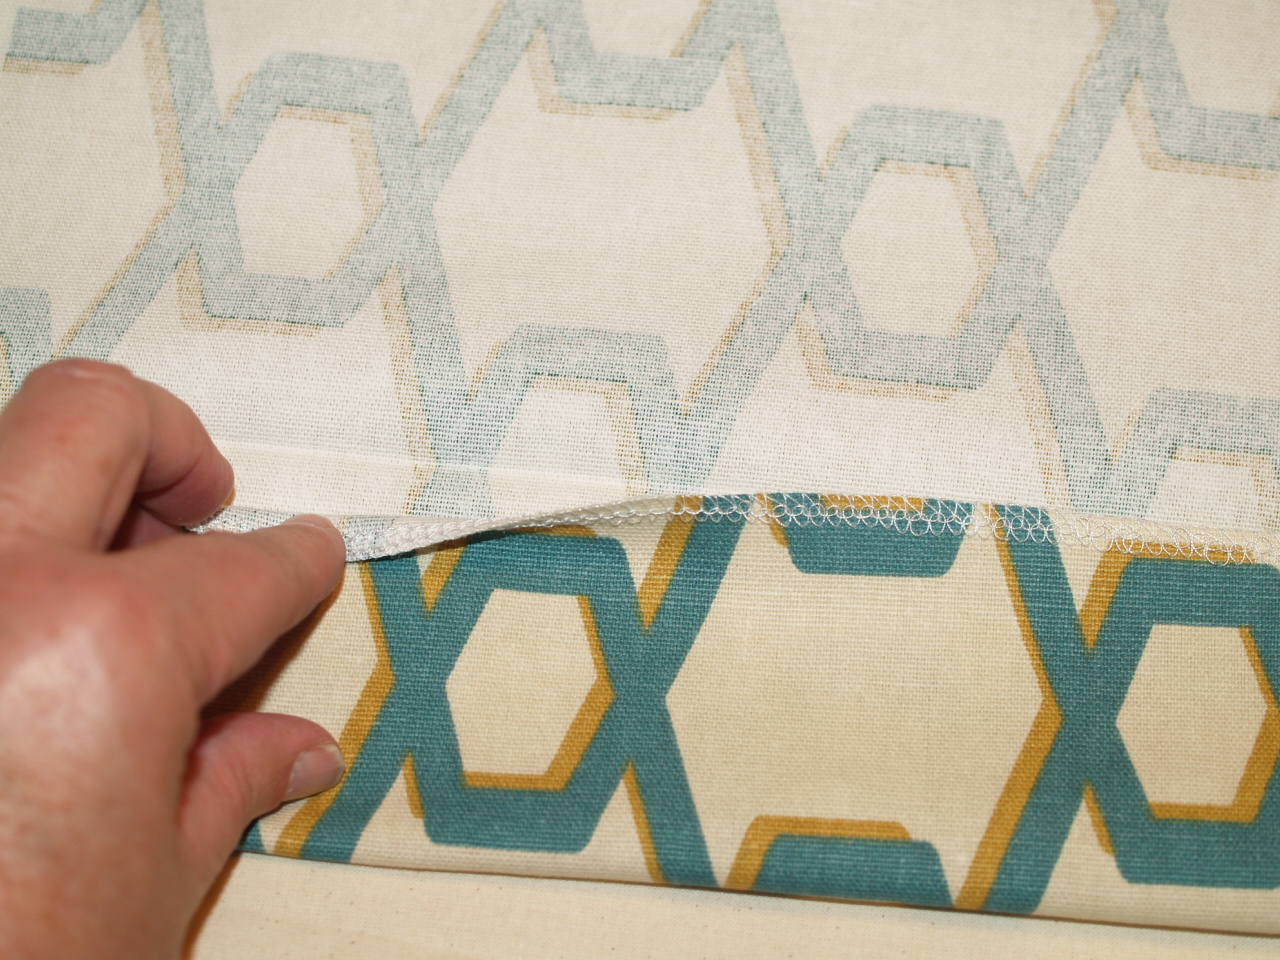
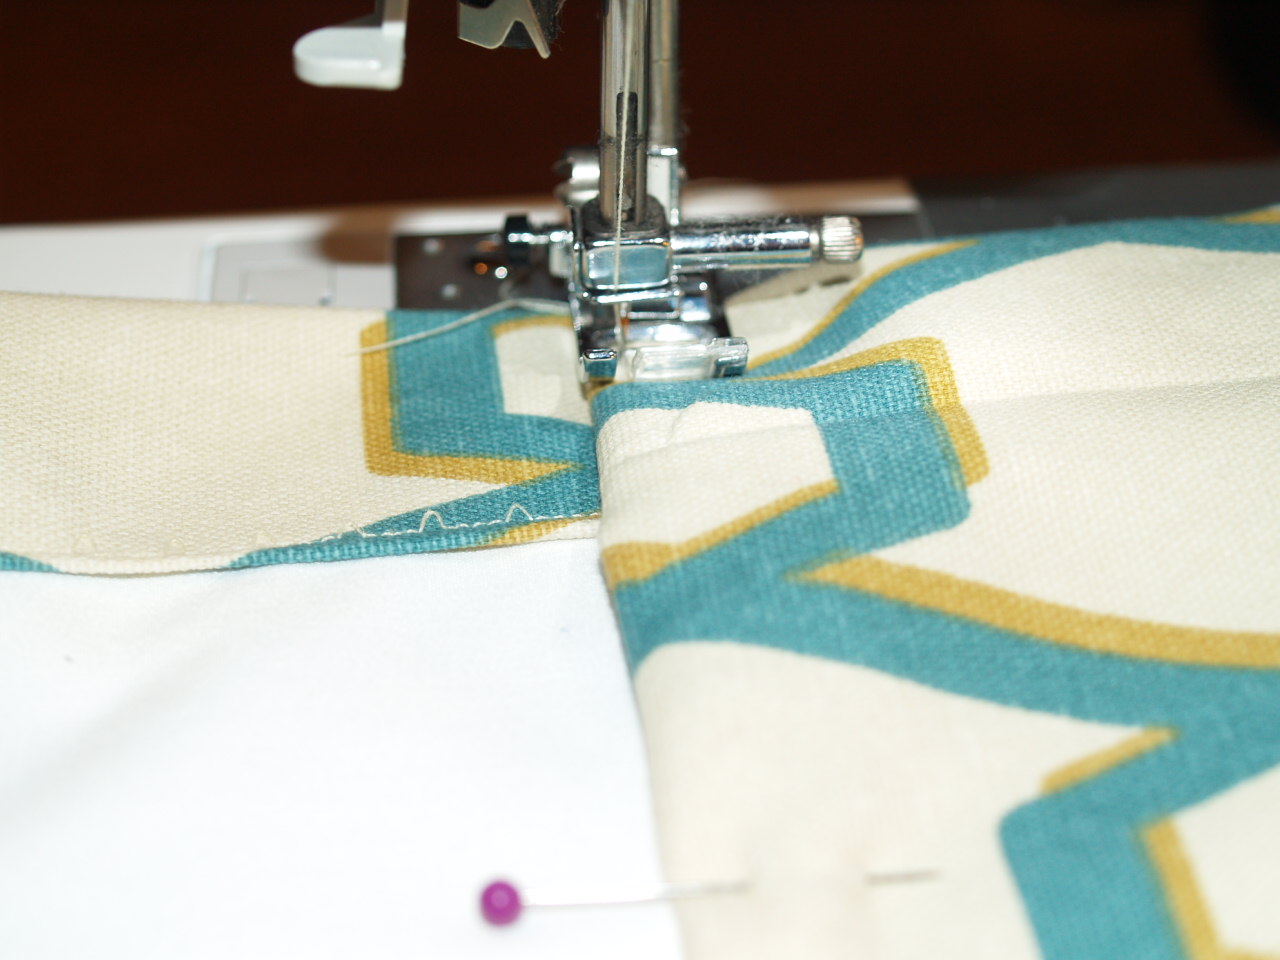
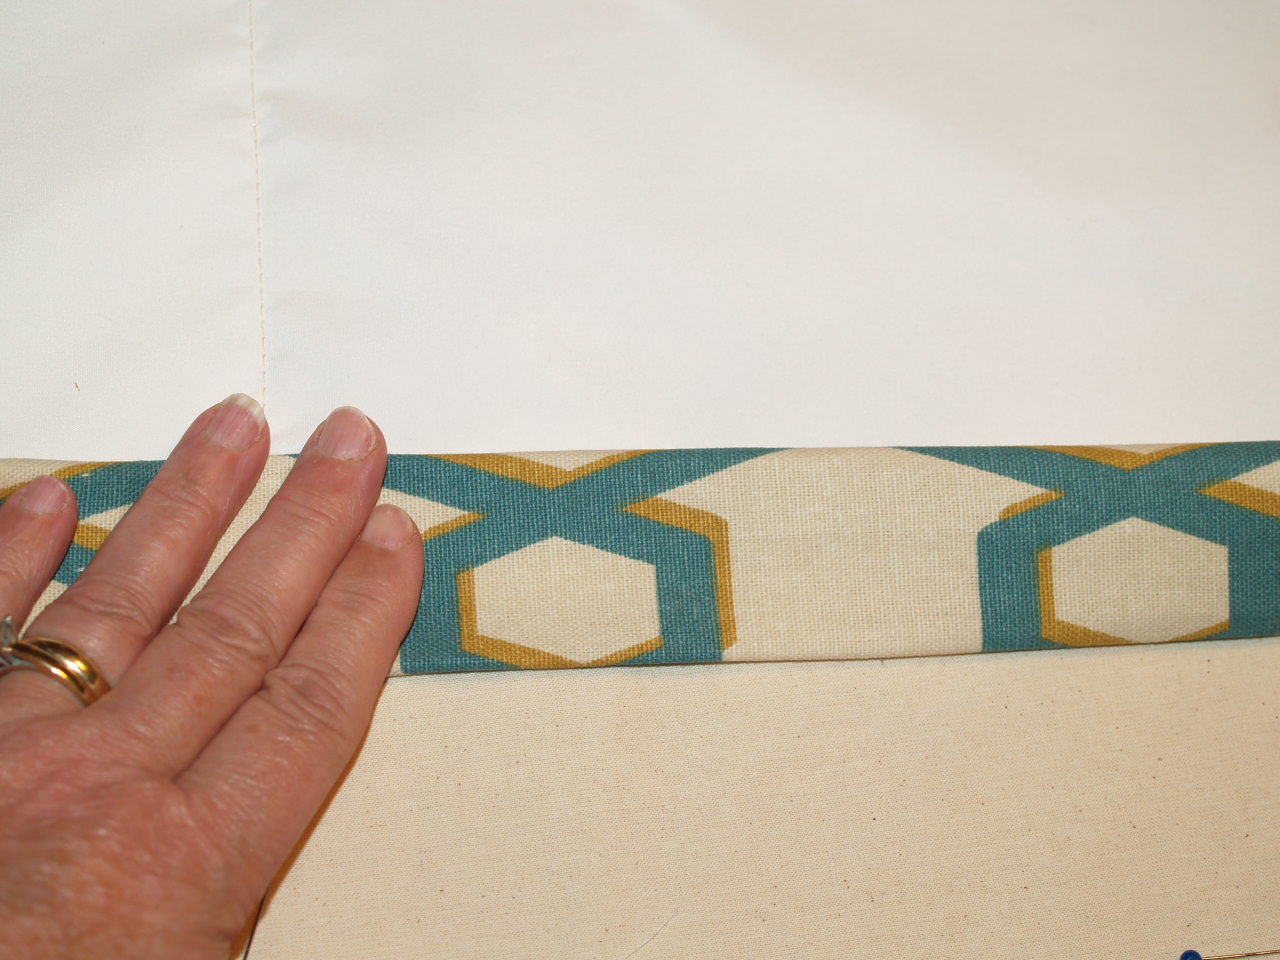 Next, fold and pin the side seams over the lining and blind stitch this into place.
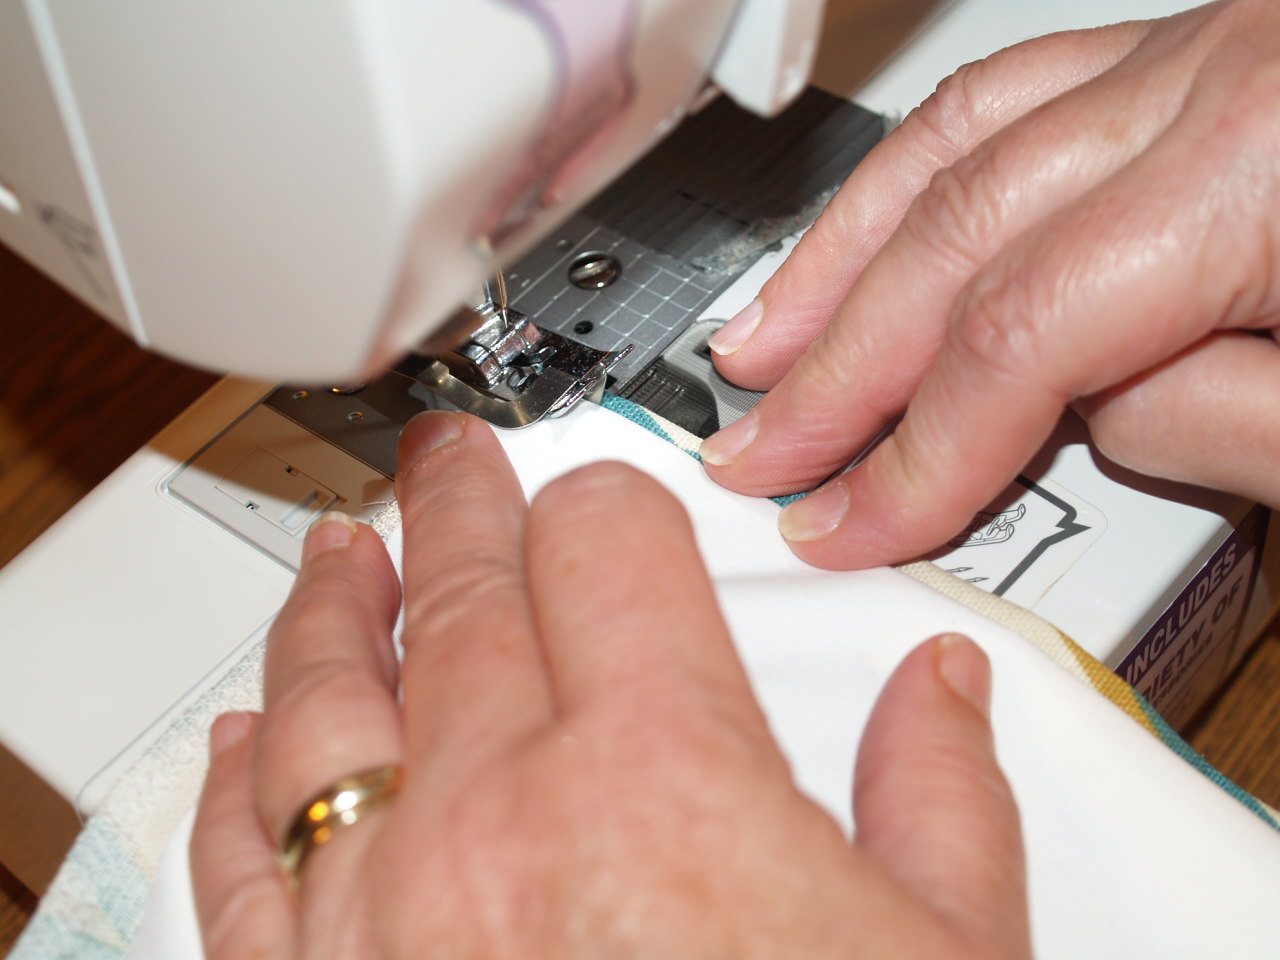
These three photos show the way you need to fold the fabric for the blind stitch hems.
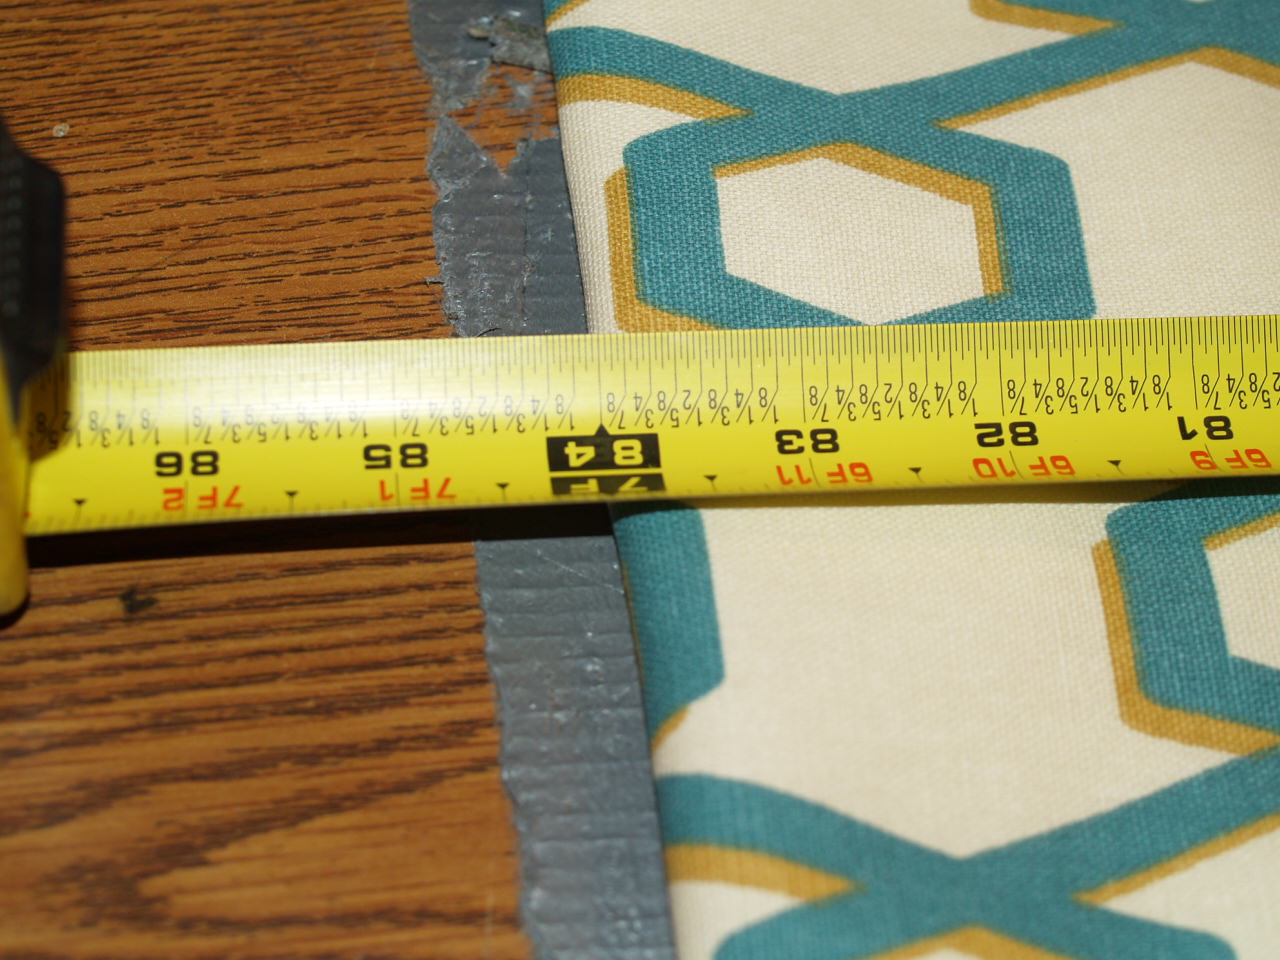
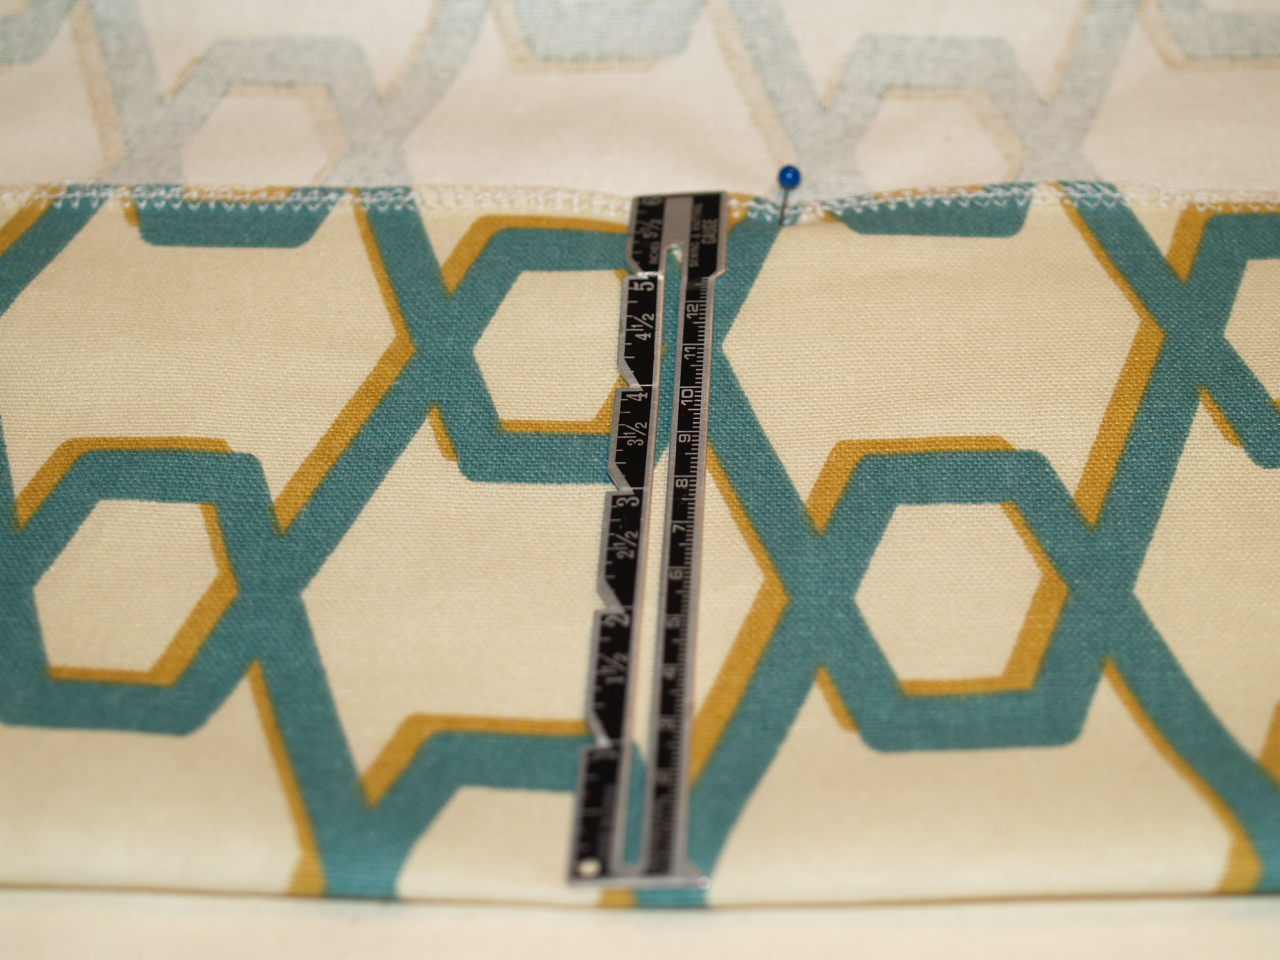
After all the lining has been added to the panels and the sides have been sewn it is time to get your finished length of the panels. As you remember at the beginning of this process I stated I wanted these panels to finish at 84″. I took each panel and measured from the hem to the top of the panel and turned down enough fabric to make them finish at 84″. Make sure to pin this measurement into place because next is the rod pocket.
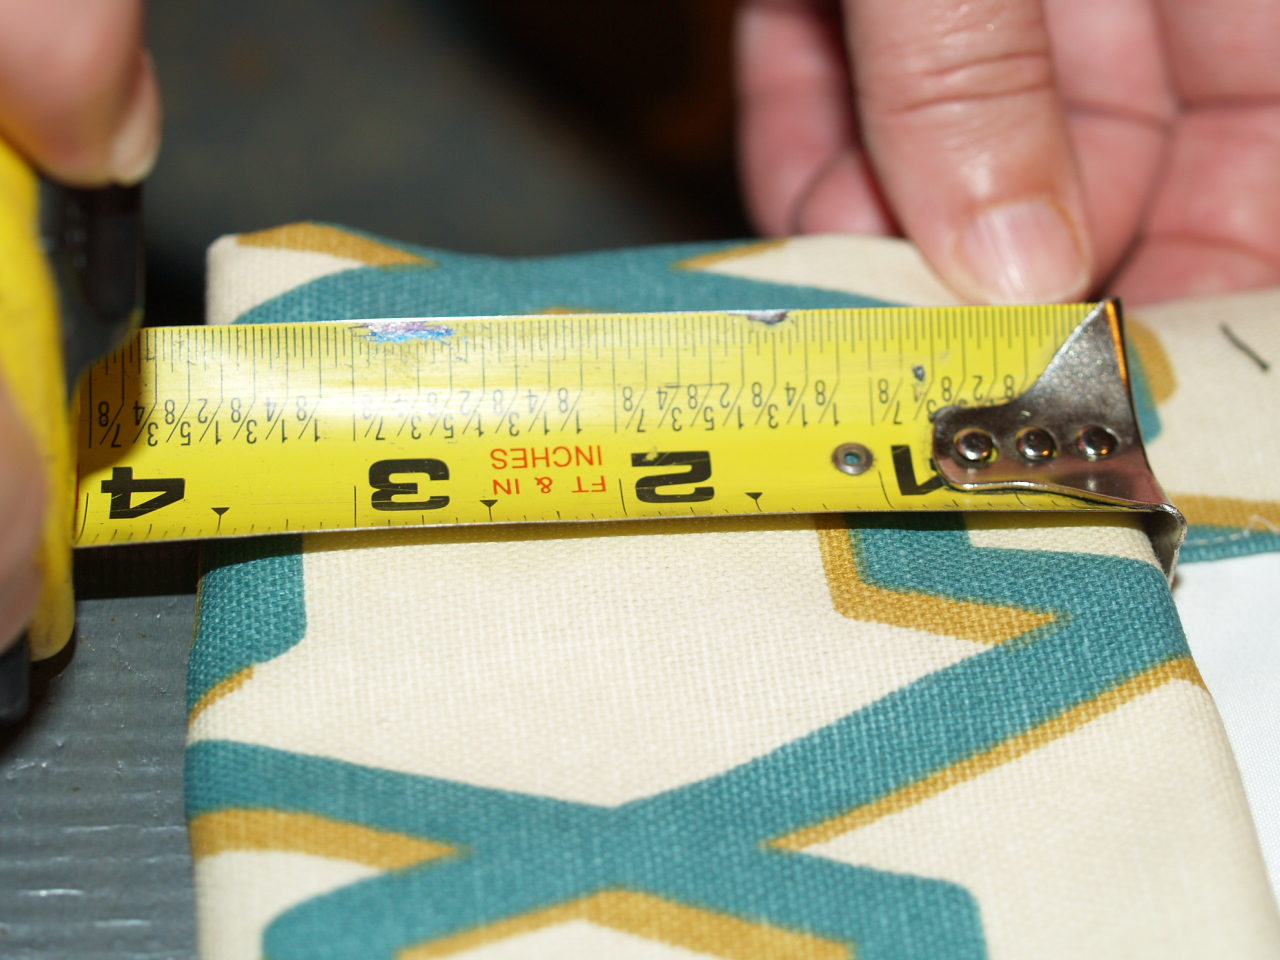
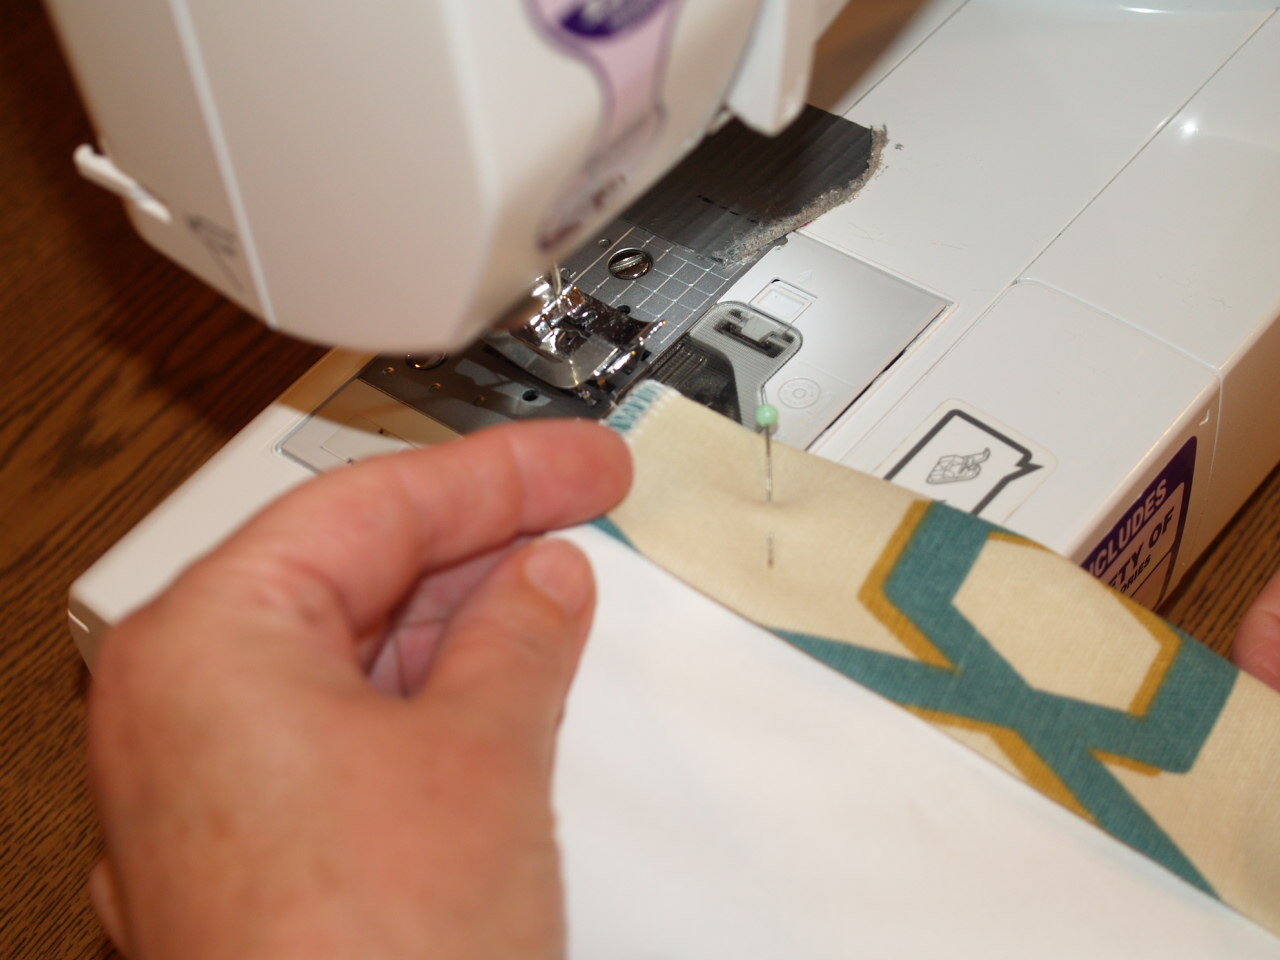
I made each rod pocket to measure 3 and a half inches to make all panels look uniform.
The last step in making your gathered panels is to straight stitch the header/rod pocket into place. Notice I did not use the blind stitch hem in this procedure.
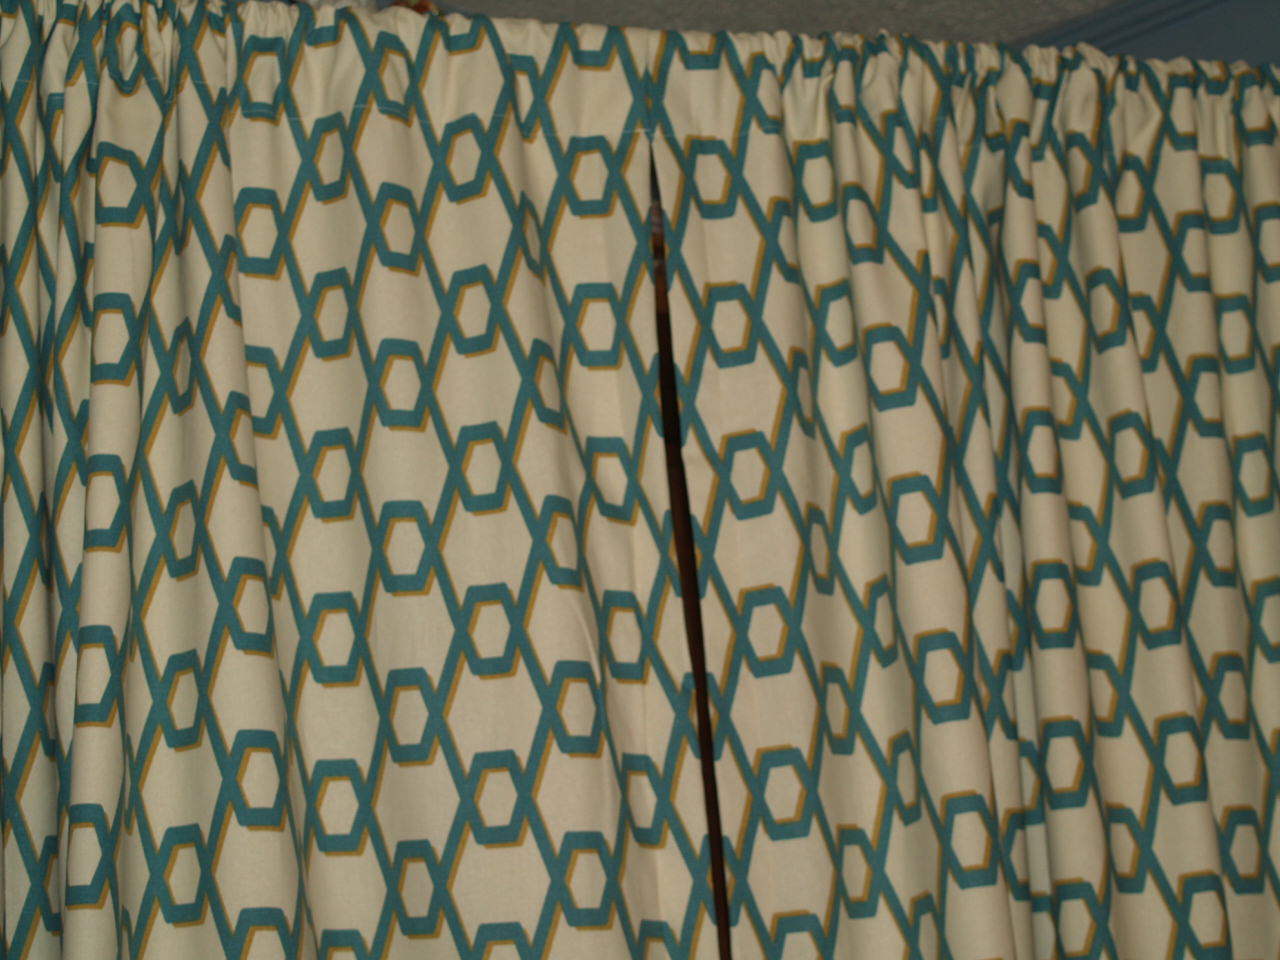 Now you know how to make these gathered on rod draperies.
Happy sewing until next time!!

