
Quick and Easy Table Runner
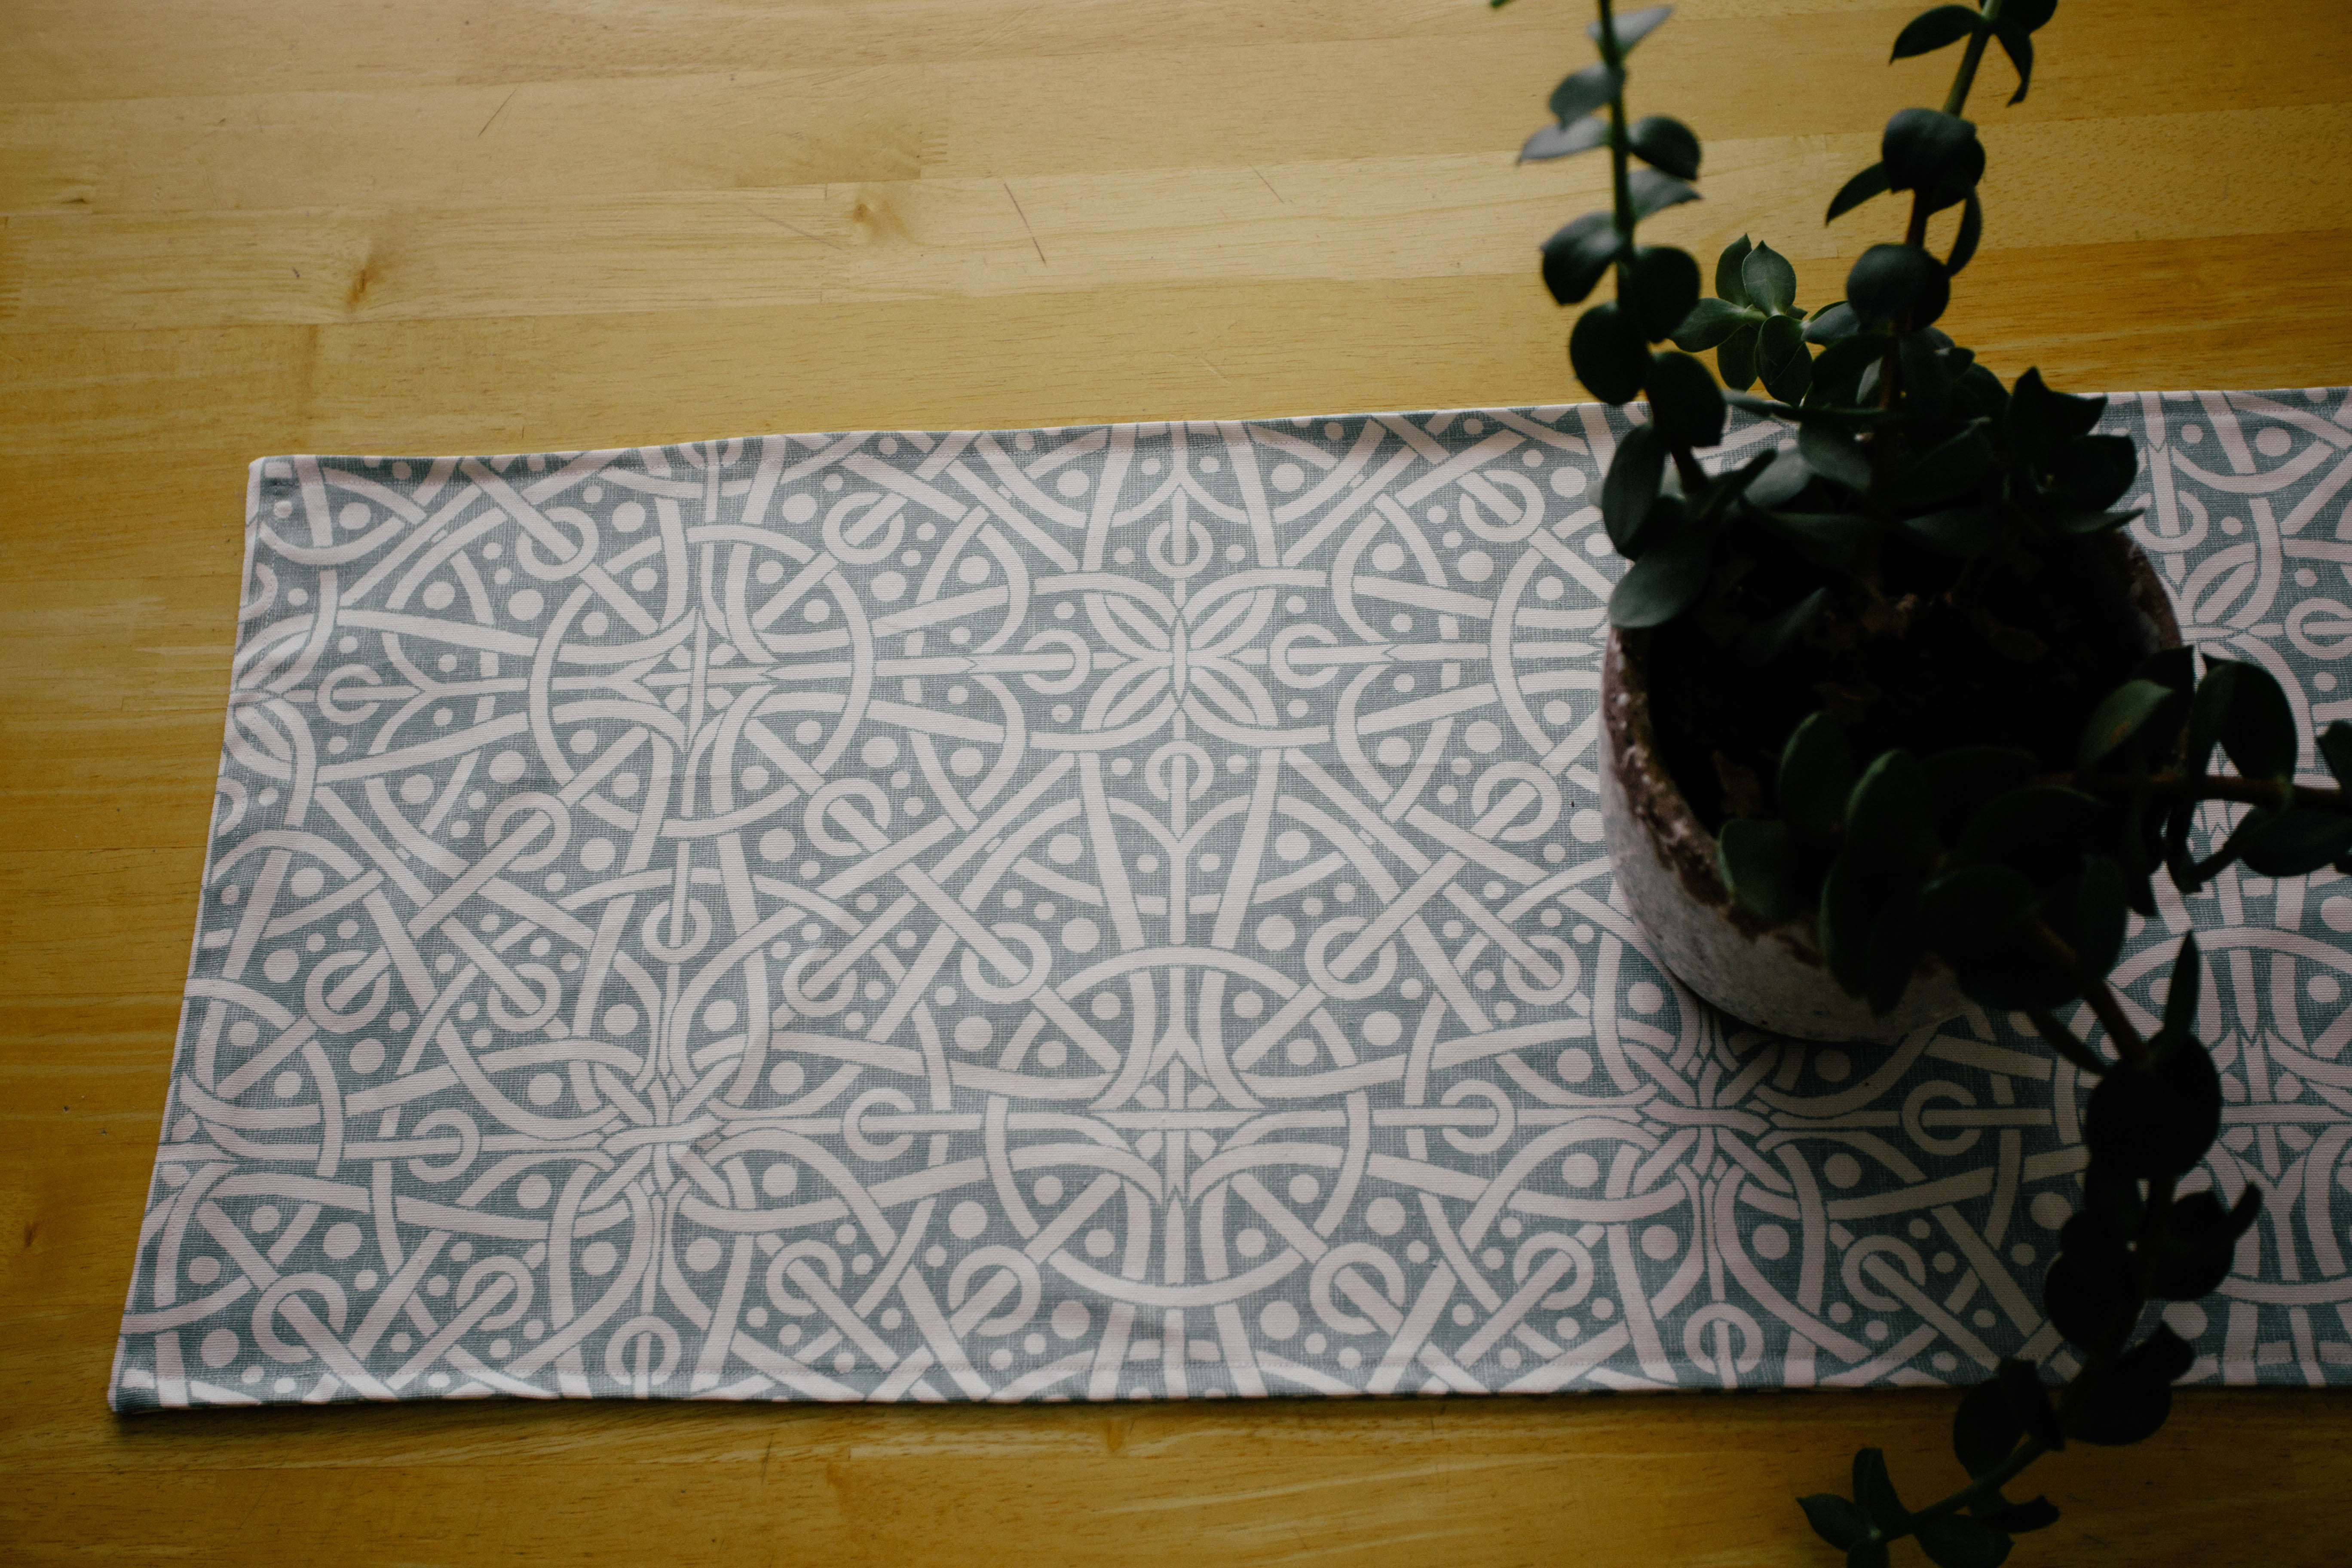
This week I’m going to share a tutorial for a simple table runner.
I love dressing my table up. The more layers and texture, the better. Now if only there was a sewing tutorial for keeping all the clutter off the table…
Supplies needed:
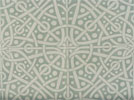 Approximately one yard of Galaxy Spa fabric, depending on the size you desire for your finished product.
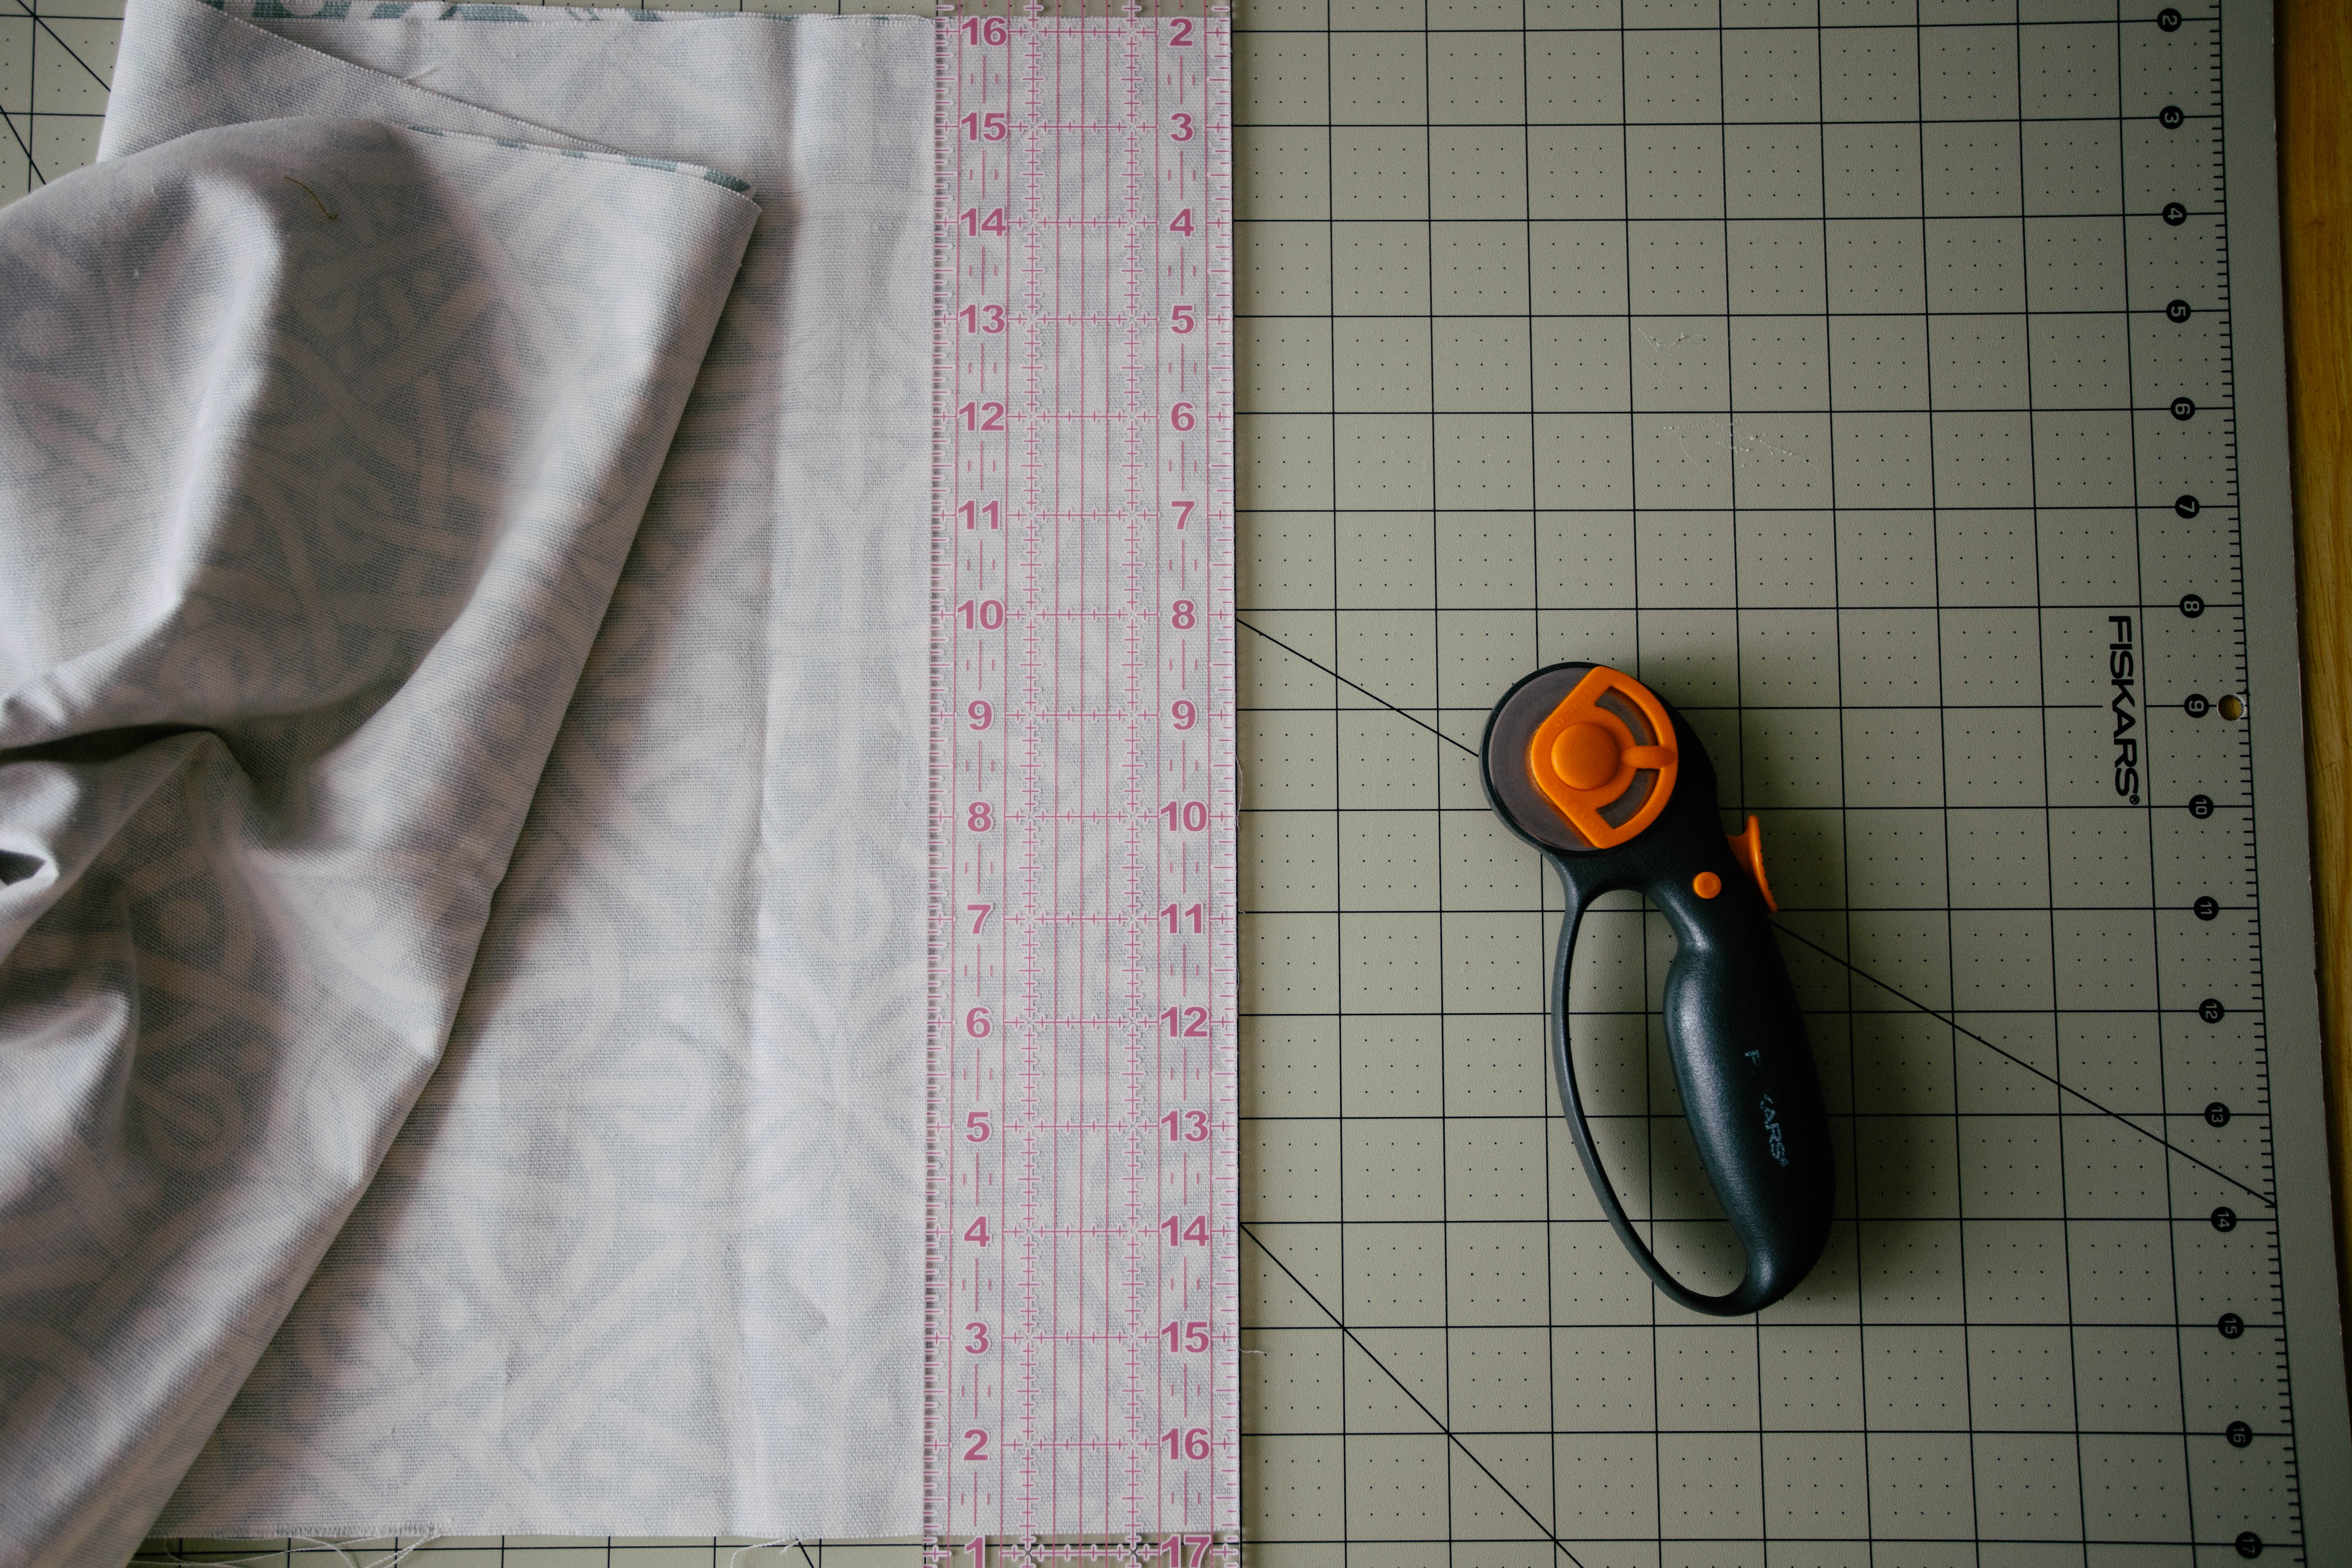
First, you’ll cut your pieces according to your desired size. I wanted mine to finish around 12″ x 40″, so I cut 2 14″ x 42″ rectangles.
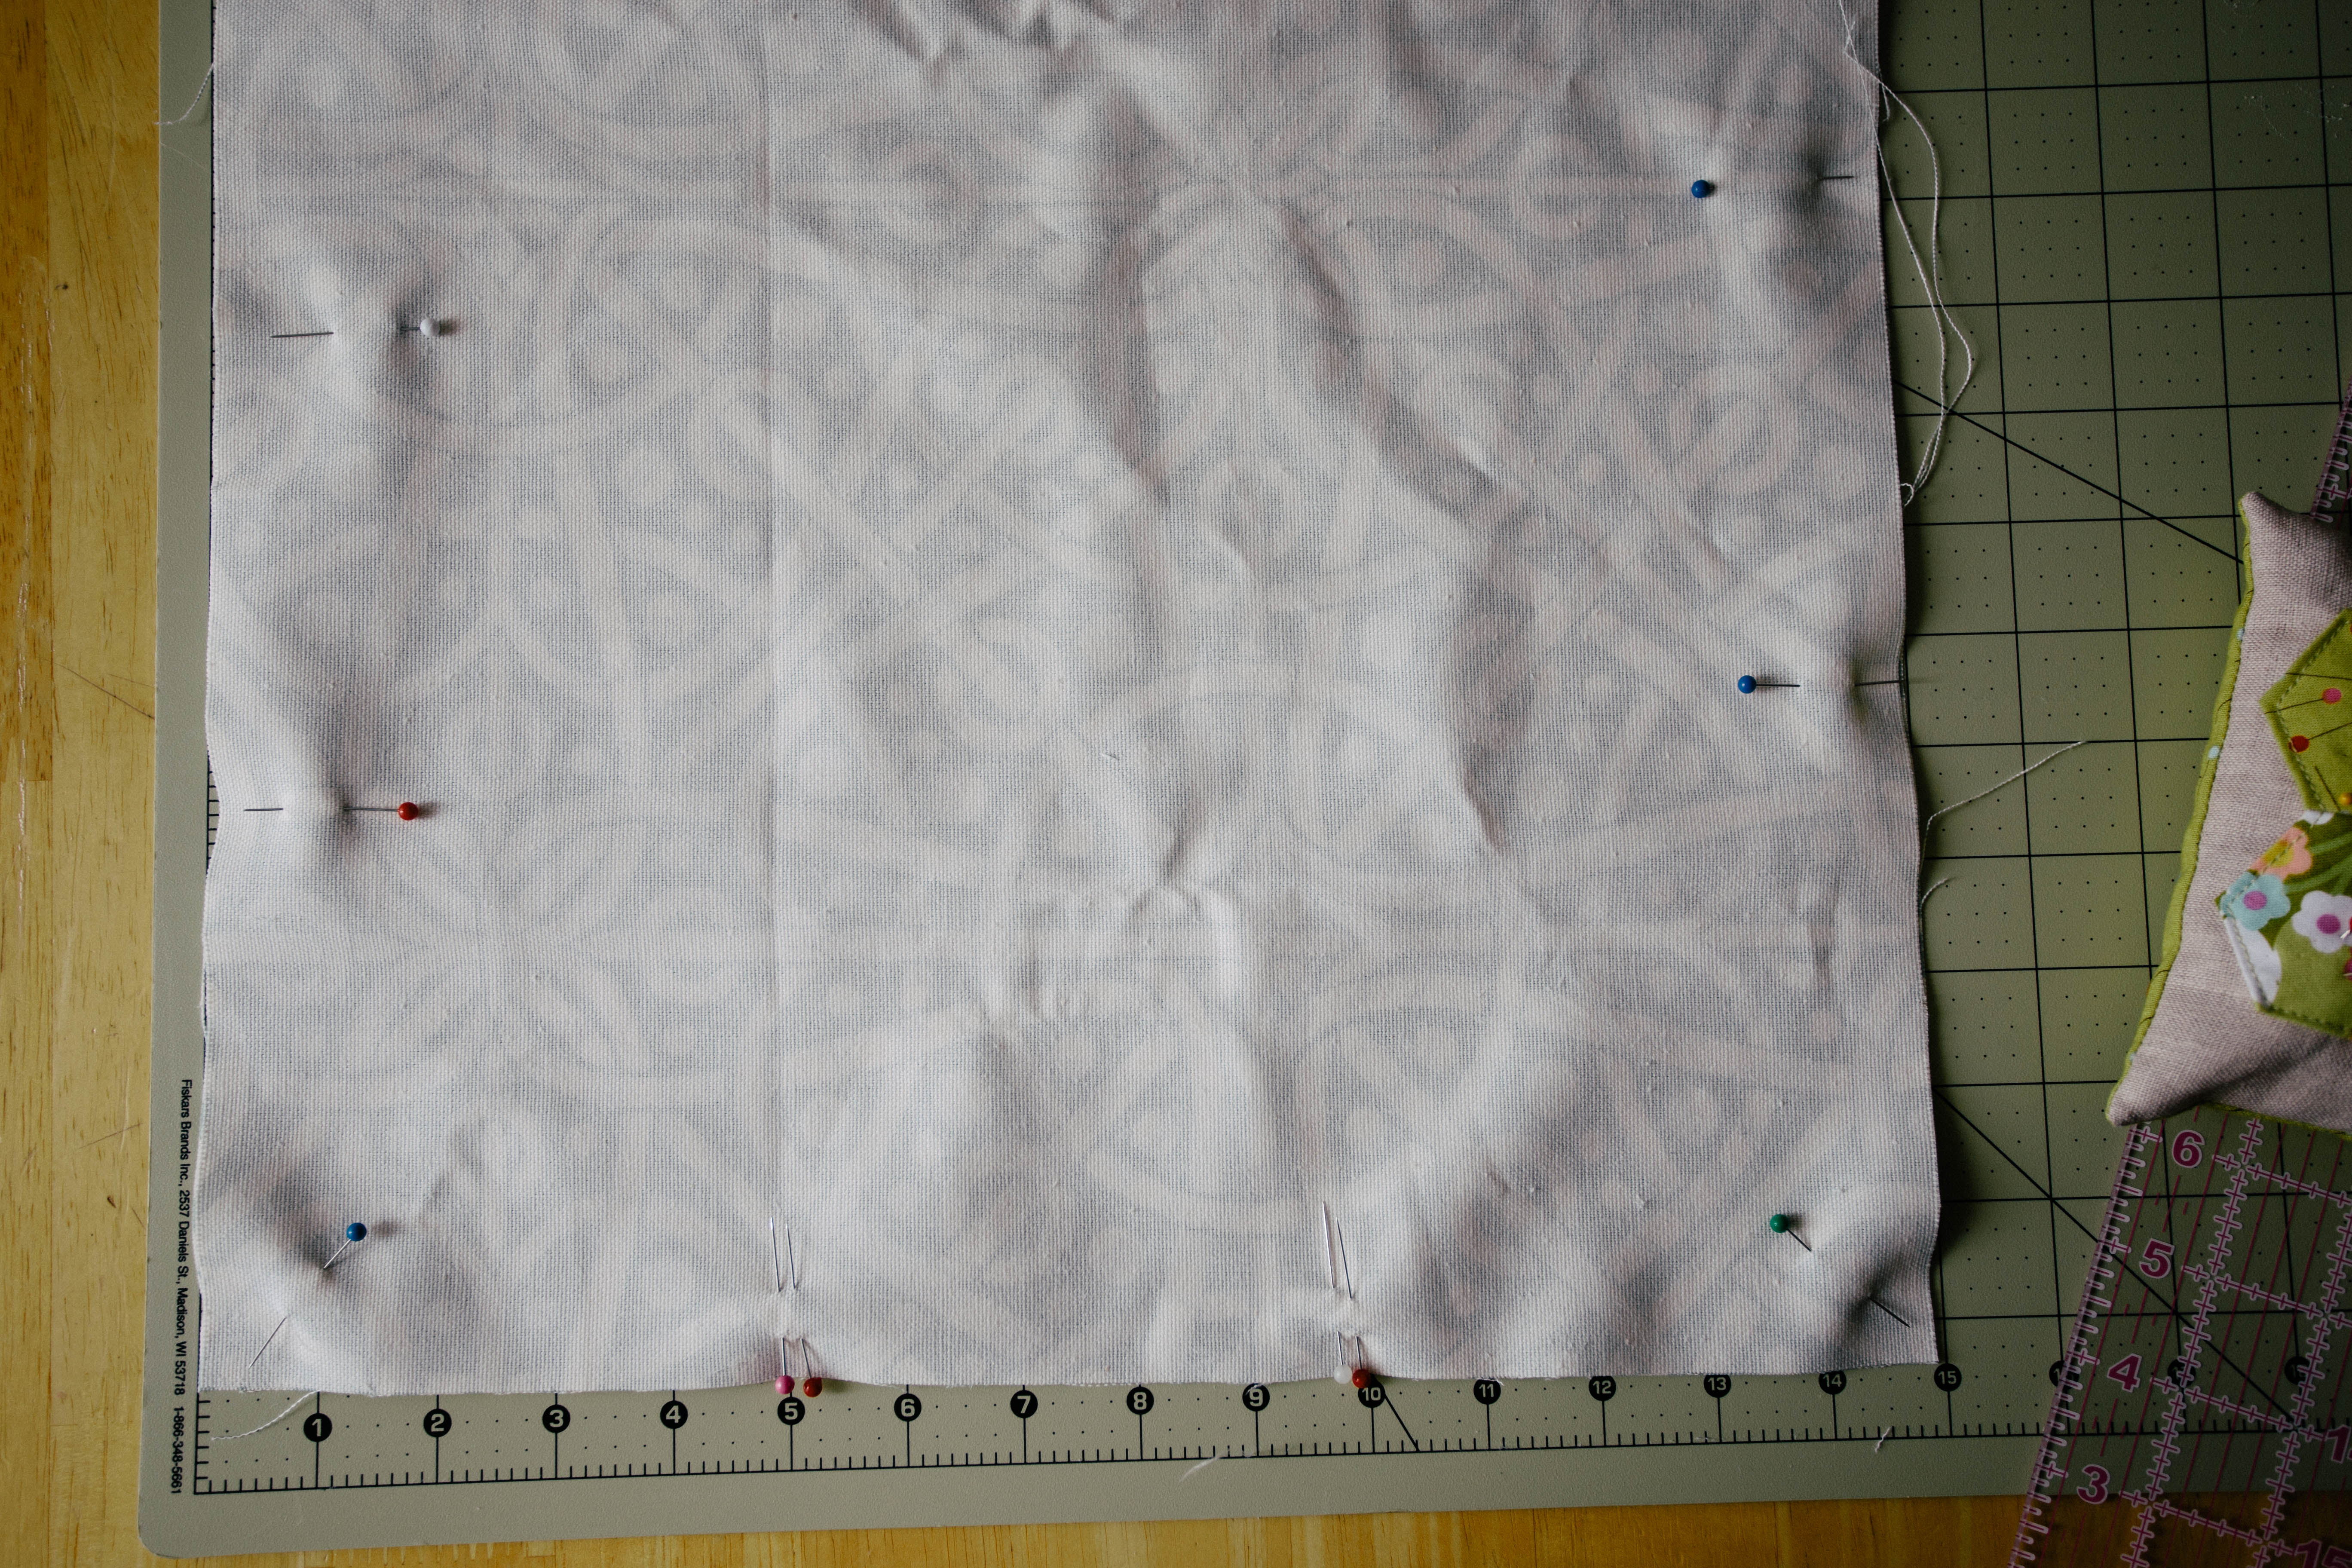
Next, I pinned them together, right sides together, so they wouldn’t drift apart while sewing.
I double pinned two spots on one of the short ends- about 4″ in from each side. I did this to remember not to sew over the opening I’d need to turn the runner right side out.
I sewed all the way around the rectangles until I came to my second set of double pins, making sure to keep the fabrics together. When I got to the pins, I backstitched to make a knot.
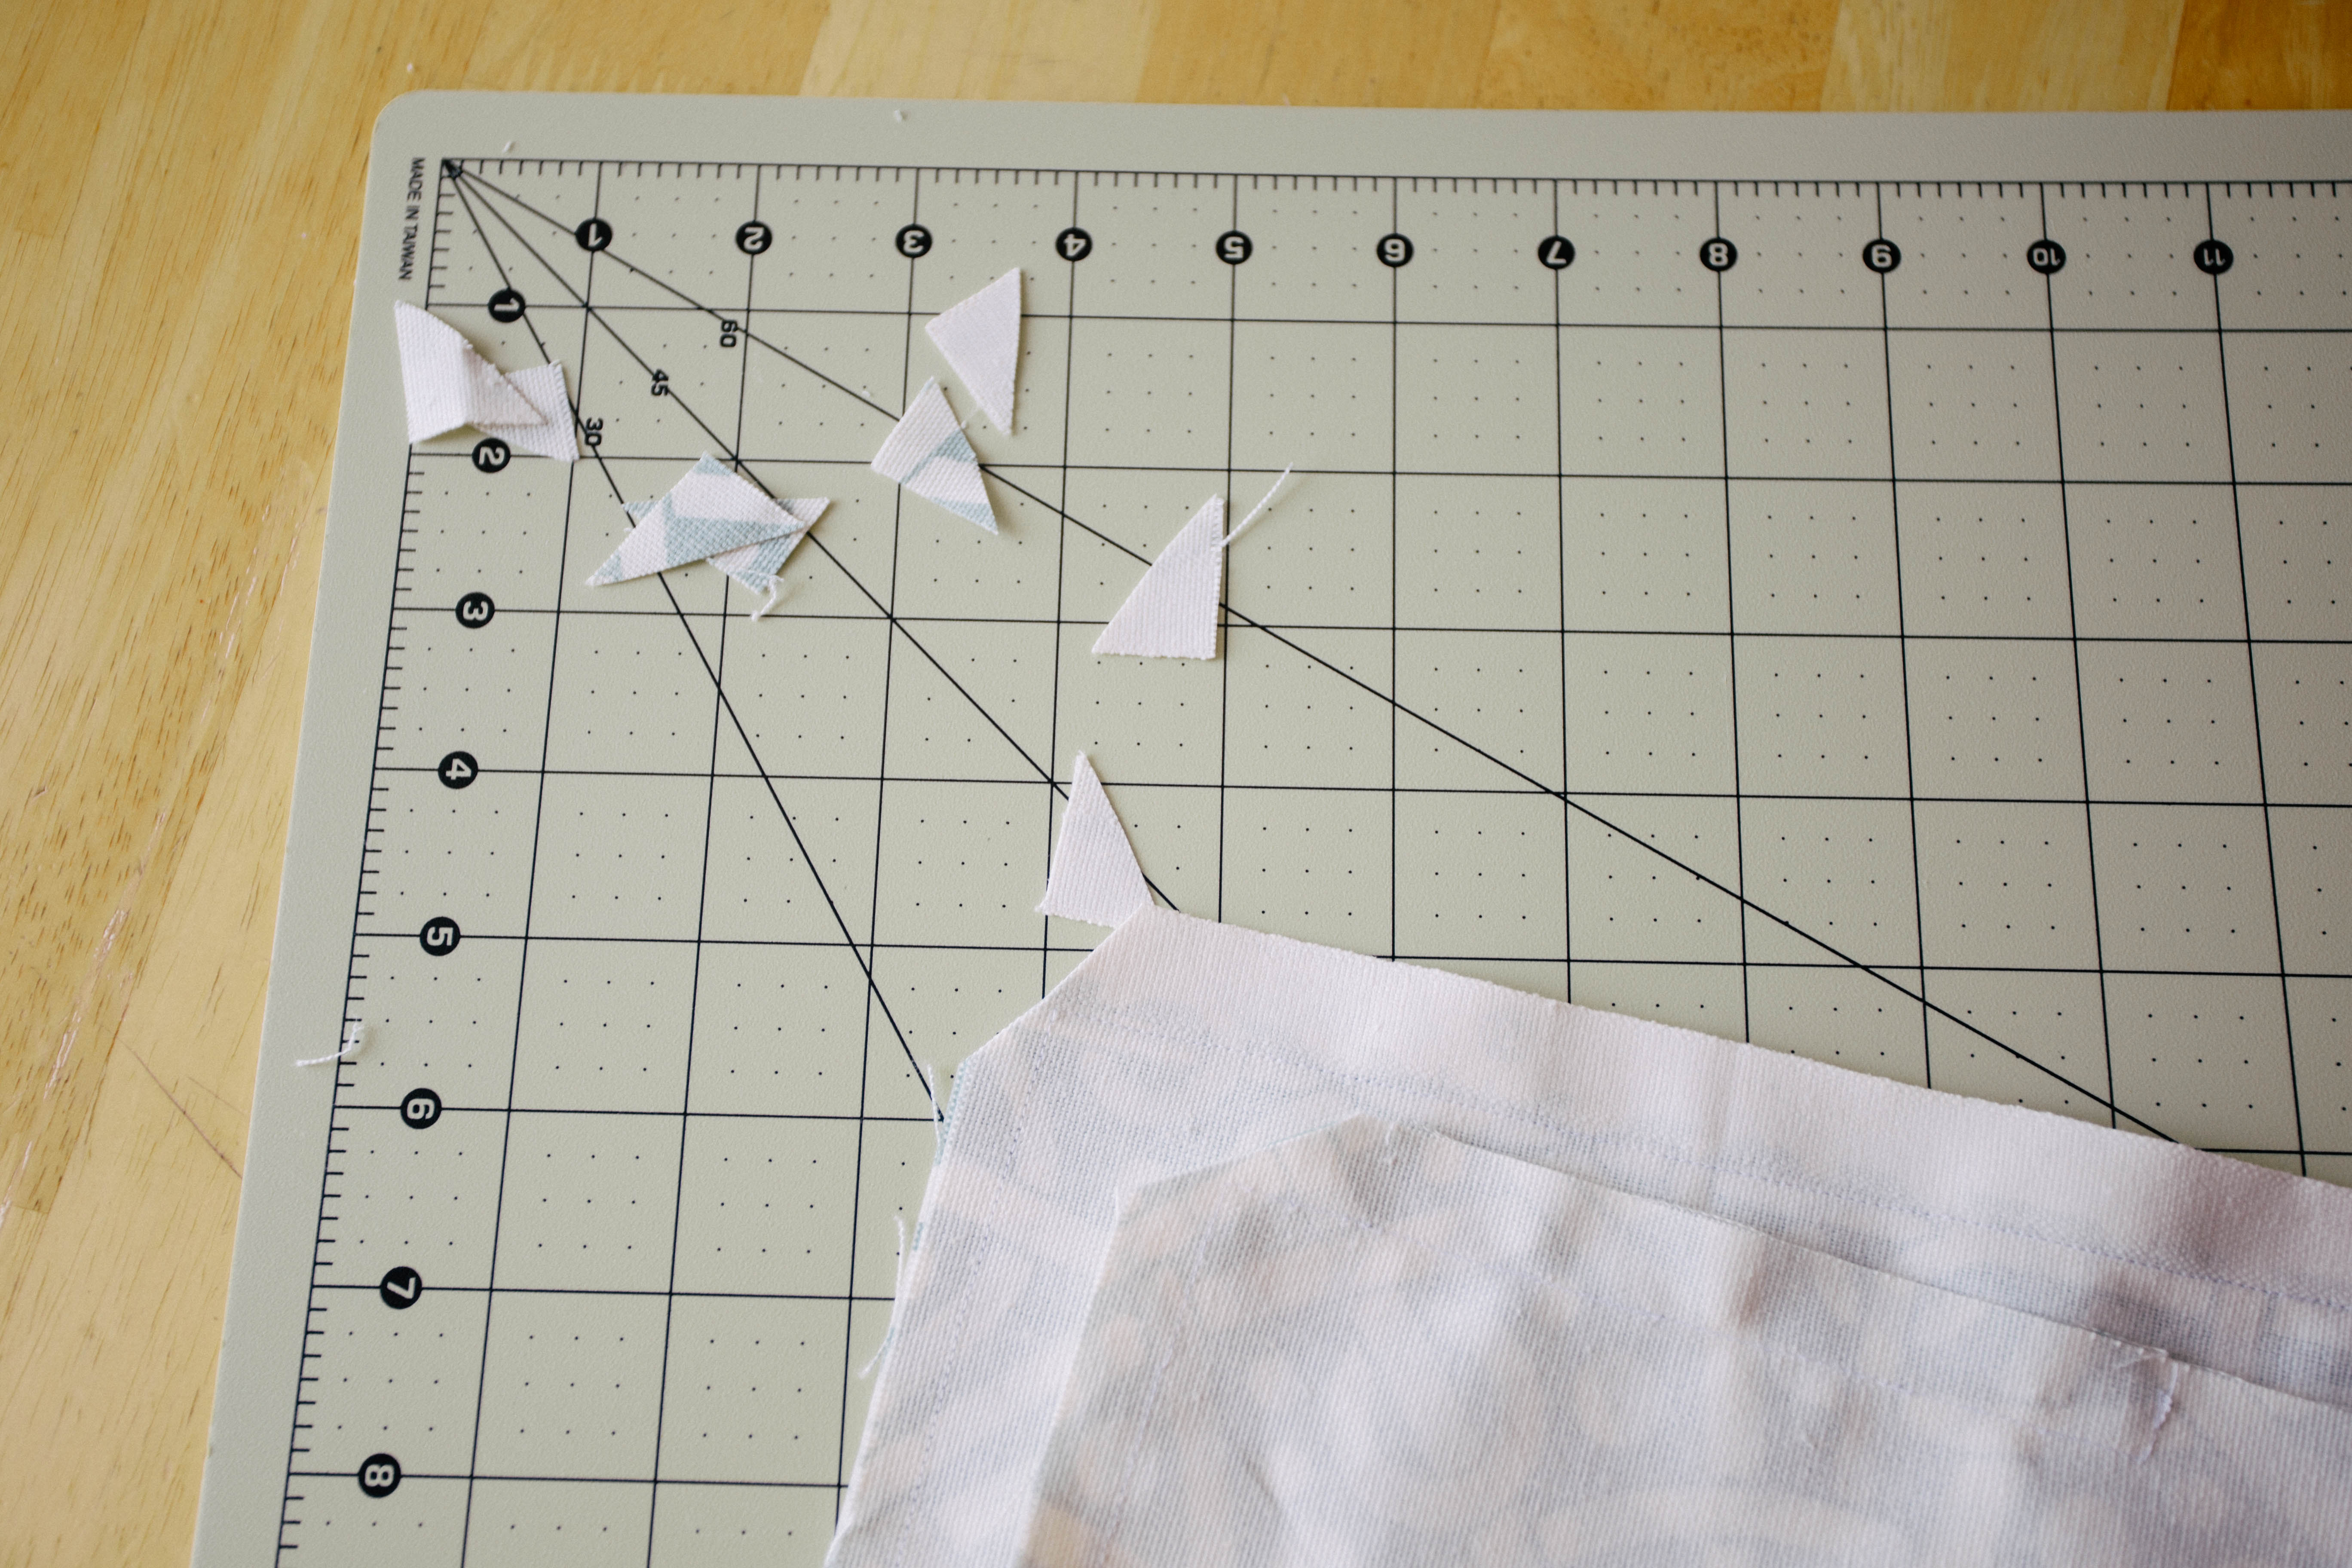
I then clipped all four corners to eliminate bulk, and used the four-ish inch opening to turn it right-side out.

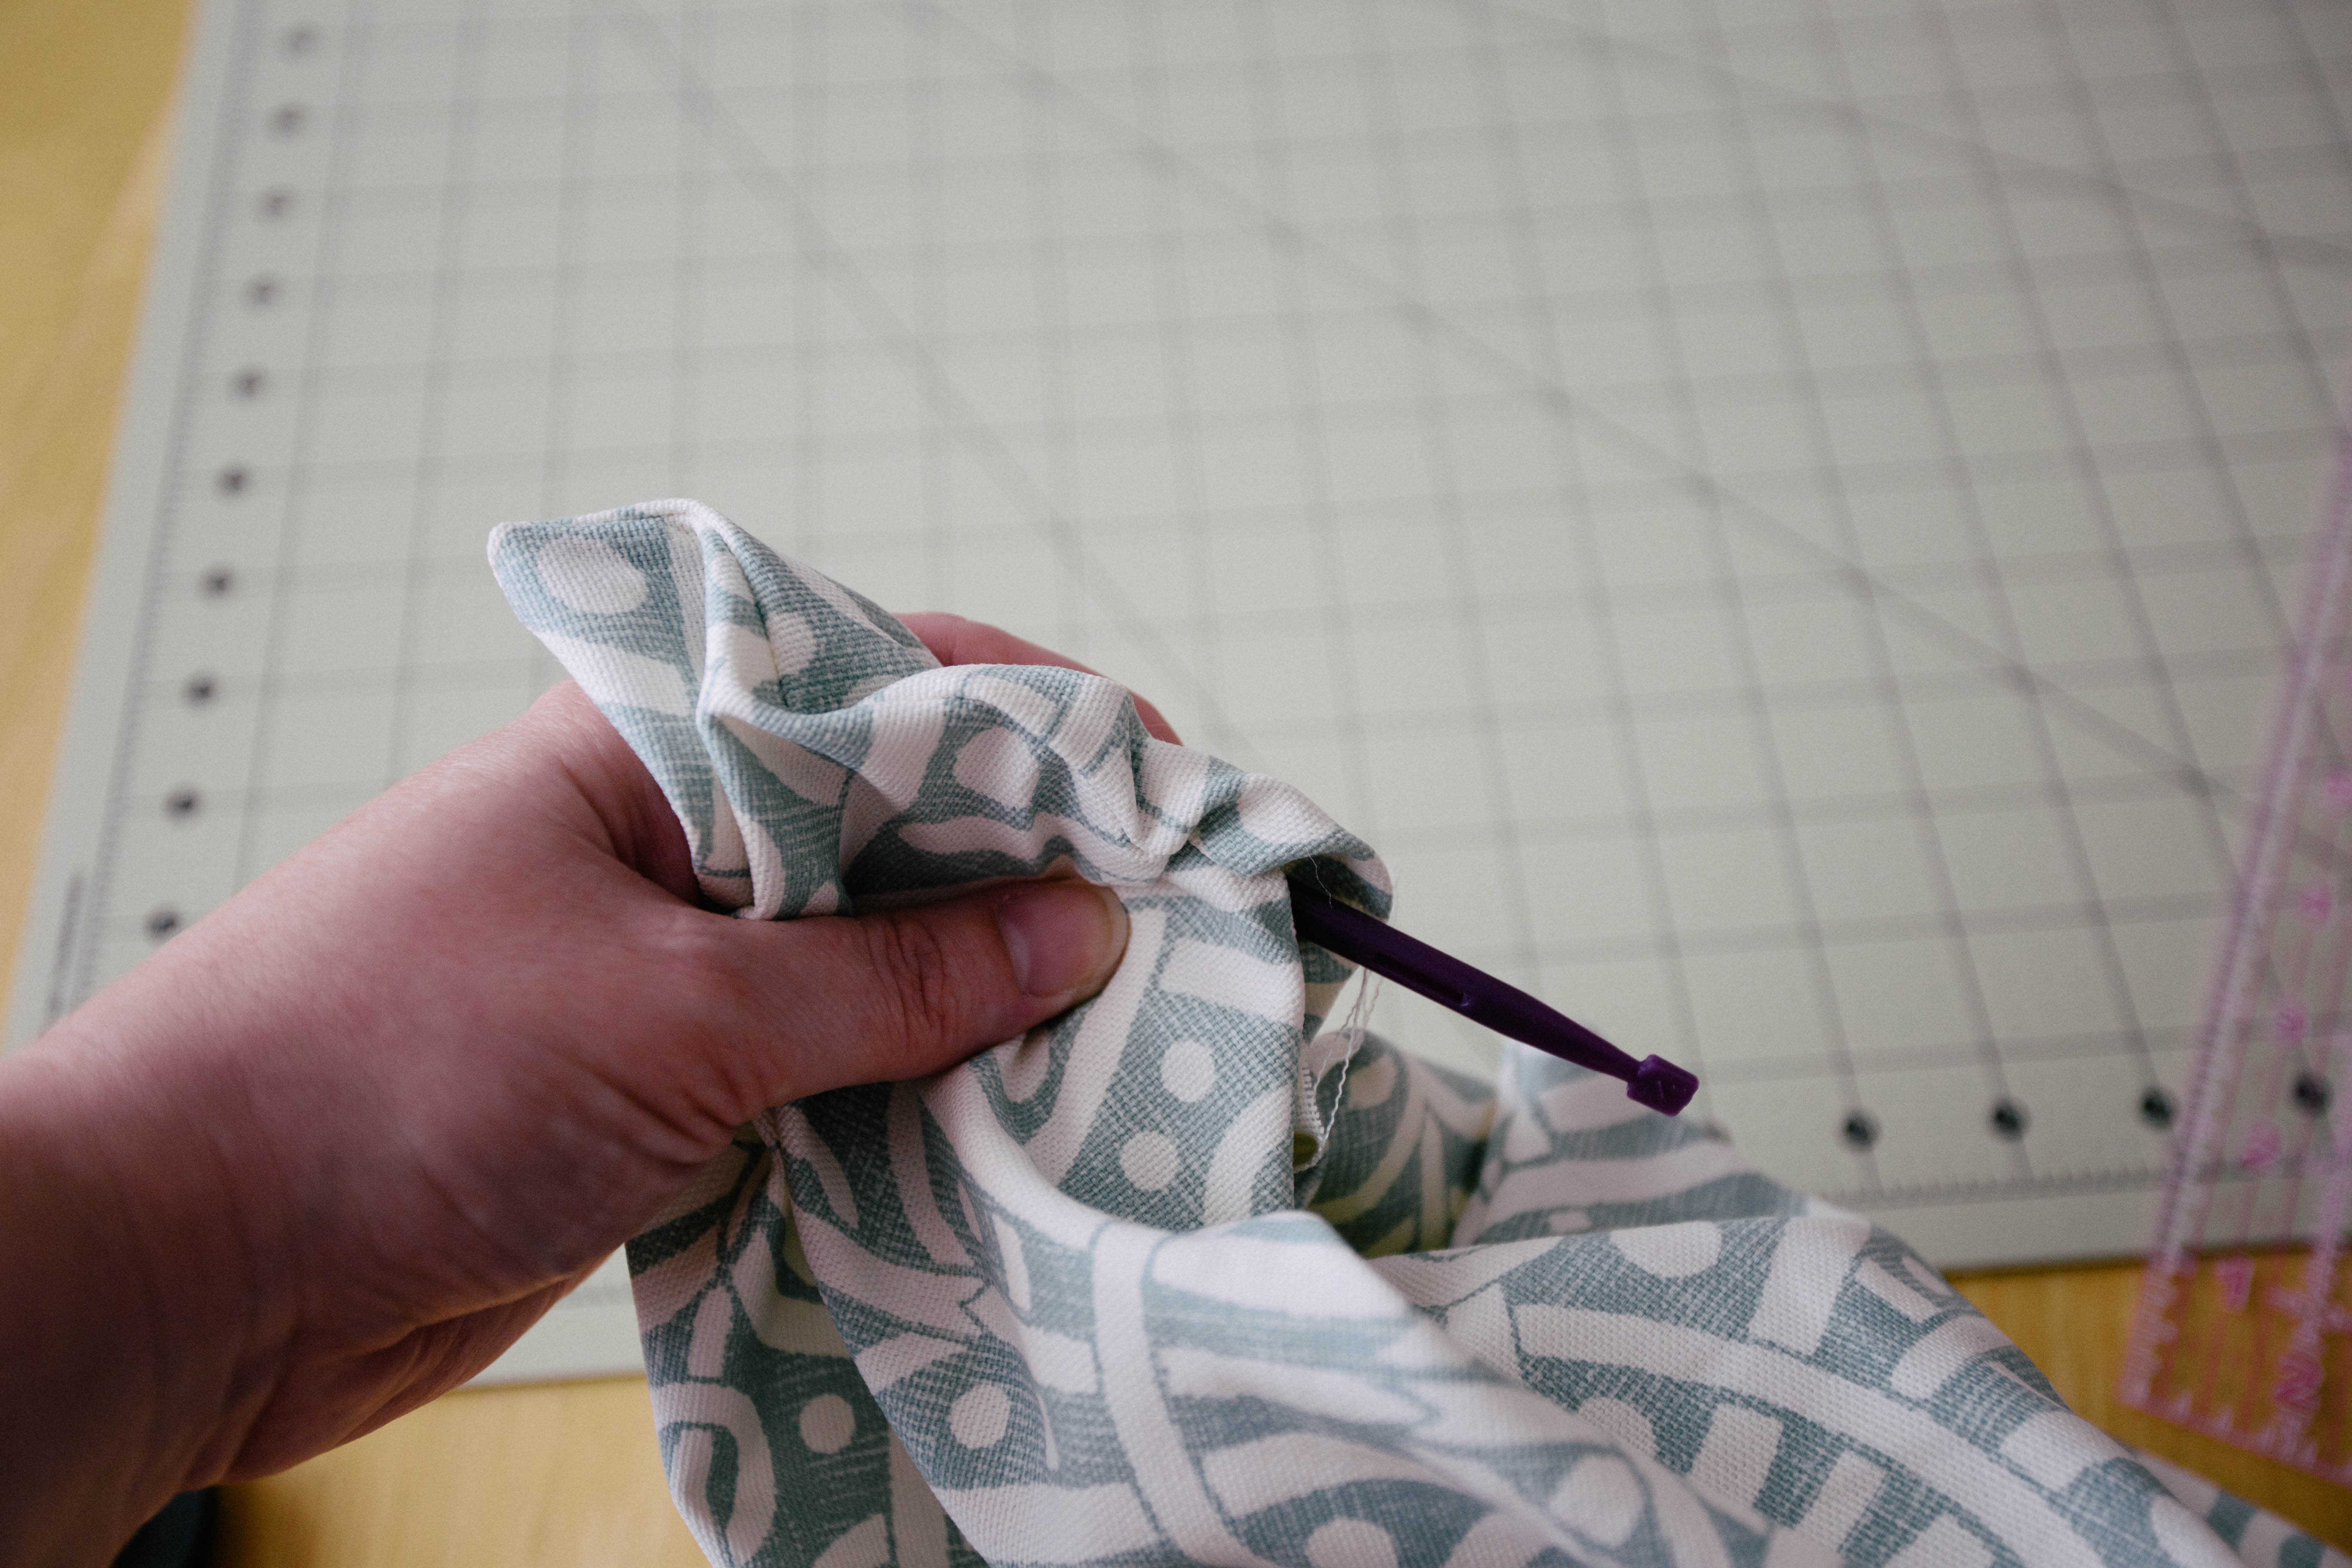
To help get the corners really pointy, I used The Purple Thang, but you could use a pen or pencil, too- just be cautious of marking your fabric!
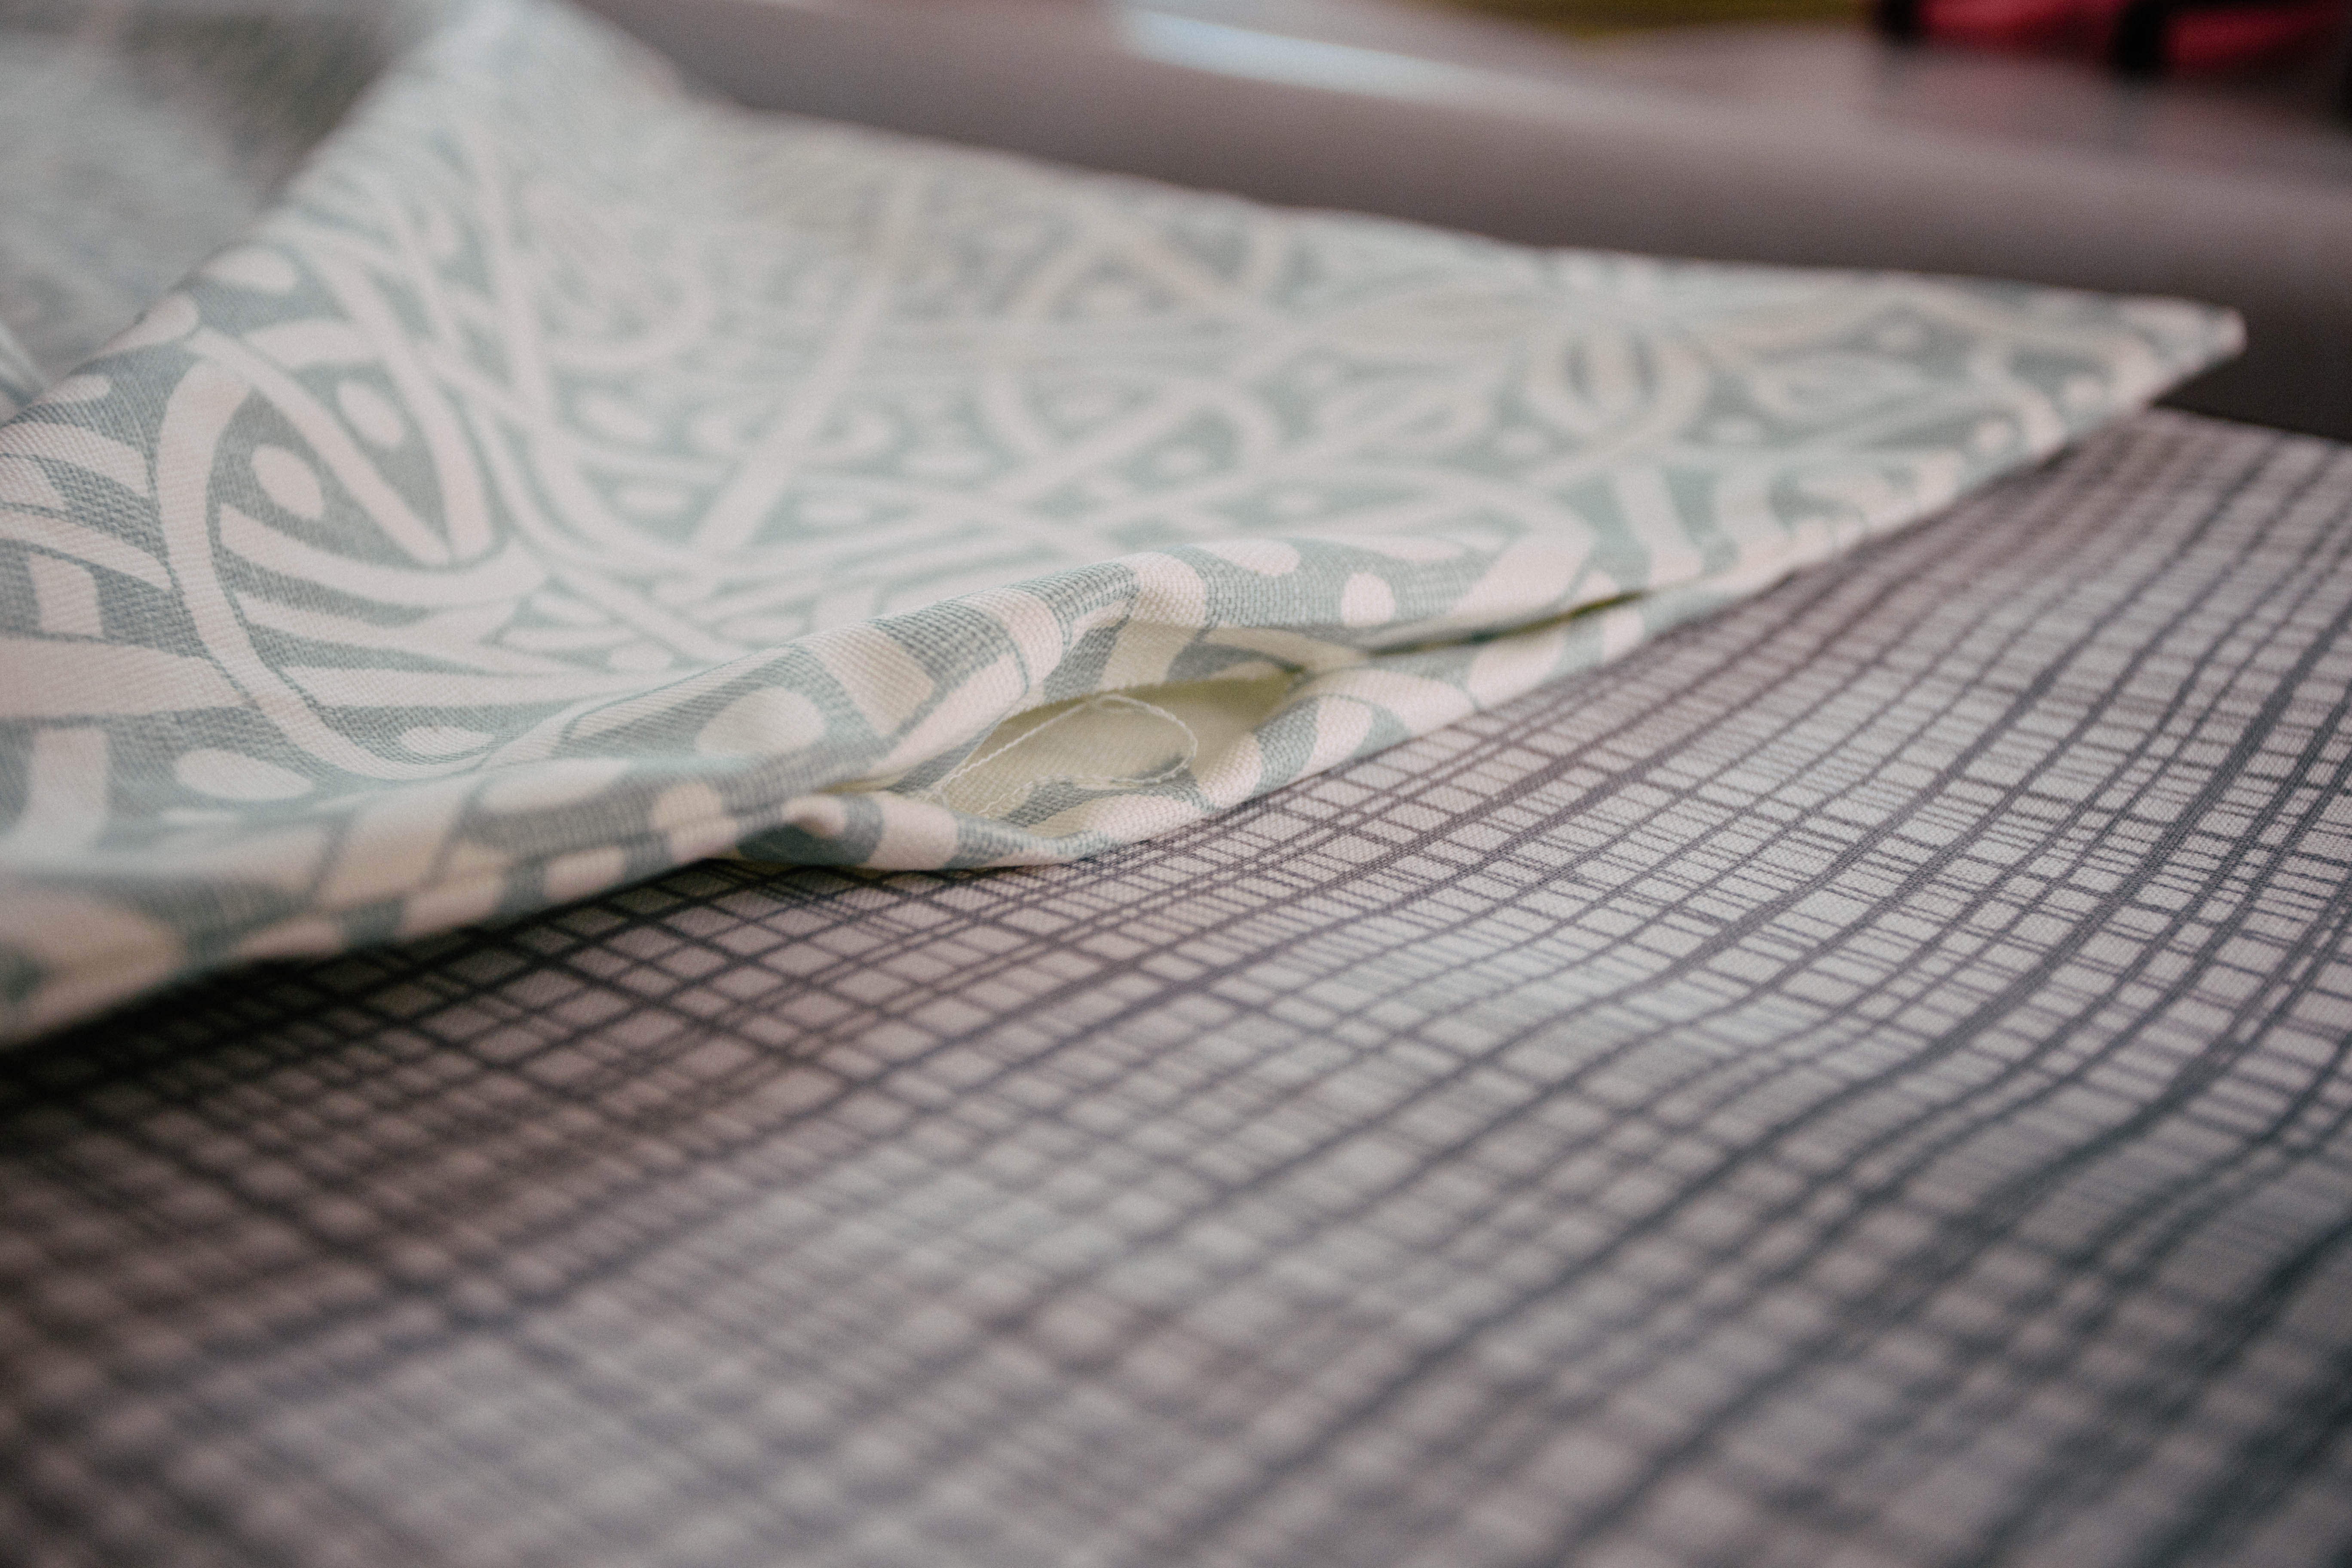
Next, I took my time ironing the runner. You want to be sure to do a good job of this so that when you topstitch, there are no bulges or bumps. I pressed the opening shut.
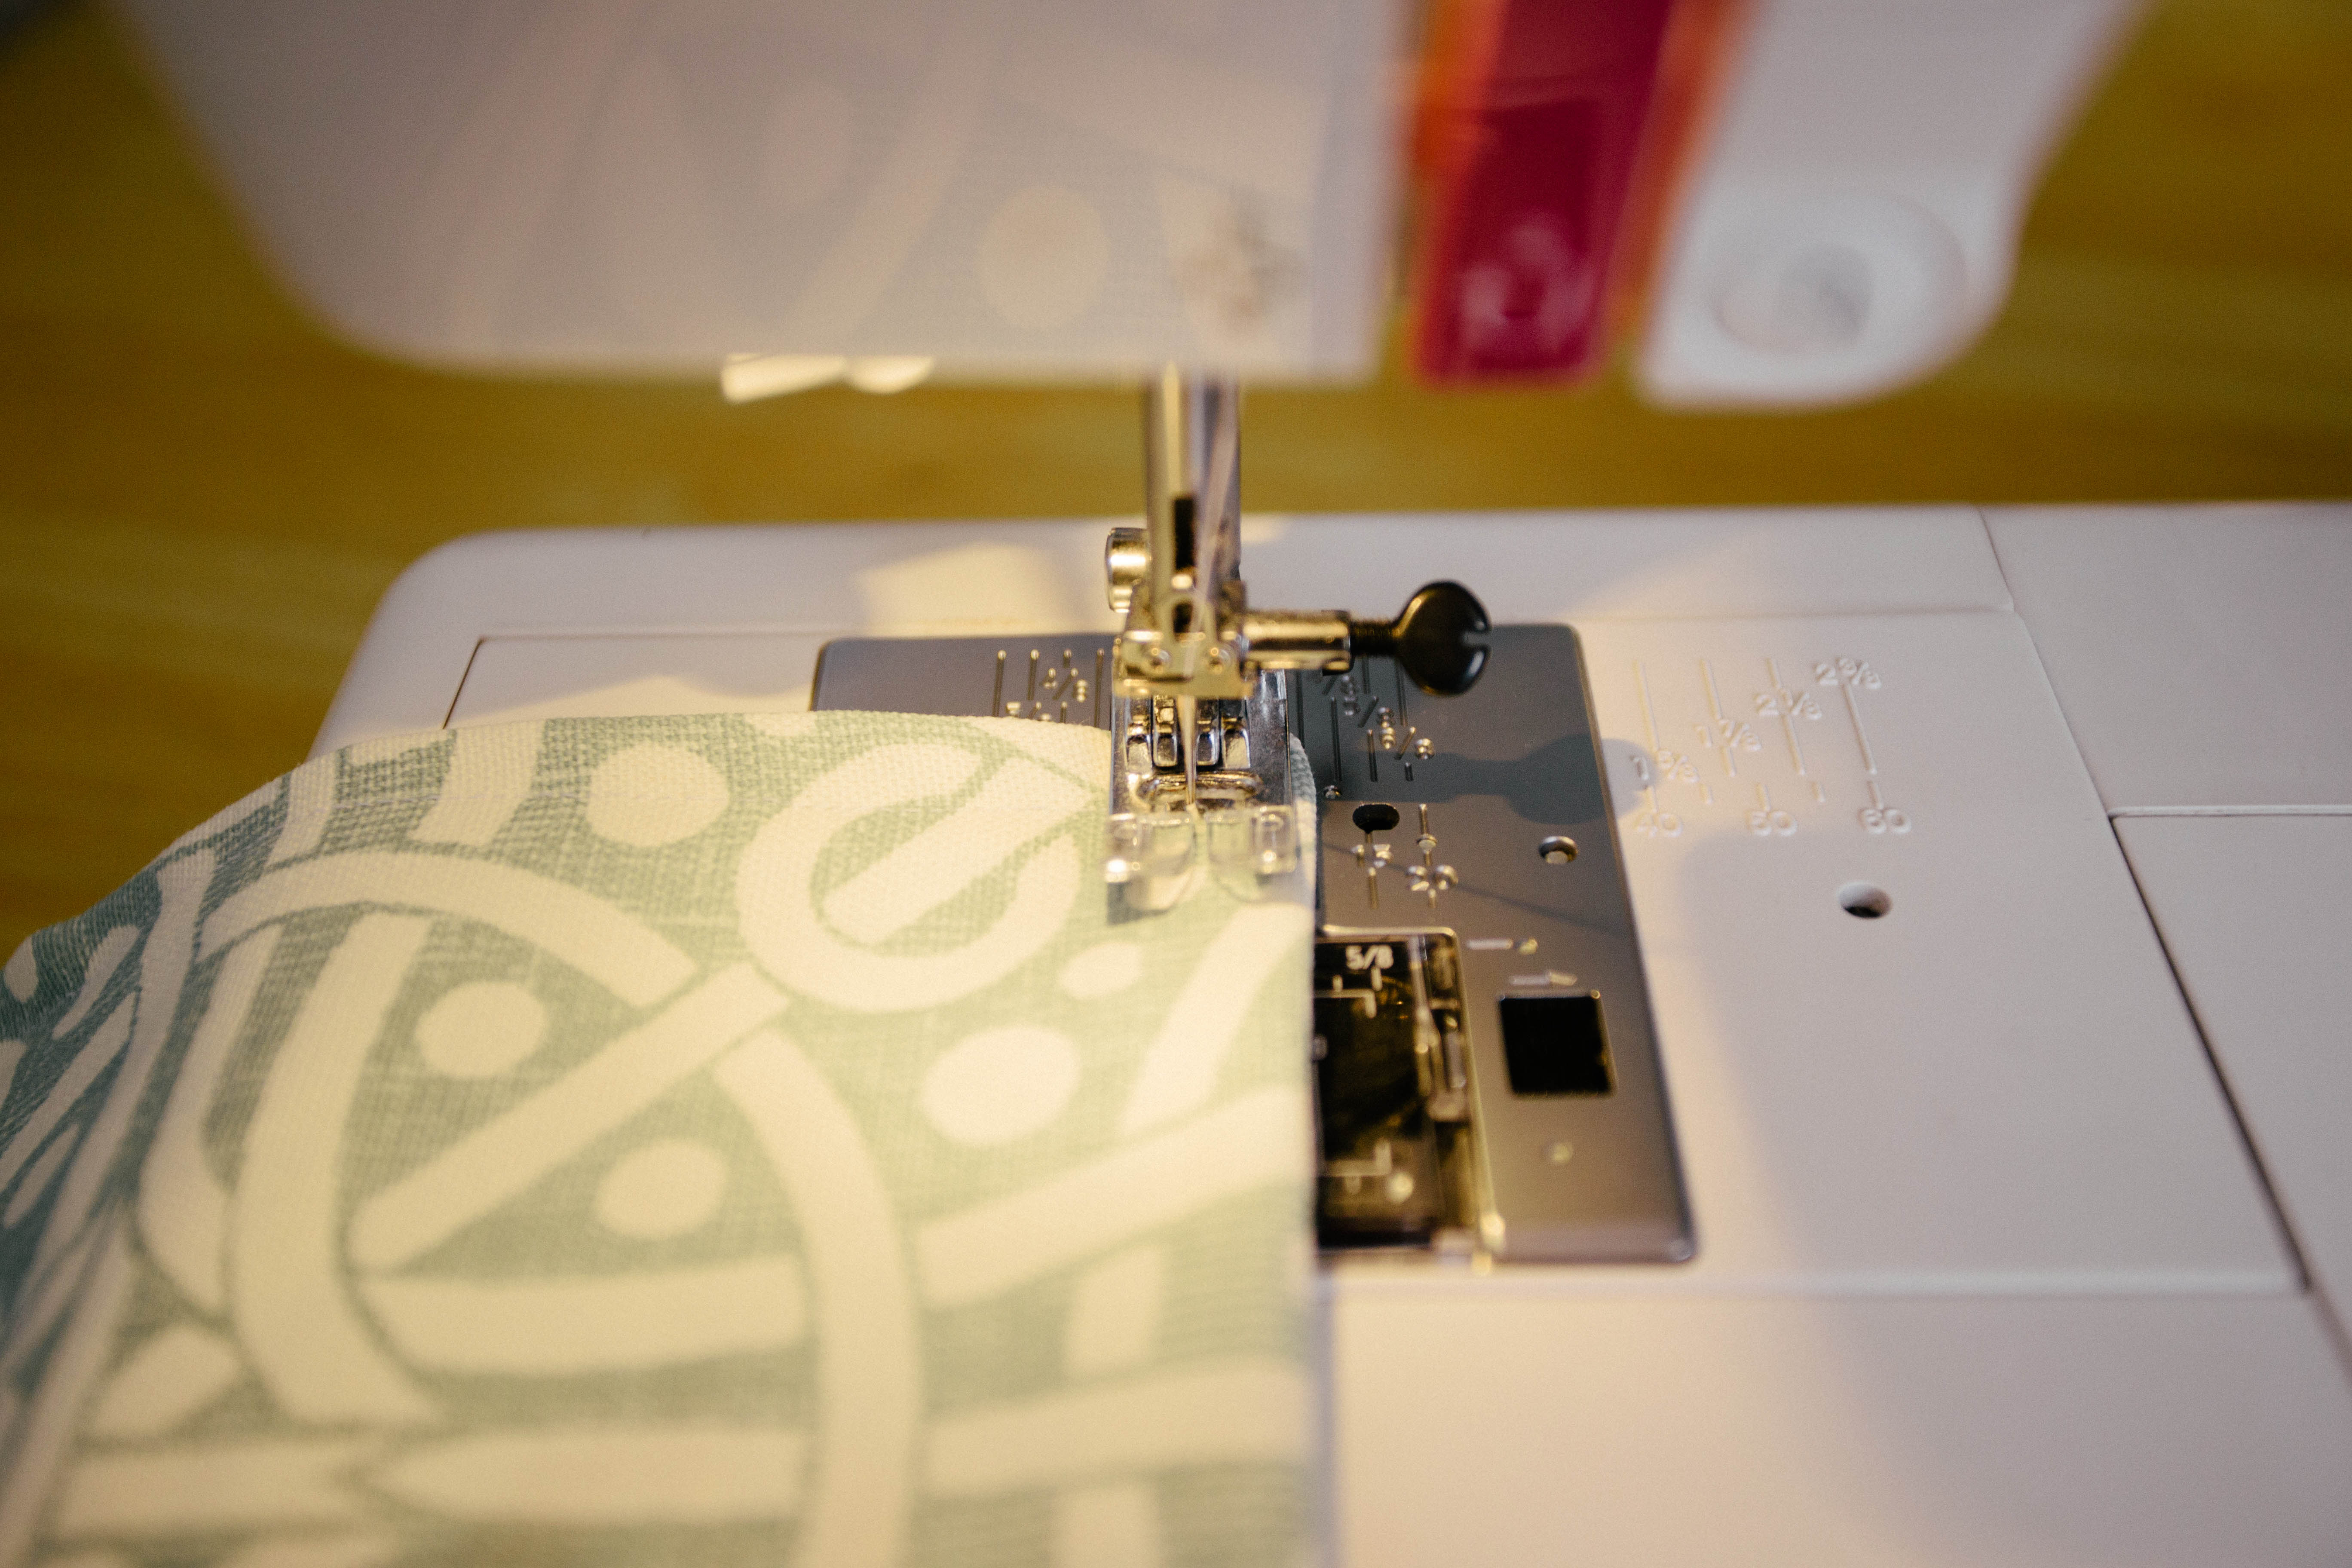
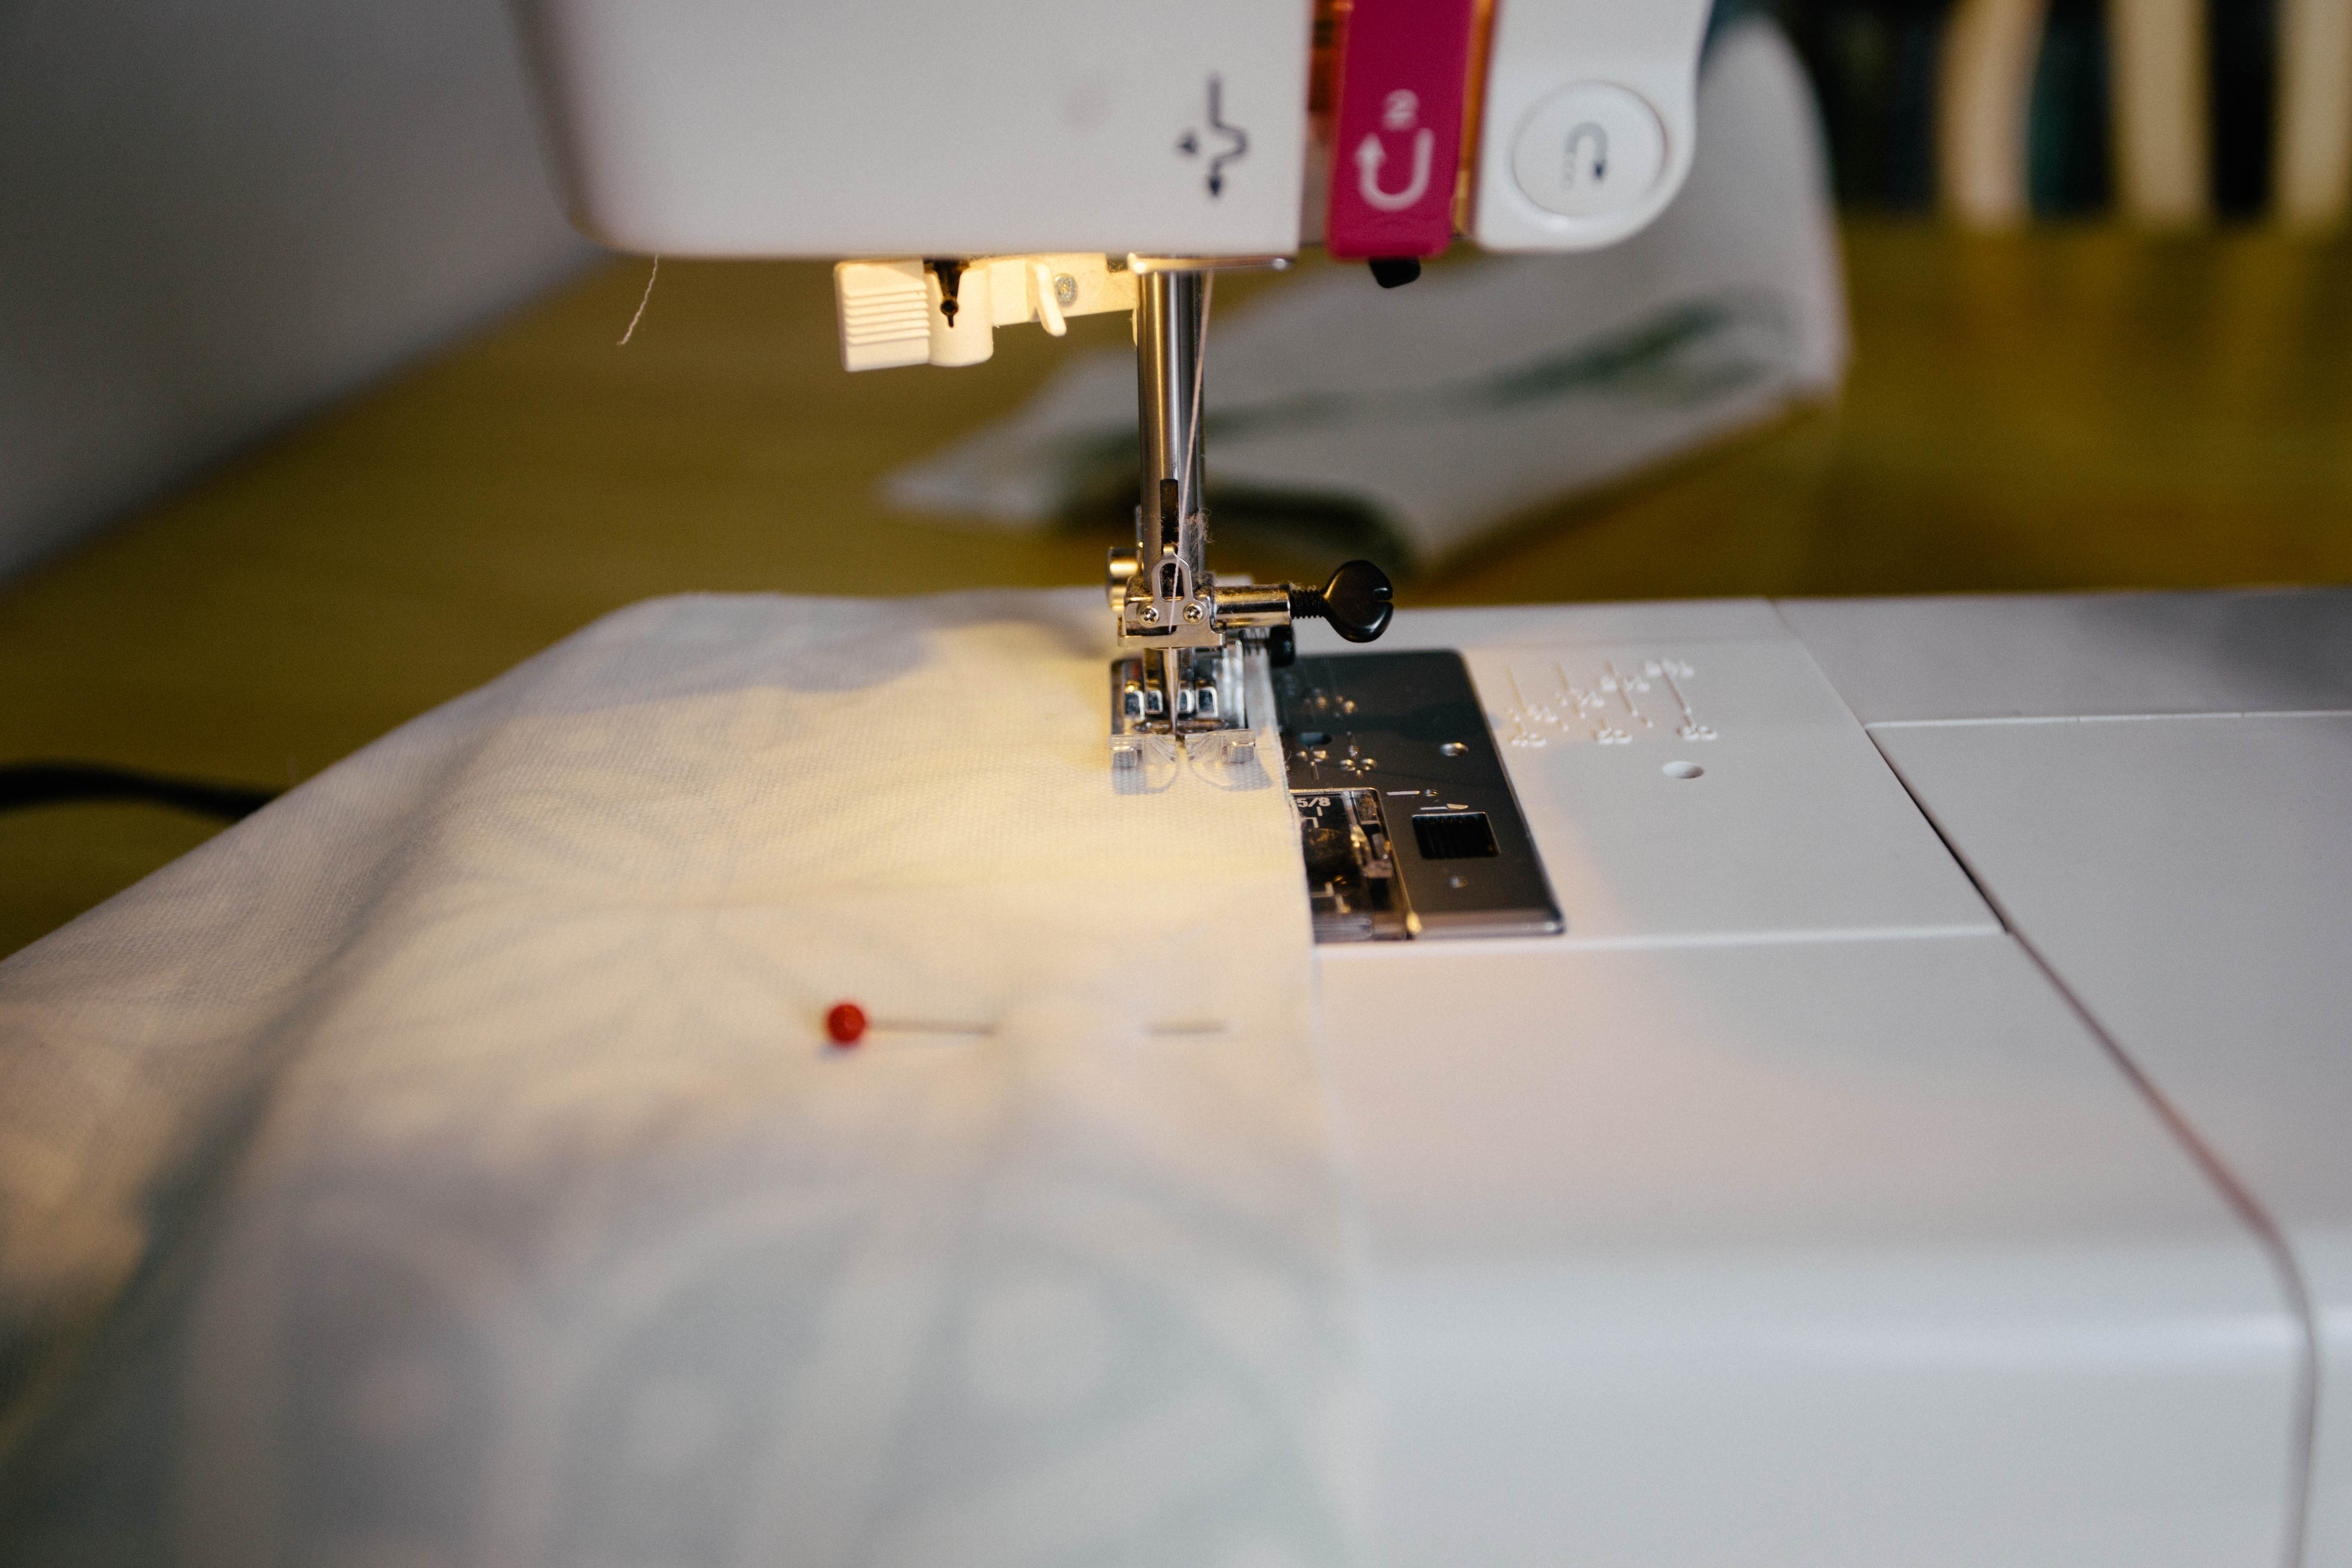
The last step is just to sew the runner closed! I chose 2.8 for my stitch length, and just sewed all around the runner.
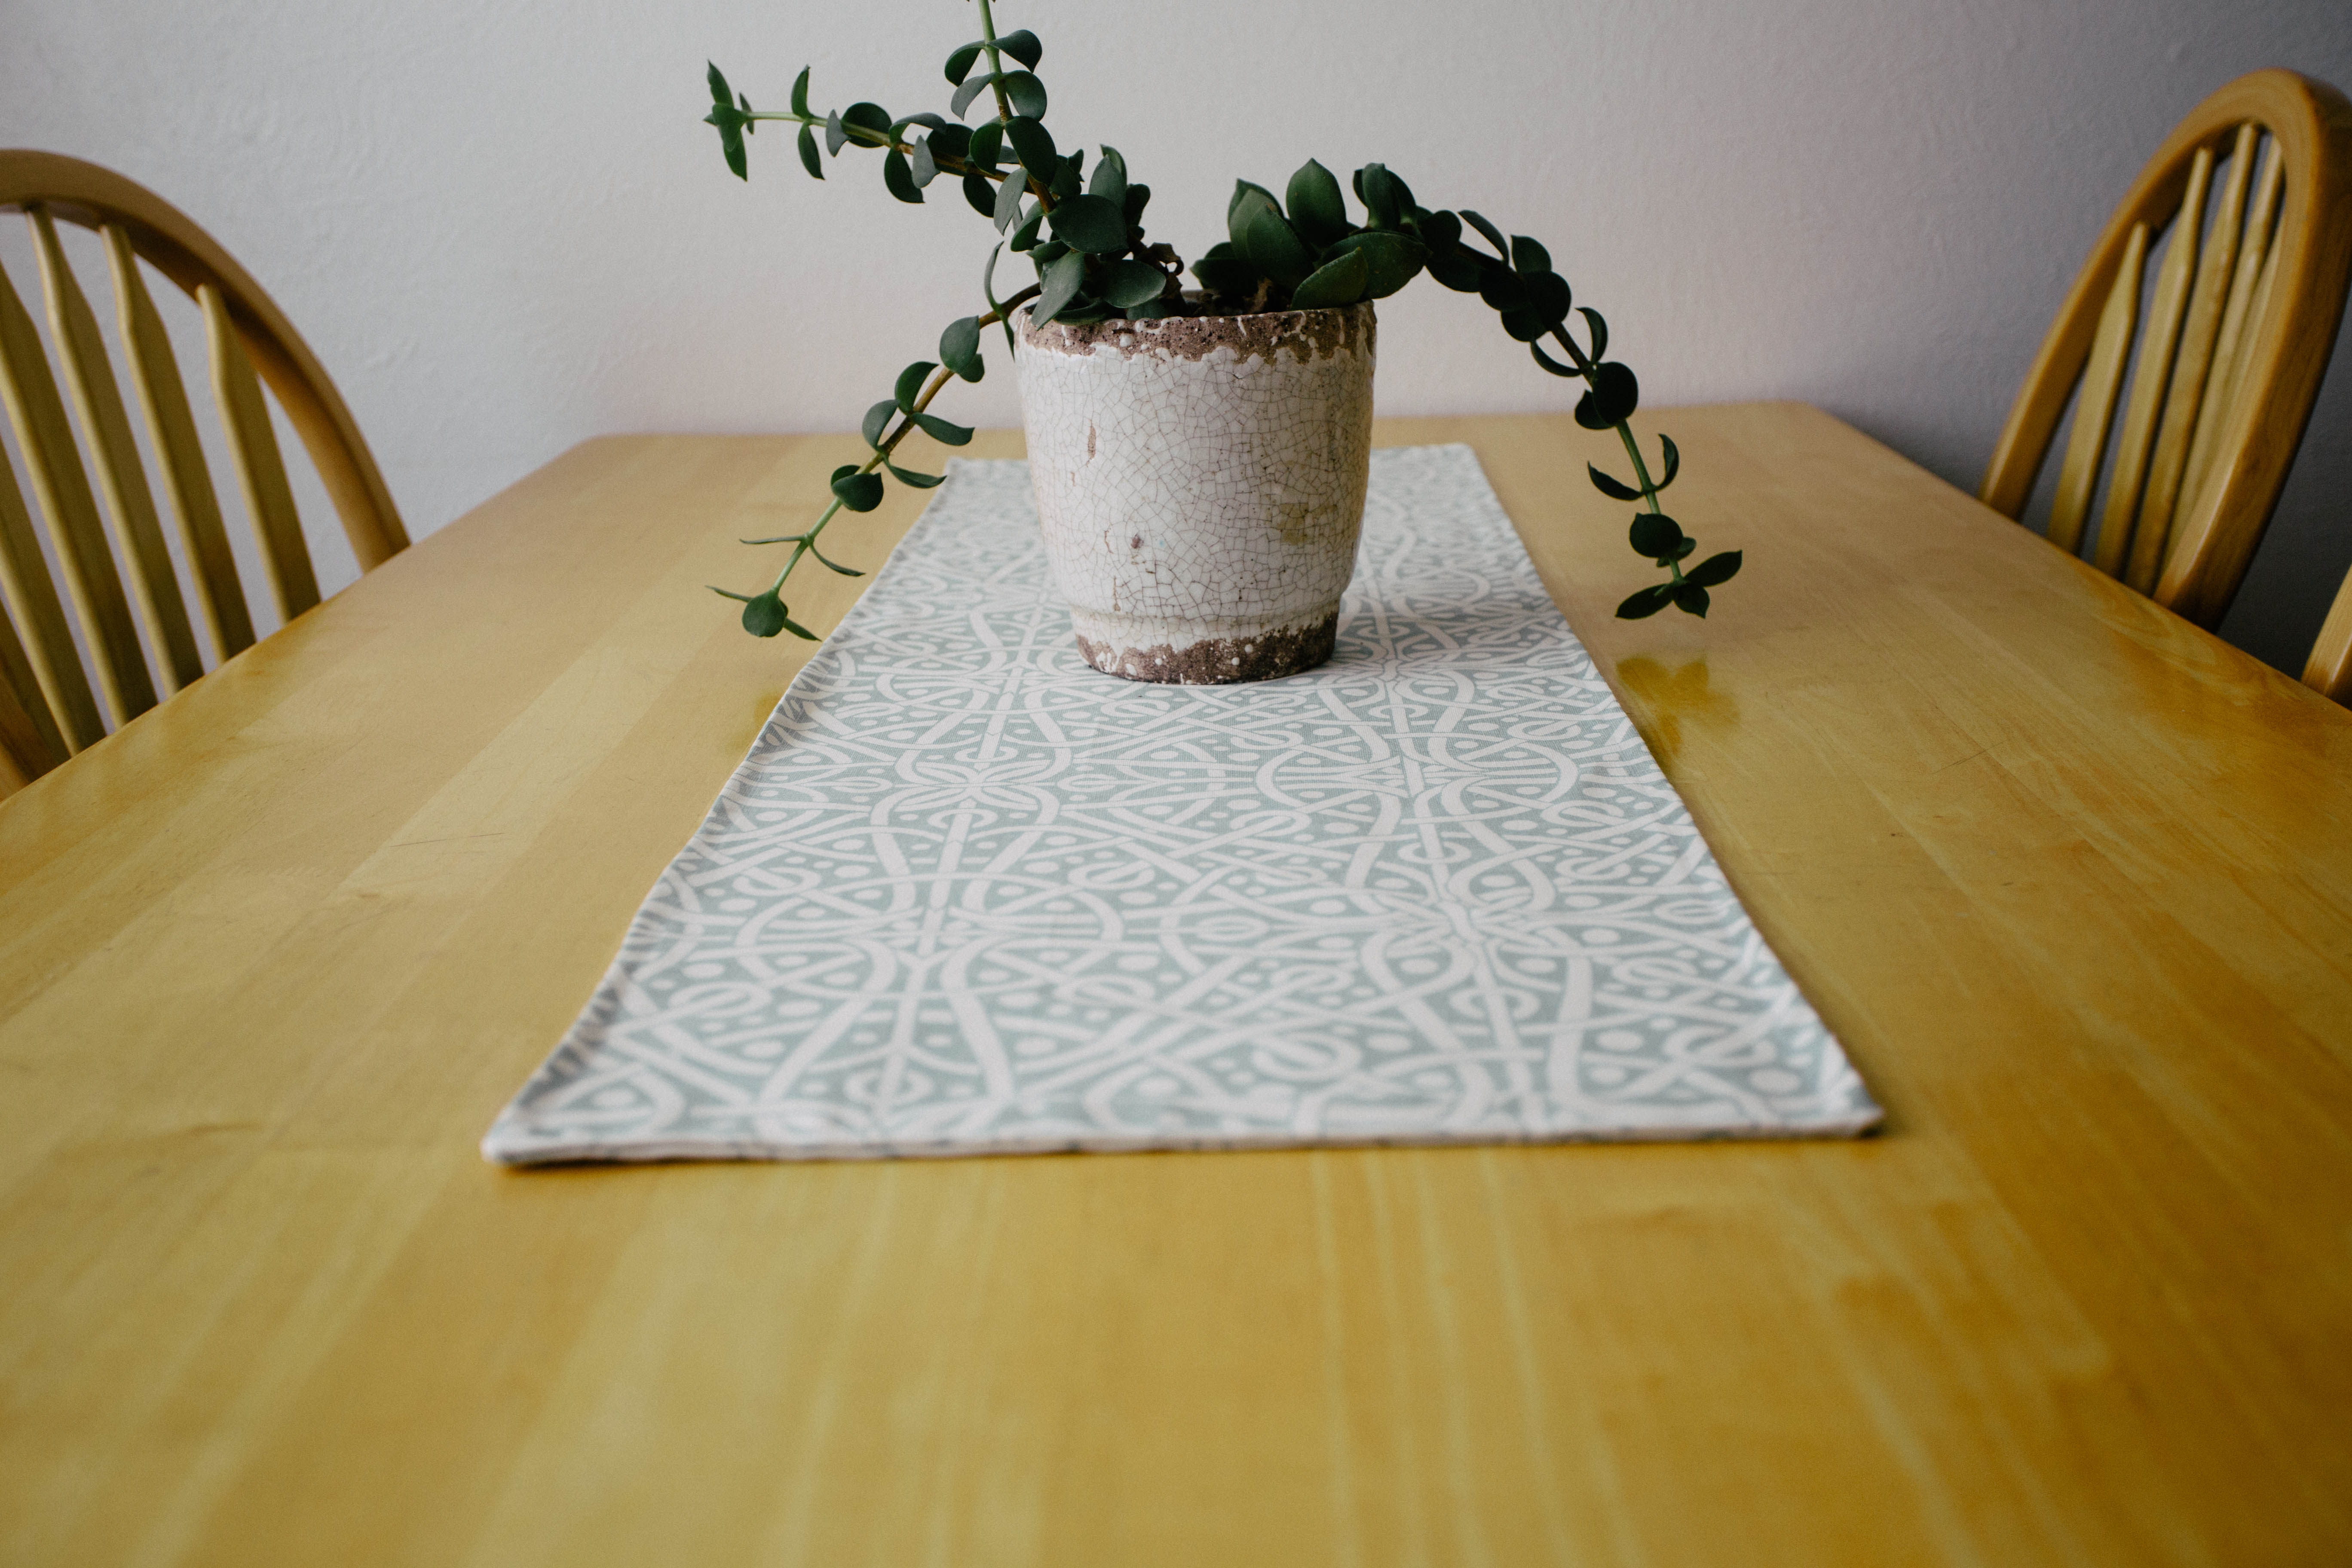
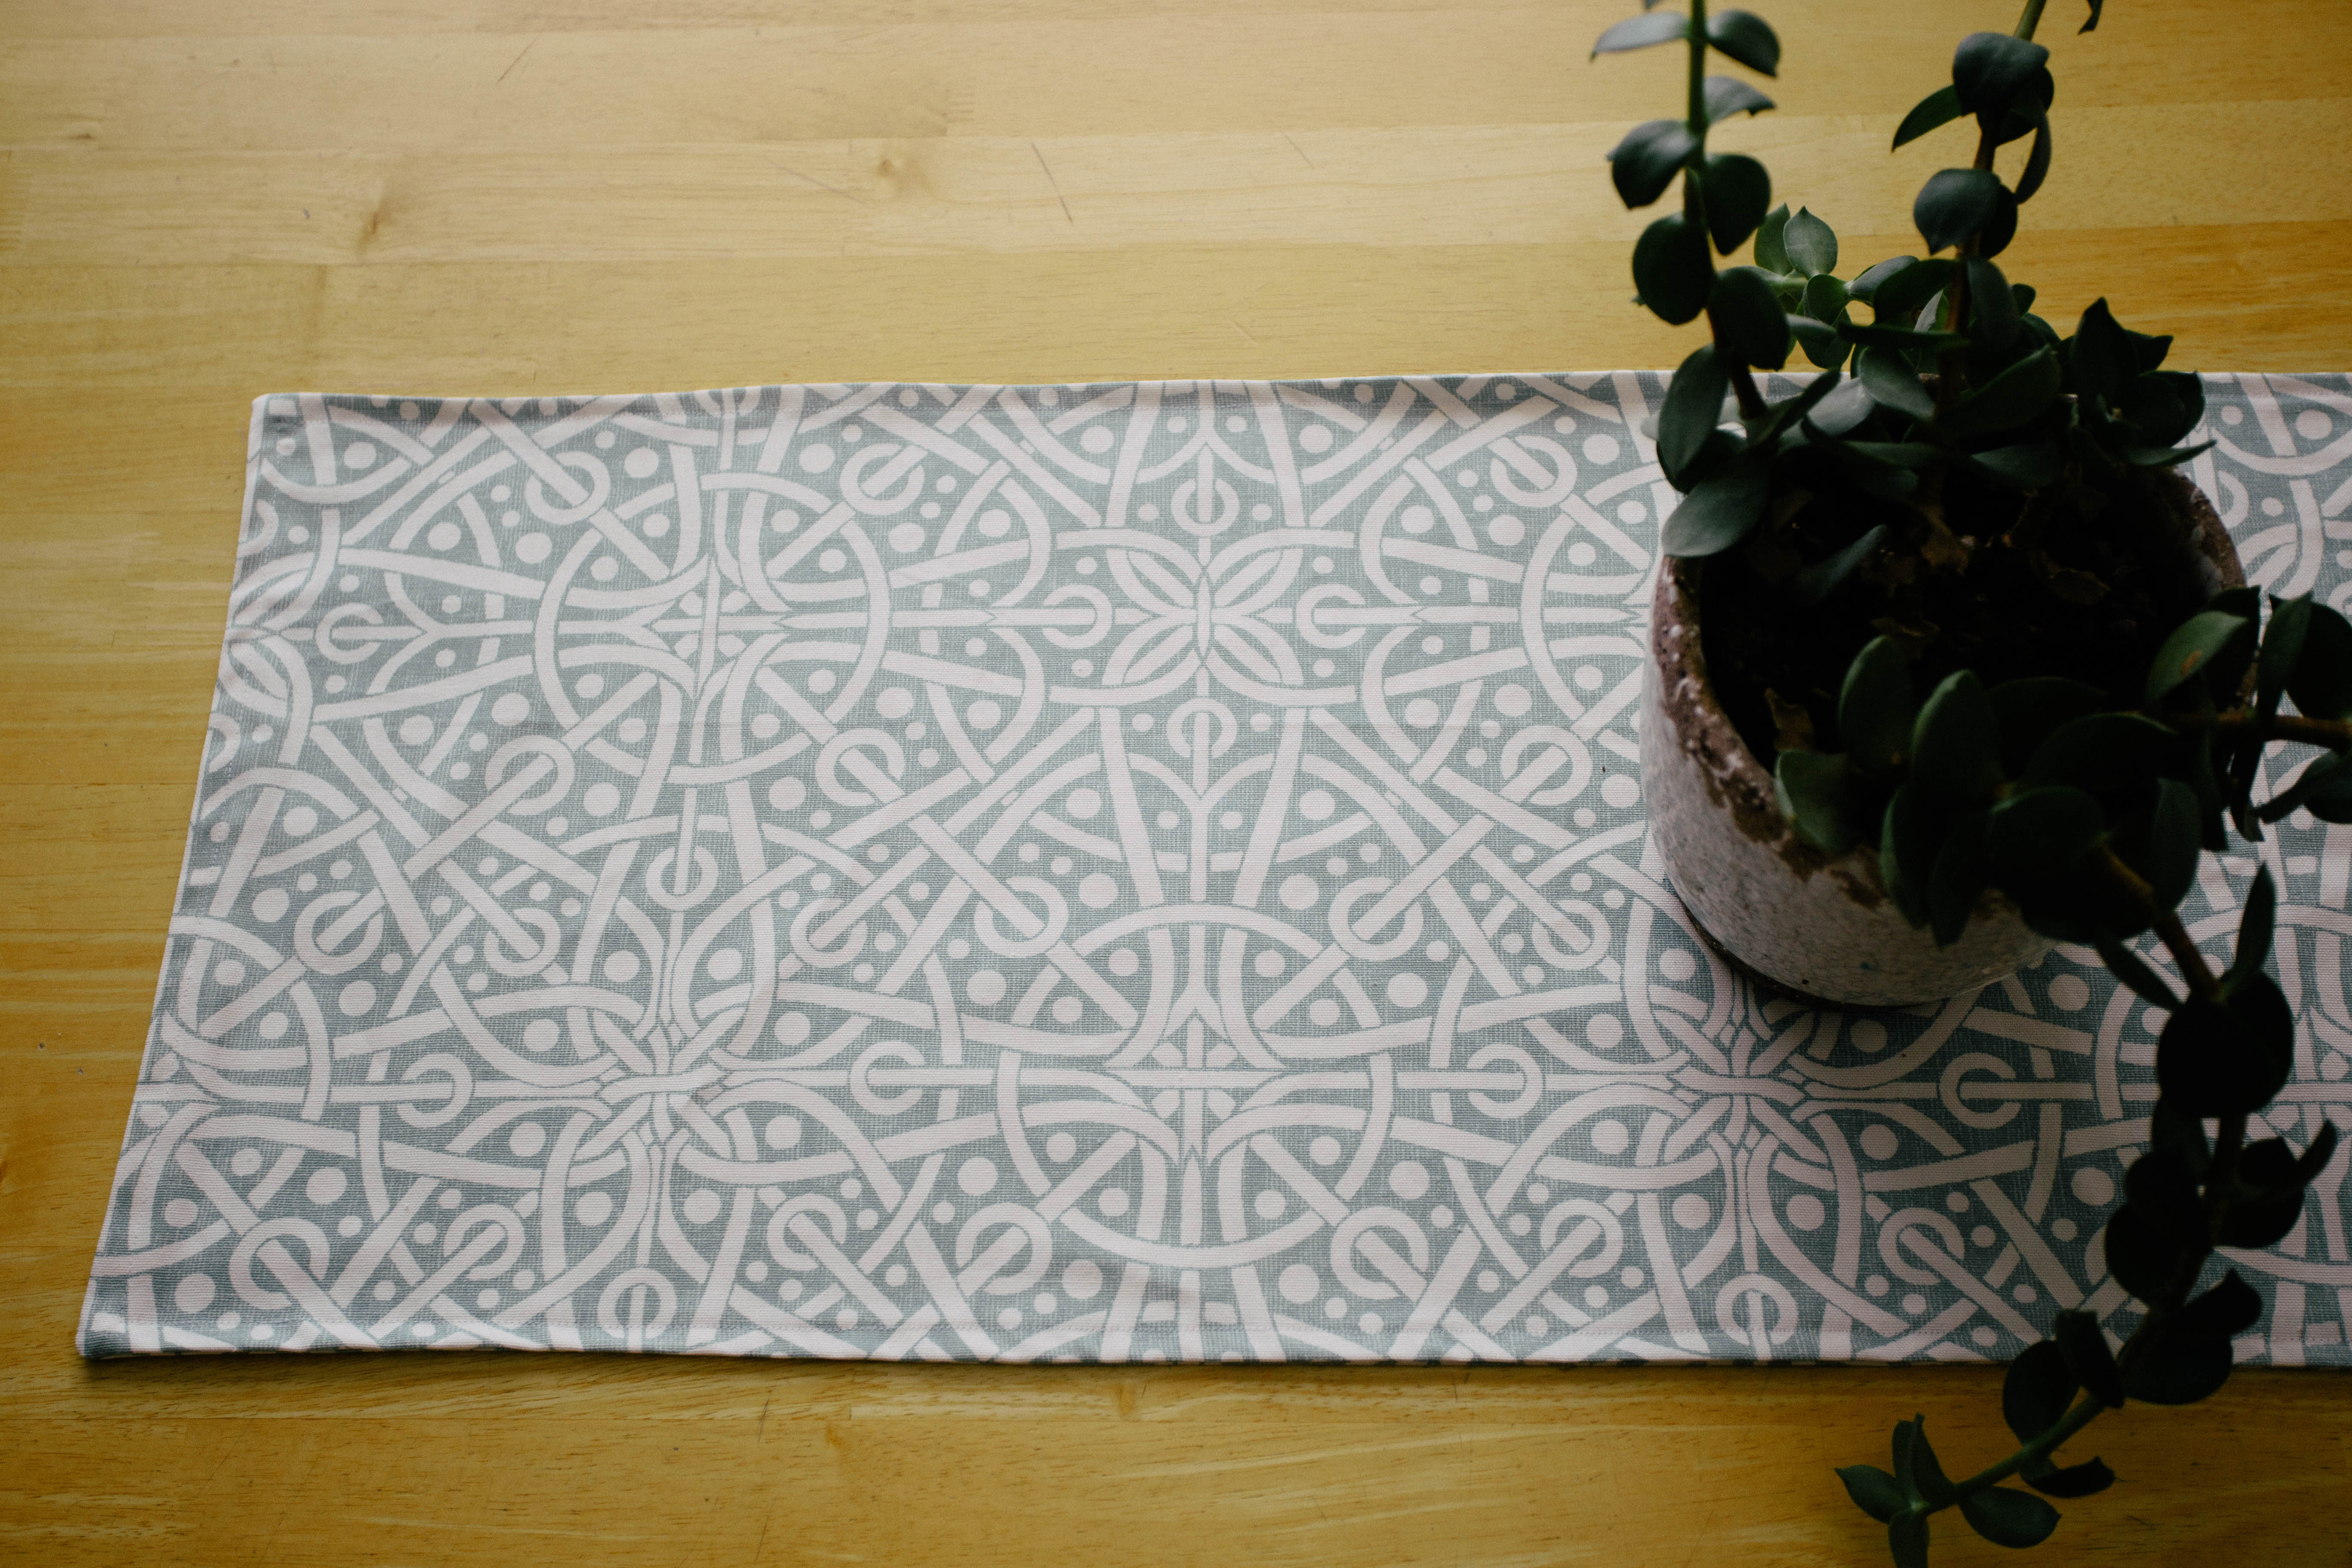
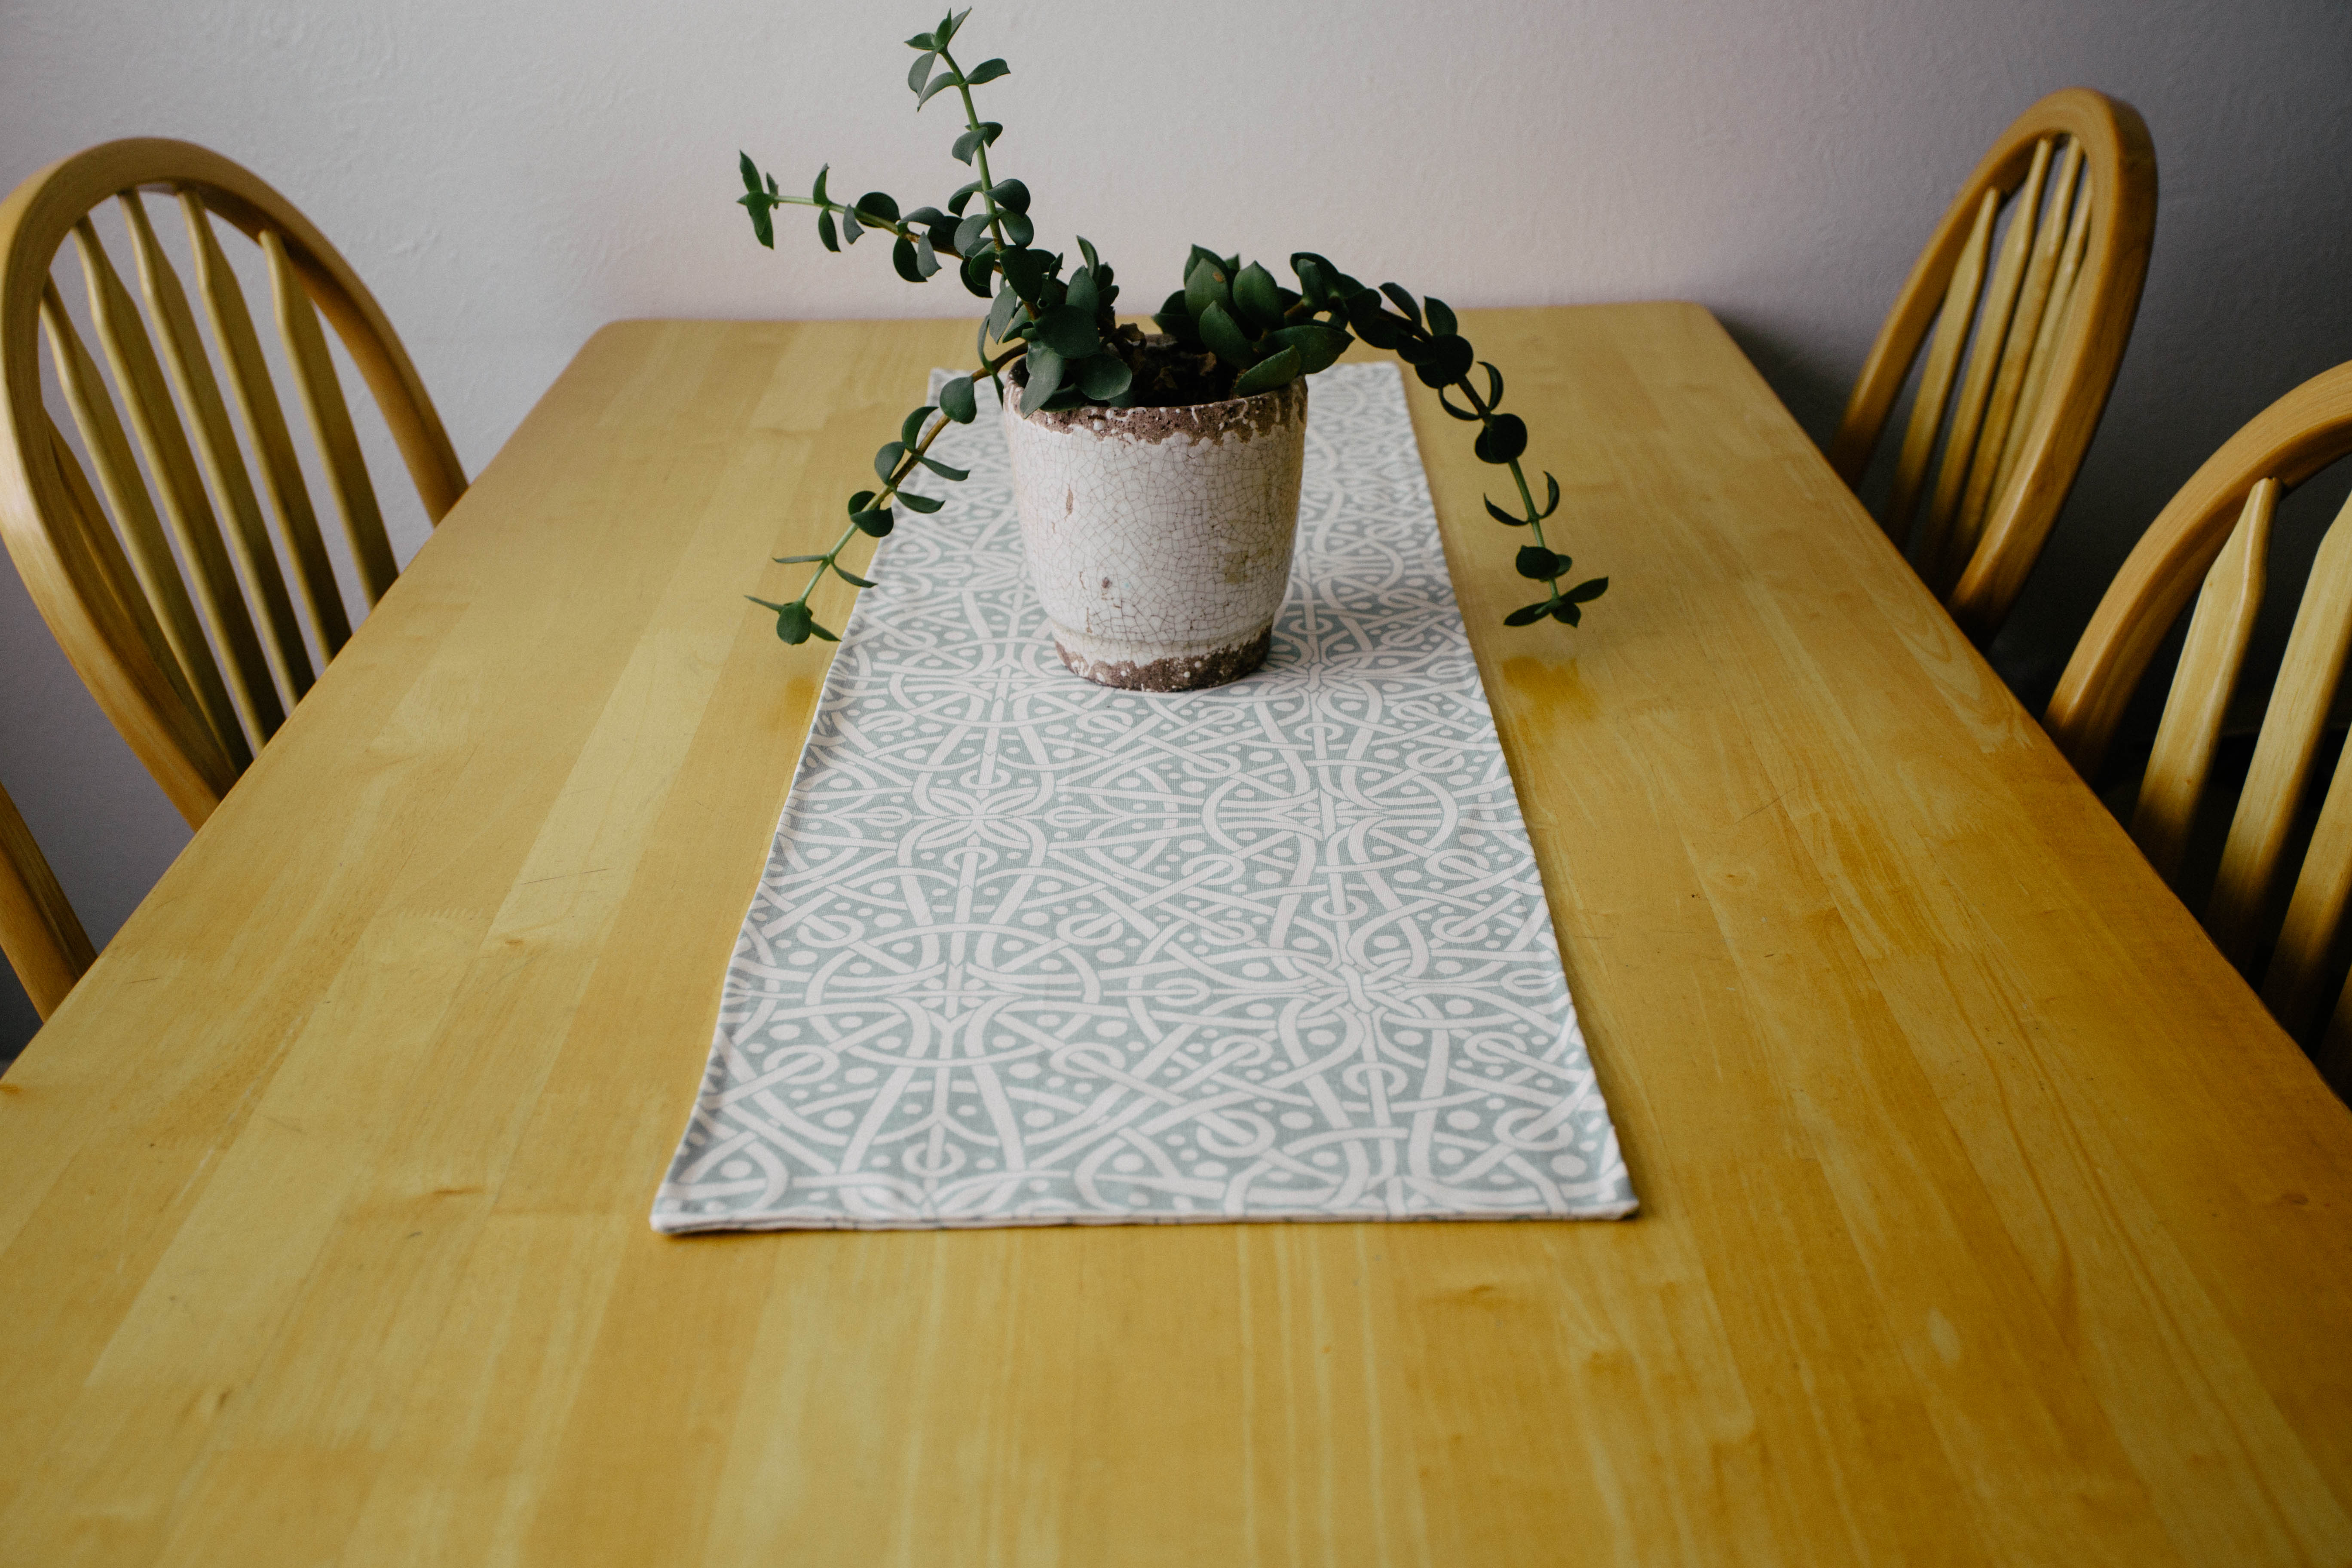
I’m pretty happy with how it turned out.
Do you love to use runners? Tablecloths?
How do you dress you tables?

