
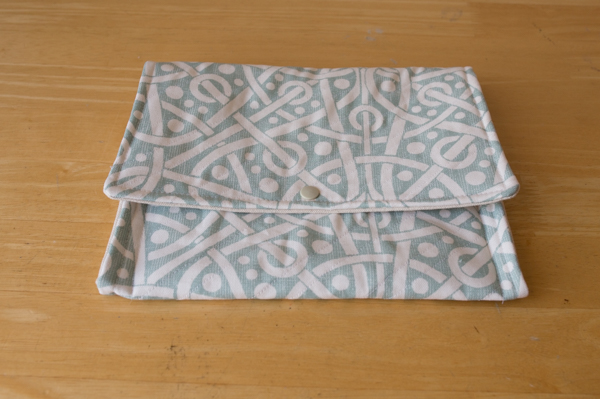
Quilted clutch
Hello! I’m back this week with a tutorial for a quilted diaper clutch. Now, you can totally use this as a regular clutch- I just used these measurements so it’d fit a few diapers & baby wipes for a great on-the-go baby shower gift! Feel free to change the dimensions to suit your needs.
Here’s what you’ll need:


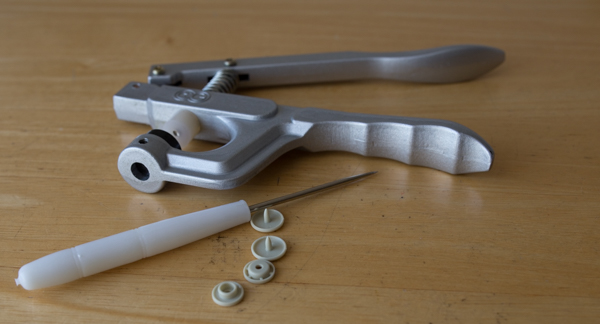
1/3 yd each of Galaxy Spa and 7 oz. Cotton Duck Natural, 1/3 yd of thin batting or medium weight interfacing, snap press & one snap.

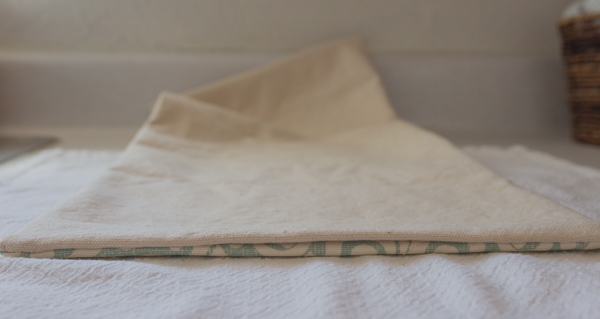
Cut one piece of each fabric. Mine measured 11″ x 22″. Now, just a quick note: I used quilt batting for my stabilizer, but it was admittedly thick. I recommend using either a thinner batting or a medium weight interfacing.
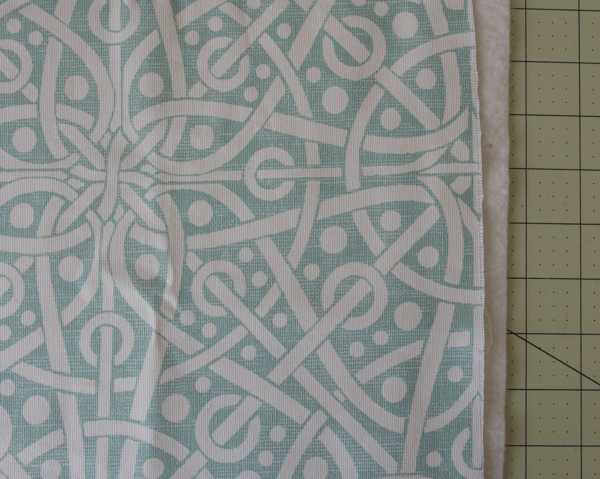
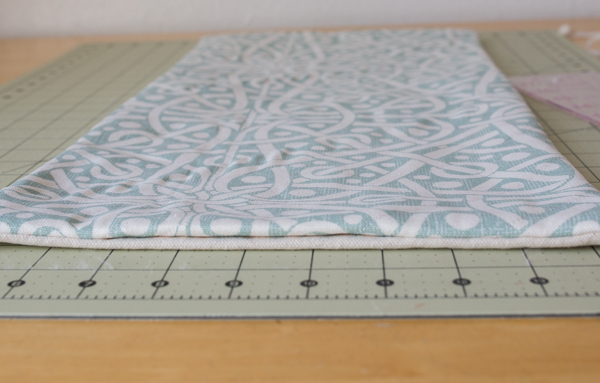
Lay the printed fabric face up over your stabilizer. Pin if you want. I didn’t pin, but I’m not super picky about quilting super straight.
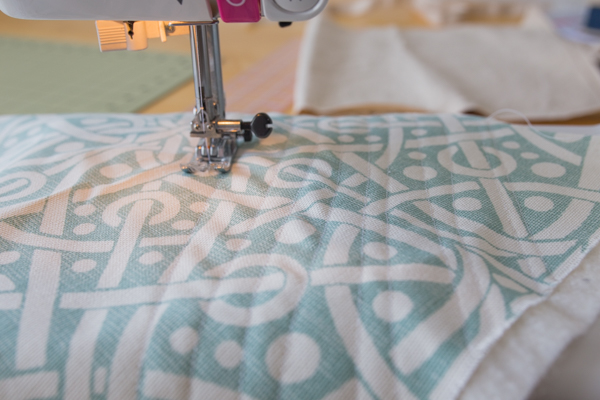
Next, quilt the fabric to the stabilizer. I quilted diagonal lines. They are not all straight, or evenly spaced, but I like the randomness.
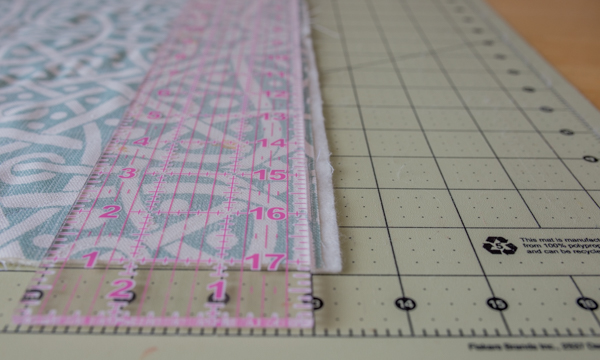

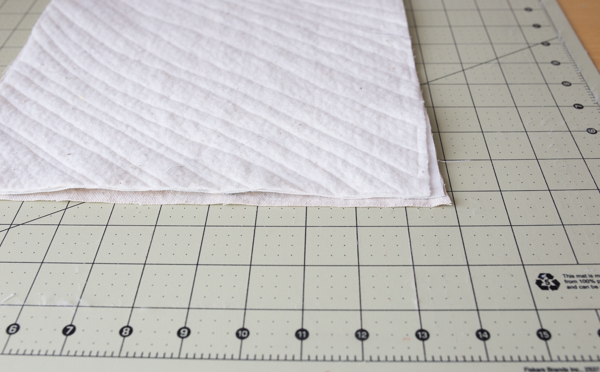
Next, trim your fabric & stabilizer.
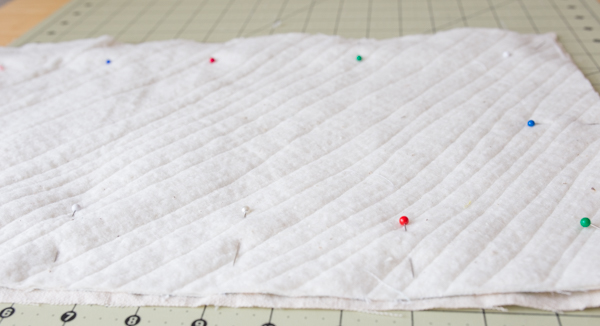
Lay the duck cloth down, then place the quilted fabrics on top, printed side down. Pin together.
Sew together, leaving an opening to turn out.

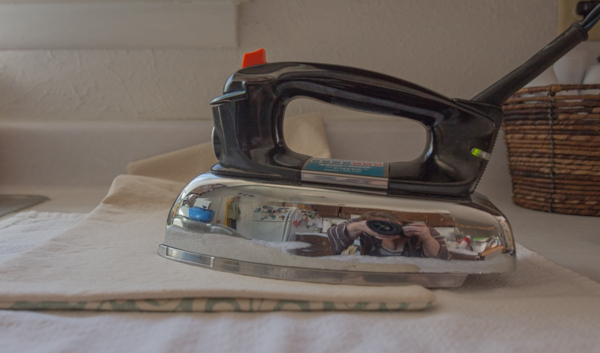
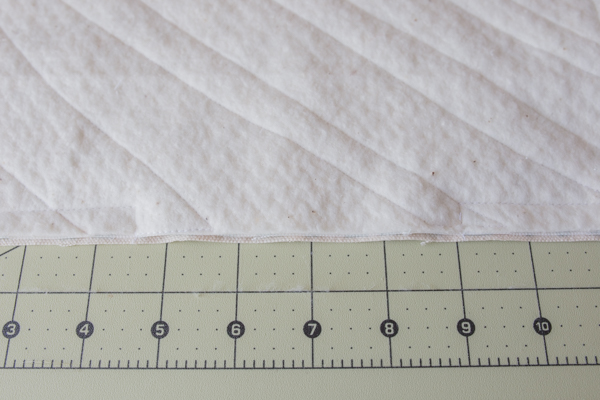
Turn right-side out, then press, paying special attention to the opening.
Top stitch all the way around, to close up the opening. I used a 3/8″ seam allowance.
Now is when you’ll need the snap press.
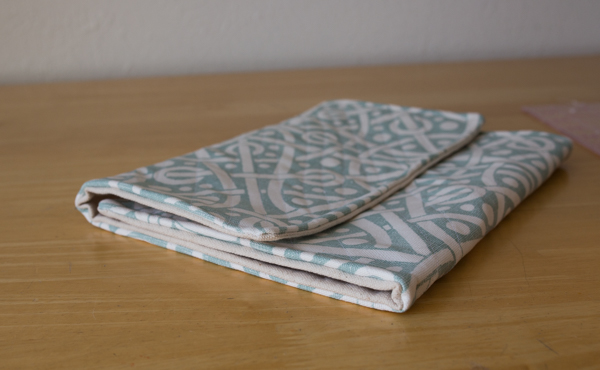
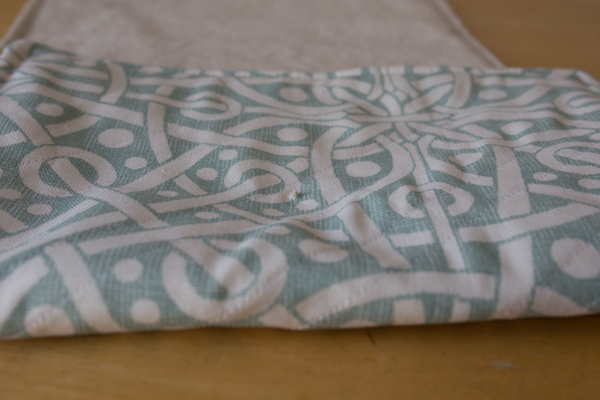
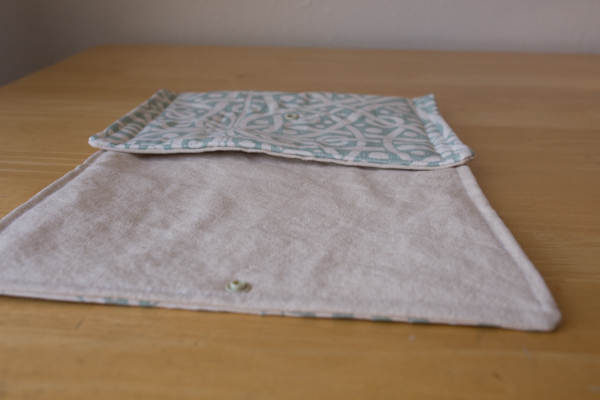
Fold your clutch the way you’d like it to be.
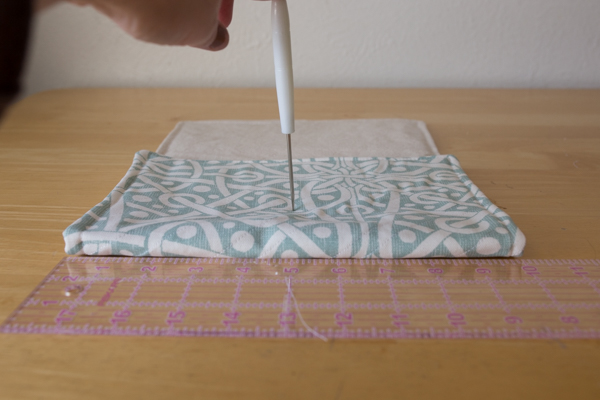
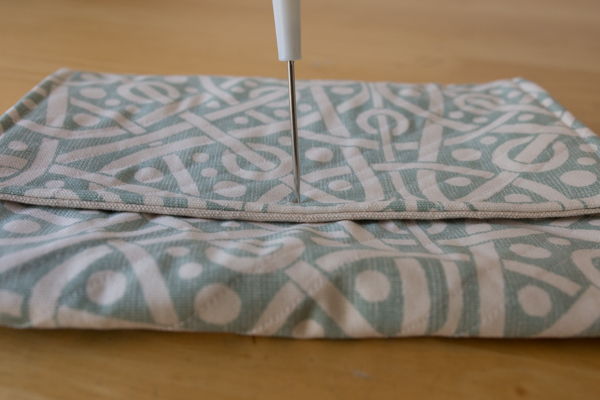
Decide where you want to place the snap. I started with the bottom piece first, and measured exactly halfway across the width of the clutch. Pierce a hole exactly where you’d like the snap to go.
Place the spike of the post through the hole.
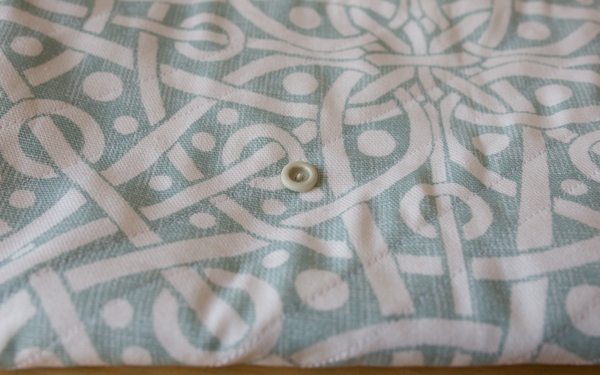
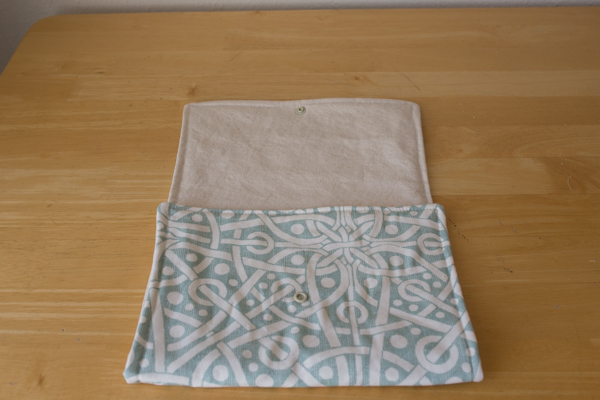
Place the cap over the spike, and press.
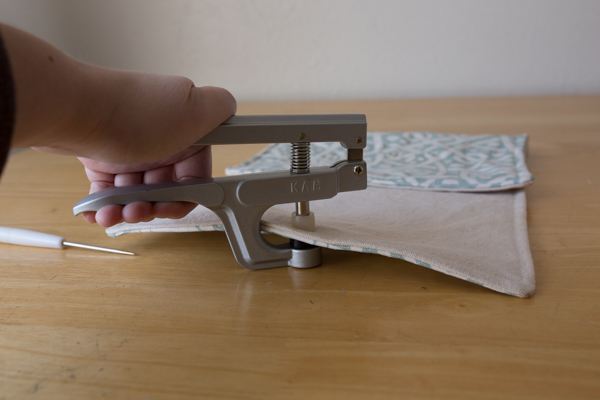
Fold the top over, then feel for the snap underneath & pierce another hole exactly over it. Repeat the pressing process.
You’re almost finished!
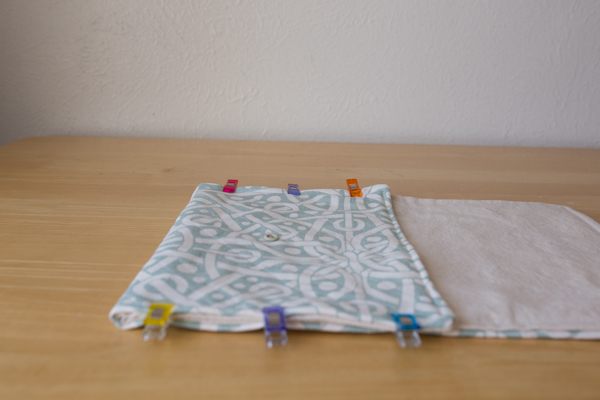
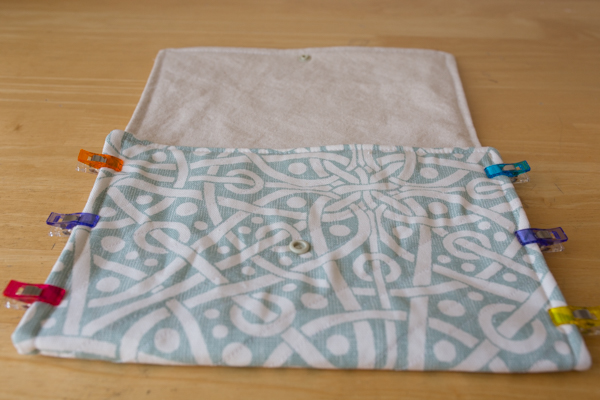
If you can get a pin through all the layers, go for it! If not, use wonder clips like me!

Sew down both sides, backstitching at both ends for a knot.
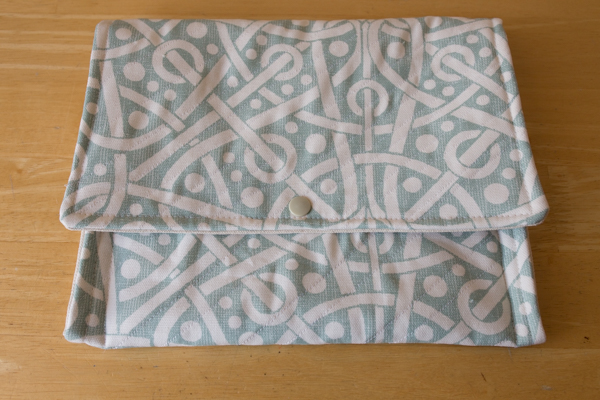
You’re done! I think this clutch is so cute, easy, and functional!

