
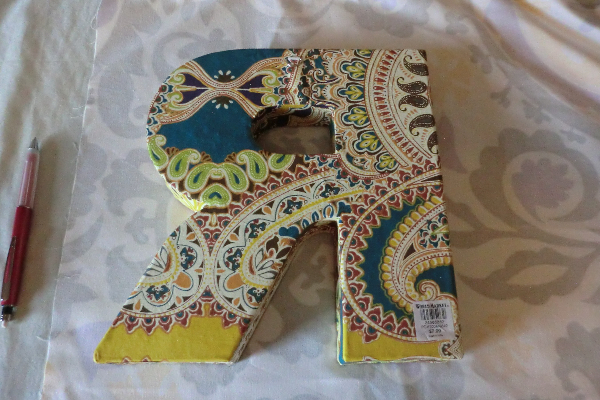
Recover a letter with fabric, and a goodbye
 Ever wanted to redecorate a big letter for a child’s room? I found one at Cost Plus that was half off and decided to give it a try with fabric, ribbon and good ol’ Mod Podge.
Incidentally, this is my last post for this blog. I’ve had a wonderful five years with Warehouse Fabrics Inc. doing this blog and communicating with you all through social media, newsletters and comments here. I’m sad to go, but after many years as a journalist and several years as a blogger, I’m taking a different road — to teaching. It’s back to school for me. I’m excited about my new future, but I’ll miss this gig a whole lot. I want to thank Tanya at WFI for giving me this opportunity to work for a really great company.
But, never fear! We have found Mandie to take over the blog and chat with you on social media. Mandie will have a whole bunch of fantastic ideas and give a wonderful, fresh feel to the blog. So keep checking in!
Cheers!
Robyn
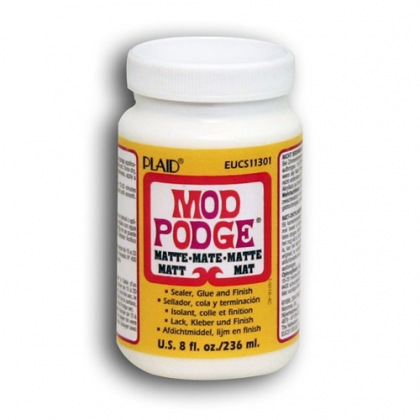
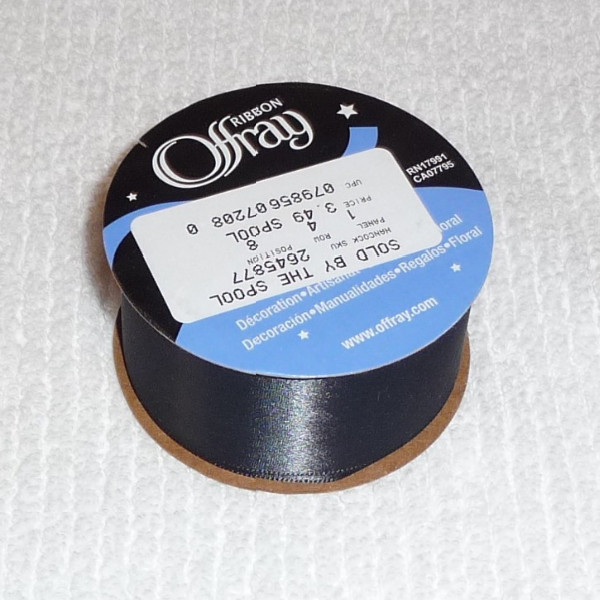
Supplies
Besides the letter …

The process
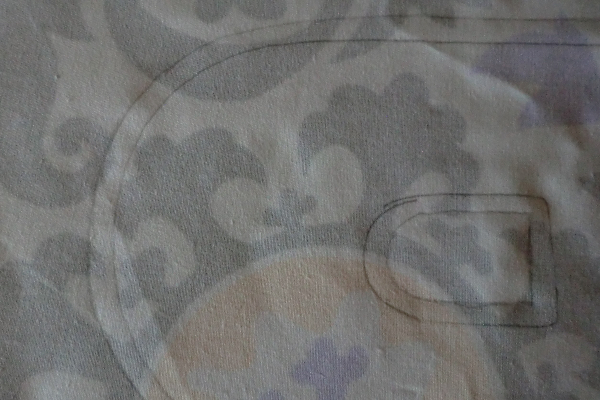
 To do the front of the letter, if it’s not symmetrical, you must trace it backward. Trace onto the back of your fabric. Because my letter has such a dark and busy design, I also traced onto white paper so that I could mute out some of that design and it wouldn’t show through.
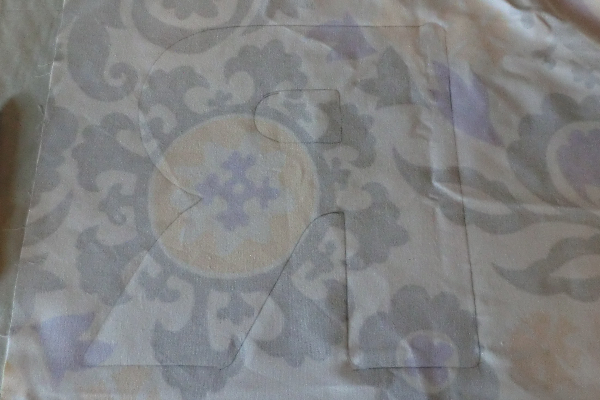 On the fabric, add a little fold over allowance. I did about a quarter inch, but a little more might be good.
 Here’s a close up. Cut out your fabric and paper (if needed) letter.
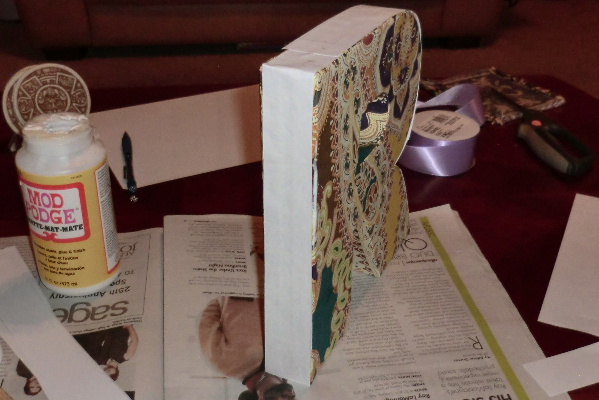 First I used Mod Podge to glue paper to the sides and front to cover up the design.
 Another picture.
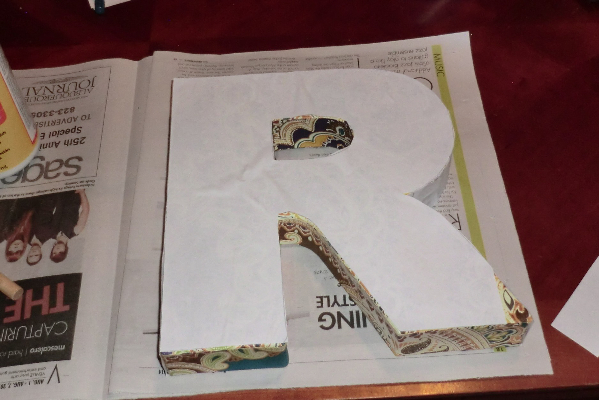
 Then I Mod Podged the fabric letter onto the front of my letter (feel free to do the back, too, if you want). Fold over the excess and stick to the sides. You’ll need to do some clipping to make it lie flat.
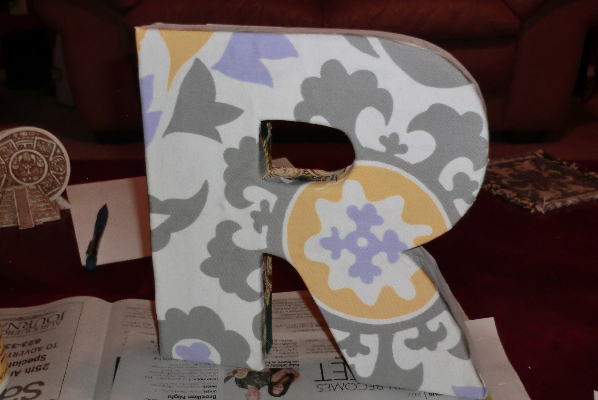 Here’s my glued on fabric.
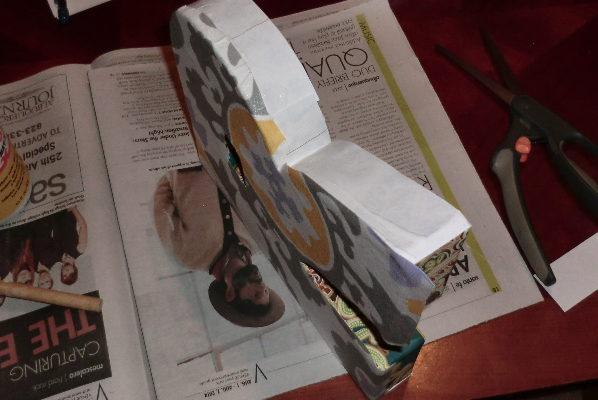
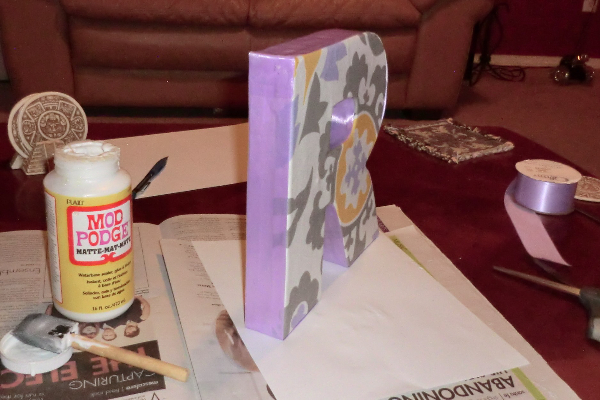 Next, take strips of your ribbon, which should be the exact width of your letter, if possible, and start using the Mod Podge to stick it on. The downside here is that my ribbon was light colored and the edge of the fabric shows through a bit. So there’s a lesson for you — maybe choose dark ribbon. Have the edge of the ribbon meet up with an edge of the letter rather than the middle of an edge. Fold over the end and glue down.
 This letter hanging around outside reminds me of something on “Sesame Street.” Like this video:
Because I simply had to leave you on a silly note! Goodbye, everyone! Please check back soon to see what Mandie has to offer you!

