 A rolled hem can take quite a bit of practice to master. For me, those special rolled-hem presser feet are impossible, though I suppose they wouldn’t exist if they were impossible for everyone. This technique produces a really nice rolled hem, even if you’re a beginner. Once you get the hang of it, you can probably avoid all the pressing and skip some of the steps.
Supplies
 [1]
[1]
The process

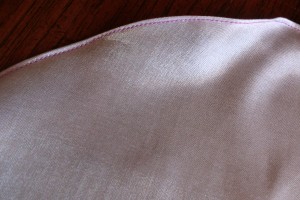
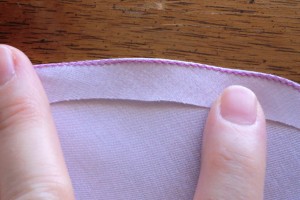
Stitch 1/8″ less than your seam allowance. If my seam allowance is 1/2″, then I’ll stitch 3/8″ from the edge.
It will look like this.
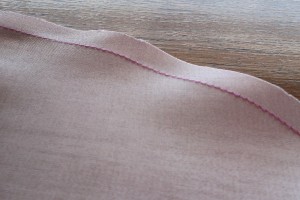
Press your seam allowance under, making sure your stitching is on the underside (not the right side of the fabric).
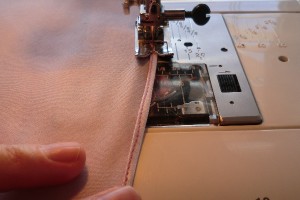
Stitch 1/16″ from the edge, as much on top of the existing stitching as you can.
Here are my two rows of stitching, right on top of each other. Of course, there were a few parts that I missed a bit, but naturally I will just take a picture of the best parts so that you will think I am perfect.
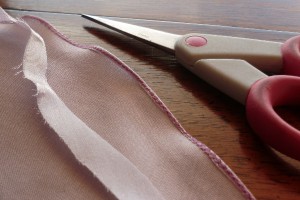
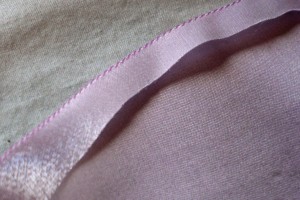
Trim the seam allowance as close as you can to the stitching. I found this was easy to do with tiny, sharp scissors, as opposed to my big shears.
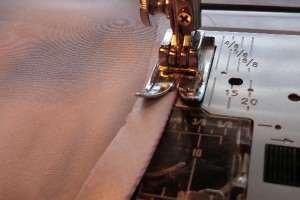
Roll the edge over again so that the stitching is on the underside and press (or, if you want, you can just skip the pressing and try to roll as you go).
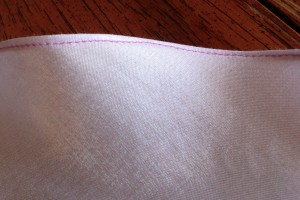
Final result is a narrow rolled hem.