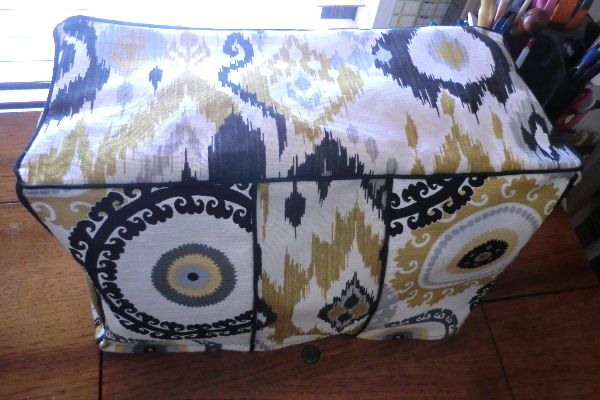
Sewing machine cover
 This cute sewing machine cover is part of a mini-makeover for my sewing space that I’ll be sharing part by part. I used two coordinating fabrics and black piping to separate them and create some contrast. This project can be adapted to fit your machine.
Supplies
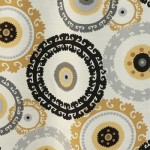

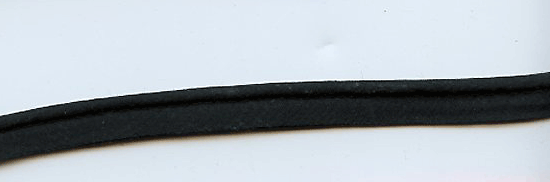
1/3-1/2 yard of each fabric and two packages of piping are needed for this project. Amounts may vary if your fabric is directional.
The pattern
Measure your machine’s height, width and depth. Take into account things like the thread spool or other parts that might stick out. Mine was 10″x15.5″x7″. I rounded the 15.5 to 16 for simplicity. I also have my machine sitting in a cabinet, so I didn’t measure the full height of the machine, but rather from the top to the top of the table. Add 1″ seam allowances to each width and height.
Here are your pieces (with my dimensions in parenthesis), and this includes seam allowances:
Top panel: WxD (17″x8″) (cut 1 from fabric A)
Back panel: WxH (17″x11″) (cut 1 from fabric B)
Sides (2): DxH (8″x11″) (cut 2 from fabric A)
Front will be divided into three panels. I randomly made my center one 5″ (including seam allowance) and then subtracted that from the width (17″-5″=12″) then divided in half (12″/2″=6″). So my two side pieces for the front were 7″x11″ and the center one was 5″x11″. Follow that math to custom make your own, but feel free to make the center piece whatever width you’d like. (cut 1 center panel from fabric A and two side panels from fabric B)
The process
 Pin piping around the edges of the top piece. Clip the corners a bit to help it around.
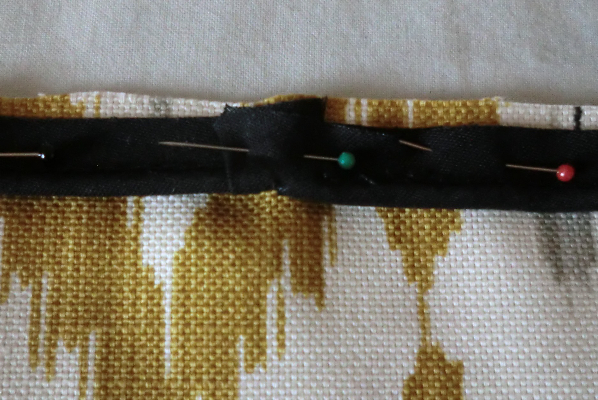 Overlap the ends. See this tutorial.
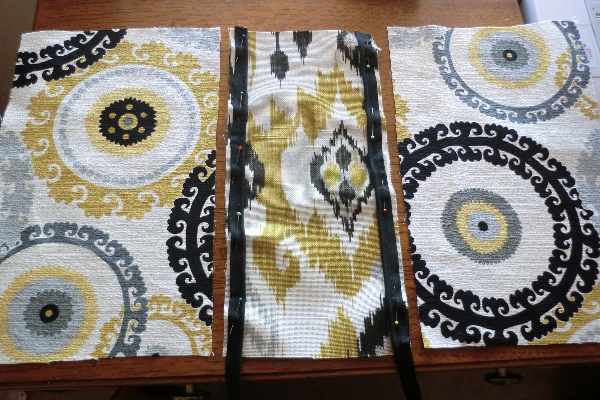 Pin piping down both long sides of the center piece of the front panel.
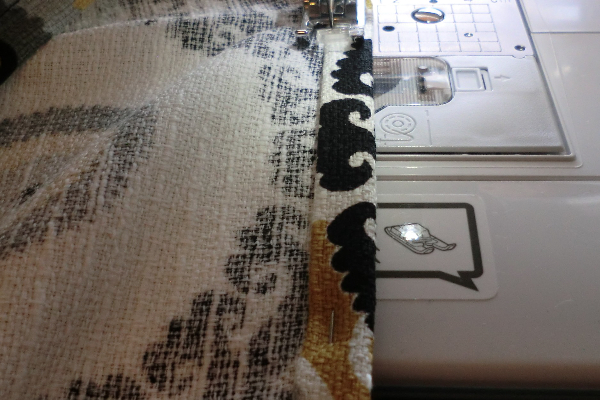
 Pin piping down either long side of the side panels. Sew all piping in place using a piping foot.
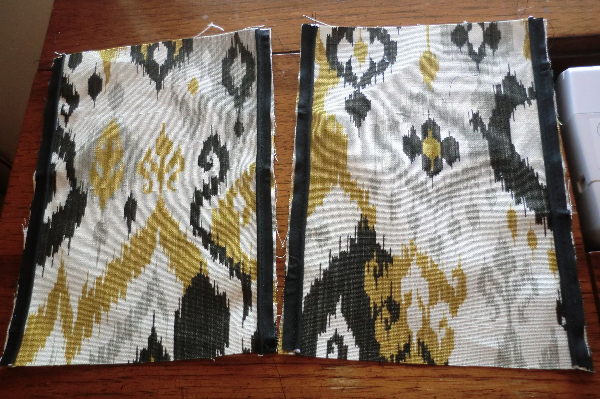
 Stitch the two side panels to the center panel of the front. Continue using your piping foot for most of the rest of the tutorial.
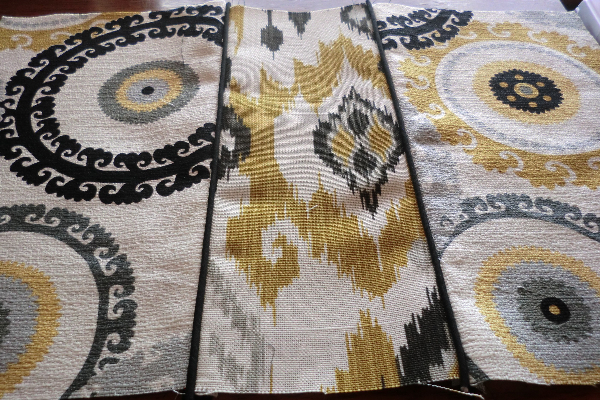
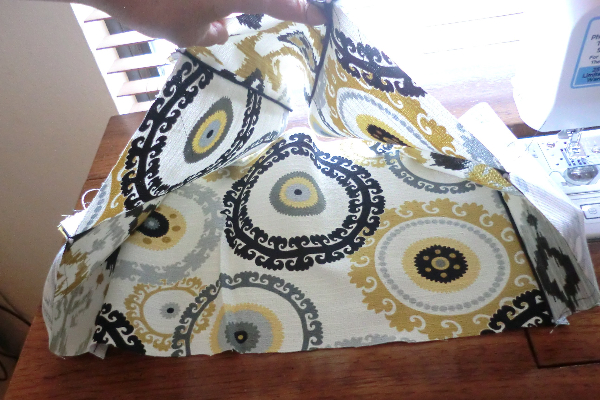 Stitch the sides to the front panel and the back to the side panels, essentially forming a loop. Taking pictures of this is kind of difficult!
NOTE: start and stop 1/2″ from either end. This will make the next step easier.
 Stitch the top panel to the top of your “loop.” I prefer to pin and sew each side individually, starting and stopping 1/2″ from the ends.
 Hem the bottom edge.

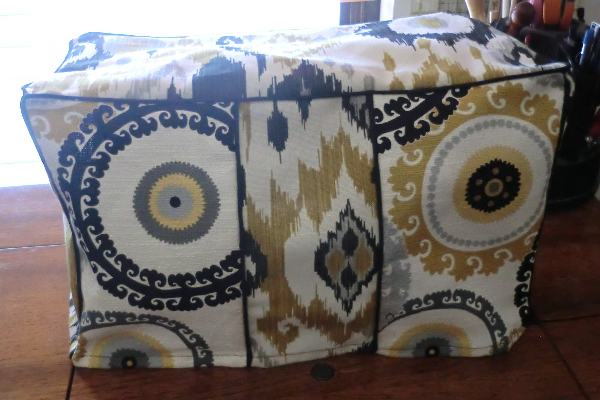
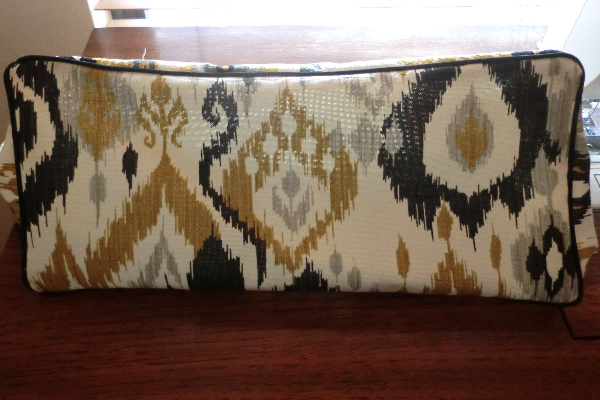
Other views