Sweet little finger mitts
Supplies
(Click fabrics for direct links for purchase at Warehouse Fabrics Inc.)
| One-quarter yard of each fabric and the Insulbright should do it. One package of matching bias tape.
1/2″ seam allowances. |
|||
The pattern
| finger mitt pattern |
|
Print the attached PDF. Please forgive my crude drawing.
Cut out the following to make a pair of mitts: Finger pocket:
|
The process
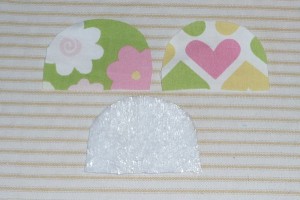 |
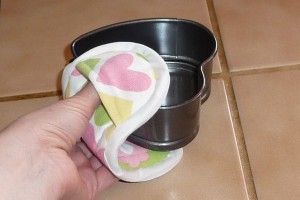
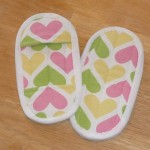
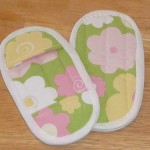
I made my mitts opposites of each other. On one, the hearts make up the back and the flowers the front, and the other is the reverse.
For each finger pocket, you’ll need two fabric pieces of your choice and a piece of Insulbright. (You’ll be making four pockets.) |
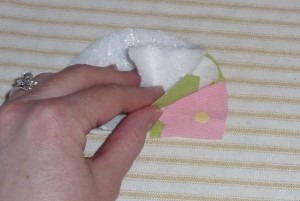 |
Sandwich as follows: Fabrics right-sides together and the Insulbright on top of that.
NOTE: One side of your Insulbright is more metallic looking. That is the side that should face the heat source throughout this tutorial. See three steps below. |
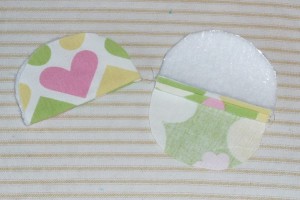 |
Sew along the straight edge with a 1/2 seam allowance. Press seam allowance open. Turn right-side out and press. |
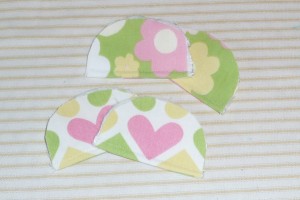 |
Do all of your finger pockets this way and top stitch along the straight edge. |
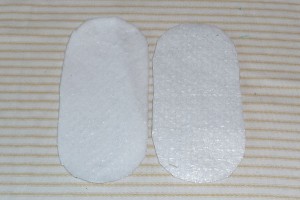 |
Remember what I said above about one side looking more metallic and that side facing the heat source? In this picture, it’s the piece on the right that demonstrates that side. |
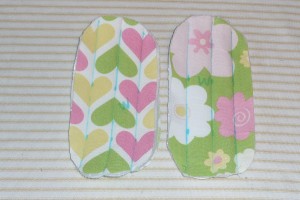 |
Sandwich your main mitt pieces with right sides of fabric facing out and two pieces of Insulbright in the middle. Then quilt. I’ve simply channel quilted, using a water soluble marker to draw the lines. I also wrote a “W” on each piece to mark the “wrong” side. This just helped me remember which way I faced my Insulbright. |
 |
Grab your bias tape. I used store-bought extra-wide double fold. If you would like to make your own, we have a tutorial here using an inexpensive bias-tape maker.
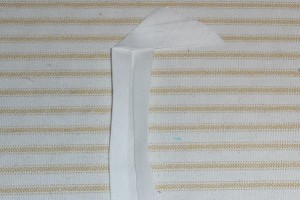
Open the tape and fold over the top at a right angle. Press. |
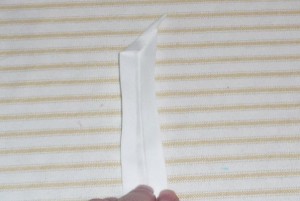 |
Trim the folded-over piece. |
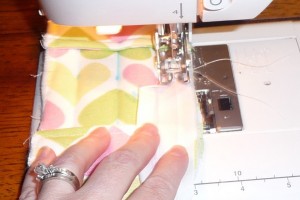 |
Open up your tape the rest of the way and place the right crease on your seam allowance. You’ll stitch along this crease all the way around. You can click the picture for a bigger view. |
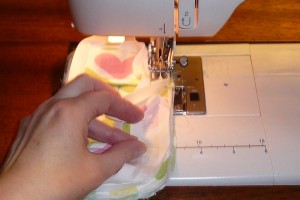 |
When you get back around, trim the end of your bias tape so that it overlaps the beginning just a bit. I usually trim diagonally to reduce bulk. |
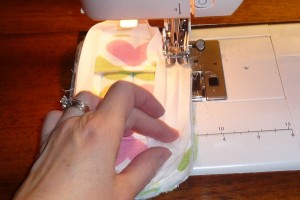 |
Then lay the end on top of the beginning and continue sewing. |
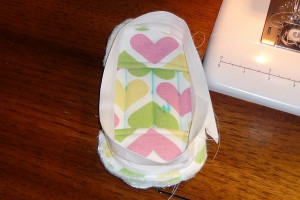 |
You should end up with this. Now, just flip that bias tape around the edges. |
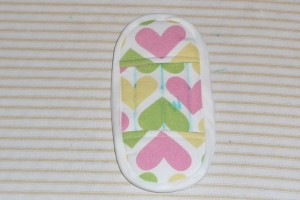 |
Here it is flipped around. On the other side, it’s still just loose. By the way, after I’m done, I’ll simply spray with water to remove the markings. |
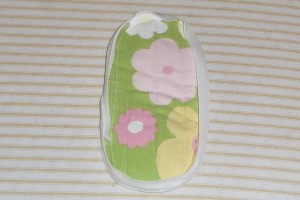 |
Here is a view from the back. Now we need to sew this bias tape down in the back.
|
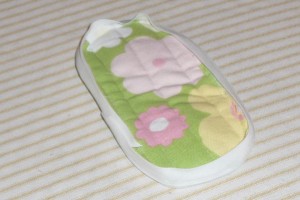 |
One way to do this is to stitch in the ditch on the other other side and hope you do a good job evenly catching the loose side in the back. That, uh, never happens for me. Well, at least not with a lot of layers like this project has. So I prefer to just slip-stitch by hand. These are small and it didn’t take me long at all.
There is a method to doing it by machine, but like I said, I think it works best with a thin piece of fabric. Some parts of this project are seven layers thick, so it’s just really hard to do nicely if you’re not very, very practiced. I will probably do a tutorial on the machine method soon. |
Other views
(Click for bigger views)
 |
 |
 |

