Bean bag chair
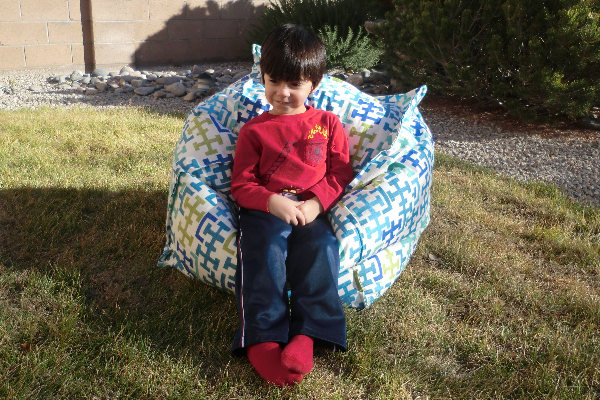
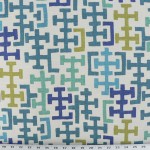
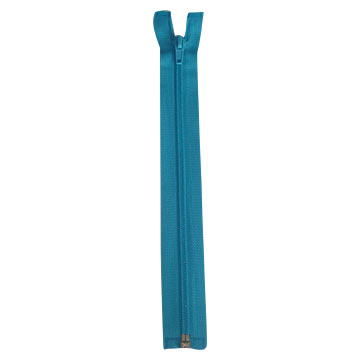
 OK, who didn’t want a bean bag when they were a kid? And who never seemed to get one? DON’T BE THAT PARENT, PEOPLE! Make your kid the perfect beanbag RIGHT NOW! This is one of our newer fabrics, and I fell right in love with it at first sight. I thought it was great for a boy, and wasn’t directional or anything complicated. I thoughtfully put a zipper on this, perhaps for easy washing someday or so that my toddler can unzip it and let loose all of those nightmarish beanbag pellets. Yeah, after the experience of filling it, I will never empty it to wash it. Never, ever.
I actually wanted to make a beanbag for a long time, but the pellets seemed cost-prohibitive online. Then I found out Kmart sells big bags of them. I think this bag was about $11.
Supplies

Pattern
Cut six equal squares (see tutorial below). I made mine 24″ square, but you can alter that if you want it bigger or smaller. Try Kmart for the pellets at a good price. This took more than one bag. Instead of getting a second bag, I used some out of another bean bag I had lying around that I didn’t want. Any zipper that is smaller than your square will work. I had 2-1/8 yards of fabric.
1/2″ seam allowance.
The process
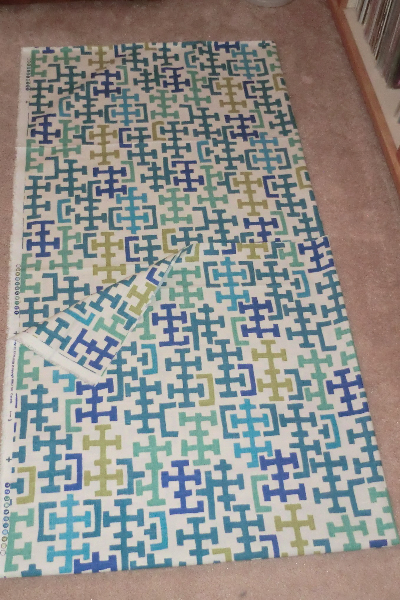
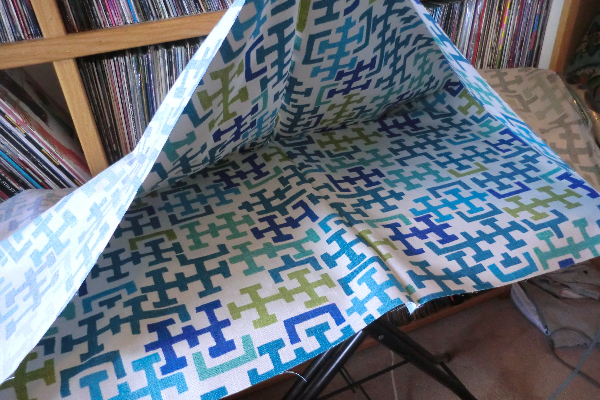
Fold your fabric with selvages together. Then fold 1/3 of it up toward the center (above).
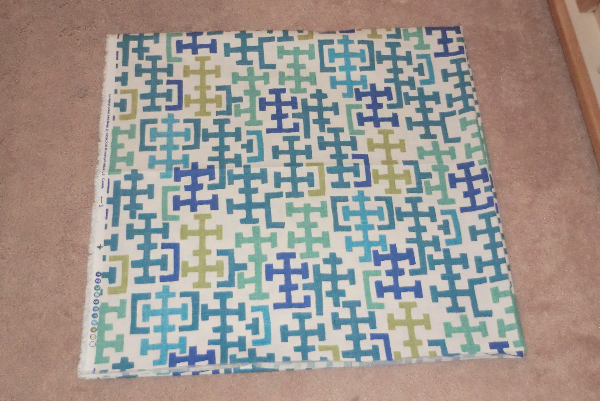
Then fold the other 1/3 down. Now your fabric is six layers thick. We need six equal squares. Perfect!
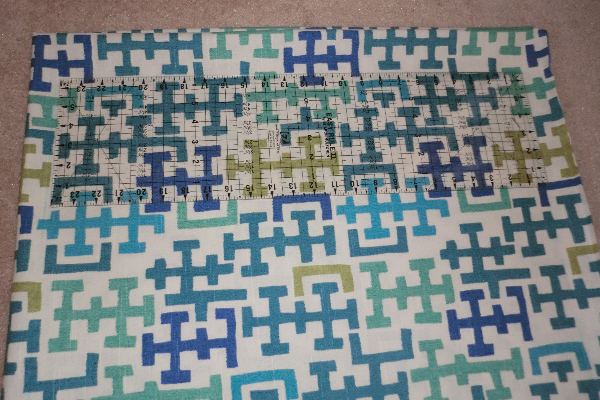
Make your beanbag whatever size you’d like, but I did 24″ because this ruler was 24″ and it made it easy for me. I used a fabric marker to mark the lines of the square and then cut right through all six layers.
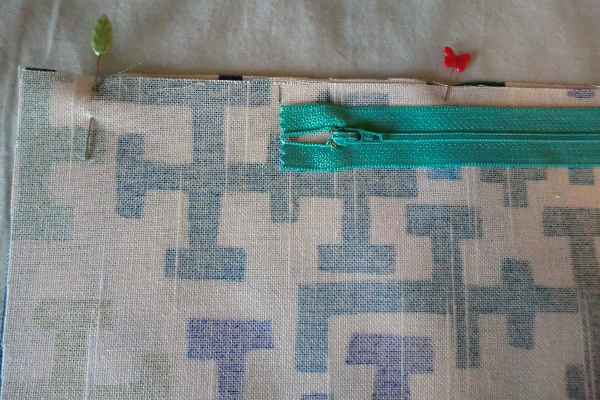
On one square, center your zipper and mark the top and bottom edges and also where the zipper teeth start and stop.
Stitch your square to another square, starting at the corners (start/stop 1/2″ from the edges) and stopping at the mark that designates your zipper teeth. Do this on both ends. Between that stitching, baste the fabric with a long stitch.
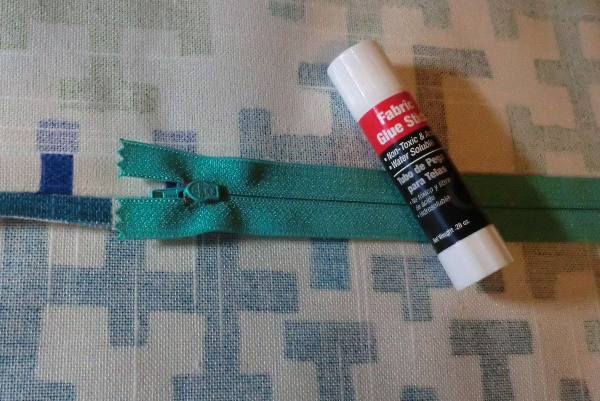
Press your seam allowance open and set your zipper tape, teeth down, on the seam allowance (where the basting stitches are). I like to use a fabric glue stick to help secure the zipper and keep it from sliding around, but I also use pins.
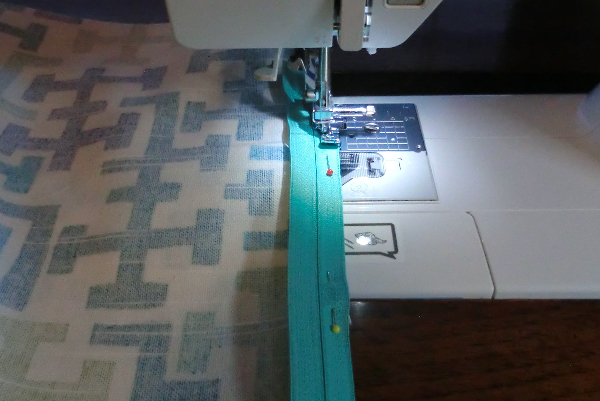
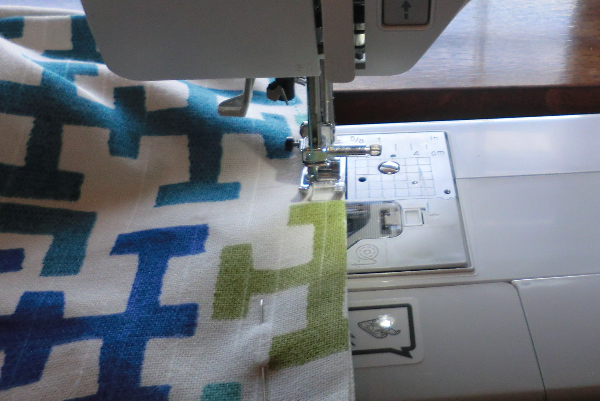
Using a zipper foot, stitch close-ish to the zipper teeth on either side. You may need to start below the zipper pull and then after you finish the first side, slide the pull down and finish the top few inches.
Repeat on the other side, only because your fabric is basted shut, you won’t be able to move the zipper pull out of the way until you remove some of those basting stitches. That’s OK. Go ahead and take all of the basting stitches out.
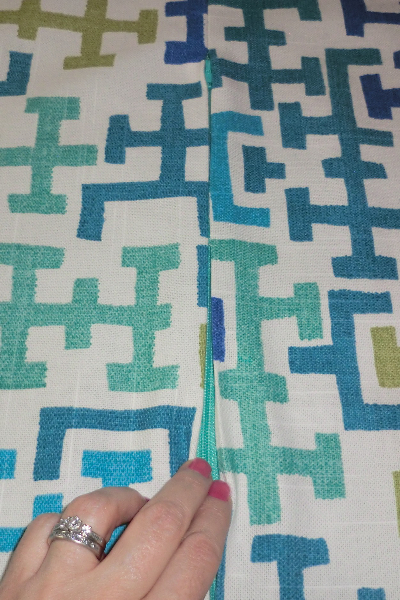
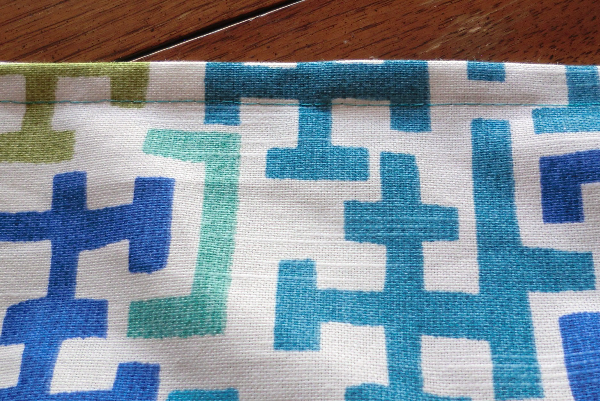
Even though this is not an invisible zipper, you can barely detect it. I’m holding it apart at the bottom, but above that, you can’t even see it.
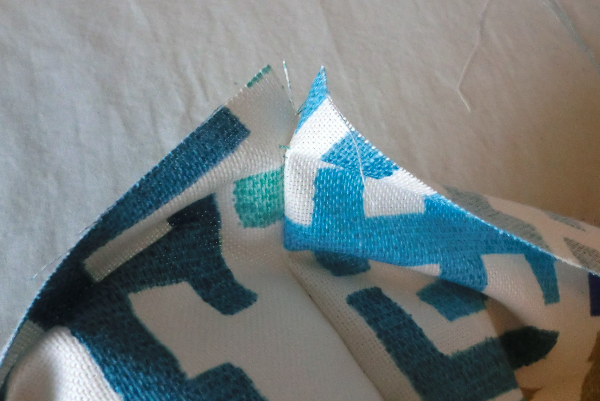
NOTE: When stitching your panels together, start/stop 1/2″ from the edges. This will make the corners much easier to work with.
Sew four panels together, forming a sort of loop. Then stitch one panel on the top and one on the bottom to form a cube. Before you totally close things up, make sure to open your zipper so you can turn it right-side out. After sewing, go ahead and do that, and gently poke out the corners.
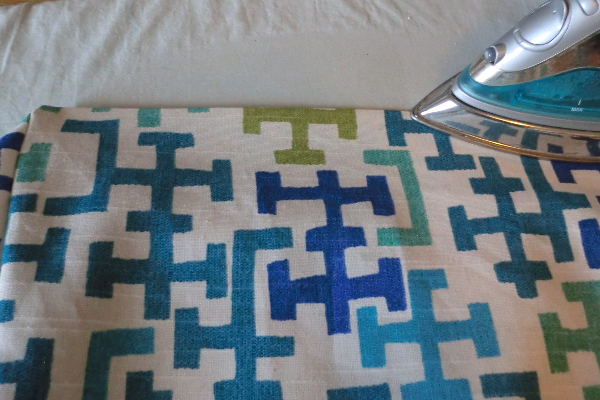
On each edge, press it flat and pin to secure.
Top stitch along each sewn edge 1/2″ from the edge, starting and stopping 1/2″ from the corners. Then sew the next edge in the same way. The stitching should meet at the corners. I almost ran out of thread. You know when you’re watching the nearly empty spool spinning and getting whiter and whiter and you’re starting to sweat just a little, because you really don’t want to make a trip to the store just to sew the last 18 inches of your project? That was me.
NOTE: This step is purely for design aesthetic. It’s not necessary. If you just want a plain ol’ cube, you can skip this.
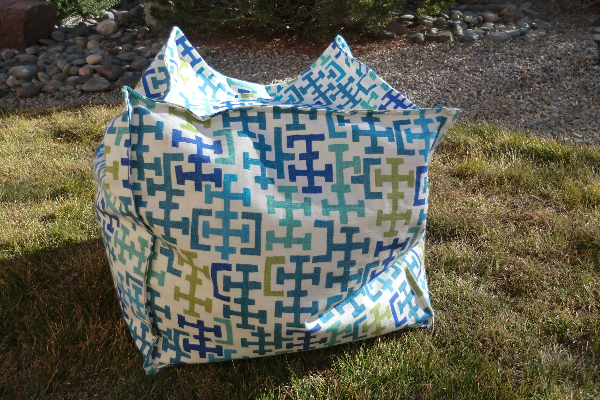
So this is what it will look like.
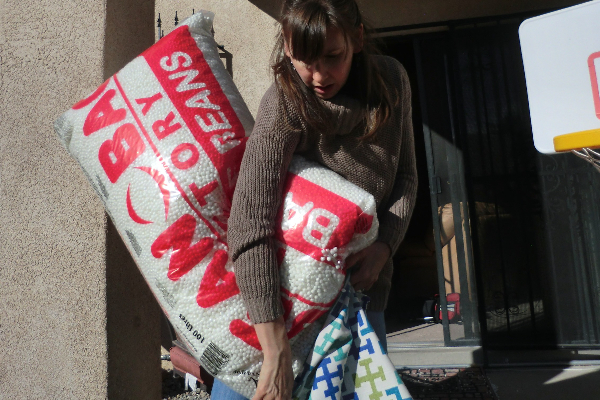
OK, time to talk bean pellets. Oh, lordy. This was hell. HELL, I tell you. These things fly all over the place, and they are sort of static-y, too, so they cling to everything. It was also a windy day — just my luck. There is just no easy way for one person to hold the bag open and also control the big pellet bag and pour the pellets in. This was after a good 10 minutes of battling with it. I told my 3-year-old to get a picture. I’m surprised he actually did. I look pretty awful, but I think it conveys my misery. My husband was at work and my neighbor wasn’t home and my toddler was just screeching and chasing styrofoam pellets all over the yard, so I just gave up and decided to wait until the next day when my husband could help. My point? Grab a bean bag buddy.
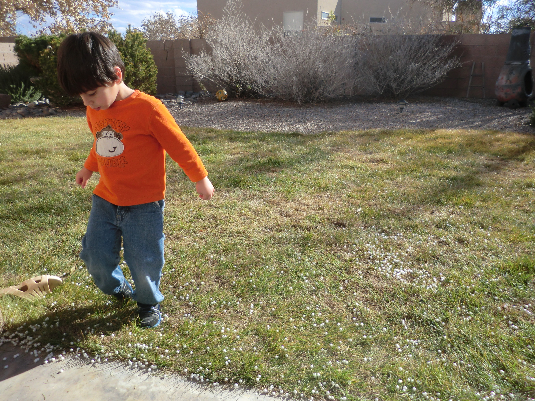
No, it didn’t hail. I just littered the entire neighborhood with non-decomposing styro pellets. Yay me!
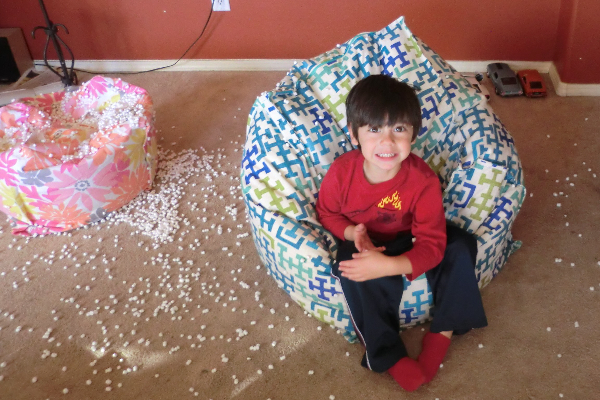
OK, so Day 2. I had my husband help me empty the rest of the big bag of pellets into the bean bag. It wasn’t nearly enough. Fortunately, I had a small bean bag that I bought on clearance a while back and I could cut it open and use the pellets out of that. Since it was still windy out, I decided to move inside and do the best that I could not to make a mess. My son had other ideas.
NOTE: One thing to keep in mind is that you don’t want to fill your bean bag too full or you won’t be able to sink down into it. The pink one above that I bought was overstuffed and when my kid sat on it, he was just perched on top. I was glad to see that beforehand or I probably would have overfilled this one.
Other views