
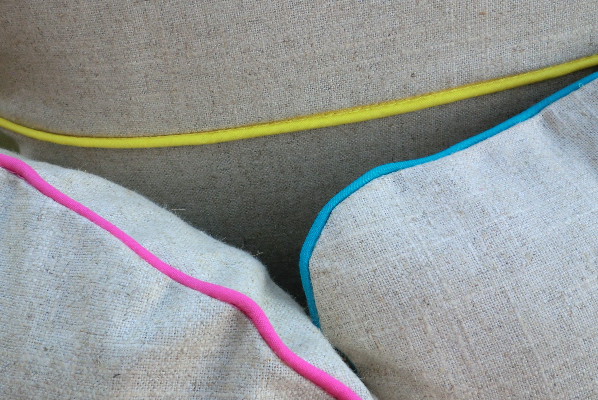
Bright contrast on linen pillows — plus rounded corners, square pillow
 I love the simplicity and earthiness of linen, and adding a punch of color is really fun. (See, also, these napkins.) In this post, I’ll go over how to make a piped pillow cover with rounded edges (and square pillow form) and envelope back. We’ll go over the other pillows in the coming weeks.
Supplies

The pattern
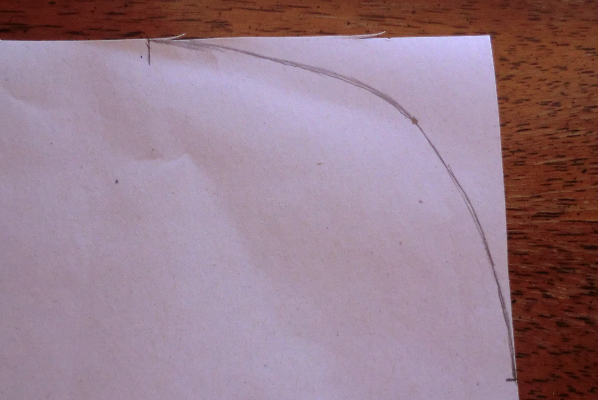
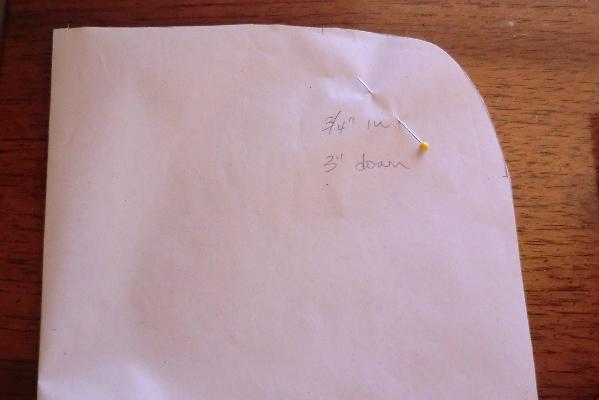
Take the measurements of your pillow form and draw a square/rectangle of that size on your paper. For a nice, tight fit, don’t add seam allowances. To round out the corners, you have a few options. You can use something round like a bowl or glass and draw a curve on each corner. Or you can draw a dot 3/4″ inward from each corner and another dot, say, 3″ from the corner on each side edge and create a curve by hand.
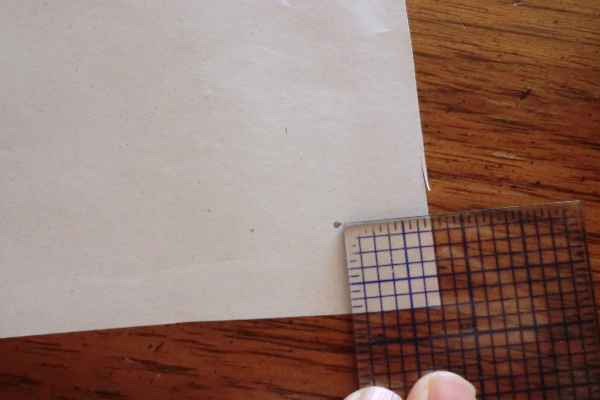
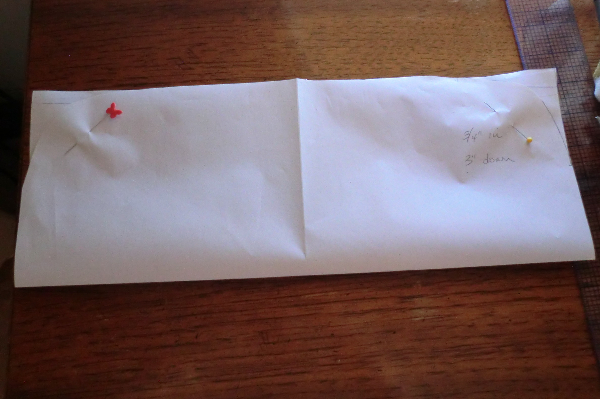
 Before cutting, fold the paper one direction and line up the corners. Pin to secure and then cut along the line you drew. This will get both of those corners the same.
 Now fold it the other way and use those corners to cut the other corners.
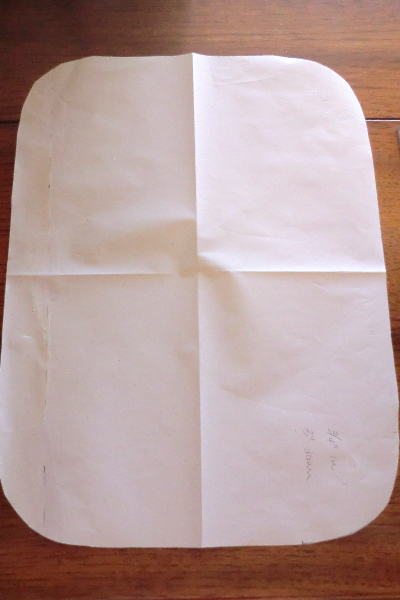 Now you have this pattern with rounded corners. Cut one piece of fabric using this pattern. Now we’ll use the pattern piece to cut out the back pieces for the envelope opening.
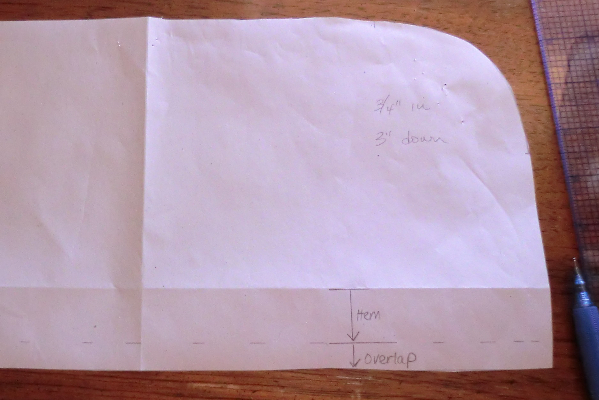 Fold in half widthwise and crease to mark the center of the back. Then measure 1.5″-2″ down for hem allowance and overlap allowance. You’ll cut two of these pieces from the fabric.
The process
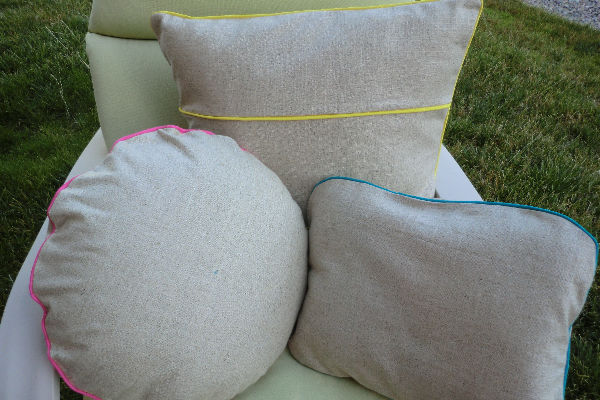
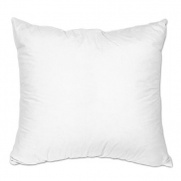
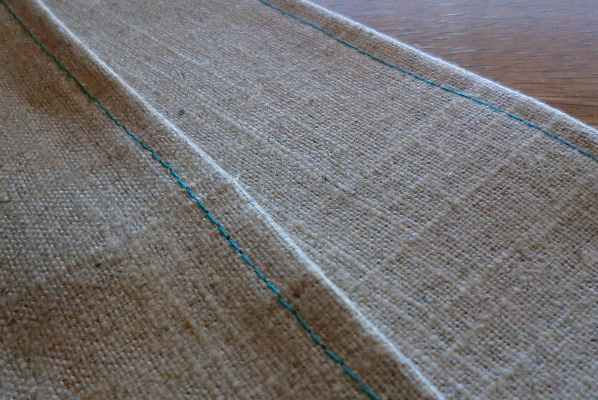
In this tutorial, I’m going to cover the turquoise-piped pillow above. I used a square (well, rectangular) pillow form but still achieved rounded corners, which can be a nice change of pace.
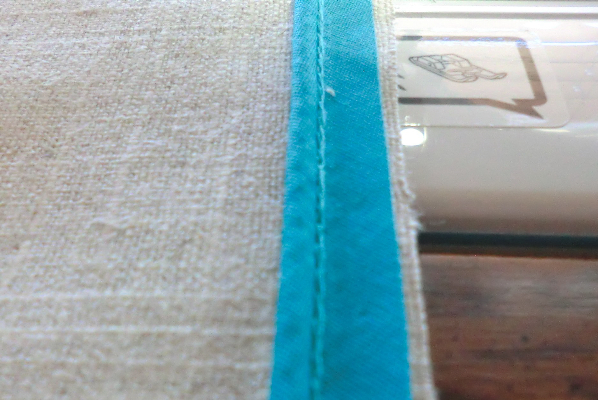
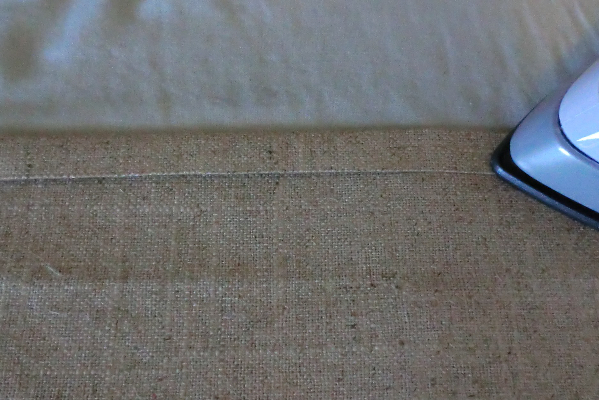 For the back pieces (envelope opening), press each non-rounded edge under a bit.
 Then press it under again.
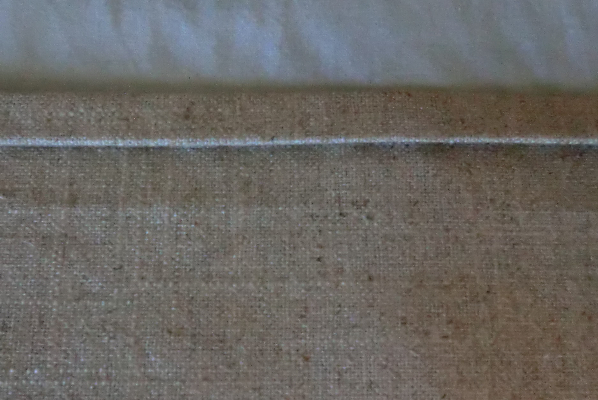
 Stitch. I chose to use thread matching my piping.
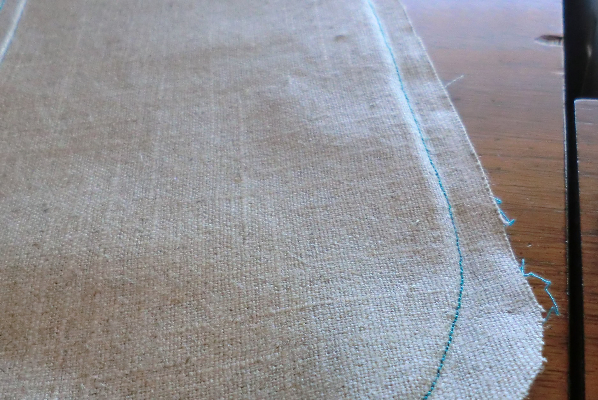
 On the front piece, pin the piping all the way around and then stitch. The corners are rounded, which makes it really easy to sew the piping on, compared to square corners.
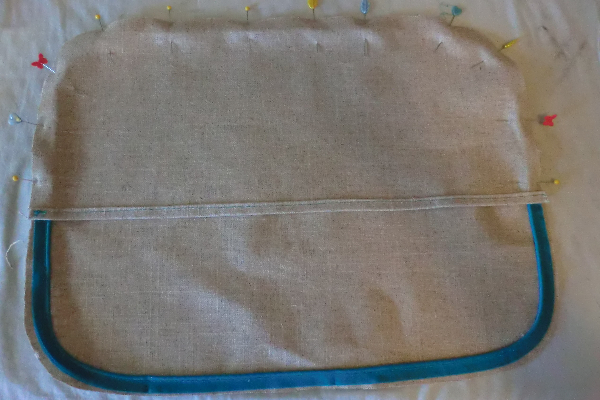 Attach the envelope back to the front of the pillow by placing one back piece right-sides together with the front piece and pin it in place.
 Then pin the other piece on top of that so they overlap. Pin all the way around.
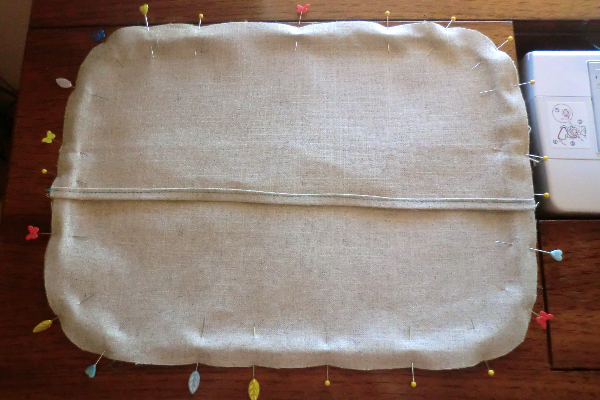
 Using your piping foot, stitch all the way around following the piping.
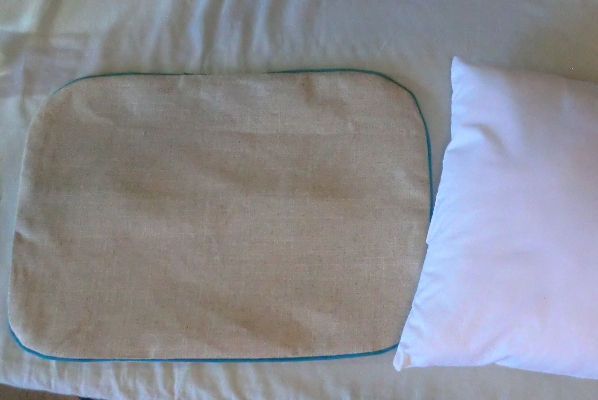 Rounded case, square pillows. But the case will smoosh those points right down.

