Crewel wall hangings
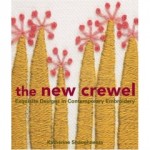
| What do you think of when you see the word “crewel”? Old-lady activity? Ugly floral needlework? I know. But needlework in general has made a modern resurgence. First, it was regular embroidery. Web sites like Sublime Stitching made embroidery seem hip and cool. Modern patterns take the boring out of needlework. Crewel is no different, thanks to the book “The New Crewel” and its related Web site Wool and Hoop. If you don’t know how to embroider, never fear! It’s really easy to learn. I learned with a few simple instructions and was on my way in no time. You can, too! This is not a tutorial on embroidery stitching, but rather an idea for what you can do with it. This week, I’m doing two crewel embroidery posts. Please see the one on making a greeting card here. |
Supplies
(Click fabrics for direct links for purchase at Warehouse Fabrics Inc.)
| description of supplies | |||
The process
| So what makes crewel interesting? It has a thick, wooley, beautiful texture. It’s fuzzy and raised off of the surface of the fabric. While you can use practically any embroidery pattern, I think that “The New Crewel” has some fun and modern ones, which I’ve used here. The stitching is more or less the same as regular embroidery stitching, and if you aren’t familiar with either one, it’s really quick and easy to learn. I decided one day to take it up as a new hobby and with a few instructions I was on my way.
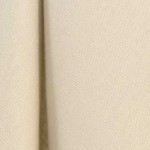
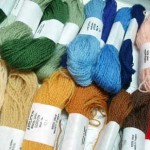
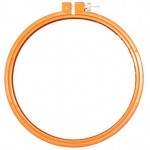
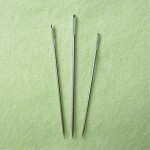
Regular embroidery employs readily available cotton floss and the use of just about any fabric. Along with the hoops, you can find supplies at any craft store. Crewel embroidery is another matter, at least right now. Generally, proper crewel is done using thin wool yarn and linen fabric. You really can’t find crewel wool any old place. It is available at Wool and Hoop, but finding it locally may be hard for some people. I live in Albuquerque, N.M., and though it is the largest city in the state, I could not find crewel wool anywhere. I did find it at a tiny shop in Santa Fe, about an hour away. It was relatively inexpensive there. You might want to call around to needlework shops in your area. The wool will likely come in a three-ply yarn, and you’ll use one ply for your stitching. You’ll need a crewel or embroidery needle (either are available at craft stores) and an embroidery hoop. The plastic ones are preferable to the flimsy wooden ones, in my opinion. |
|||
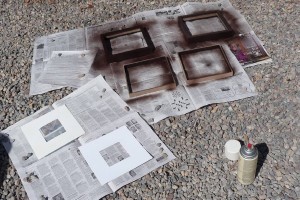 |
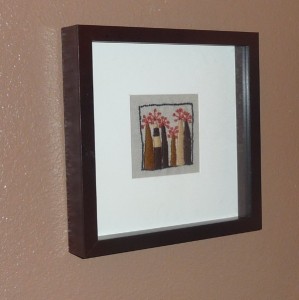
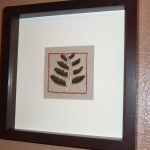
The first thing I did was pick up some cheap shadowbox type frames at Big Lots. They were black with stark white mats, but my embroidery was earth tones.
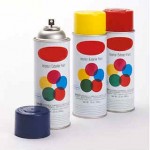
So I pulled out the spray paint. I painted the frames a chocolate brown and I spray painted the mats an off-white. I liked the shadowbox look because it’s a big mat with a tiny space in the middle to showcase my work. It fit perfectly with the size of the crewel patterns in the book. |
||
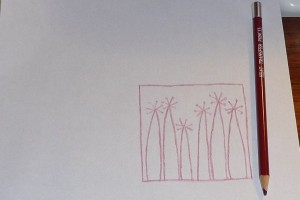 |
The book does not have transfer, or iron-on, patterns. Transfer pencils are available at craft stores, and they serve as iron-on transfers. While tracing paper would be much easier, I used regular computer printer paper to trace the design from the book onto paper with the transfer pencil. | ||
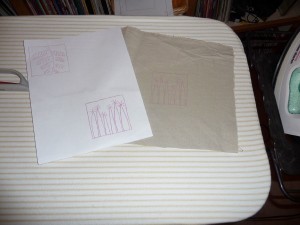 |
I then ironed it on to my fabric. Even though my finished piece will be quite small, I made sure to cut the fabric plenty big to start with.
Remember that the transfer will always come out backwards from how you drew it, so keep that in mind if direction matters. |
||
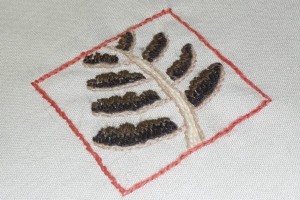 |
I used rust, several shades of brown and several shades of beige to stitch my project. |
||
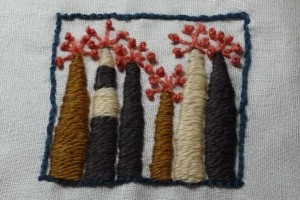 |
Love the texture! |
||
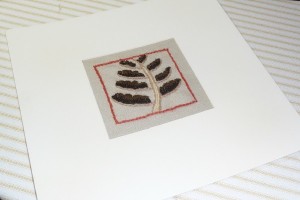 |
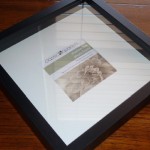
After stitching and trimming, I used a glue stick to attach the fabric to the back of the mat. |
||
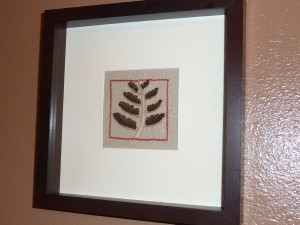 |
And then I reassembled the frame. |
||
Other views
(Click for bigger views)
 |
 |

