- Best Fabric Store Blog - https://bestfabricstore.com/blog -

How to make a flat toddler-bed or crib sheet

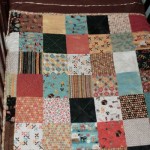
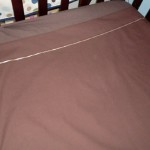
Toddler bed flat sheet [1] We all know that babies shouldn’t have blankets in their cribs, but once kids get older, they often continue using a crib-sized mattress. So why is it that you just can’t seem to find flat sheets for those beds? Lucky for you and me, we can sew the things we cannot find. My son is almost 2-1/2 but is still content in his crib. It was time for a big-boy sheet. Also see our other posts on nurseries: 1 [2], 2 [3], 3 [4], 4 [5], 5 [6].

Supplies

(Click fabrics for direct links for purchase at Warehouse Fabrics Inc.)

[7]
90" sheeting fabric

[8]
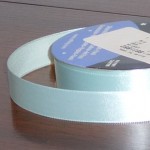
Ribbon
I’ll show you below how to determine yardage. Then you’ll need enough ribbon to span the width of your sheet. The ribbon is purely decorative and completely optional.

The pattern

The average crib mattress measures 27″x53″.
I calculated my sheet size as follows. You can substitute for a larger mattress, but the mattress depth (thickness) will be larger. You can apply this tutorial for any size of mattress, although multiple widths of fabric may be needed for larger mattresses. You have 90″ of width for the sheeting fabrics and for some mattresses, that might just barely cut it for the length of the mattress, and then you could buy enough yardage to go across the width of the bed. In other words, you’d be rotating the fabric 90 degrees from how I’m demonstrating here.

+6″ mattress depth (x2)
+8″ tuck under allowance (x2)
—-
12
+16
—–
28″
+27″ width of mattress
——-
55″
+2″ hem
——-
57″ wide
6″ top hem
+6″ mattress end depth
+8″ tuck under allowance, bottom
——-
20″
+1″ hem
—–
21″
+53″ length of mattress
——
74″ longSo my final dimensions are 57″x74″ before hemming.

The process

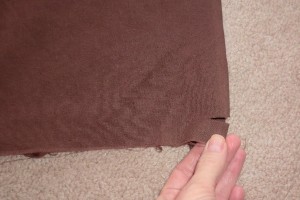
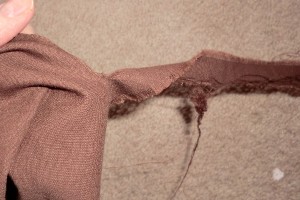
[9] Square up one non-selvage end of your material. An easy way to do this is to clip through the selvage and rip from end to end.
[10] Just go ahead and tear, even if it feels strange and makes you sorta want to cry. When I was taking design classes sometimes they’d make us do this to square up our muslin. I hated it for some reason. I just wanted to use scissors. But now I am telling you what to do. Bwaa-ha-ha! I noticed when I was done that part of my strip was skinny and part was wide, so I really did need to even it up.
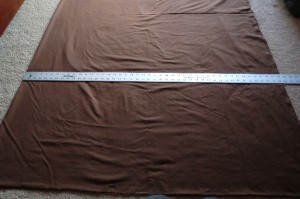
[11] Now that the bottom edge is squared up, I align it and smooth the whole thing out. The fold of the fabric is at left. I have a big ol’ ruler and I am measuring from the fold to 1/2 of the width of my sheet. I keep marking all the way up.
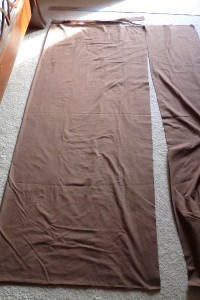
[12] After making marks, I connected them into a line using the big ruler and a fabric marker. Then I cut. I also measured the length and cut off the end. I had almost the exact amount I needed, so I barely had any to cut off the end.
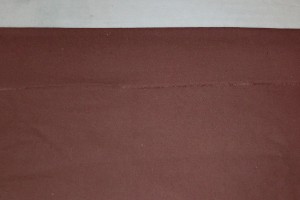
[13] On one short edge (the top of the sheet), fold the fabric over to the wrong side 3″ and press.
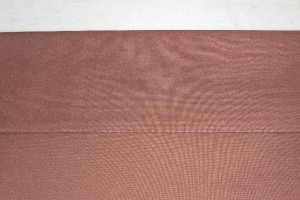
[14] Turn it over another 3″ and press again.
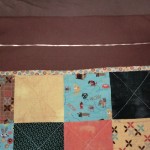
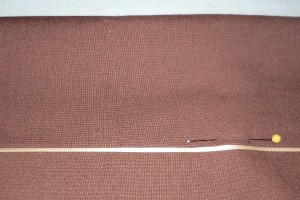
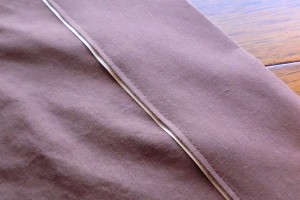
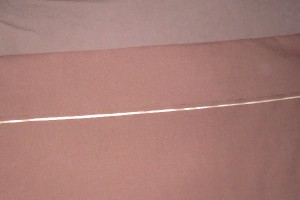
[15] If you’d like to add ribbon detail for aesthetic reasons, simply tuck a piece of ribbon so that it’s just peeking out of the fold of the hem and pin in place. ***This is totally optional.***
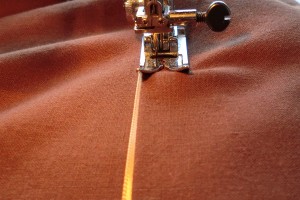
[16] Sew close to the fold to secure the hem and the ribbon. I used a longer stitch length and it looked nice that way. You may need to adjust your ribbon’s position a bit as you go.
[17] And here’s the hem when it’s all done.
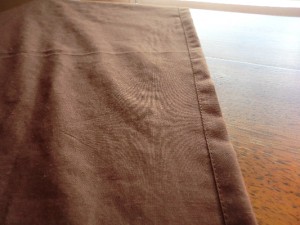
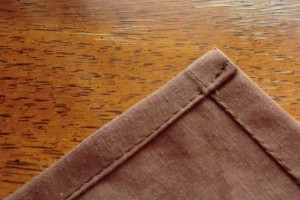
[18] Hem the bottom of the sheet by folding under 1/2″ and then 1/2″ again and sewing.
[19] Do the same thing on either long side. That’s all there is to it!

Other views

(Click for bigger views)

[20] [21] [22]