How to make baby carrier accessories
I don’t know about you, but as my little one grows older, I find myself still reaching for our ergonomic baby carrier. She’s too big for the infant car seat that nicely connects to a stroller, and the stroller isn’t always convenient, so the carrier it is. It works well for when she’s teething and wants to be held allthetime, it’s perfect for air travel (have you ever gone through security with a young child? bleh.), and hiking is much easier with a carrier, too.

The thing is, though, that those little kiddos like to put everything in their mouths, right? The strap for the carrier is not immune to my daughter’s hobby, or chewing/sucking on everything she sees, so I thought it best to make some suck pads. This way I don’t have to wash the carrier between each use, just unsnap the pads & throw those in the laundry. It helps to have several pairs.
Here’s what you’ll need:

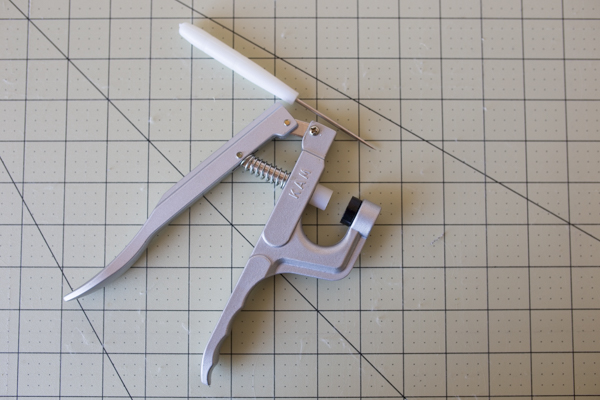
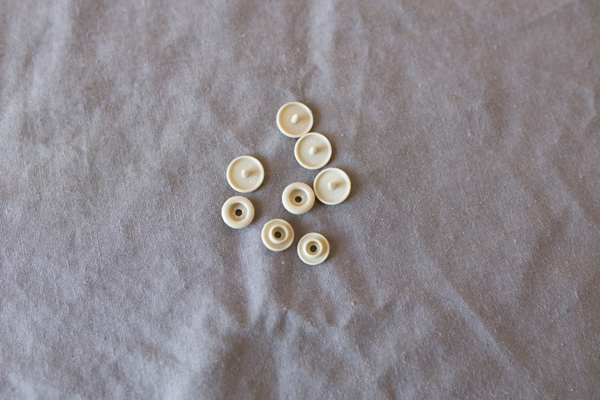
I used leftover pieces of Helen Summerland / Natural (from the body pillow cover) and gray sheeting (from the modern baby quilt pts 1 & 2), but if you need to order, I’d go with 1/4 yard of each, same for the batting. You’ll need all the parts for 4 snaps (two for each suck pad), as well as a snap press.
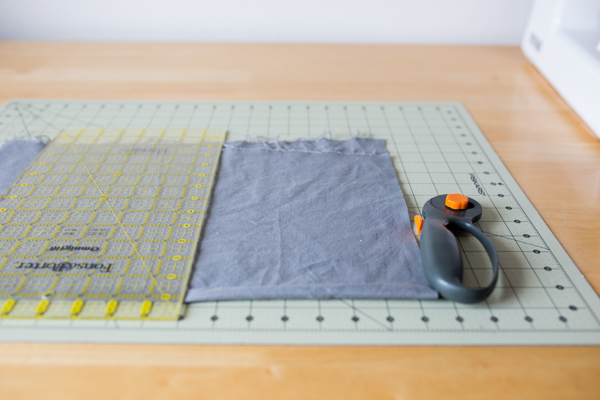
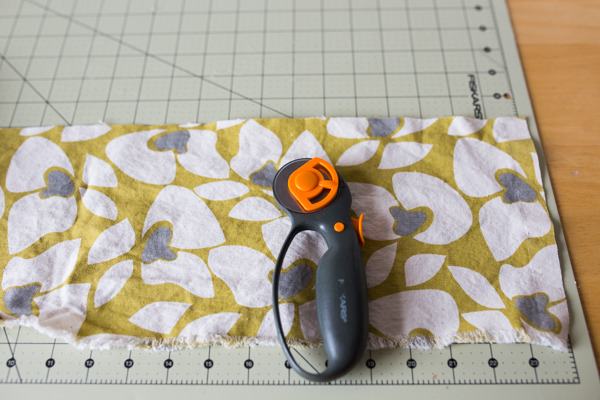
To begin, cut out two pieces of each:
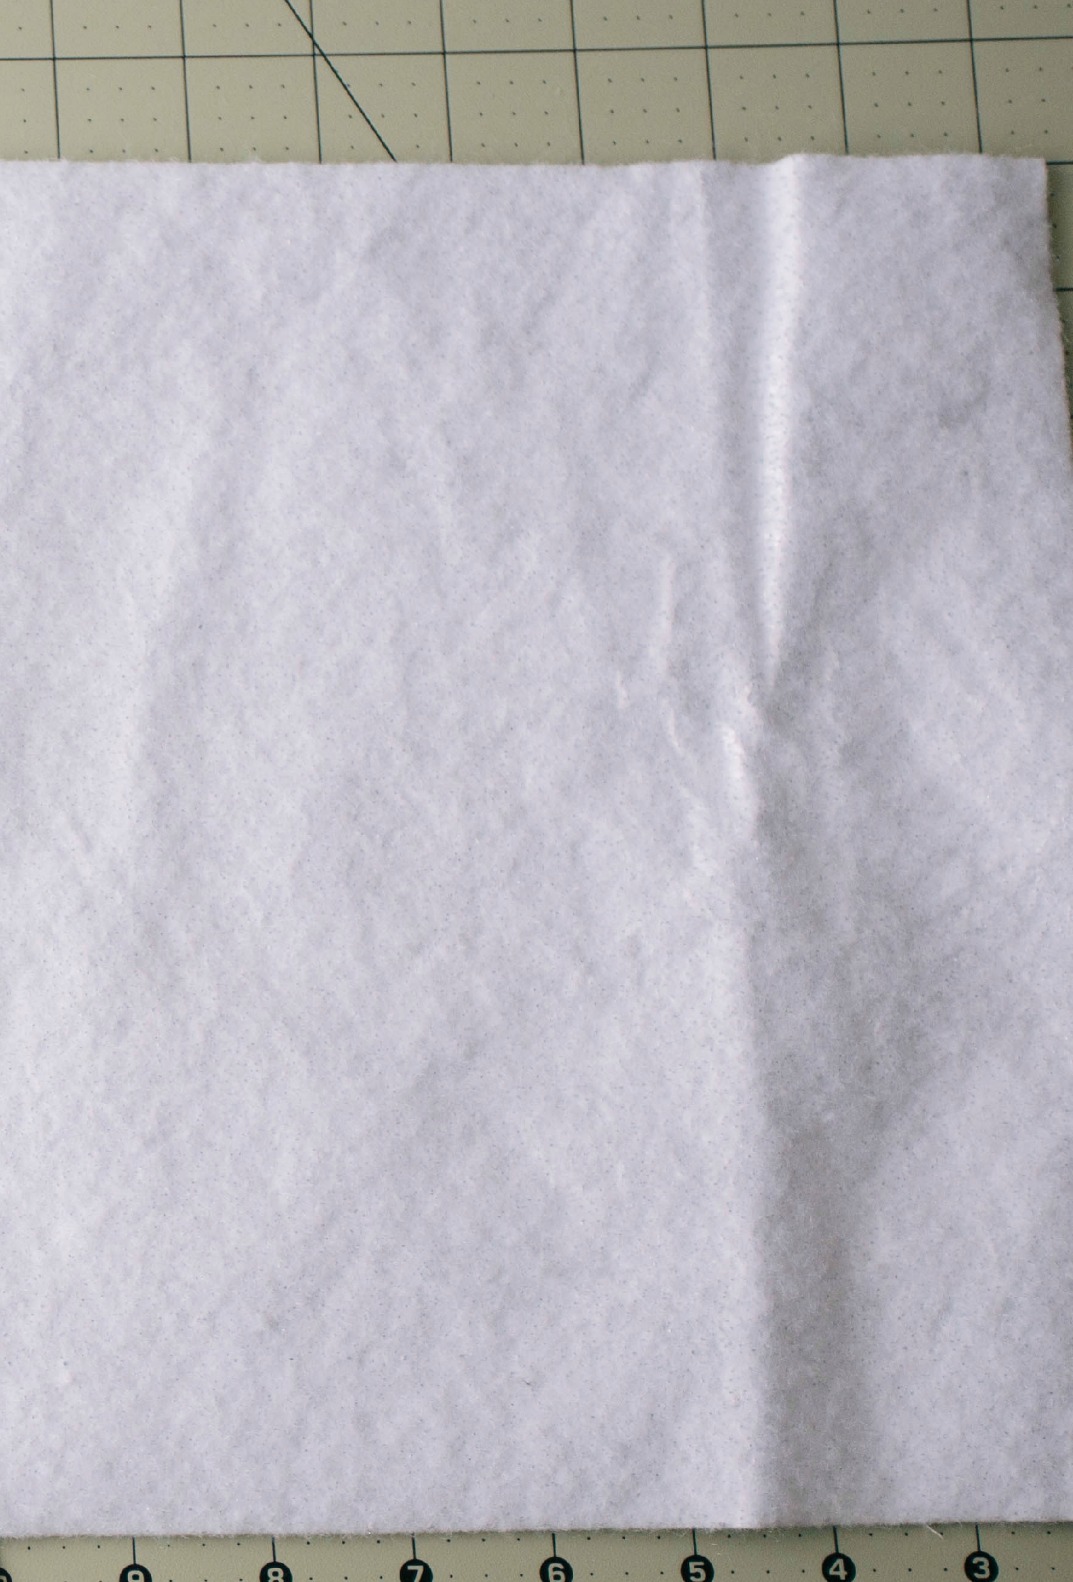
helen summerland / natural 7″ x 10″
gray sheeting 7″ x 10″
quilt batting 8″ x 11″
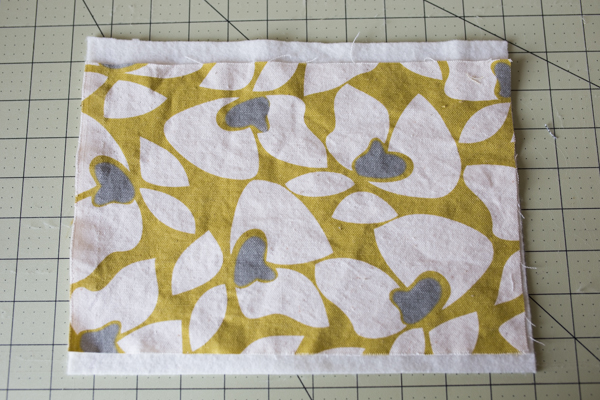
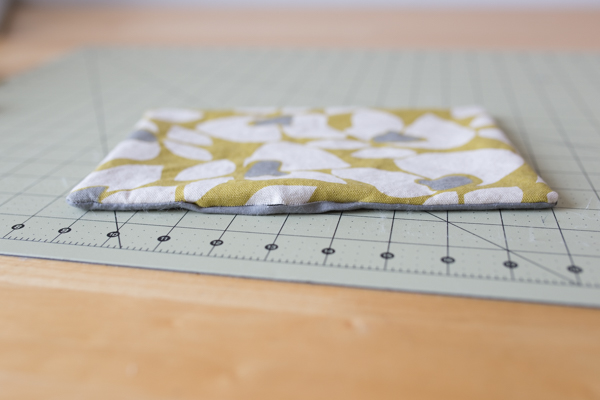
Once your pieces are all cut out, lay out the patterned fabric, right side up, on top of the batting.
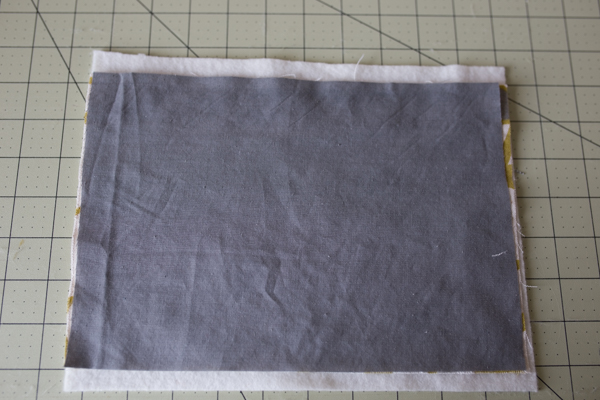
Lay the solid fabric over that, trying to match edges up as close as possible.
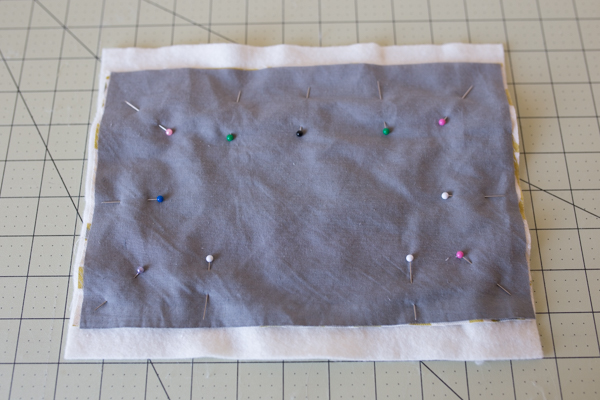
Pin all three layers together, then sew them together, leaving a 3″-4″ opening.
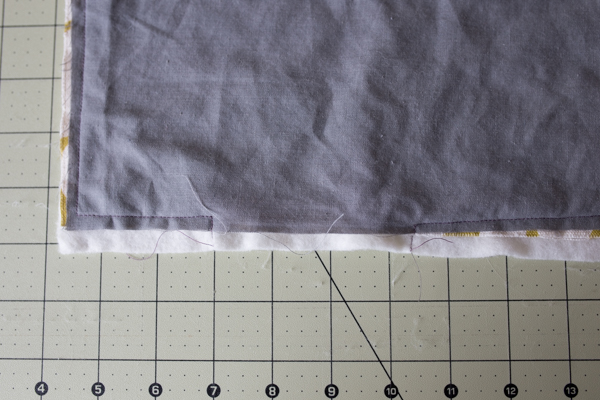
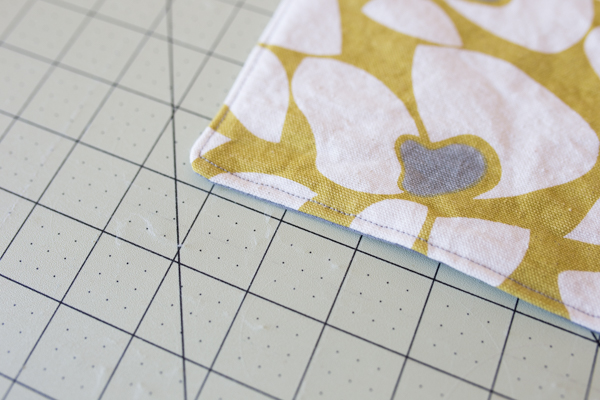
Trim the edges to 1/4″ or less from the seam.
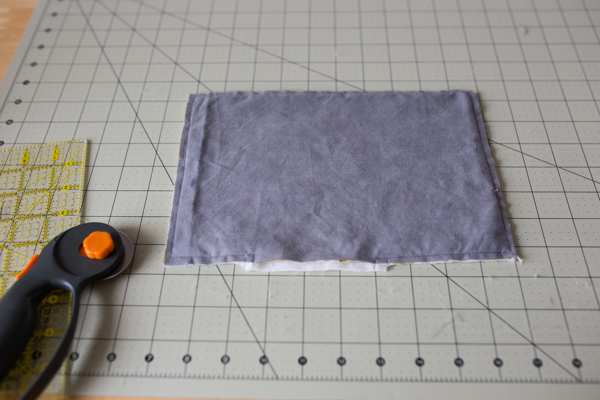
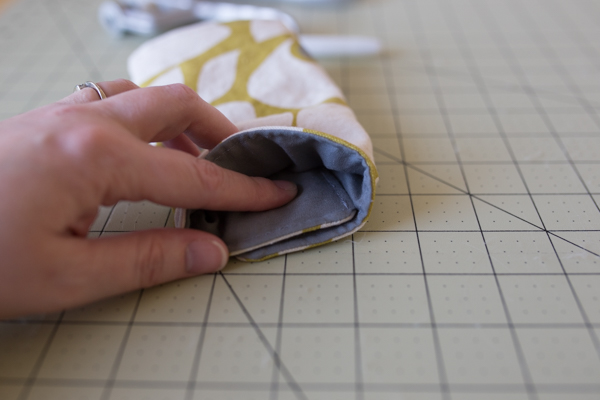
Turn it right sides out, then press. Be sure to get your corners really pointy, and press the opening closed.
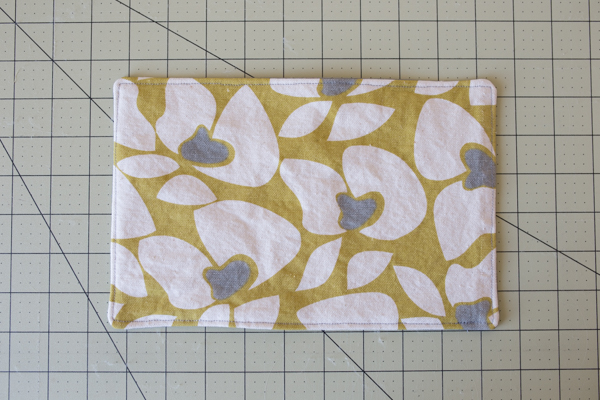
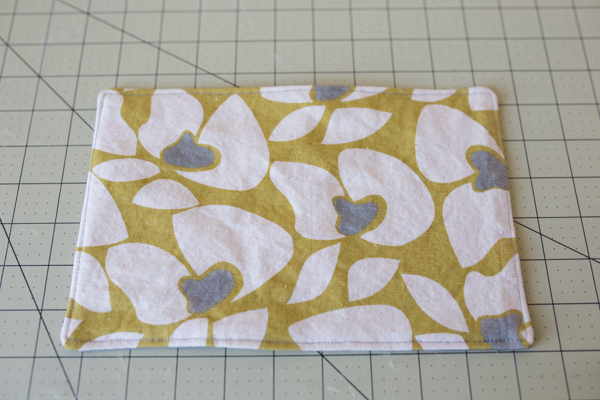
Top stitch, staying close to the edge in order to close the opening.
 Now is the fun part- installing the snaps!
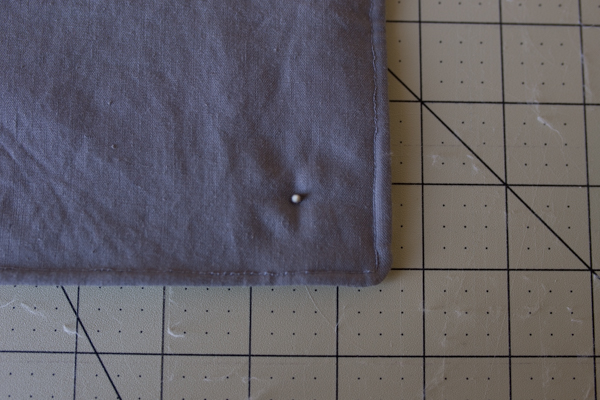
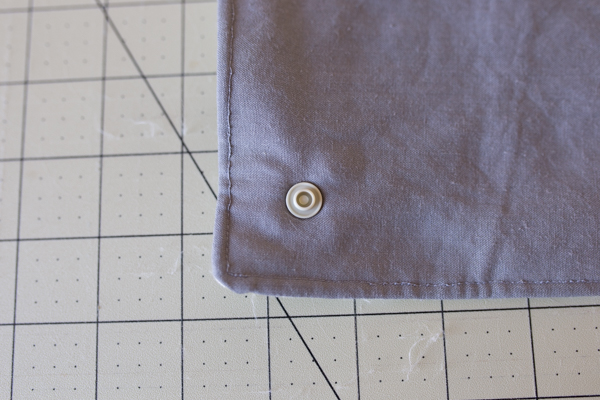
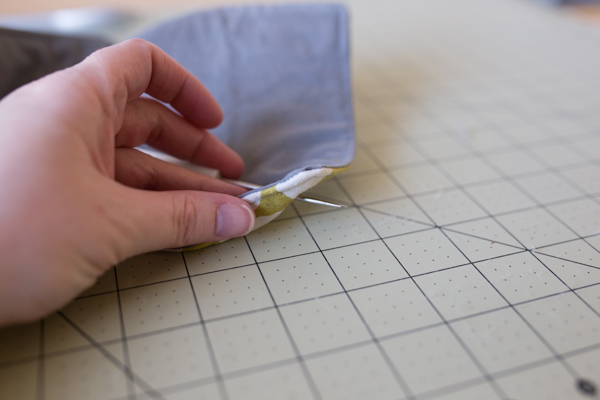
First, you need to decide where to place the snaps. I made this pad to be more than wide enough, so the snaps do not need to be right on the edge.
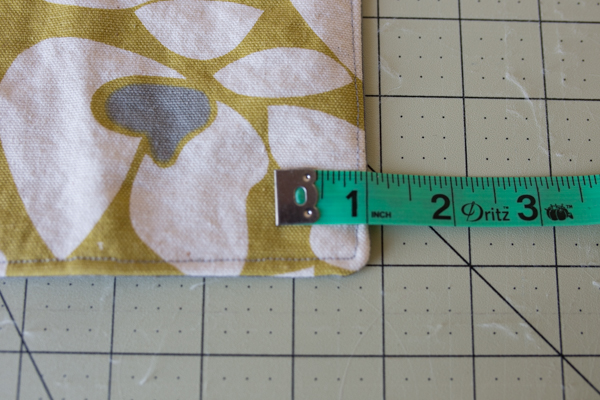
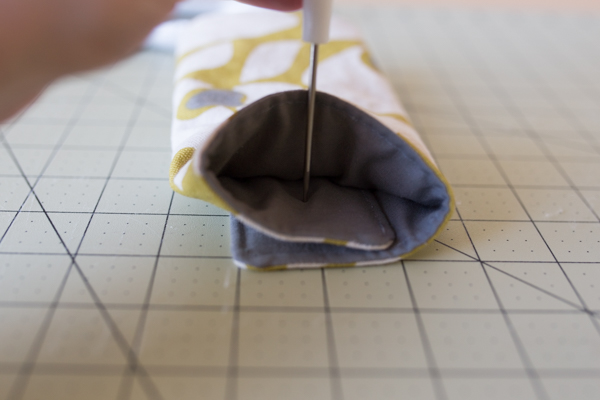
I measured an inch in from the side and the bottom, then pierced my fabric.
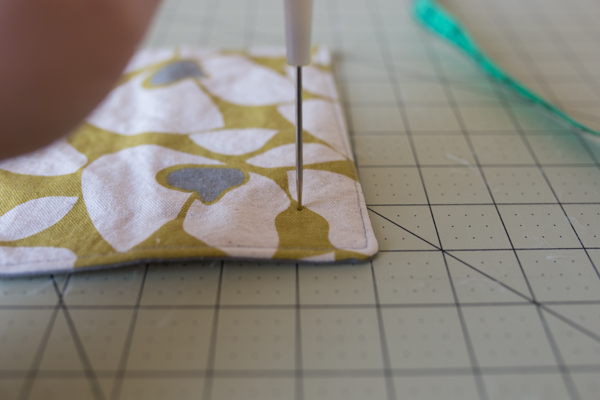
You could always mark it with a pen or pencil first, if you prefer.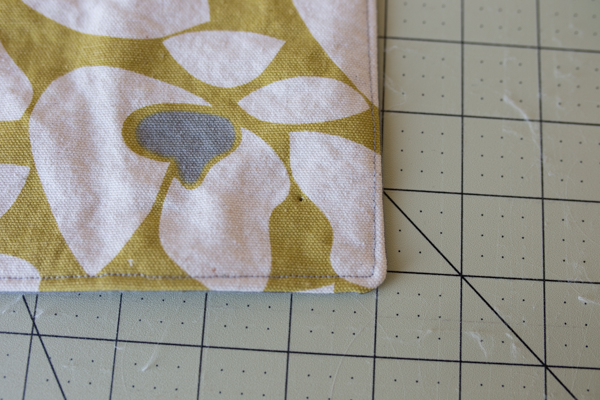
Now, I seem to have missed photographing the next step- you’ll need to place one of the snap covers through the hole you pierced.
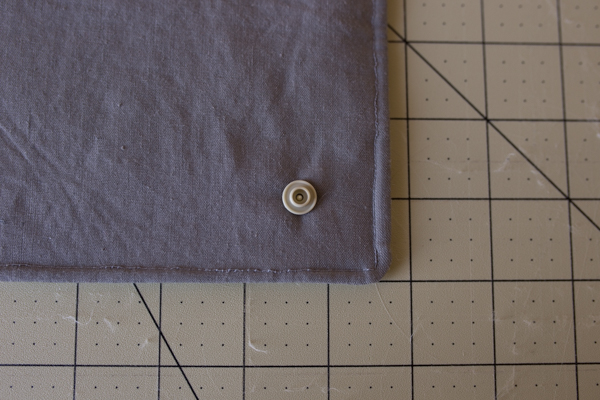
Once the snap cover is through, place one of the inside pieces over the point of the cover.
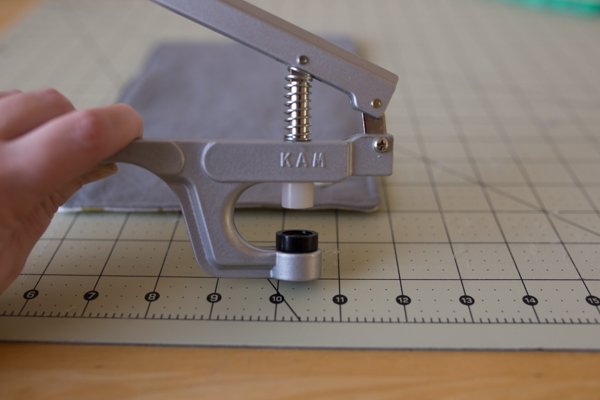

The bottom piece of the press, the black piece, goes over the snap cover on the outside, while the top white piece presses down on the inside, dulling the point and attaching the snap.
Repeat on the other end, measuring one inch in from both sides, and attach the male piece.
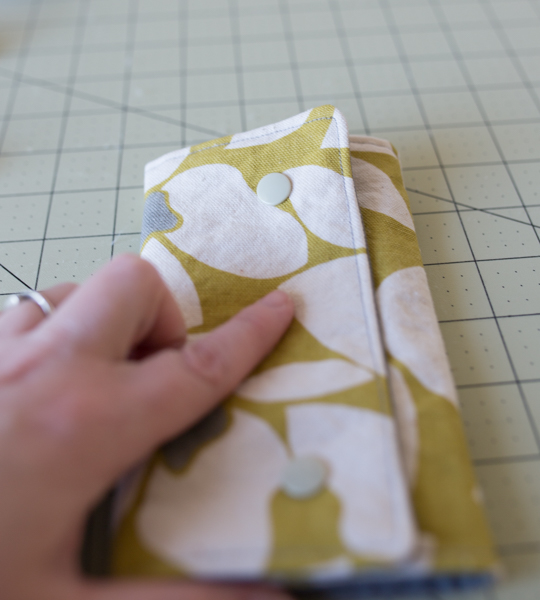
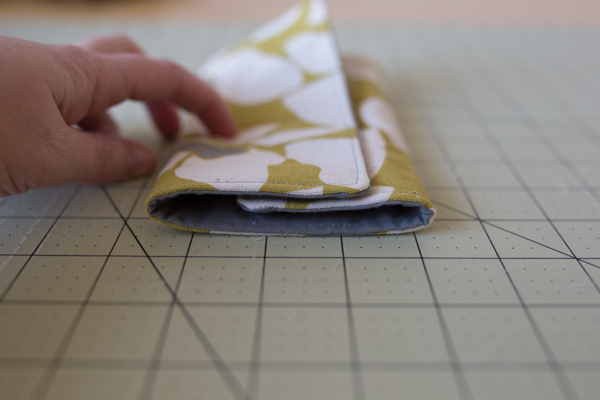
Once both snaps are attached to that side, it’s time to decide on placement for their attaching mates. I just folded mine to decide where to place the other side of the snaps.
Place your finger on the inside and find where the outside snap touches, then pierce the fabric. Again, if you prefer to mark it first, go ahead.

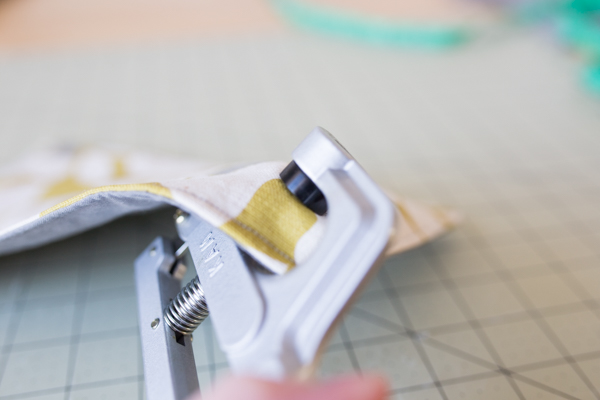
This time, you’ll place the snap cover on the inside(the gray side), through to the patterned side.
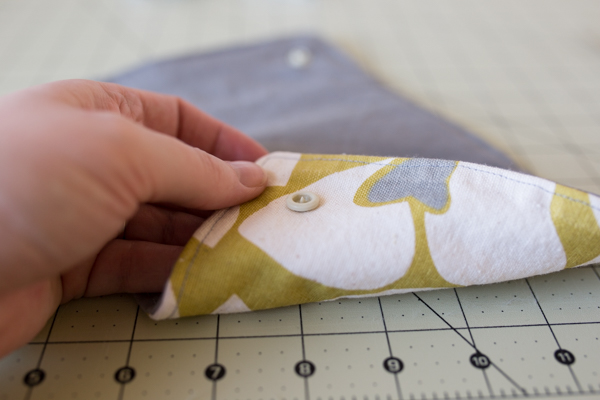
Place the female snap piece over the point, then use the press to attach. Repeat on the other end.
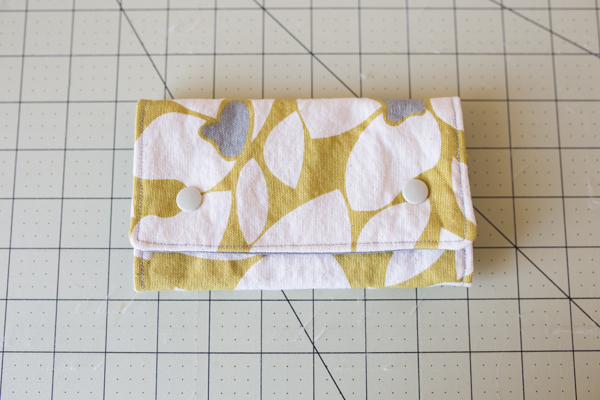
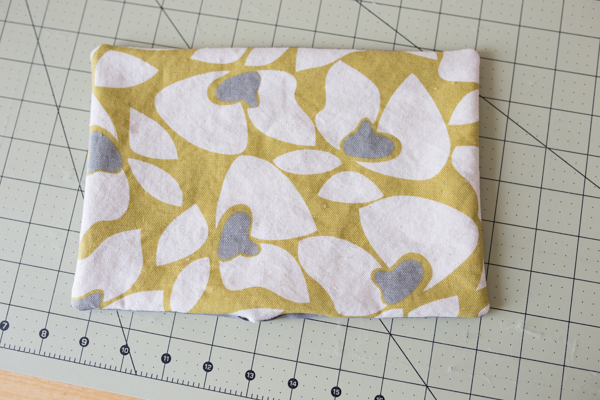
It’s now complete. Go back & make the pad for the other strap, and you’re finished! These don’t take long at all to do- you could easily finish a set in 30-40 minutes!