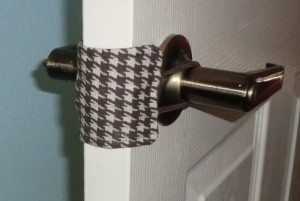
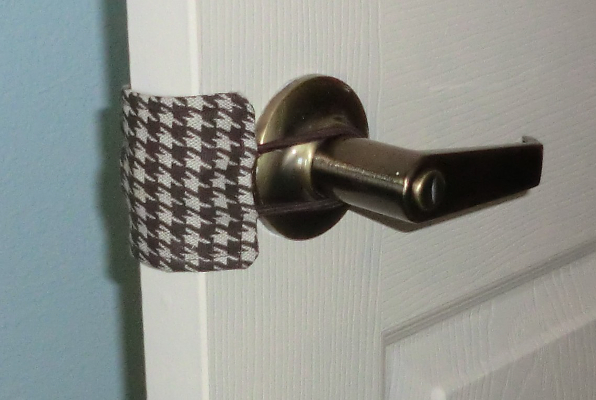
 I wish I’d come across this idea three years ago when my son was a baby. His door, depending on the season, always makes some sort of baby-waking noise. In the winter, the latch catches and clicks, no matter how fully you turn the handle. I’ve seen these around the Internet and decided to whip up this easy project.
Supplies
 [1]
[1]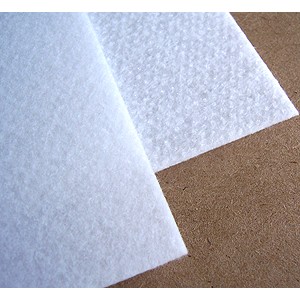 [2]
[2] [3]
[3]
 [4]
[4]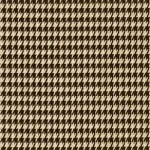 [5]
[5]
I used a scrap of Peltex (a really stiff interfacing) to stiffen my project. I wouldn’t recommend going out and buying a bunch, since you just need a scrap. Just use what you have around if you don’t have Peltex. You just need enough stiffness that the door latch is forced in and won’t poke through.
Pattern
On paper, cut a rectangle measuring 3″x4″ (the short side is the side that has the loops). If you’d like, curve the corners just a touch. That’s not mandatory.
Process
 [6]
[6]
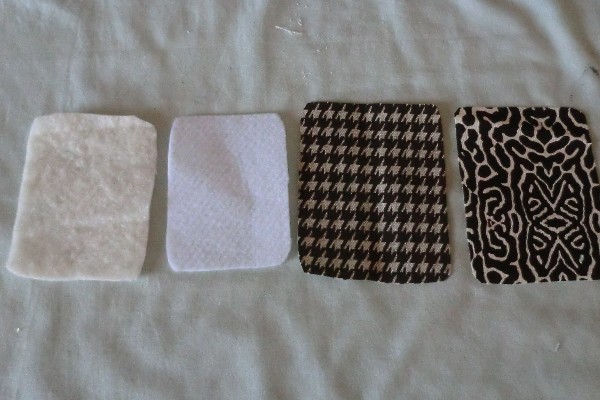
Cut out two pattern pieces from fabric. I used 7 oz. cotton duck Premier Prints fabrics [7]. Cut out 1 piece from batting and 1 piece from Peltex (or any heavy interfacing). Trim down the batting and Peltex. You’ll want the batting to just barely catch in the 1/4″ seam allowance and you’ll want to be able to slide the Peltex into the finished product through a hole, so it should be a bit smaller. Without enough stiffness, it may not be strong enough to hold the door latch in.
 [8]
[8]
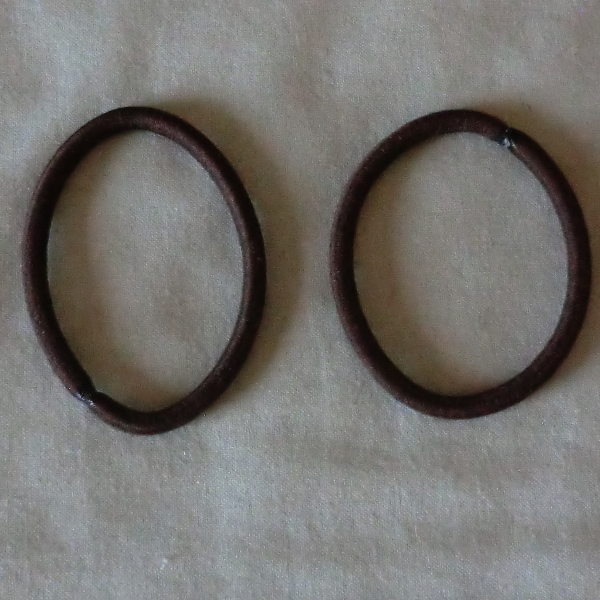
Baste your hair ties on to the short ends of one of your pieces of fabric. NOTE: I found I needed them to be “tighter,” so later I unstitched and slid them out more so that less of the band would be sticking out. See the picture below for an idea and position them that way instead. You also need to take into account how big and how stiff or stretchy your hair ties are, plus the type of door knob you have. Since I have handles, mine needed to stretch a bit further to wrap around.
 [9]
[9]
Even though the rest of the photo above is a few steps ahead of where we are, I just wanted you to note the hair tie placement.
 [10]
[10]
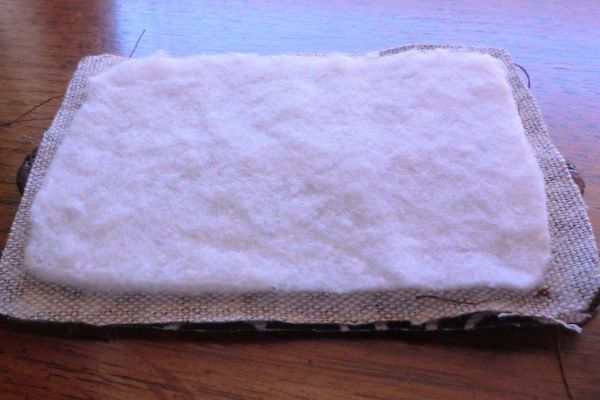
Sandwich your two pieces of fabric right-sides together with the batting on top. NOTE: my hair ties are there but aren’t showing because, as I mentioned, I initially didn’t have the placed right. So that is how they are shown in these steps. I fixed them later. Yours should be sticking out more.
 [11]
[11]
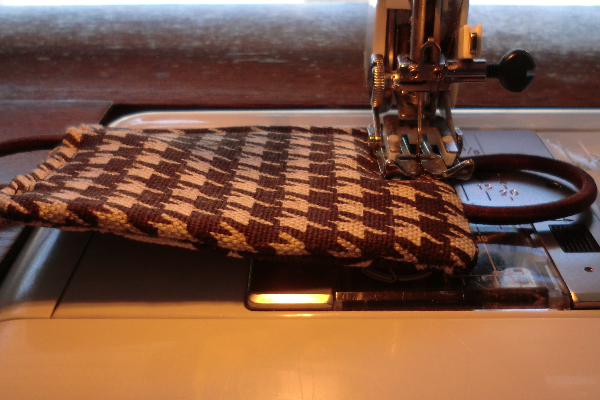
Sew a 1/4″ seam allowance around most of the project, but leave a little hole on one end so you can turn it right-side out.
 [12]
[12]
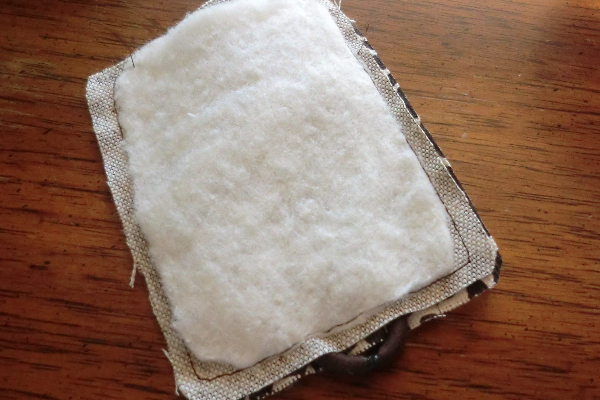
Press, also turning the seam allowance under where the hole is. (Again, your hair ties should be looking a big smaller right now because more of the band is sandwiched inside).
 [13]
[13]
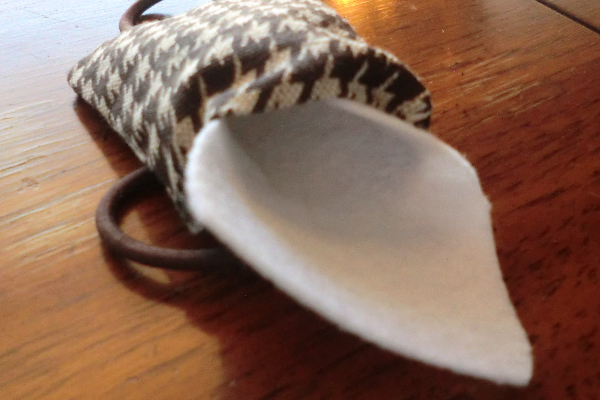
Slide your stiff interfacing in through the hole.
 [14]
[14]
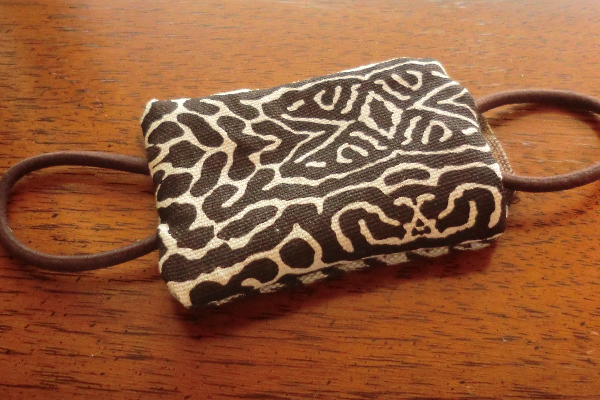
Top stitch all the way around, closing up the hole in the process.
Other views
 [15]
[15] [16]
[16]