
Let’s Create a Valance!
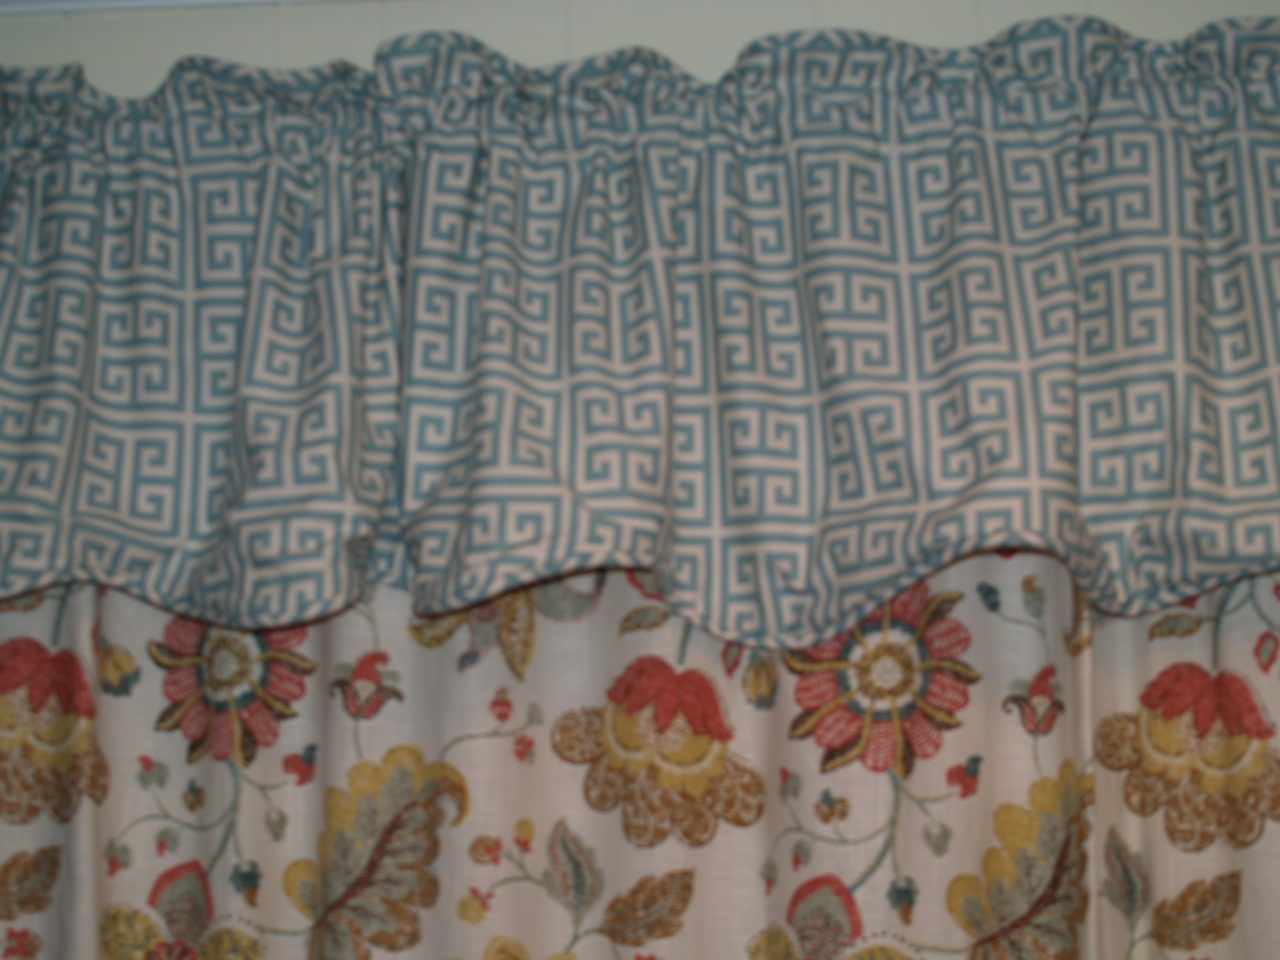 During this blog, I will demonstrate how to make a valance.
SUPPLIES NEEDED:


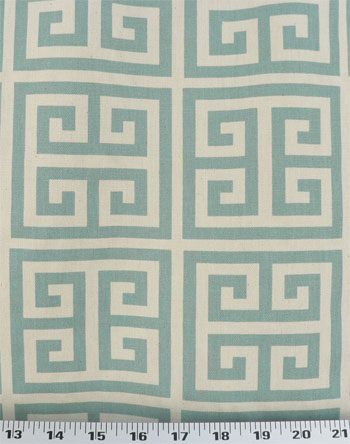
I used Cotton duck natural, piping, and Towers Village Blue while creating my valance for my sliding glass door. All these products can be purchased from warehousefabricsinc.com.
PROCEDURE:
I cut this valance 1 and 1/2 times my door opening.
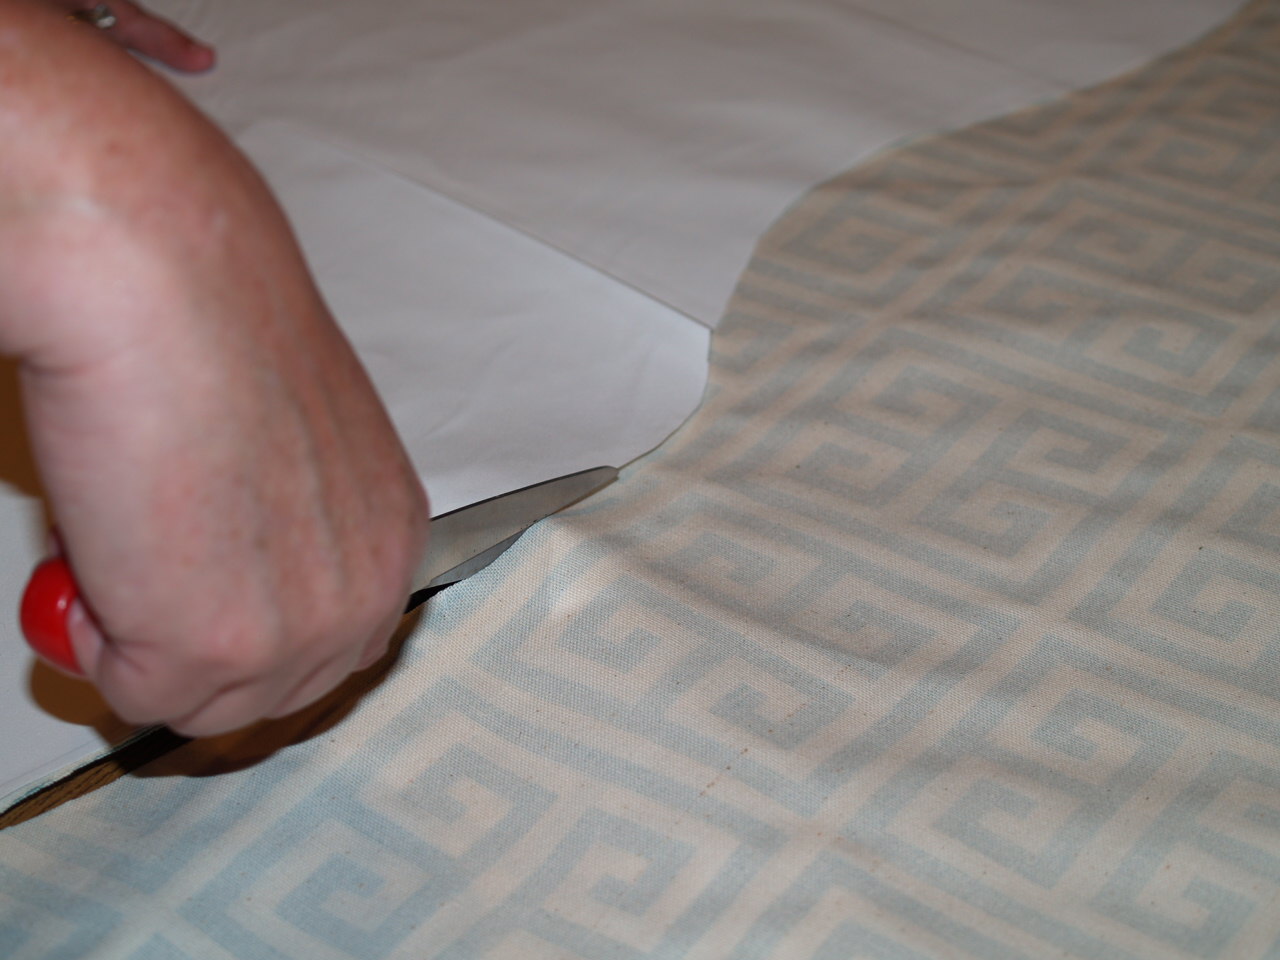 I decided I wanted to make a wavy edge on my valance with cord added to the bottom and top edges. I began by cutting out face fabric which was Towers Village Blue.
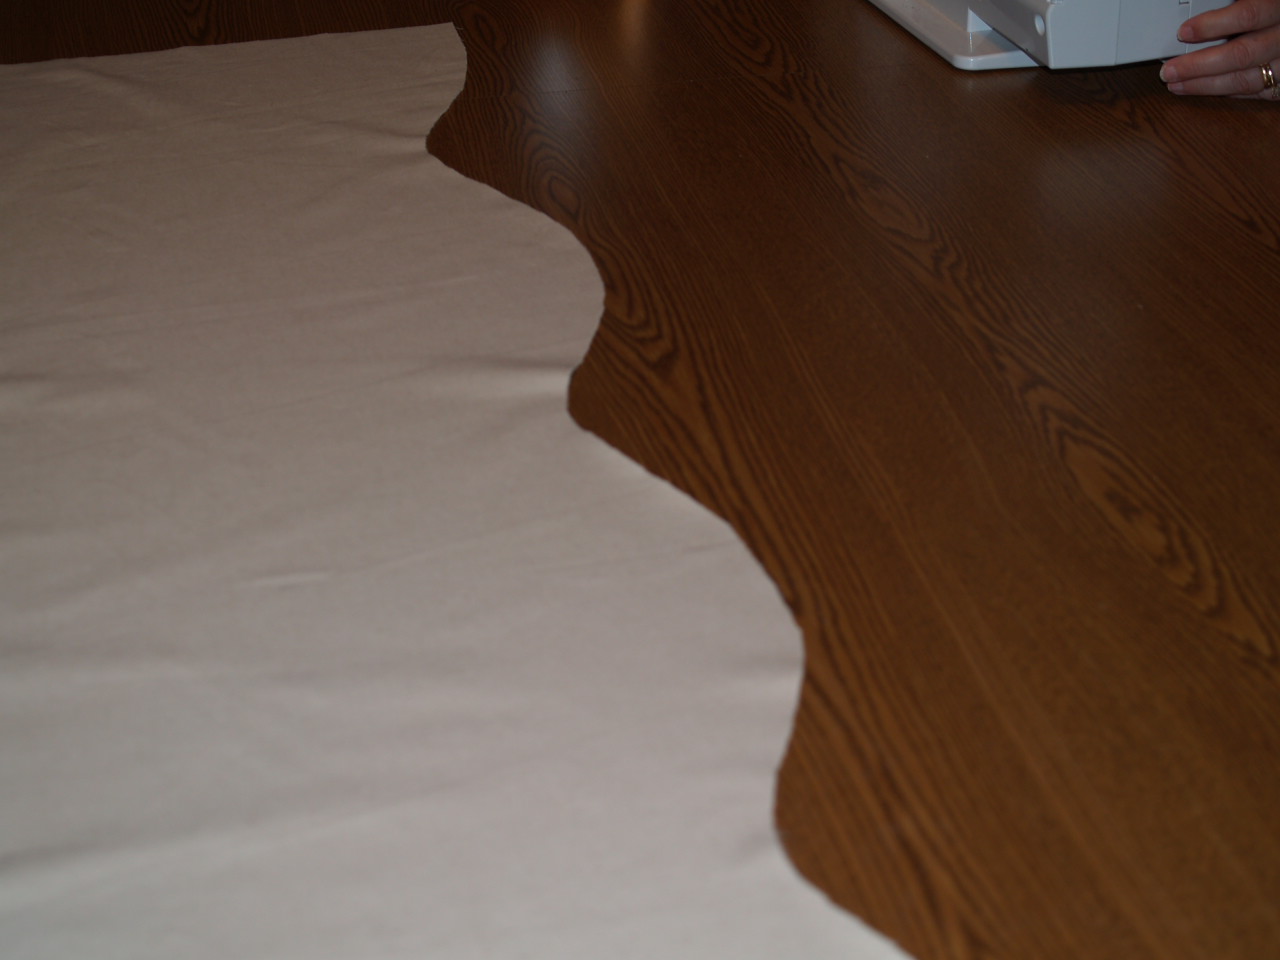 Next, I cut out the back fabric which was Cotton Duck Natural.
 Last week for my blog I demonstrated how to make piping so I used this cord for my valance.
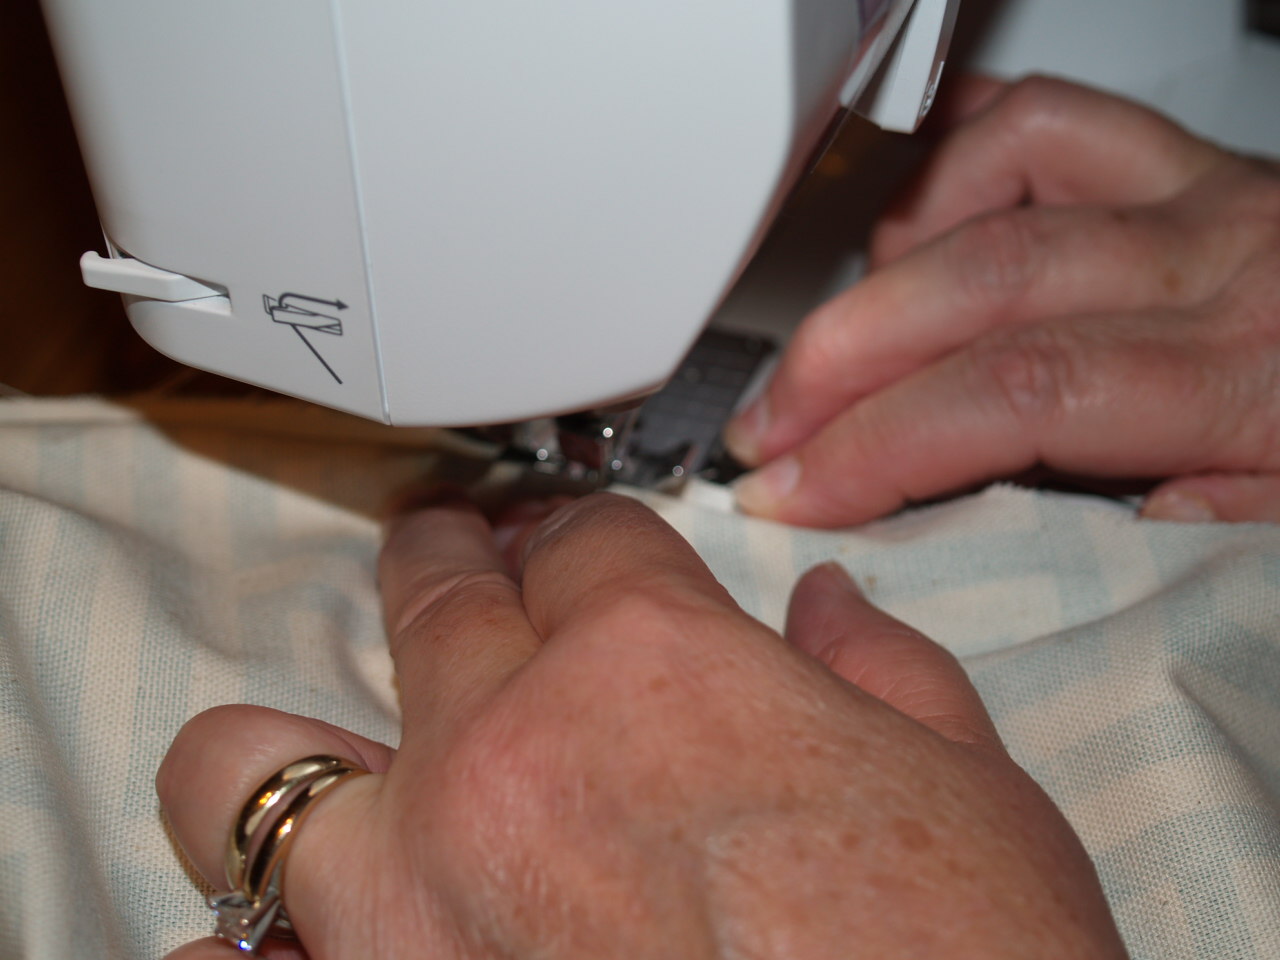
 I attached the piping to the bottom and top edges of the Cotton Duck Natural.
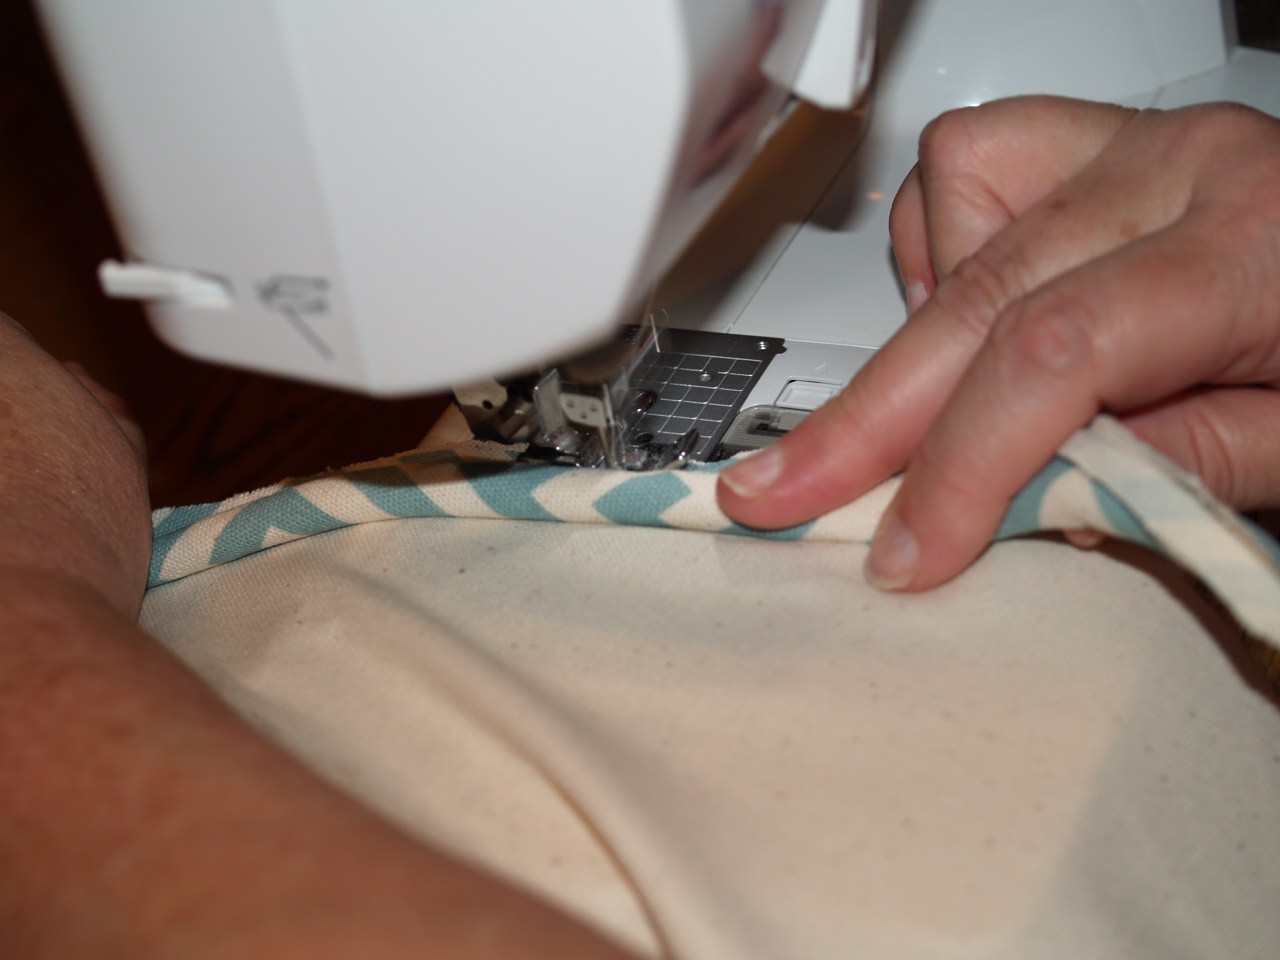
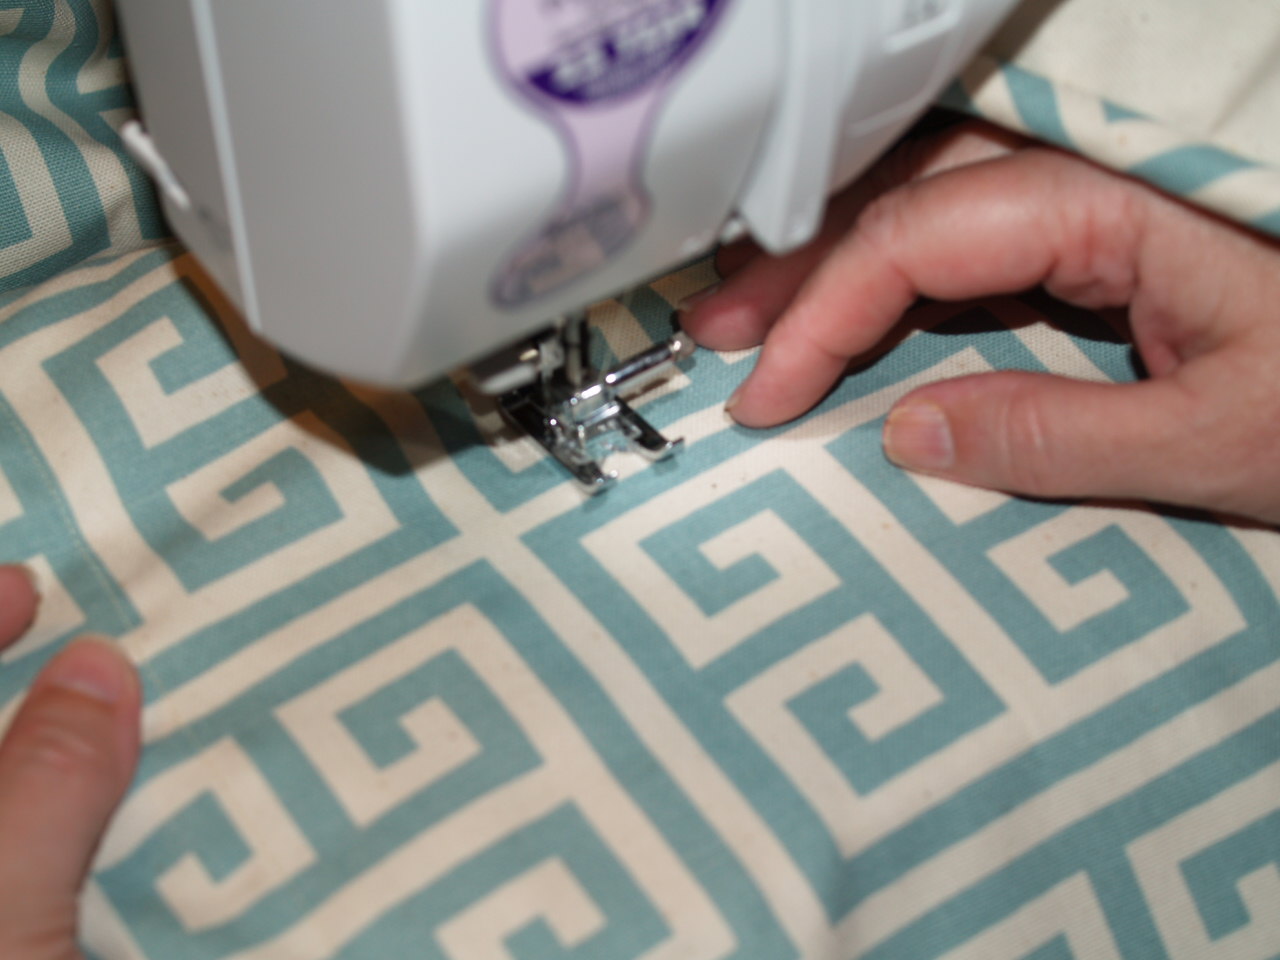
 Next I added the face fabric. Make sure to place face of the fabric down and stitch to the lining fabric (back fabric in this case).
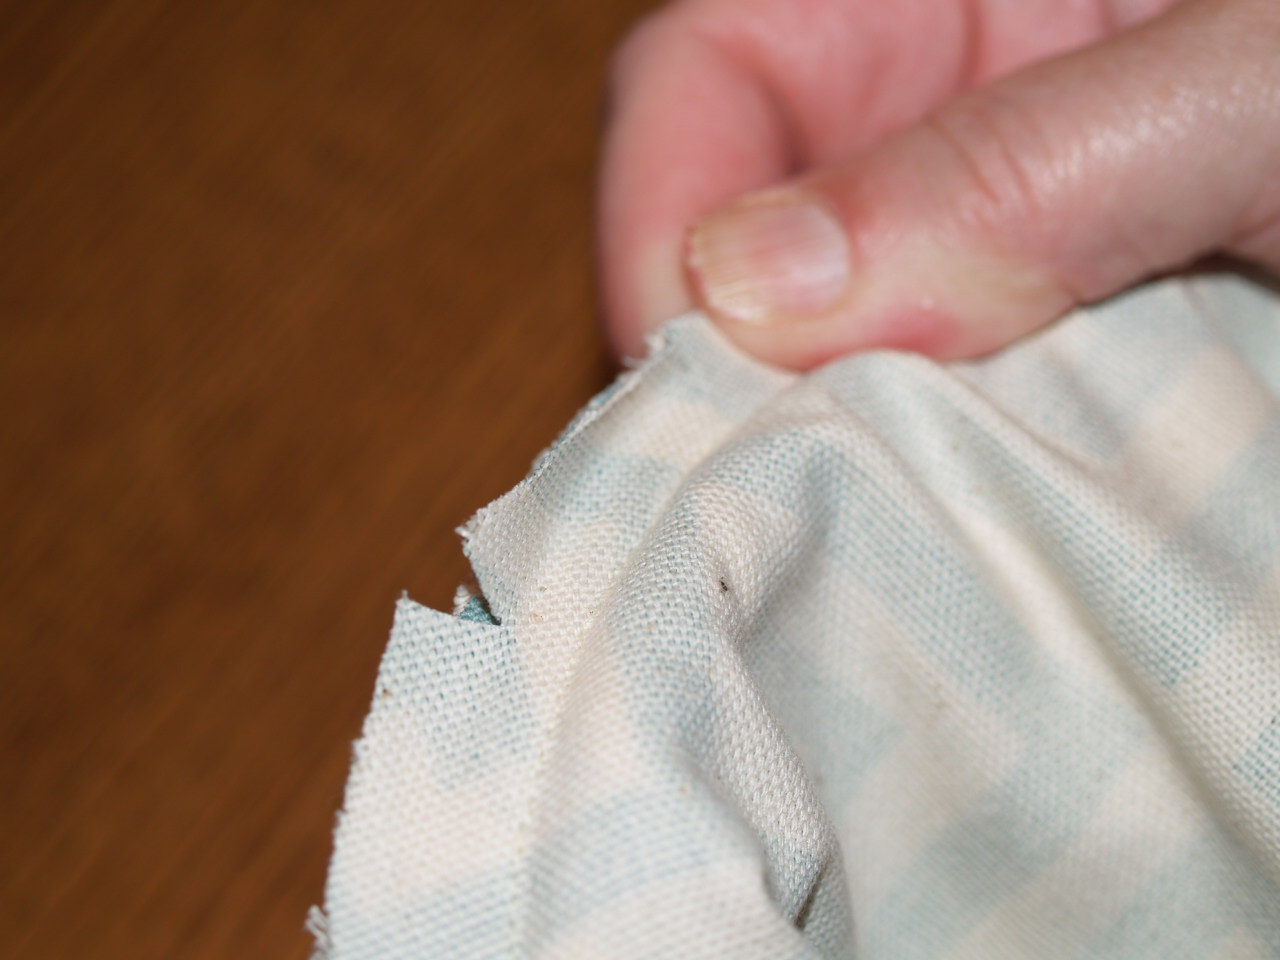 Once you have stitched your fabrics and cord together, take the time to clip around the edge. This helps your curves lay better.
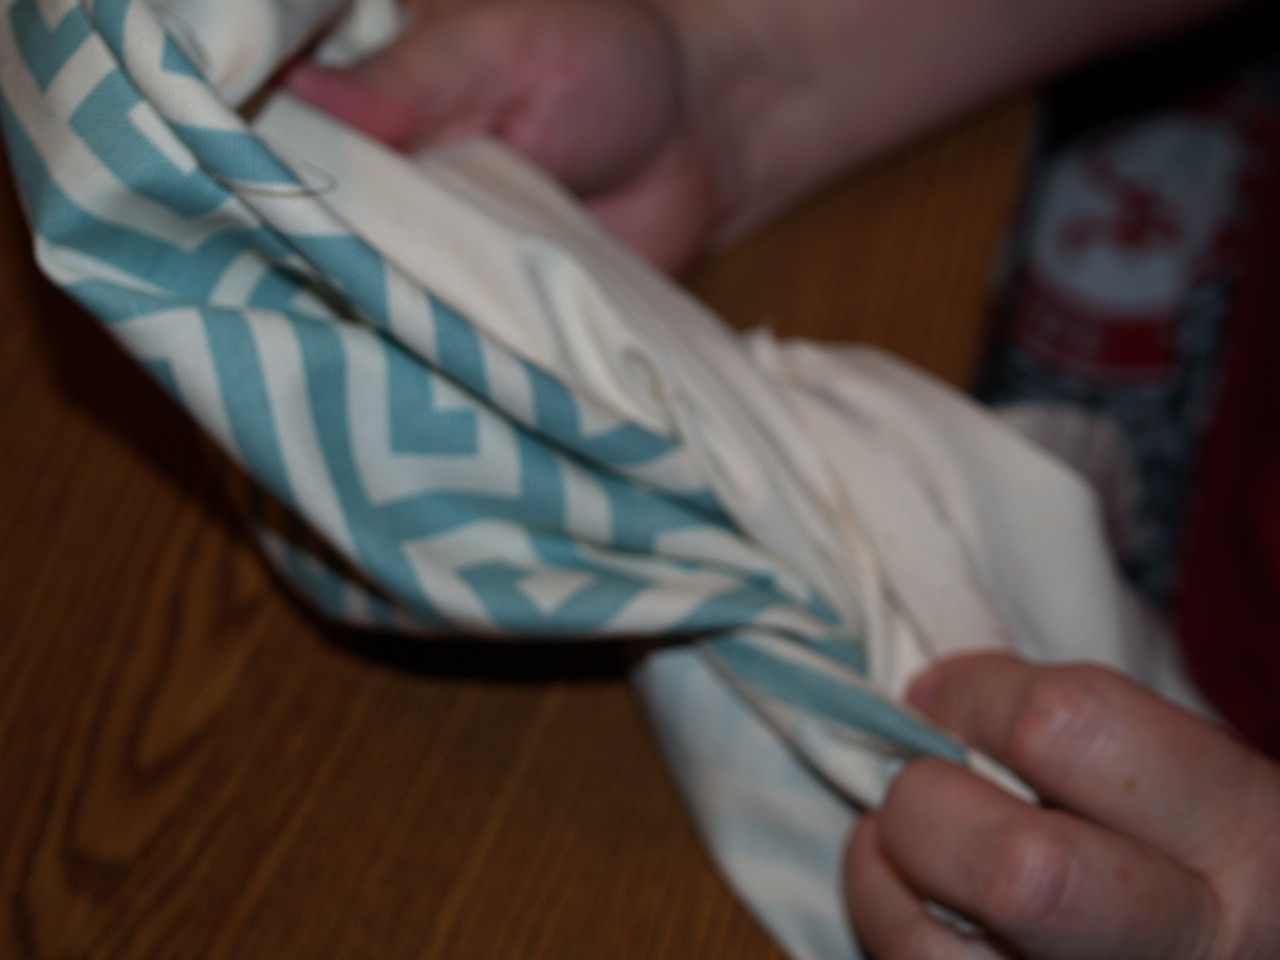 After you have stitched the top and bottom you will need to stitch the sides while leaving a four inch gap on each side for a rod pocket. Now you need to turn your curtain right side out. To do this, pull your fabric through the four inch gap that you have left on the sides of you valance.
 Last, on the face side of your fabric, you will need to stitch to straight lines. The first will be placed at two inches from the top of you valance and the second will be placed six inches from the top of your valance.
This is a quick and simple valance. I just need to work with the placement of my waves. LOL!!
Now that you have seen how to make this valance, it is time for you to give it a try. Happy Sewing!!

