
Let’s Make a Pillow with Brushed Fringe!
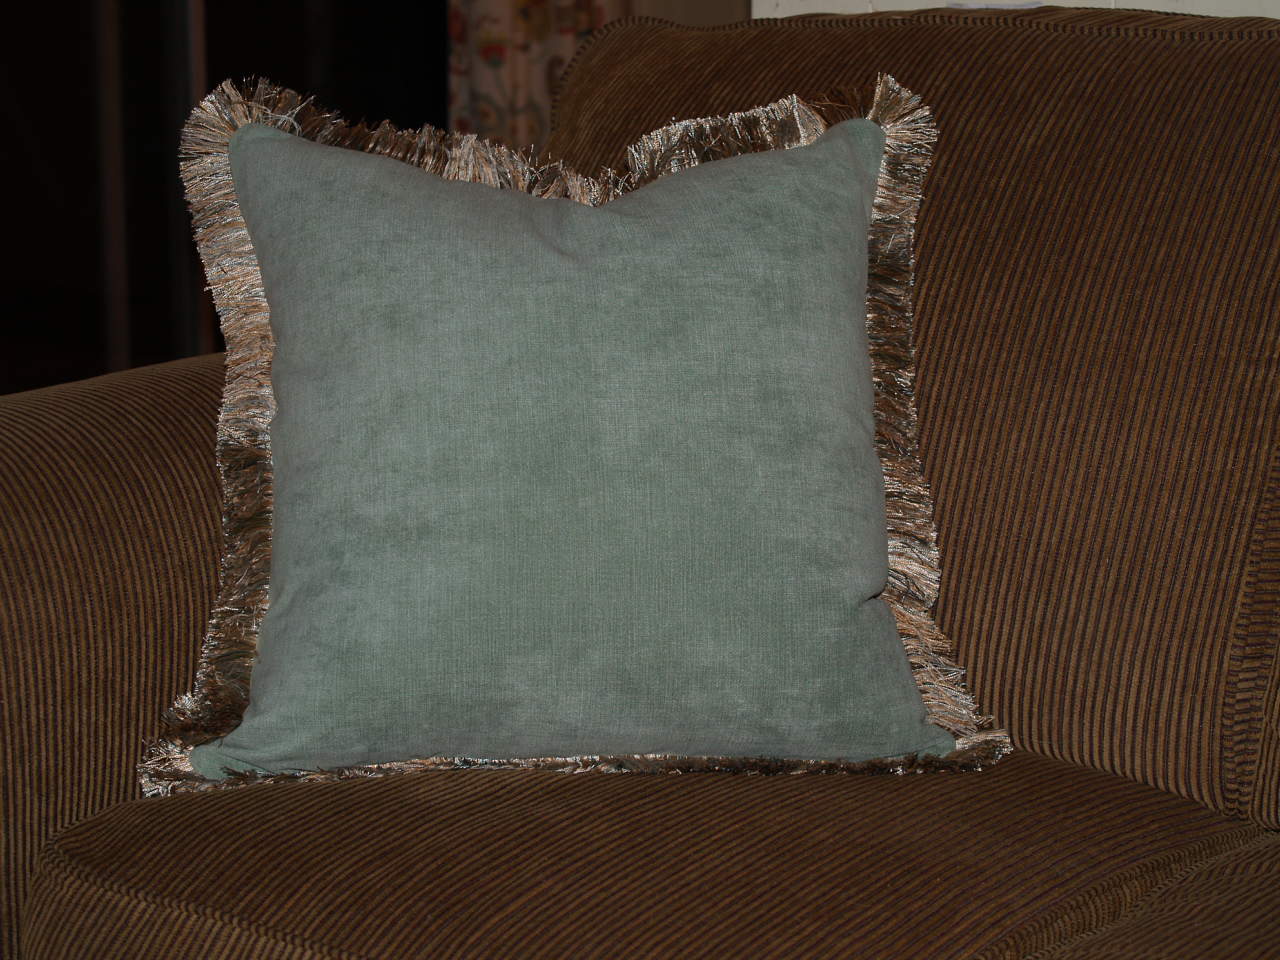 During this blog, I will take you step by step in creating a throw pillow with fringe added.
SUPPLIES NEEDED:

 I used 5/8 yard of fabric, 2 and 1/4 yards of brushed fringe, 5/8 yards of upholstery zipper and a 22″ pillow form.
PROCEDURE:
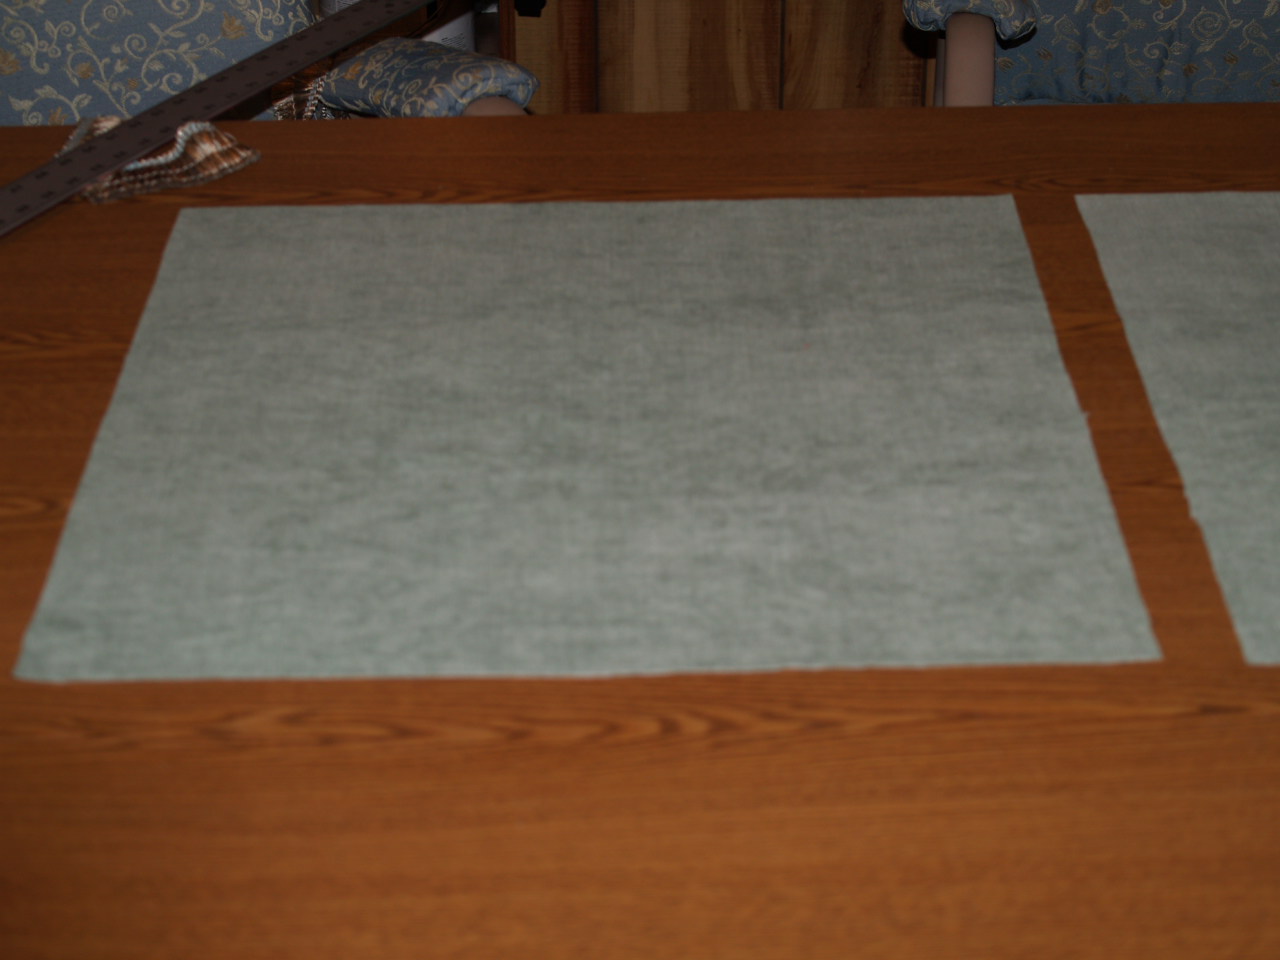 First step in creating a throw pillow is to cut a front and a back the size you want. I created mine 20″ x 20″ square. I started by cutting two 21″ inch pieces (a front & a back).
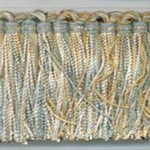
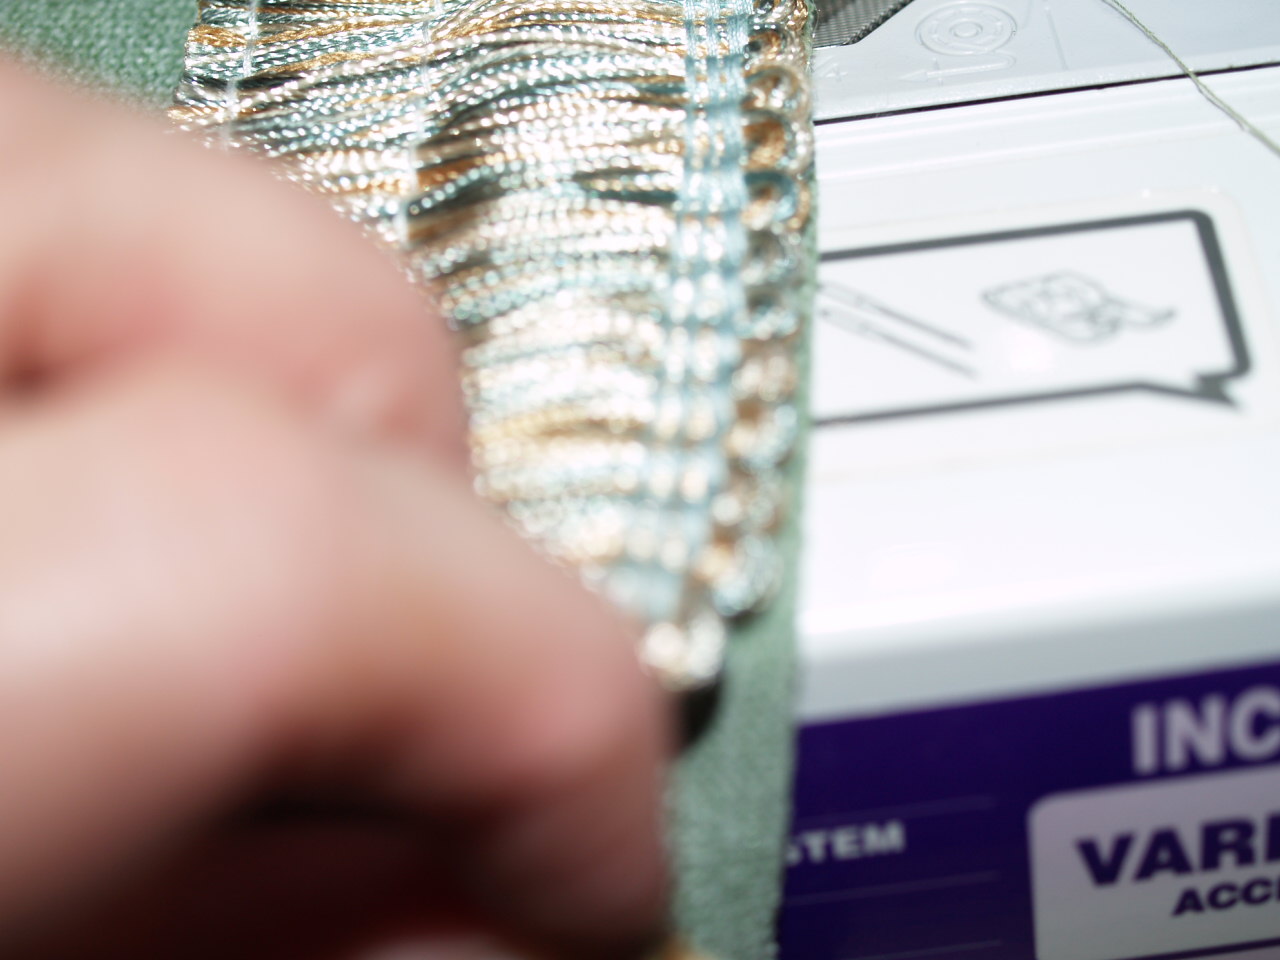
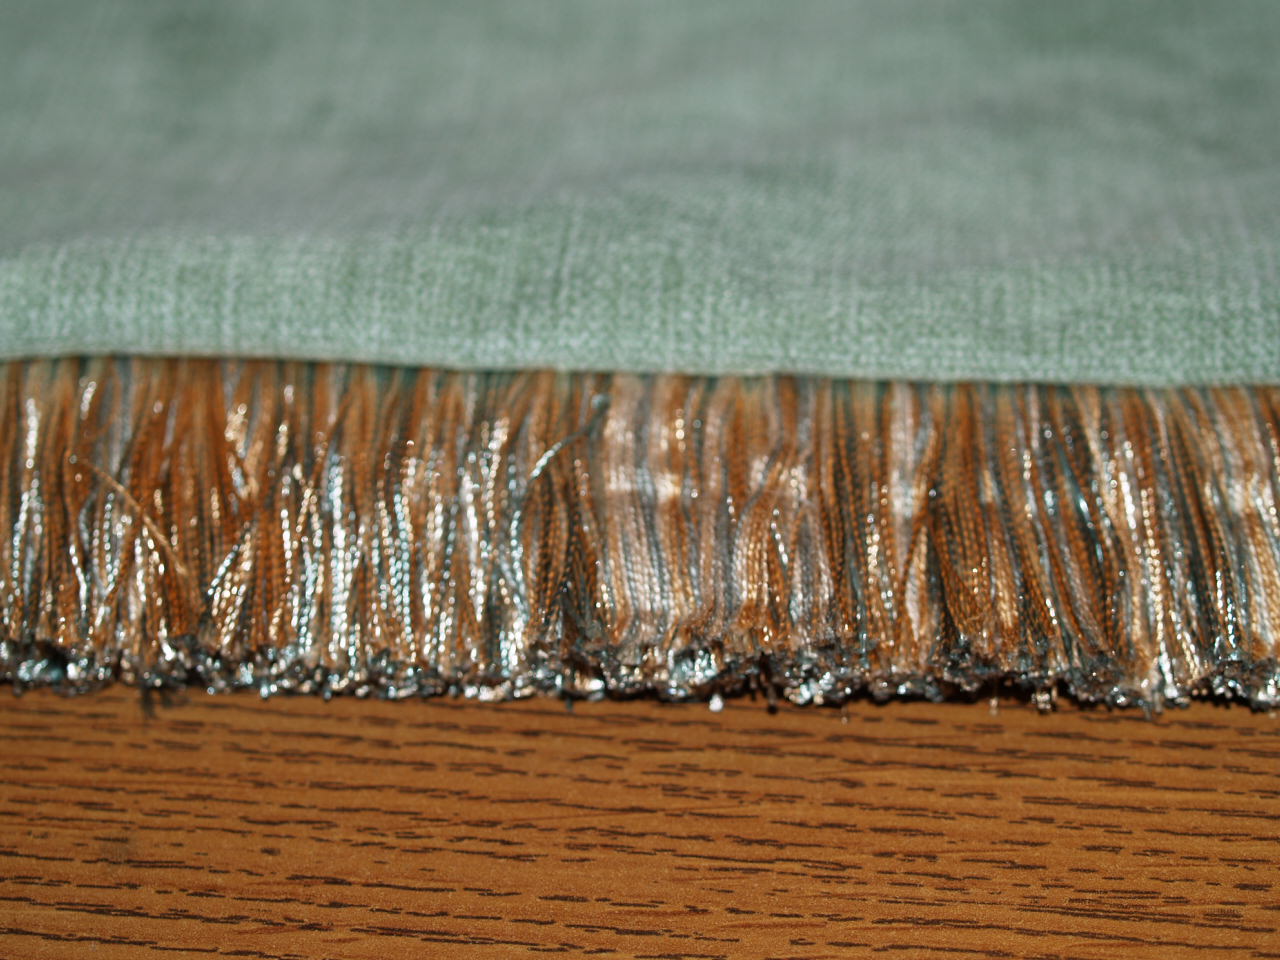
 When you buy your fringe it will have a header and then it will also have stitching that holds the fringe together. Do not undo the stitching until you have completed your pillow as shown in the photo.
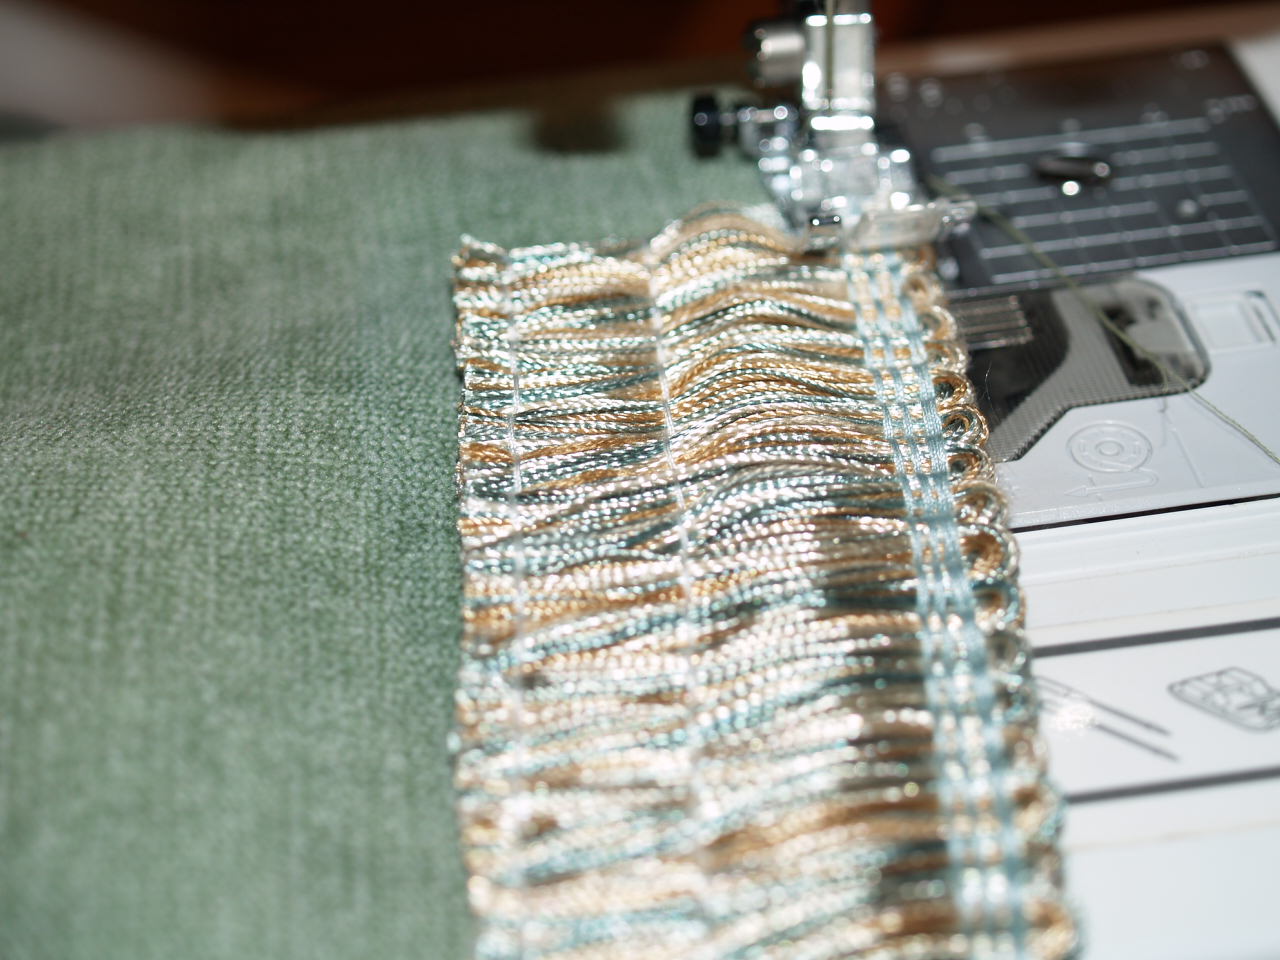
Start sewing the brushed fringe to the piece of fabric that has been cut for the front. Notice how I have placed the fringe on the fabric. Sew making sure to hide the header stitching. Continue sewing all the way around your front.
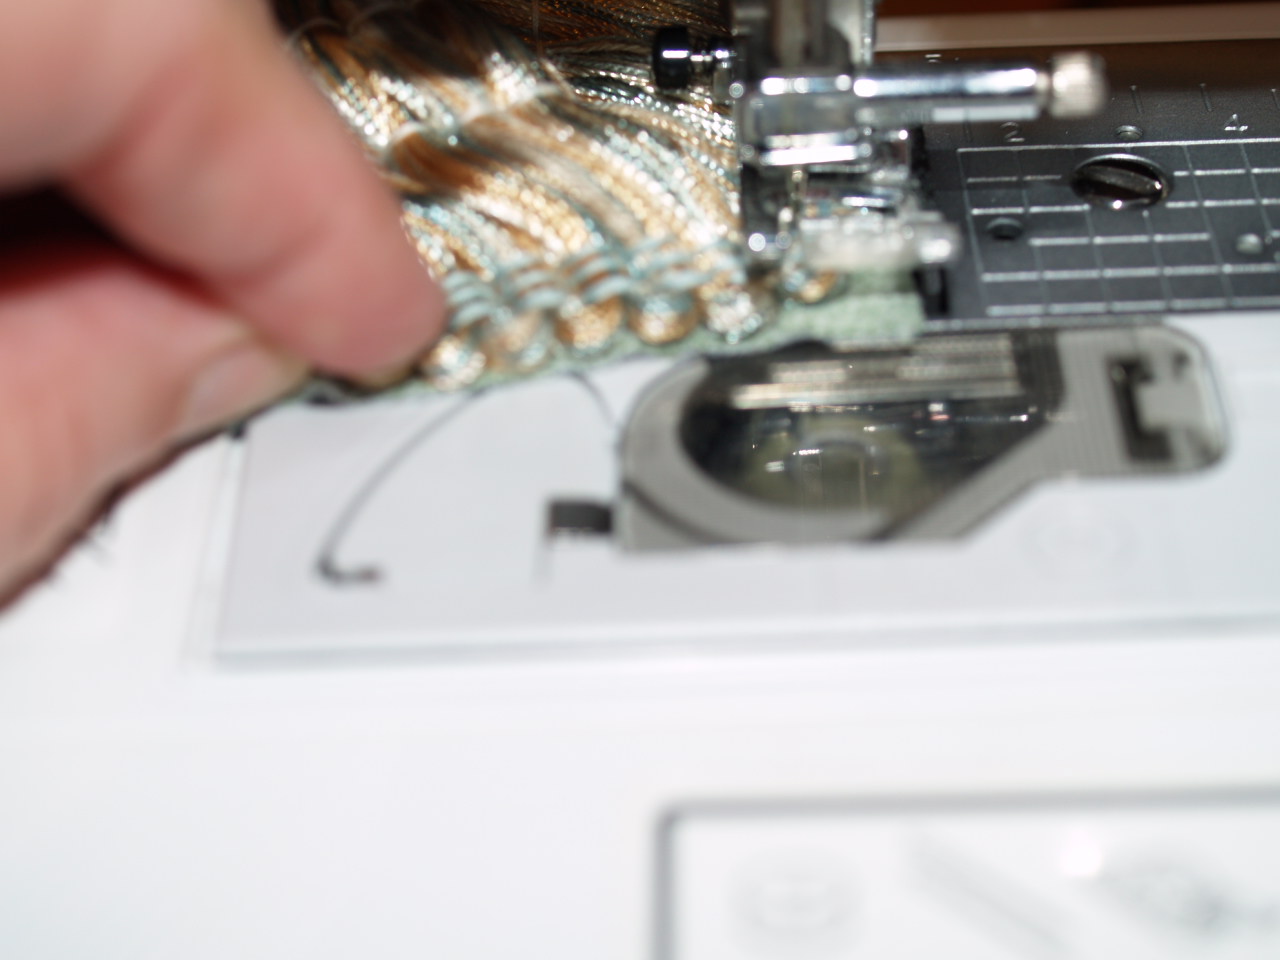
Make sure as you are sewing to keep the fringe on the edge of your fabric.
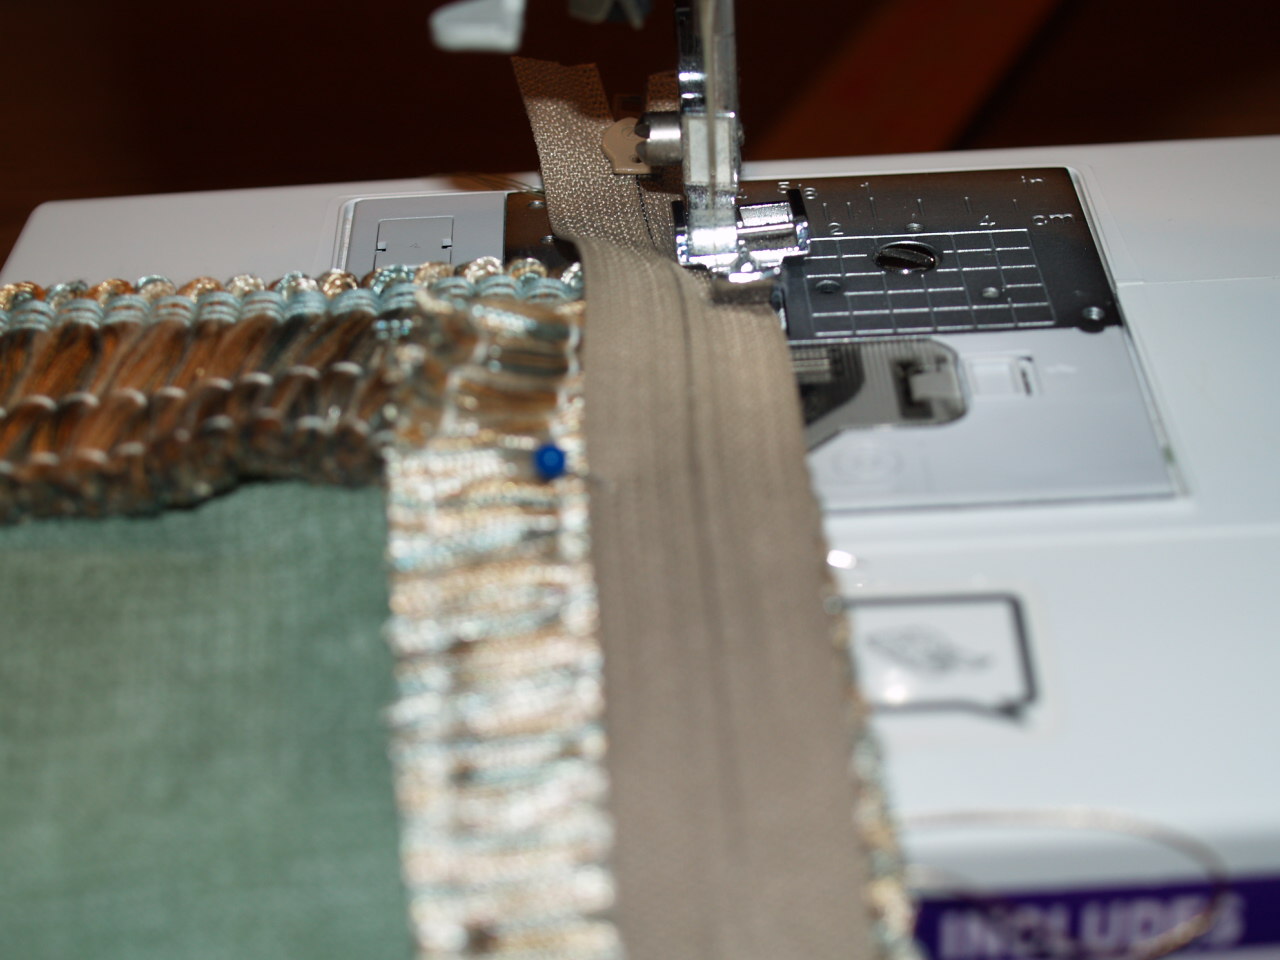 Now is the time to add the zipper to the front piece of your pillow. Notice how I placed the zipper with the right side of the zipper being the side that will be sewn on the front piece. After you have sewn the zipper to the front piece it is time to sew the left side to the back piece of your pillow. When using zippers for my projects I usually use upholstery zippers which allow you to move the zipper heads completely out of your way while sewing.
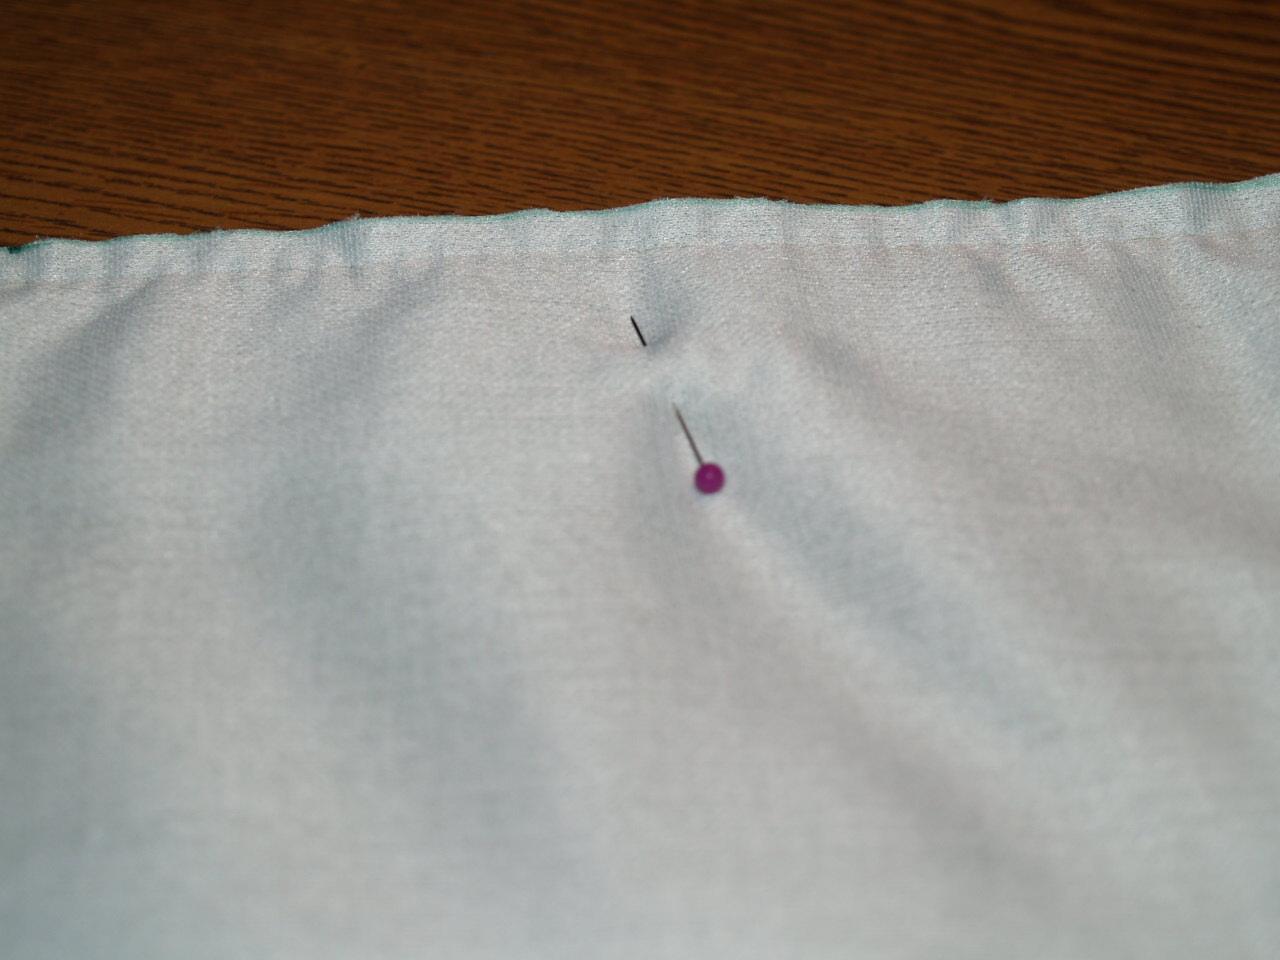 The final step in creating your throw pillow with fringe is to pin and sew the remaining three sides.
 Turn your pillow right side out and check to make sure all the header thread was hidden. If not just re-sew.
Now you know how to make a fringed throw pillow!
Happy sewing!!!

