
Make your own covered buttons
|
|
I used to think covered buttons were too complicated. Silly me! It’s really quite easy, and sometimes they are just the thing to finish your project.
This post refers to the green jacket I posted about last week. You can also find a post on jacket interlining and linings related to this project.
|

Supplies
|
|
|
||


How to do it – method 1
|
|
There are different kinds of DIY covered button kits. These have little spikes that grab hold of the fabric. The basic idea is that you press your fabric around the button form and catch it on the little spikes, then snap on the button back.
Below, I’ll show a second type of kit. |
|
|
There is a fabric cutting template on the back of the package. Cut it out and place the straight edge on the fold of your fabric. |
|
|
Cut as many as you need. |
|
|
Here are my five pieces of button fabric. |
|
|
Start pressing the fabric so it catches on the little spikes around the edge of the button form. Work opposite sides, pulling and smoothing the fabric as you go. |
|
|
Do four sides and then start working on the corners, if a circle can have such a thing. |
|
|
Here’s a close-up of the little spikes that hold the fabric. |
|
|
Once the fabric is wrapped around the button, prepare to snap the back on to hold everything in place. |
|
|
By the way, if pressing the fabric onto the spikes hurts your fingers, you are not a crybaby. Puncture wounds do hurt.
A pencil eraser helps! |
|
|
If you are using heavy fabric like I did, you may not be able to easily snap the button back on with your fingers. You can use a spool to help you. |
|
|
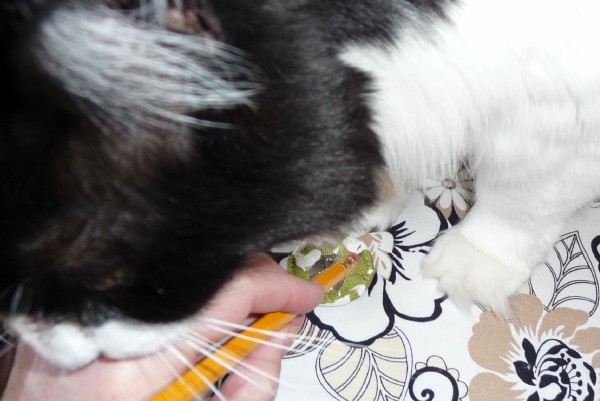
You know what won’t help you? A cat that’s intent on licking your hands as you work. Get the cat outta here. |
|
|
Ta-da! Here are your finished buttons! |


Method 2
|
|
Here’s another type of kit. Instead of pressing the fabric onto little spikes, you use a special form. I find these ones much easier to use, but not always available. |
|
|
This is what comes inside. Since these are the big, 1-1/2″ buttons, I only got two with my kit, plus a rubber mold (white) and a pressing cap (blue). |
|
|
As with the kit above, this kit comes with a pattern on the back for cutting out the circles of fabric. |
|
|
Layer this way: Rubber mold, open side up, topped by fabric circle, right-side down, topped by the button front. |
|
|
Push it all into the mold. |
|
|
Grab your button back and press it on top, with all of the fabric sandwiched underneath, between the front and back of metal button pieces. |
|
|
I find it pretty easy to snap it all into place with just my fingers, but if you’re having trouble, you can use this hard plastic cap to really press it all together. |
|
|
Pop your button out. It’s really easy! |
|
|
Beautiful buttons in a snap — literally. |


