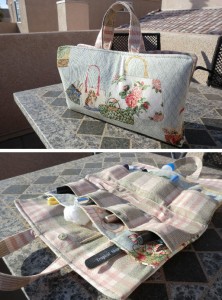
Mani-pedi tote tutorial
Supplies
(Click fabrics for direct links for purchase at Warehouse Fabrics Inc.)
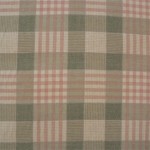
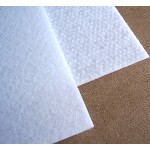
| I had 1 yard of each fabric. Since my main fabric had a fun print, I fussy cut it to get specific parts of the print centered. For the plaid, I carefully lined up the pieces so the plaid would be nicely centered and match from one side to the other. So for the fabrics I needed, I required more yardage than you would if your fabrics were not directional and required less “fussiness” when cutting.The Peltex is very stiff interfacing. You can manage without it, your bag just won’t be quite as stiff. It’s easier for this project if it’s double-sided fusible. Craft Fuse is a fairly stiff fusible that I used for the pockets and handles. It’s not nearly as stiff as the Peltex. If you’d like to just use Craft Fuse instead of Peltex on the bag sides, that’s fine, too. The batting just adds a bit more body. I used scraps from my stash, so I didn’t measure out the exact amounts I needed. You can gauge it from the measurements below, depending on which interfacings you opt for. | |||
The pattern
| Cut out the following piece: SIDES: 12″x15″ (12 is height) – cut 2 each fabric and lining LARGE POCKET: 7″x15″ – cut 4 from main fabric SMALL POCKET: 4″x15″ – cut 4 from lining fabric STRAPS: 4″x11″ – cut 2 from lining fabric Peltex interfacing: Cut 2 of the side pieces, then trim about 5/8″ off the height and width to reduce bulk in the seam allowances. Craft Fuse or other stiff interfacing: Cut 2 of each pocket piece and 2 of the strap pieces. Batting: Cut 2 of the side pieces. |
The process
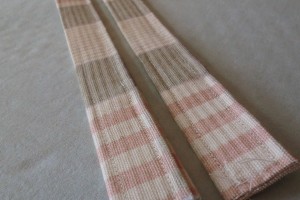 |
Start with the handles. Make two handles using the Non-Turn Strap tutorial. The ends of the straps can be left raw because they will be hidden later. |
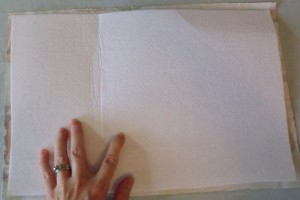 |
Next, lay one of your outer bag pieces right-side down and place your Peltex (or whatever interfacing your chose) on top, fusible side down. Mine is double-sided fusible, actually. |
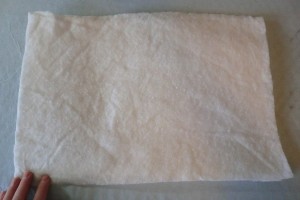 |
Place your batting on top of that. Then press to fuse it all together. If your interfacing is only fusible on one side, just fuse it to the fabric and pin the batting in place until you sew things together. |
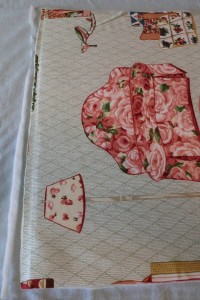 |
Flip it over and trim off any excess batting so that it’s nice and neat. |
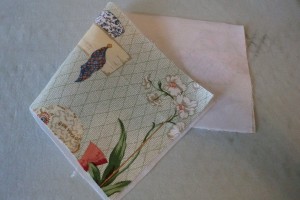 |
Fuse your interfacing to the wrong side of your pocket pieces — the piece that will face out. In my case, I cut the outward-facing pieces with more care regarding the print and the hidden pieces more willy-nilly. If your print is not fussy cut, then don’t worry about this. |
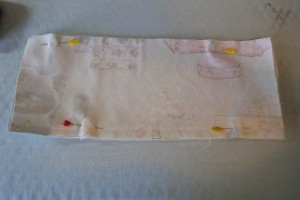 |
Place two pocket pieces right-sides together (one interfaced, one not) and sew down the long sides, leaving the short sides open. |
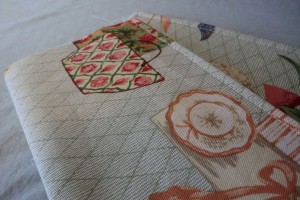 |
Turn right-side out, press and top stitch along the top edge of each pocket (there are four pockets, two big, two small). |
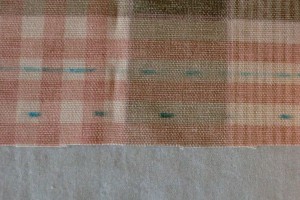 |
On the bottom edge of your lining pieces, mark 1/2″ from the bottom to denote the seam allowance and then another 3/4″ from that for pocket placement. |
 |
Baste your handles to the outer bag pieces. I set mine in 5″ from either side. Baste them so they are positioned as shown. |
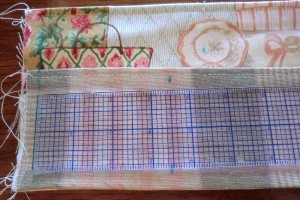 |
Place your small pocket on top of your big pocket. Have the small pocket’s bottom just a bit further down than the big pocket’s bottom. See picture below to see what I mean. Baste sides of pockets together and mark the 1/2″ seam allowance on either side. Then measure in 3.5″ from each side for dividers and another in the middle of those, making four dividers. |
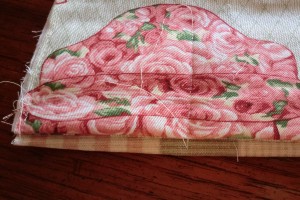 |
This is what I was talking about above. The plaid pocket extends just a little below the other one. This will reduce bulk when sewing it to the bag because I’ll only be sewing through the plaid pocket, but it will still effectively close the bottom of the big pocket at the same time. |
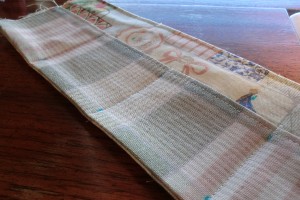 |
Sew along these lines to make the dividers. |
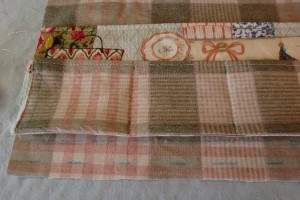 |
Place your pockets so the bottom of the pocket is on the line you marked above. |
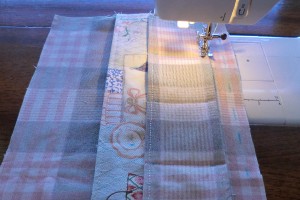 |
Sew close to the edge of the bottom of the pocket and baste the sides to the side of the lining piece. |
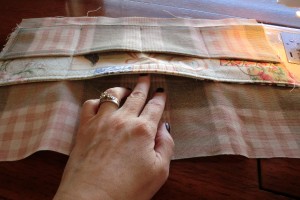 |
To create dividers on the big pockets, sew only along the outer two stitching lines on the bottom pocket. This will make for bigger sections than the little pocket has. |
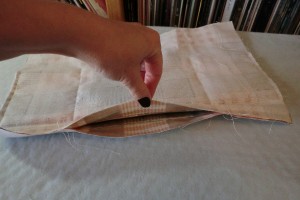 |
Sew the two lining pieces at the bottom only, but leave a big hole for turning the whole thing through later. Press your seam allowances open, including the area where the hole is. |
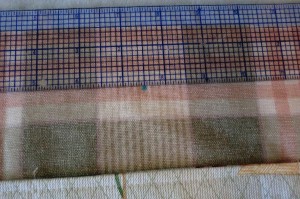 |
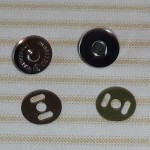
To insert the magnetic snap, find the 1/2 way point (7.5″) on the top edge of the lining and mark 1/5″ down from the top. On the back, fuse a piece of interfacing over this area for support. |
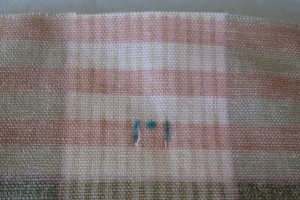 |
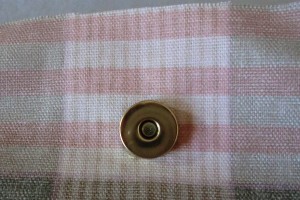
Press one side of the snap into the fabric and mark the indentions. Make small snips for the prongs of the snap. I like to add some Fray-Check here. |
 |
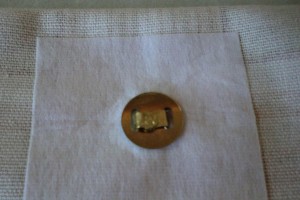
Insert the prongs through the holes. |
 |
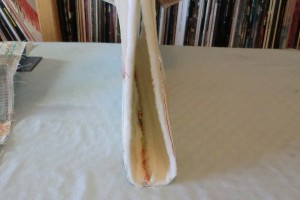
Place the backing over the prongs and fold them over. |
 |
Sew the bottom seam of your other bag pieces and press open. |
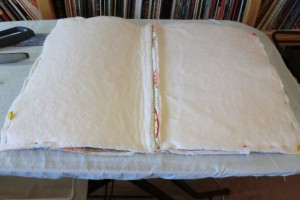 |
Place outer bag and lining pieces right sides together, matching bottom seams, and sew all the way around. The handles are tucked down in between. |
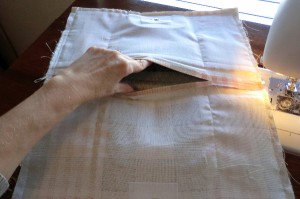 |
Turn the whole thing through that hole in the lining. Then press it all smooth. Pin the hole closed and stitch it shut. You can do this by hand if you want a less-noticeable effect. |
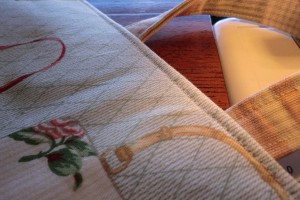 |
Top stitch the upper edges. I like to increase my stitch length for this. |
Other views
(Click for bigger views)
 |
 |
 |

