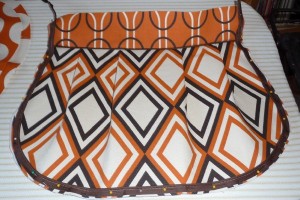
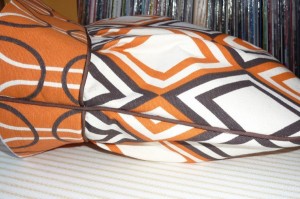
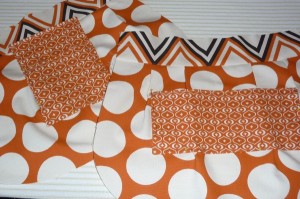
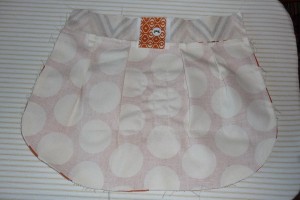
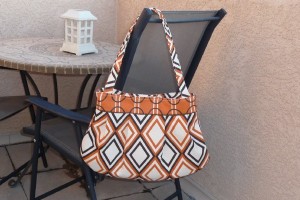
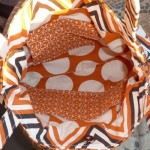
| Making your own fabric bags means you’ll always have unique accessories. I have lots of them, and I get compliments all the time. They really stand out. This bag is pleated and nice and roomy as a purse. I have made this style in both a smaller and larger size, but neither ever seemed just right. This one I made somewhere in between. It holds all of my day-to-day purse stuff, with room to throw in a book or bottle of water, to boot.
I took this out today and somebody complimented me on it and wanted one. See? That’s what I’m talking about. So worth making! Dimensions for this bag are: 14″ wide along top of bag; 17.5″ wide at widest part of bag and 12.5″ tall at center point. |
|
| NOTE: This is one of our more popular projects. If you make it, please share pictures with us on our Flickr page [2]! Also, submit anything made with fabrics from Warehouse Fabrics Inc. to our gallery page [3]. Simply click “Add Photo to Gallery” just above the pictures. |
Supplies
(Click fabrics for direct links for purchase at Warehouse Fabrics Inc.)
| Have fun mixing and matching coordinating prints. You can have three or four in one bag.
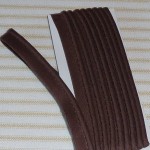
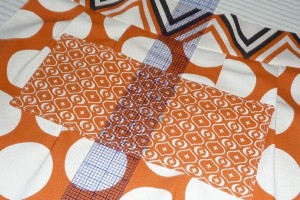
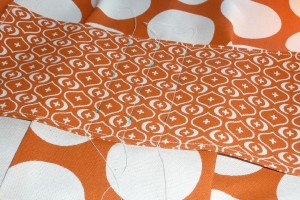
In the case of this bag, I used 5/8 of a yard of 54″ width fabric (the diamond shape) for the sides, interior top bands and straps. For the interfacing, I used a full yard for the bag sides and top bands. Then I realized I needed more for the straps, but I always have scraps of Craft Fuse lying about, so I just made do. Craft Fuse is single layer and not very wide, so you may need more like two yards in order to get enough for the straps. For the fusible fleece, I used less than one yard for the bag sides and top bands. I used pre-made piping, and one 2-1/2 yard package was just enough, with a little left over. We have a tutorial for making your own piping out of any fabric you’d like here [10]. If you’re going to make your own, you’ll need to buy extra fabric, and remember that you’ll be cutting on the bias. All of that is described in the tutorial. Bag sides Top bands Straps Pockets 1/2″ seam allowances throughout, except in the case of the pockets. For those you will use a 3/8″ seam allowance to sew the pockets and a 1/8″-1/4″ seam allowance to top-stitch them to the lining of the bag. |
|||
The pattern
Pleated handbag pattern PDF [11]
A reader was kind enough to send me the above all-in-one PDF file (thank you!). But just in case, I’m leaving the separate files below. I know this pattern was featured on a craft blog recently and so readers have been coming to it and I want to make sure I don’t delete anything necessary.
Pleated purse pattern 1 [12]
Pleated purse pattern 2 [13]
Pleated purse pattern 3 [14]
Pleated purse pattern 4 [15]
Pleated purse pattern 5 [16]
Pleated purse pattern 6 [17]
Pleated purse pattern 7 [18]
Pleated purse pattern 8 [19]
Pleated purse pattern 9 [20]
Basically, the pattern is spread across nine pages of regular computer paper. You’ll print them and then tape together where instructed. The pieces are labeled.
The process
Exterior bag
Interior bag
Joining the exterior and lining
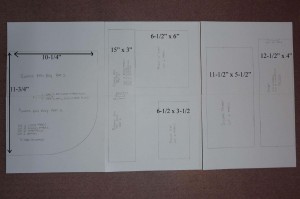
| Here is a photo of the pattern pieces with the dimensions. click for a bigger view. This will look different than the layout if you print the pieces above. I had to redo the pattern pieces to leave a border around the edge of the paper so they would print properly. But this view will give you the dimensions and help you see what the taped-together pieces look like. |
|
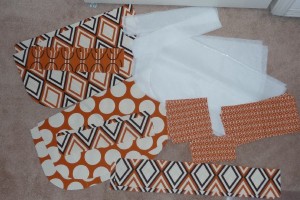
| Cut out your fabrics, interfacing and fleece as instructed above. | |
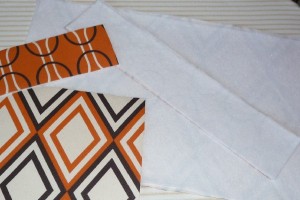
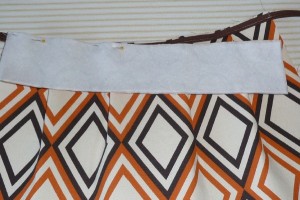
| Fuse interfacing to back of outer bag sides and outer top bands. Fuse fleece on top of that. |
|
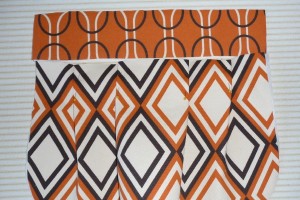
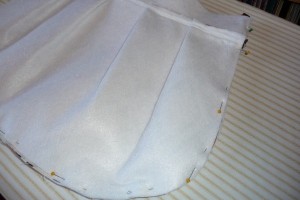
| Now you’re going to make your pleats. I make the left two pleats go from right to left, and the right two pleats go from left to right. It really doesn’t matter. They can all face the same way if you want.
You basically want four evenly spaced pleats that make the side piece the same width as the top band. I just like to eyeball it and adjust as necessary. Click for a better view. Pin the pleats and press the top few inches, but not down past that. The pleats will taper out to nothing about halfway down the bag. |
|
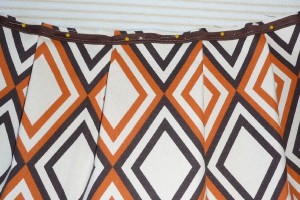
| Baste the pleats in place near the top edge, within the 1/2 inch seam allowance. |
|
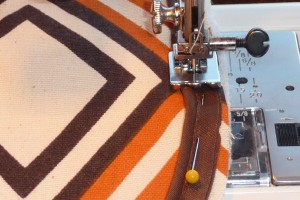
| Pin piping to top edge of bag. The piping has a 1/4″ seam allowance, and I’ll be sewing the bag with 1/2″ seam allowances, so I set the piping away from the edge about 1/4″. Baste it in place. It’s easiest to do this with a piping foot, if you have one. There’s a better picture below with some different piping. |
|
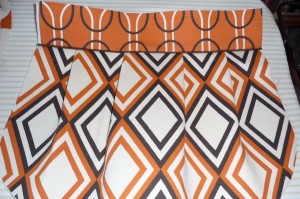
| Pin the top band to the side, right-sides together, sandwiching the piping in between. Sew together with a 1/2″ seam allowance. Again, a piping foot really helps. Your goal is to get right up against the piping without sewing over it. This can be tough since you can’t actually see the piping and your fabric is several layers thick. I used a regular presser foot at first, and I did OK, but I had a few places to go over again to get closer to the piping, and one place where I sewed over it and had to redo. When I did the part below with a piping foot, I had not one single problem. |
|
| Press the band up, with the seam allowance pressed up toward the band. The piping adds a nice touch! This inspired me to put piping around the whole outer edge. |
|
| I had just enough piping, plus a few extra inches to do this part, too. I pinned and basted, just as above. |
|
| Here’s the piping foot. It has a little ridge that snuggles in over the piping for more controlled sewing. I love it! Definitely worth buying. | |
| Right sides together, sew the outer pieces together with the piping sandwiched in between. Like I said, I used my piping foot. It was sort of tough because of the thickness of the fabric and the fact that I couldn’t see the piping, but I just felt for it through the fabric and sort of guided it in the general area of the piping foot’s groove. It worked like a charm!
Note: When I sew the side pieces together here and for the lining, My starting point for pinning is always the seams between the top band and the side piece. I want them to line up so that the bag is even. It will look sloppy if those seams are not lined up. |
|
| Turn the bag right-side out. I love, love, love the piping! Why don’t I use it more often? |
|
| Next, make and attach the straps as instructed in this tutorial [34]. Then come back. |
|
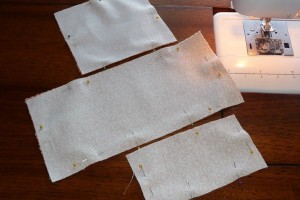
| Pin all of your pocket pieces right-sides together. Sew with a 3/8″ seam allowance all the way around, except for a space on one side to turn the pocket through.
Trim off the corners and turn, using a pointy item to gently push out the corners. |
|
| Here, you’ll see the holes that we turned the pockets through. The seam allowances pretty much are tucked in already. Press the pockets flat, keeping the seam allowances turned in. The holes will pretty much disappear. We’ll sew over them in a minute and they’ll be all gone. |
|
| Top-stitch 1/8″ from top edge (not the edge with the hole) of each pocket — but not the pocket flap. For that, top-stitch around two short sides and one long side of the flap piece (top left). | |
| Pleat the lining pieces as you did with the outside pieces, and sew the lining side pieces and top bands together.
Adjust the pleats so they lay naturally, and then pin the pocket pieces on. Pin the flap over the flap pocket, with the non-top-stitched edge just above the top of the pocket, and the flap facing up for now. Sew around the sides and bottoms of the pocket at 1/8″ or so from the edge. You’ll catch that opening that you turned through before, thus closing it up. Sew the pocket flap on close to the bottom edge. Fold the flap down over the pocket and press. |
|
| Now we’ll make handy dividers on the big pocket. I marked a line in the center, and then a line 1″ to the left and 1″ to the right of that. |
|
| Sew from the bottom of the pocket to the top along those lines. Those will be pen pockets. To either side are bigger pockets perfect for cell phones and MP3 players. (If you sew from top to bottom, sometimes the fabric bunches and you get a tuck at the bottom. That’s why I go the other way.) |
|
| Add magnetic snaps according to this tutorial here [42]. And then, of course, come back and finish up. | |
| Sew the lining pieces together, but be sure to leave an opening for turning at the bottom. |
|
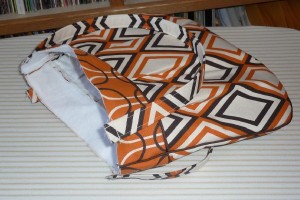
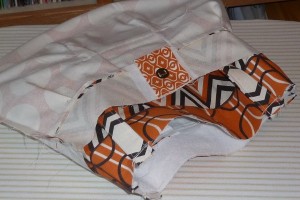
| Right now you have your exterior bag right-side out and your lining wrong-side out. Insert the exterior into the lining, as shown. The right sides are together, and the straps are tucked in.
Yes, this seems backwards. Don’t be alarmed. Just trust me and it will all work out. |
|
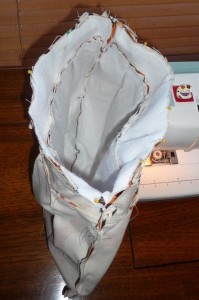
| Line up the raw edges and the side seams. Pin all the way around.
I find that when one layer is much thicker than the other (interfaced, fleecey exterior vs. just-fabric lining) that it’s easier to sew from the heavier side. If you sew from the thinner side, it bunches and you get little folds sewn in. So I pinned from the inside, and that’s also where I’ll sew. Go ahead and sew around the top with a 1/2″ seam allowance. |
|
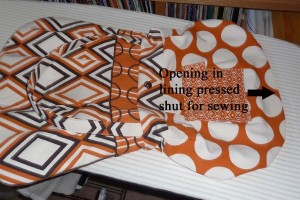
| Turn through the hole in the lining bottom. Before you push the lining in (polka dots), you want to close up that hole. If you’re a perfectionist, you can slip-stitch by hand. If you’re me, you can just press it in place and then top-stitch close to the edge.
Now push the lining inside and get the top of the bag lined up so the lining isn’t peeking out. Pin and top-stitch around the top at about 1/2″ from edge. |
|
| Here’s your really cool, pleated bag, ready for a day out on shopping. |

