Purse / bag organizer
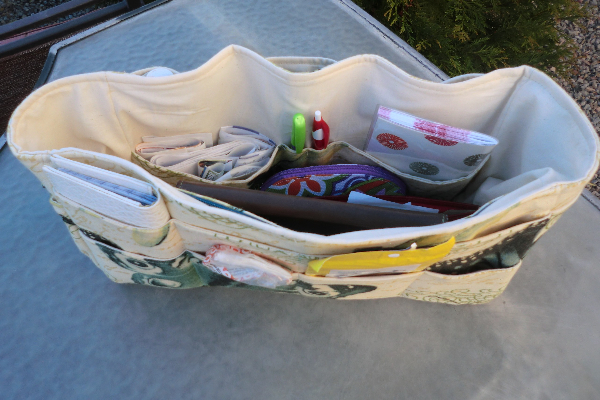
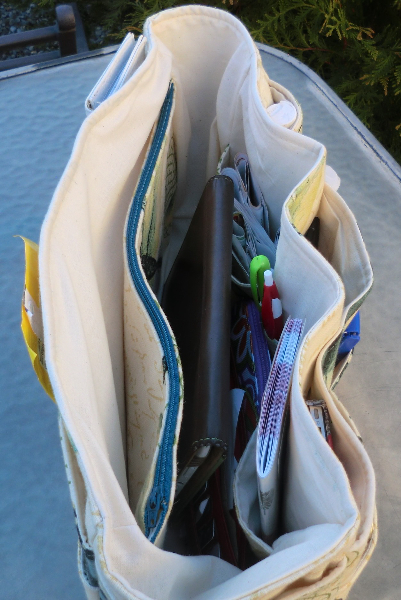
 Is your tote or purse a bottomless pit of disorganization? Keep everything in place with a bag organizer. This organizer has pockets and compartments galore, plus a roomy center area for big items like your wallet. I’ll show you how to customize it to suit your needs.
Supplies


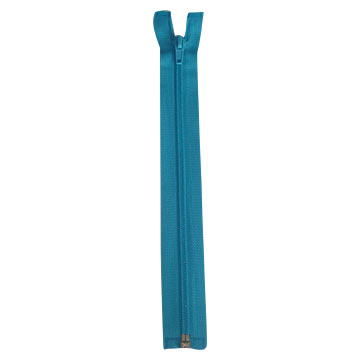
If you do this project in the size I did, I recommend 3/4 yard of 54″ decorator fabric for this project, plus 1-1/3 yards of a lightweight lining fabric. I used plain old muslin, but any quilting weight fabric will work. Check out our sheeting fabric for solid, lightweight options. You’ll need 1.5 yards of Craft Fuse stabilizer and 1 yard of fusible Peltex. You’ll also need a 12″ zipper. See the Pattern section below — you might want to make your organizer smaller to fit a smaller bag/purse.
FINISHED DIMENSIONS (you can adjust to your desire): 14″W x 7″H x 5″D
1/2″ seam allowances.
Pattern
Before we start, I’d like to point out that this is rather larger and fits a tote bag. If you’d like a smaller bag organizer, you can adjust the measurements. Simply adjust all of the width and height measurements by the same amount. Also, feel free to change up the pockets to suit your needs. Leave some out, add others. Whatever works for you! The finished dimensions of this bag are listed in the section above.
Make the following pattern pieces:
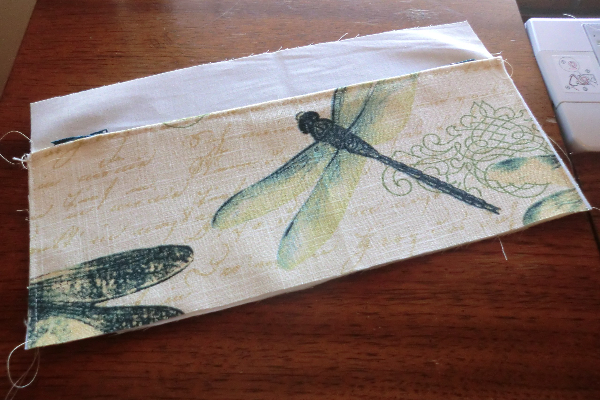
FRONT: 15″x8″ (WxH) – cut 2 fabric, 2 lining, 2 Peltex
SIDE: 6″x8″ (WxH) – cut 2 fabric, 2 lining, 2 Peltex
BOTTOM: 15″x6″ (WxH) – cut 1 fabric, 1 lining, 1 Peltex
INTERIOR DIVIDER POCKET: 15″x5″ (WxH) – cut 1 fabric, 1 lining
INTERIOR ZIPPER POCKET: 15″x6″ (WxH) – cut 2 fabric, 2 lining, 2 Craft Fuse
SIDE POCKET: 6″x7″ (WxH) – Cut 1 fabric, 1 lining
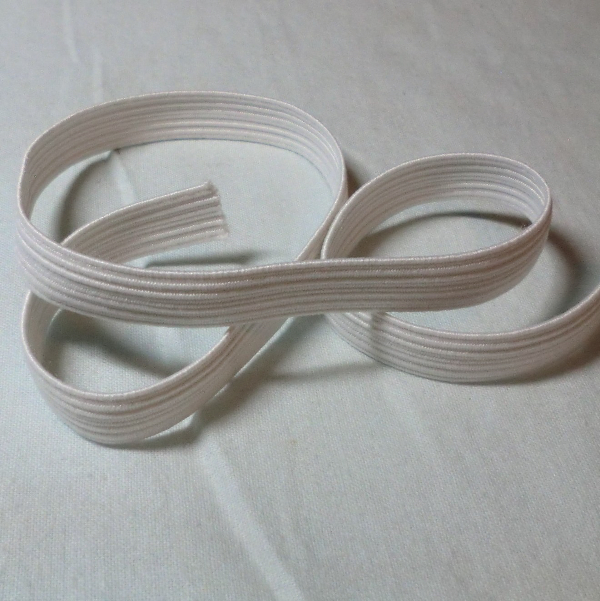
SIDE ELASTIC POCKET: 9″x6″ – cut 1 fabric, 1 lining, 10″ piece of elastic or longer
LARGER OUTER POCKETS: 15″x7″ (WxH) – cut 2 fabric, 2 lining, 2 interfacing
SMALLER OUTER POCKETS: 15″x4.5″ (WxH) – cut 2 fabric, 2 lining, 2 interfacing
The Process

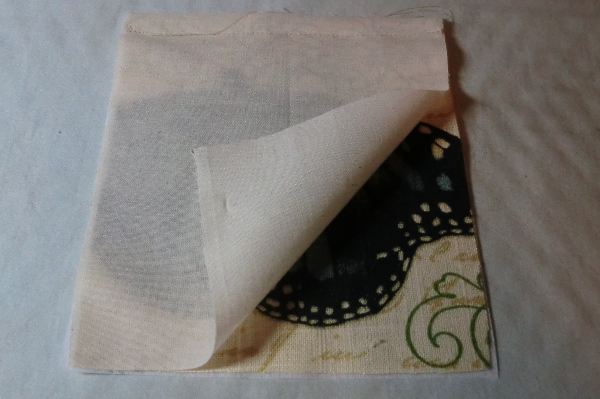
For all of your outer pieces (fronts, sides, bottom), trim your Peltex by 1/2″ on all sides and fuse to the wrong side of the fabric.
For each pocket (except zipper pocket), you’ll follow this procedure: Fuse the interfacing to the wrong side of the outer fabric.
Place lining and fabric right-sides together and stitch across the top.

Press seam allowance open and flip it right side out. Press and top stitch along top edge of pocket. The sides and bottom remain unsewn.
This is the side pocket, and here I’ve placed it on top of a side piece and basted around the sides and bottom.
On the side elastic pocket, do the same as above and then stitch a second row parallel from the top-stitching. Make it far enough away that you can fit the elastic through it. This will depend on how wide your elastic is.
Baste the sides and bottom of the pocket lining and fabric together.
Attach a safety pin to the elastic and run it through the casing you made.
Stitch down one side of the elastic so it can’t escape.
Lay the pocket on the side piece and stitch all the way down the right side to secure.
“Pleat” the bottom so that the width of the fabric is the same width as the pocket. Stitch. Then pull the elastic so the top is gathered and stitch down the last side (not shown).
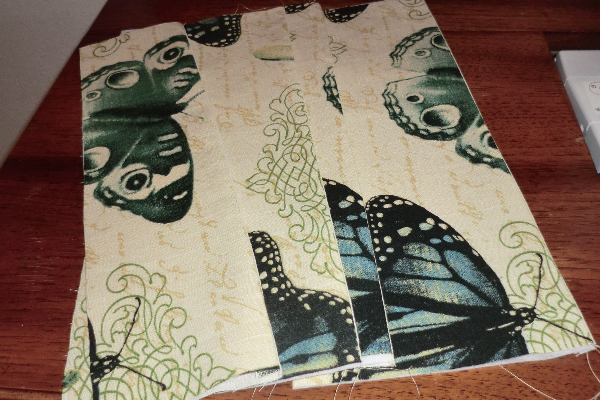
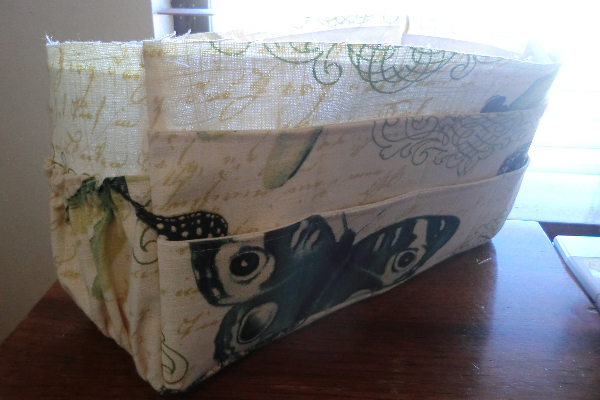
This is just a photo of all of the outer “front” piece pockets finished (right before top-stitching).

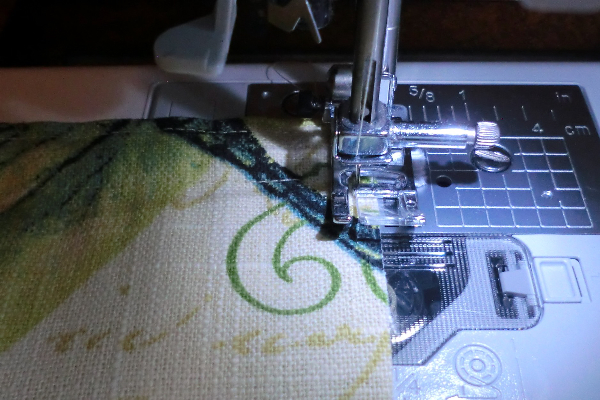
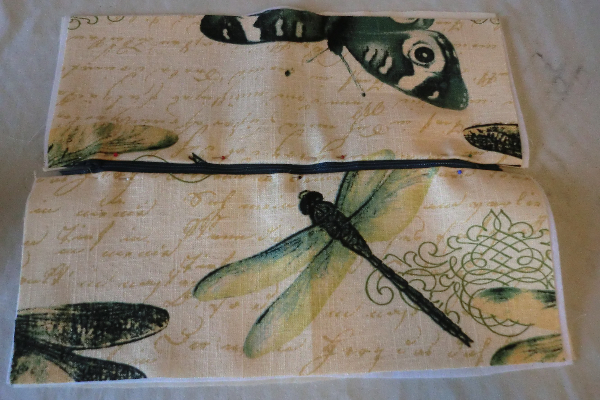
To make your zipper pocket, lay the zipper facedown on the fabric. I pinned the bottom of the zipper tape — not the part I’ll sew. See next step.
Lay your lining on top of the other piece and NOW you’ll pin on the zipper tape at the top edge, through all three layers. Stitch. Repeat on the other side of the zipper tape, making a sandwich with the lining, outer fabric and zipper tape. You’ll have trouble stitching next to the zipper pull. I start below the pull and then stitch all the way down. Then I open the zipper and start again at the top to finish it.
Afterward, you’ll open it up and get this …
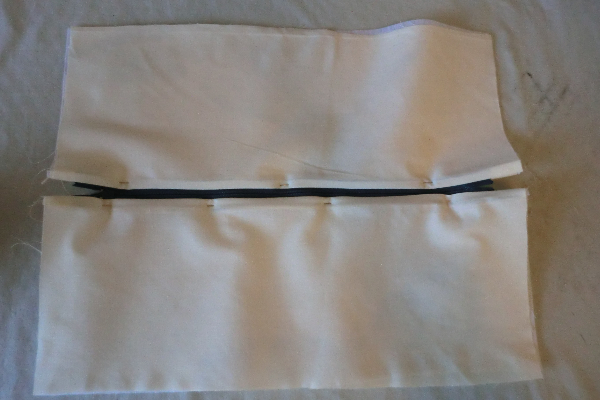
… and this.
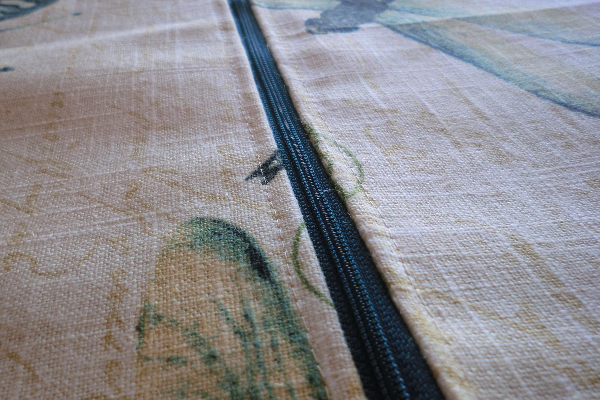
Smooth both layers away from the zipper and top-stitch.
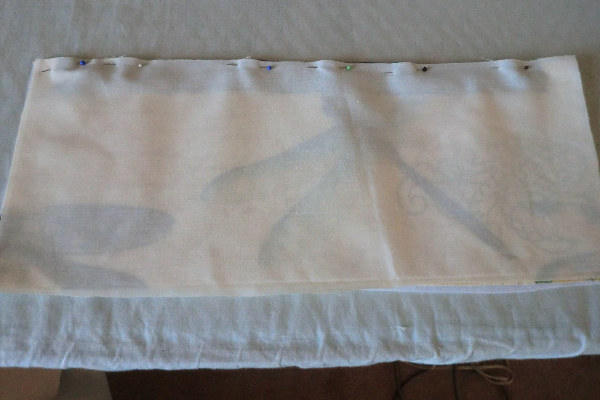
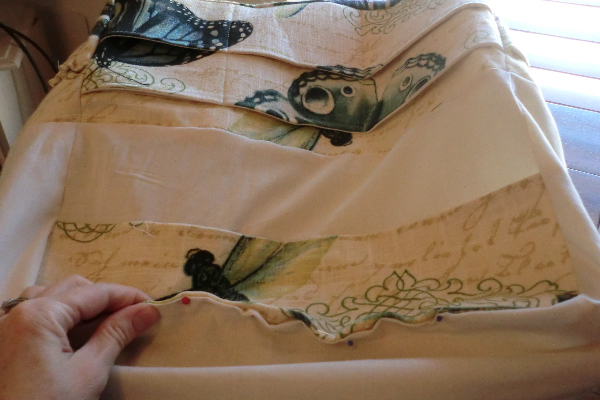
Fold your pocket so that the zipper is at the top. Place it on one of your lining “Front” pieces and baste along sides and bottom.

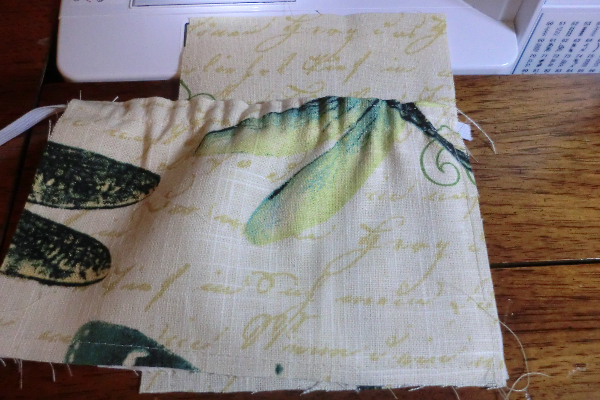
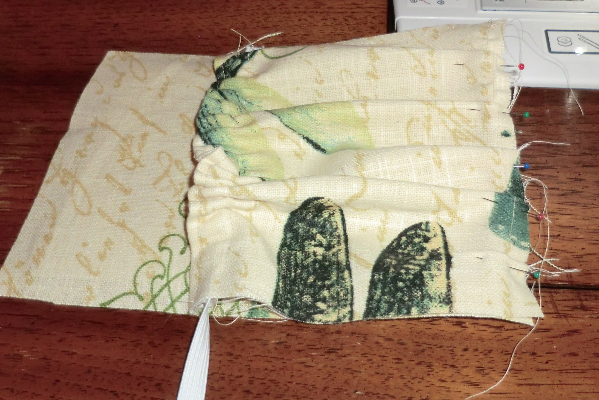
Place a large and small outer pocket on top of an outer “front” piece. Mark lines for divider pockets and stitch, from bottom edge to top. Also baste along sides and bottom.
Sew the lining divider pocket on the other lining piece in the same manner, but you’ll only have one pocket instead of two layered on top of each other.

This is what you’ll get.
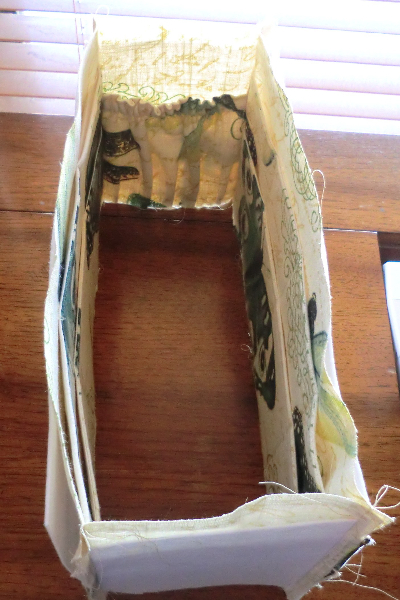
Sew the outer pieces together. Here it’s shown without the bottom piece.
NOTE: stop sewing 1/2″ from bottom edge to make sewing the bottom piece in a little easier.
Turn right-side out and push out corners.
Sew the lining together in the same way, but leave a large hole along one bottom edge for turning.
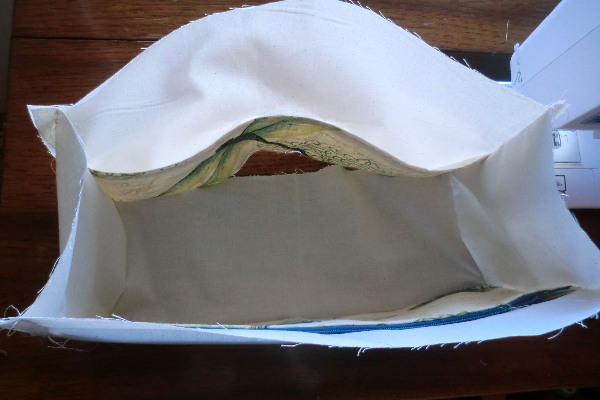
I seem to be missing a crucial picture. Sorry. Place the outer bag, which is right-side out INSIDE the lining bag, which is wrong-side out. So the right sides of each bag are facing each other. Line up the side seams at the top and pin all the way around. Then stitch all the way around the top edge.
Then turn it right-side out through the hole in the lining. You’ll get something that looks like the photo above. Turn under the seam allowance of the lining hole and pin and stitch closed.
Push the lining inside the organizer. You’ll notice the top edge doesn’t lay very smooth. Pin it down and top-stitch around the top edge.
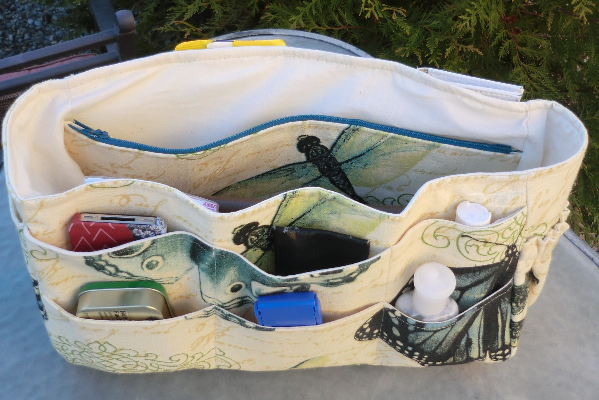
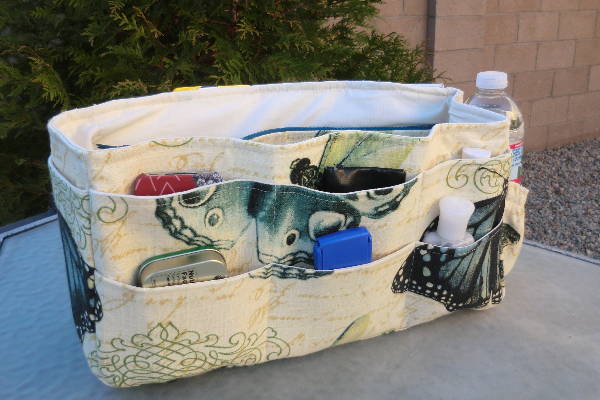
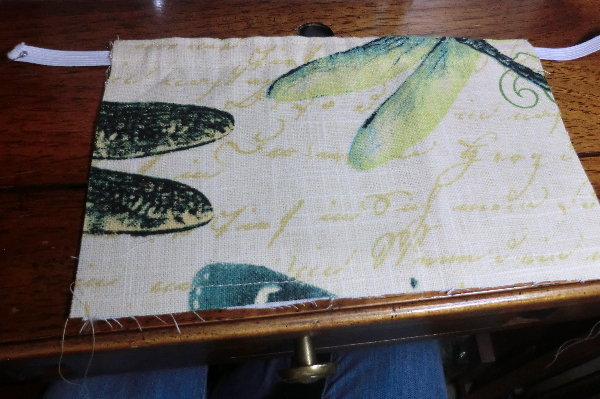
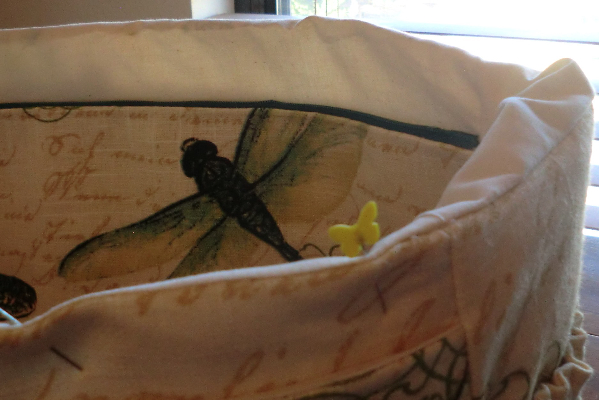
Other views