Rectangular casserole carrier
 You’ve cooked up a dish and it’s piping hot and ready for a potluck. Now you’ve just got to get it there while keeping it warm yet not burning yourself. I know! A casserole carrier!
Supplies


Pattern
You can create this carrier for any casserole pan. I’ll show you how below.
1/2″ seam allowance.
Process
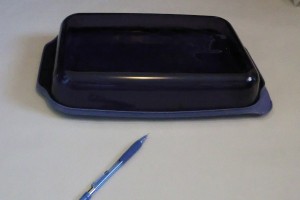
First, trace around your dish, biggest part down (in my case, the lid is down).
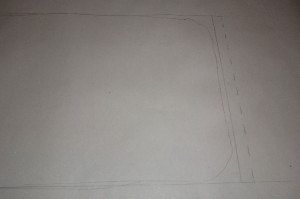
Grab a ruler and make an even rectangle. Add a 1/2″ seam allowance just on the short ends. I recommend also adding a few inches more of leeway on either short end. I didn’t, and mine would probably look better if I did.
Next, fold over the paper on the long sides and mark where you want your sides to end when folded up. This is not really very specific. You want to ensure the panels will overlap each other, but it doesn’t have to be an exact size.
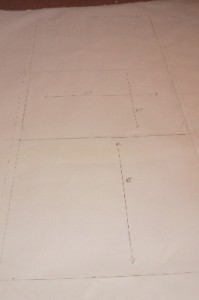
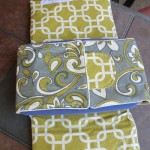
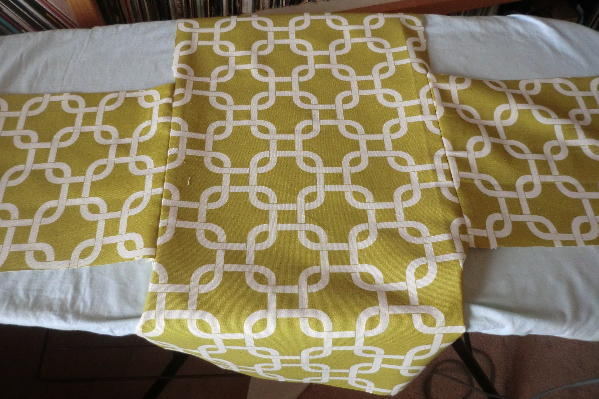
I realize this photo is hard to see, but the rectangle in the center is the one you traced and evened out with a ruler. The rectangles above and below are the side flaps that will fold over the long edges. To give you an idea, my pan measures y”xy”xy” and my center rectangle was 12.5″x8.5″. Like I said, I wish I’d had a little more width, so I’d probably make this 14.5″x8.5″ if I did it again. My top and bottom rectangles measure the same width (12.5″) by 10″. This will all be one big piece, but you’ll also need two side pieces for the short sides, which will be sewn on. Now that I’m thinking about it, way too late, you could probably make the whole darn thing one big piece shaped kind of like a plus sign and it would be easier to sew. Don’t you love thinking of these things after the fact? Do it that way if you like. I made two separate pieces and I sort of guestimated how much I’d need if I folded them over and had them overlap. Unfortunately, I underestimated by just the tiniest bit, which you’ll see below. My side pieces were 9.5″x12″ (with seam allowance, but I wish I’d gone 10.5″ instead of 9.5″).
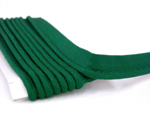
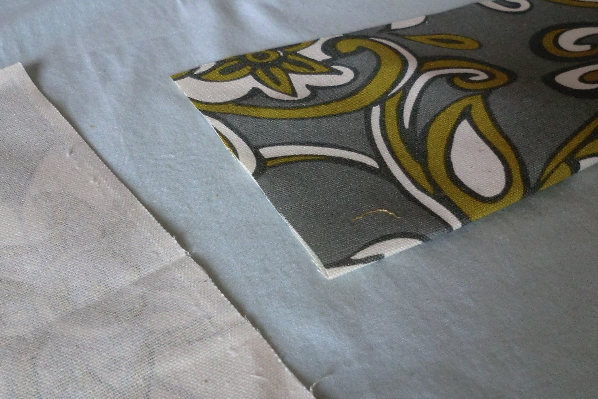
Cut one main piece from the fabric, one from the lining and one from the heat-safe batting. Cut two side pieces from the fabric, the lining and the batting. Cut two straps measuring 4″x31″, unless your pan is really big, in which case you might want them a bit longer in order to reach around the pan.
If you are doing the short side pieces separately, then fold them in half to find the center point. I like to crease with the iron.
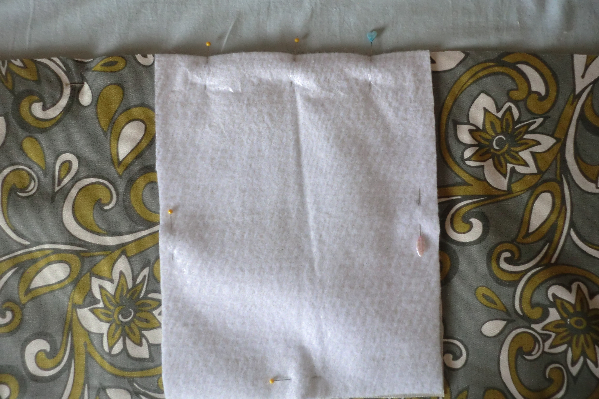
Add the Insulbright batting to the outer fabrics and pin the side piece to the side of the big piece, matching the center points. Sew.

Repeat on other side. All of those pins you see are securing the Insulbright to the fabric.
Repeat on lining. If you decided to make this all one big plus-sign piece, you will pick up with the tutorial on the next step.
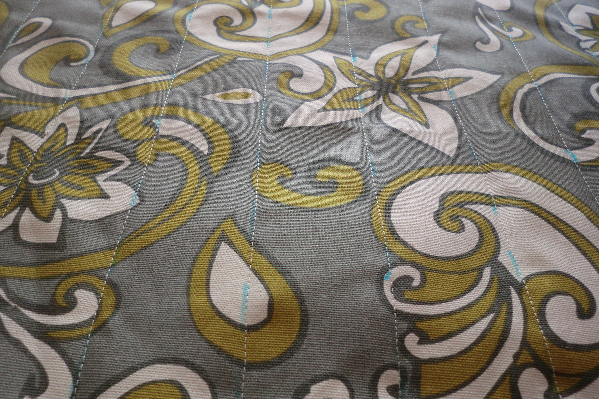
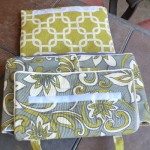
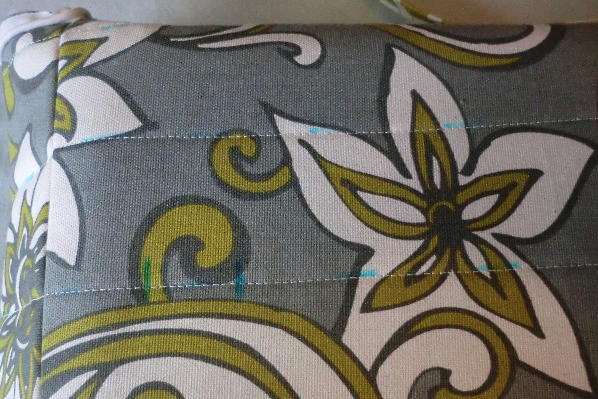
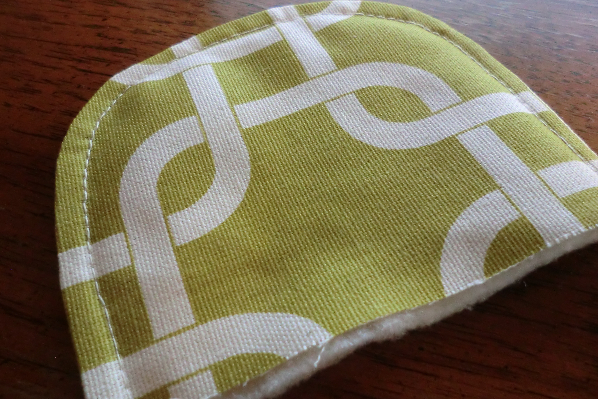
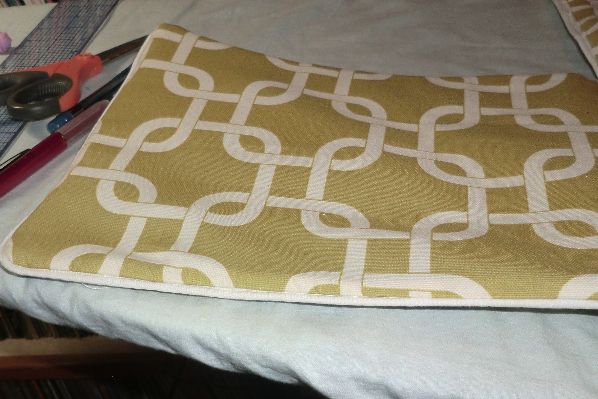
Quilt your top layer and the batting as desired.
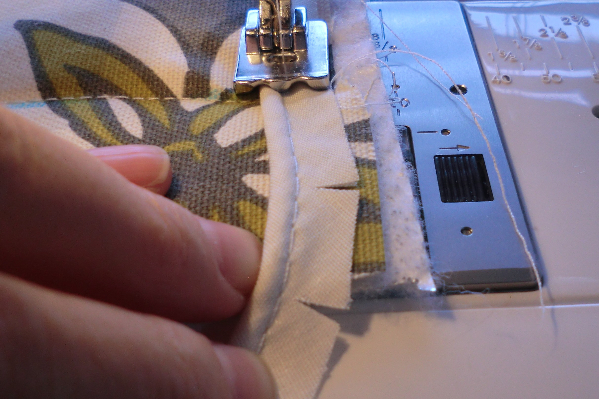
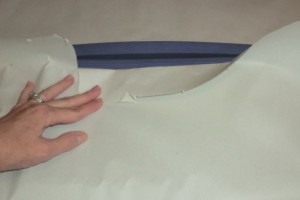
Add piping around the edges of the top piece. It can help to clip the corners.
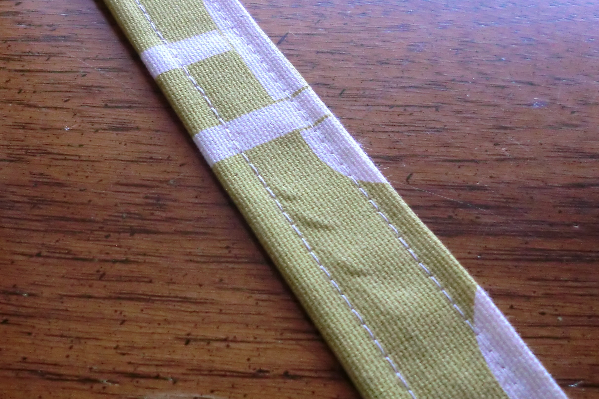
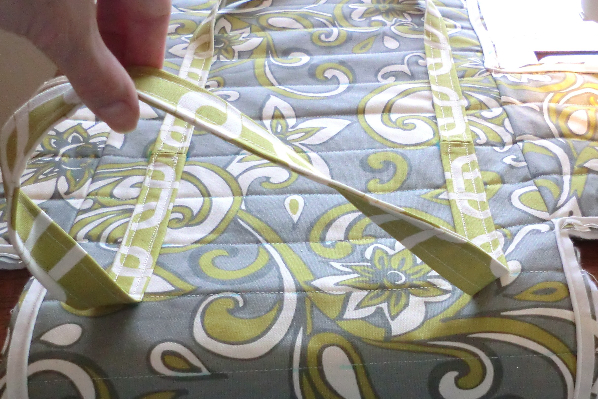
Make your two straps following the Non-Turn Strap tutorial, and turning all of the ends under when you start so that you have finished edges.
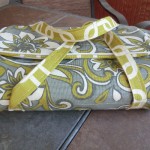
Find the center point on the short side of the bottom of the casserole carrier. Then find a spot about 1.5″ from the ends to mark where your straps will go. You might want to skip down a few pictures to see how they will look when they are finished.
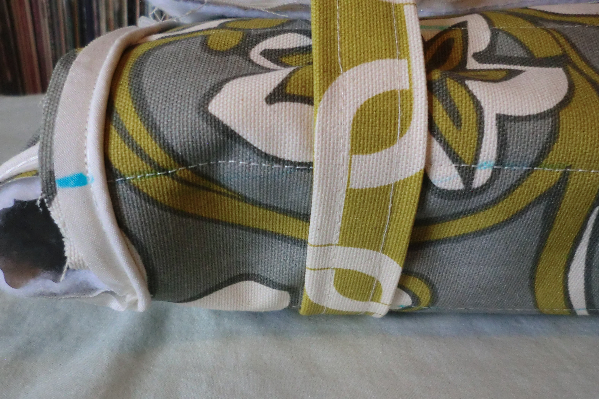
Place your straps where they will go and wrap them around to see how far up you want to stitch them, then mark that place.
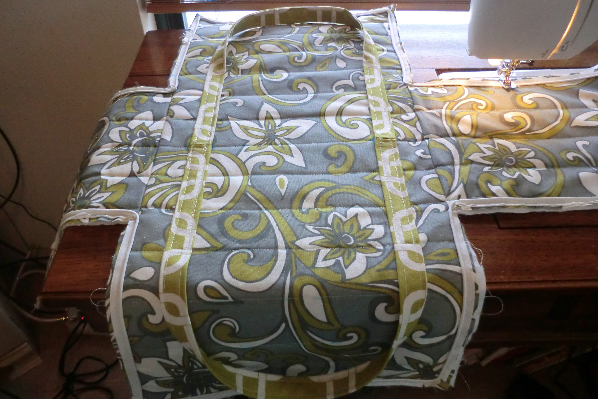
Line up the straps as shown (the ends meet at the center bottom) and stitch.
You can see that much of the straps are stitched down, but the tops of them are loose.
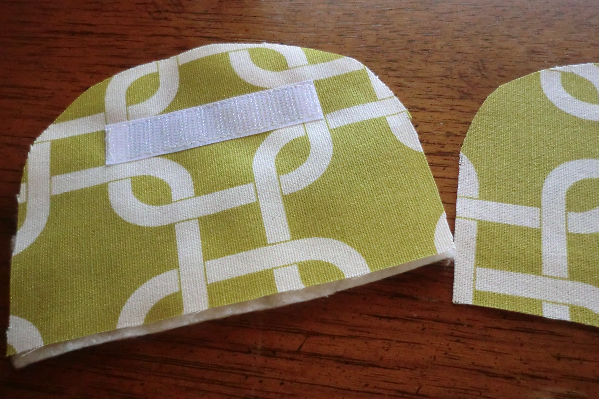
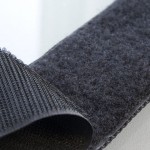
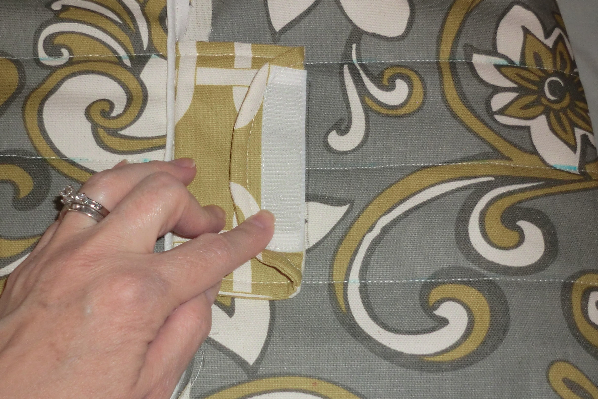
This little tab was made because my short edges turned out to just barely overlap and I needed a little more coverage. So I made a little Velcro flap. It looks neat, but you could also have simply added a bit more length to your side pieces so they’d overlap better. I simply cut these shapes out — two pieces of fabric and a piece of batting. Then stitched some Velcro through one side and the batting.
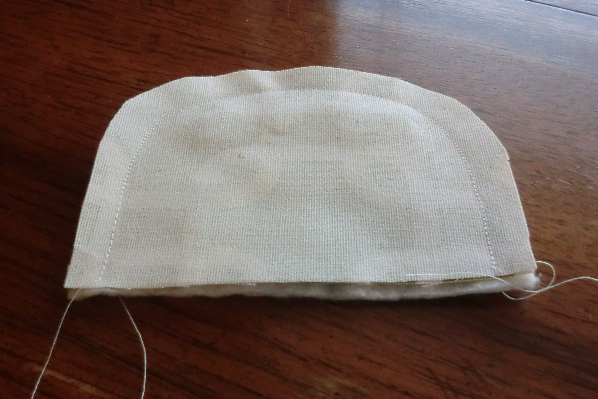
Next, I stitched them together with right sides facing, leaving the straight edge open. Then I trimmed the seam allowances and turned it right-side out.
Press and top stitch.
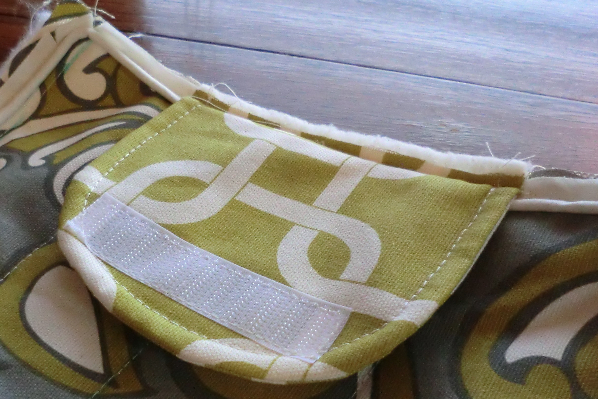
Stitch it to one of the side flaps, orienting it as shown. (Stitch inside the piping.)
Wrap your carrier around your dish and mark where the Velcro will line up on the other side. This denotes where you’ll sew the matching piece of Velcro. Sew that Velcro on the other side.
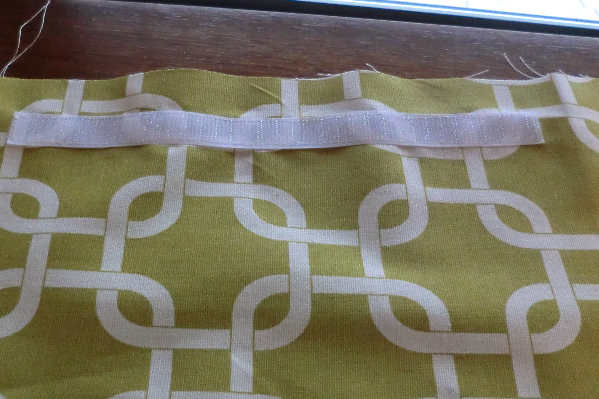
On the top edge of your lining piece (on mine, this is one of the 12.5″ edges), sew a long piece of Velcro about 1.5″ from the edge.
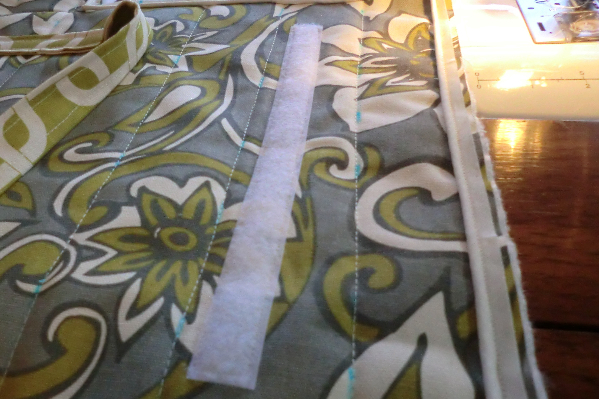
Place your lining fabric on top of your outer fabric (wrong sides together) and pin to hold temporarily. Then fold your fabric around your pan again and mark where your other piece of Velcro will go. One piece will be on lining fabric, the other on the outer fabric. Separate the outer fabric and lining and stitch that last piece of Velcro on.
Place the fabrics right-sides together and pin. Use your piping foot and set it so it’s running on top of the piping, which is sandwiched between the layers. Stitch all the way around, except leave a hole to turn it all back through.
Turn it right-side out and press. Then go cook up something mighty good and share it with a friend!
Other views