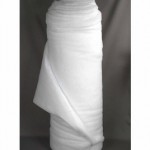
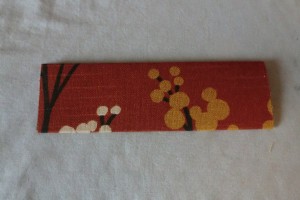
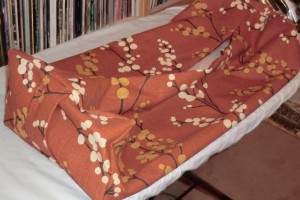
Rectangular yoga bolster
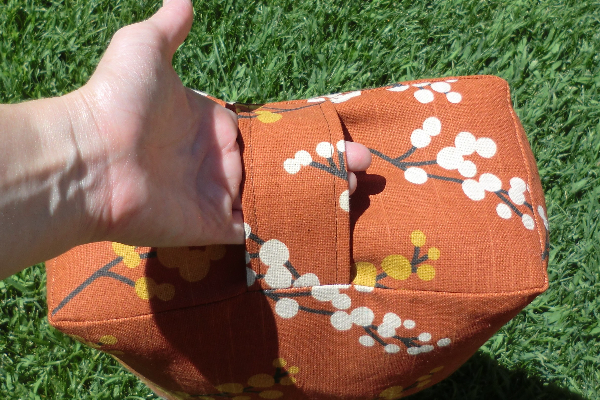
 A yoga bolster should be supportive and firm to aid you in various poses. I’ve seen pillows like this selling for upwards of $80. Even though the batting I stuffed it with was a bit pricey, this pillow can still be made for much cheaper than you can buy it at some of these upscale boutiques. And, in my opinion, yoga shouldn’t be about expensive stuff. This pillow also has a carry handle on one end for easy transport.
Supplies

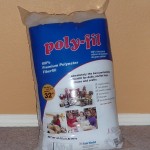
I had one yard of fabric and had some left over. I stuffed my project with batting because you want it to be a very firm and supportive pillow. I rolled batting up for a solid fill. I always prefer cotton batting. I bought a pre-cut queen size package that was 90″ wide and 3 yards long. I was just a little short of being able to fill my pillow solidly, so I added scraps that I found in my stash and rolled them in. Therefore, I’d suggest getting about 4 yards. Obviously the pillow isn’t 90″ wide, but the batting was folded up to the length of the pillow (24″) and then folded/rolled into a rectangular shape. I used a few handfuls of stuffing to fill out the corners of the pillow.
Pattern
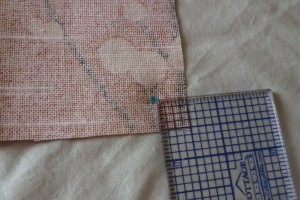
Cut one piece of fabric 25″ wide by 31″ long (this length goes around the pillow).
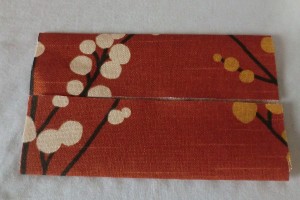
Cut two end pieces of fabric 11″ wide by 6″ high.
Cut one strap piece 8″ wide by 6″ high.
1/2″ seam allowances
Process
Fold your big piece in half along the longer sides and mark the center.

Also mark the centers of each edge of the end pieces. This will help you line things up later.

Make your handle. Fold the long edge in half and press.
Then fold over and press each short edge toward that center crease.
Fold in half again and press. Then stitch along either long edge.
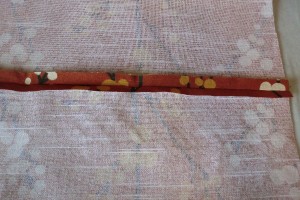
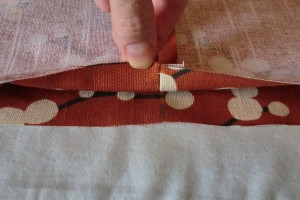
Baste your strap in the center of one of your end pieces, as shown.
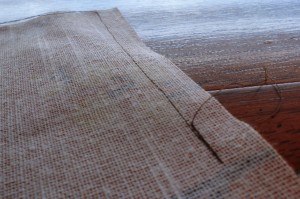
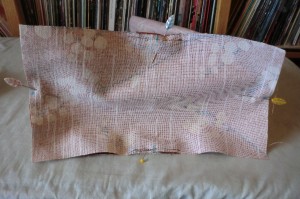
Take your big fabric piece and fold it so the short edges are together, right sides together. Sew on either end but leave the center open. You’ll need a rather large opening because the batting will be folded/rolled up and very stiff, and you’ll need to insert it through this hole. Also backstitch quite a bit at the opening edges, as shown in the photo, so the stitches don’t pop.
Press this whole seam open, even where it’s not sewn. You’ll need this pressed seam allowance later when you stitch it shut. You may want to pin where the seam would go so that you can press it open, then remove the pins.
Line up the center point that you marked earlier with the seam and then mark either folded edge. This gives you four center points with which to line up the end piece.
Speaking of end pieces, mark the 1/2″ point from the corners. This will help you know where to start and stop sewing so you get nice corners.
Using all of the center points you marked on both the main piece and the end pieces, pin the side piece to the main piece.
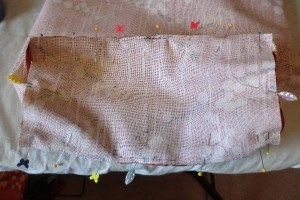
OK, so the end piece is a definite rectangle, but the main piece is sort of a circle right now. We want it to take on a rectangular shape. What I recommend is that you pin only the long edges (or just one at a time if you prefer). Ignore the short edges for now. Just make sure the main piece is straight between the 1/2″ dots you made on the end piece. Sew from dot to dot, backstitching at each end. Repeat on other long edge.
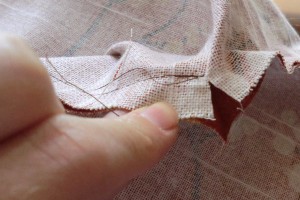
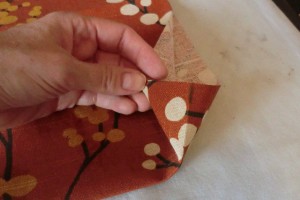
On main piece, after sewing the long edges, clip the fabric a bit near the end of the seams. Don’t get too close to the stitching. This clip will allow the fabric to open up and turn the corner. Now go ahead and pin and sew the short sides, going from dot to dot and ensuring you connect the stitching lines. Also, you may notice there is a little fold of fabric at the corner. You might want to sew from the “main” side, not the end piece, so that you can see that fold and move it out of the way to avoid a tuck in the fabric.
Clip the corners. Then turn right-side out and gently push out corners.
Lay out your batting lengthwise and fold it lengthwise so it’s the width of your bolster (the long edge). Then roll it up, but sort of fold/roll it, so that it’s more rectangular than like a cylinder. You want it nice and packed in so it’s firm. My batting wasn’t quite enough to pack my pillow, so I unrolled it and laid batting scraps from my stash inside and rerolled it until it was just right.
Then slip stitch the opening closed by hand. Yeah, I hate hand sewing, too, but it’s really the only way to finish this pillow, unless you put a zipper in it.
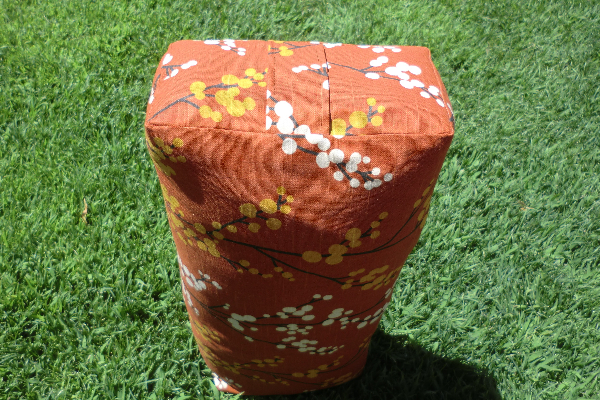
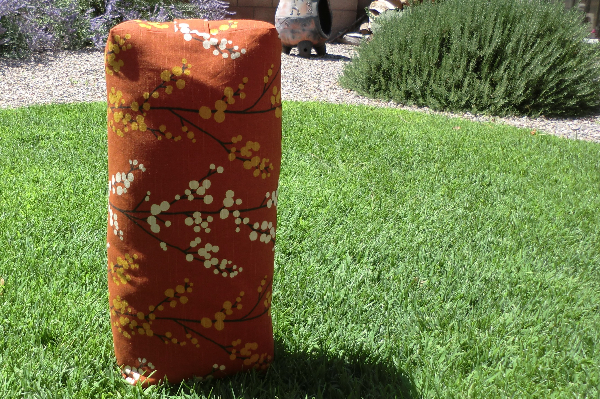
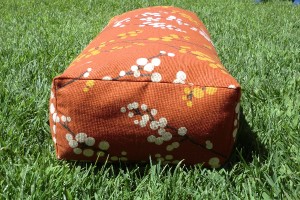
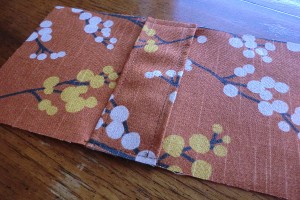
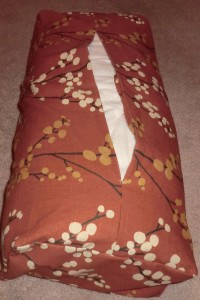
Other views