Supplies
(Click fabrics for direct links for purchase at Warehouse Fabrics Inc.)
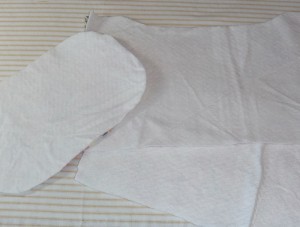
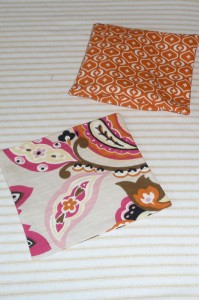
| I use Craft Fuse for my fusible interfacing. The fusible fleece is another added layer of support for the bag.I used 3/4 of a yard of each fabric and had a little left over. | |||
The pattern
| tie strap 1 [7] | tie strap 2 [8] | tie strap 3 [9] | tie strap 4 [10] | tie strap 5 [11] | tie strap 6 [12] | tie strap 7 [13] |
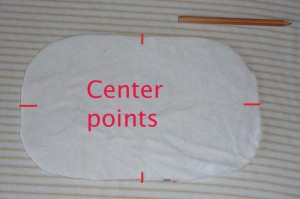
| There are seven PDF pages above that you can print on regular computer paper and tape together for the pattern. The letters mark where you need to connect pieces that span more than one page. NOTE: a few of the pattern pieces have errors written on them, so please refer to the instructions below for cutting your pieces. Sorry for the trouble. Cut two of the bag sides for both the lining and the main fabric.Cut two of the straps for each the lining and the main fabric. *NOTE: the pattern piece has this written incorrectly. Cut 1 of the bottoms for both the lining and the main fabric. Cut 1 of the tabs for both the lining and the main fabric. Cut 2 interfacing and fleece for the side pieces Cut 1 interfacing and fleece for the bottom piece. Cut 2 pocket pieces from each the main fabric and the lining fabric. *NOTE: the pattern piece has this written incorrectly. 1/2 inch seam allowances except where noted otherwise on pattern pieces. |
||||||
The process
 [21] [21] |
 [22] [22] |
 [23] [23] |
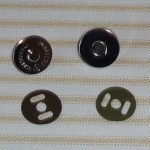
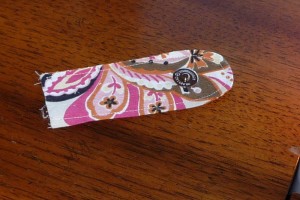
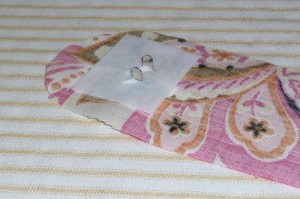
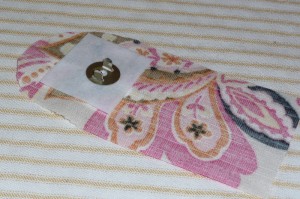
| Now we’ll make the tab with the magnetic snap. Take the “main” fabric tab piece and insert the “male” magnetic snap. I have added a piece of interfacing to the back for support. I placed it about 1.5 inches from the bottom edge so that there’s room to sew. Place the back over the prongs. | ||
 [24] [24] |
 [25] [25] |
 [26] [26] |
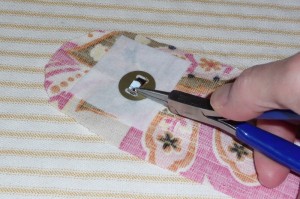
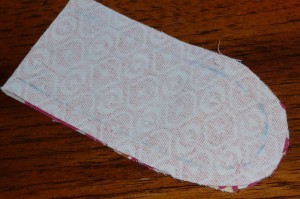
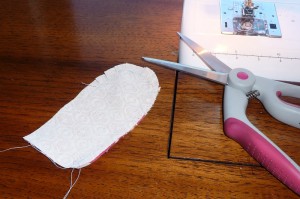
| Bend the prongs toward the center. (For more on magnetic snaps, see this tutorial [27].) Place the lining piece against this one, right-sides together. I like to draw a seam allowance on because sewing an even curve can be tricky sometimes (center). Then clip the curve without clipping the seam (right). | ||
 [34] [34] |
 [35] [35] |
 [36] [36] |
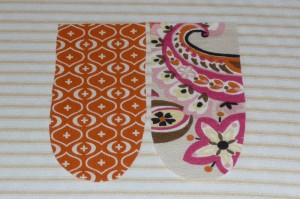
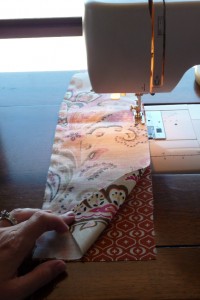
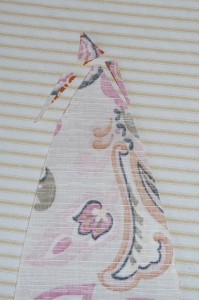
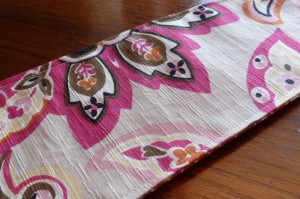
Now let’s make the straps. Place two strap pieces of different fabrics right sides together and sew, leaving the small, straight edge open (left). Clip the point and trim the sides near the point (center). Turn, press and top stitch (right). 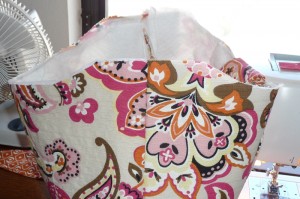
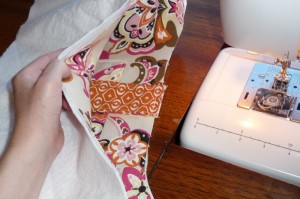
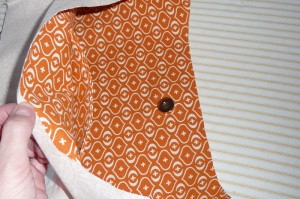
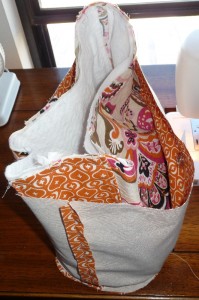 See how there is a straight edge in the picture on the left? That’s where your strap goes. Pin the strap to the top of the bag with raw edges together and sew within the seam allowance to secure. Make sure like fabrics are facing. In this case, the orange should be facing OUT. You can see this demonstrated in the picture to the right. Also in that picture, I have inserted the “main” bag pieces into the “lining” pieces, with right sides together. Make sure the straps and snap tab are sandwiched between.
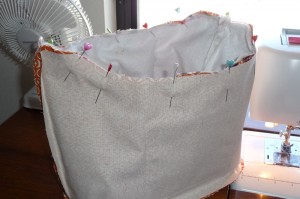
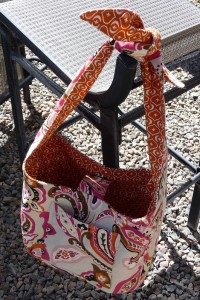
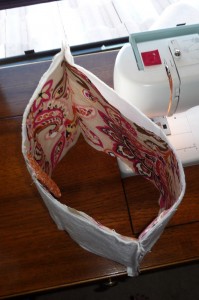
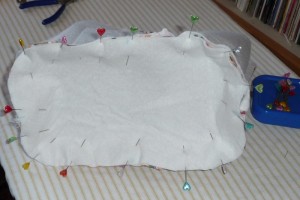
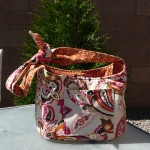
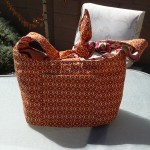
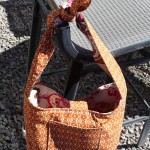
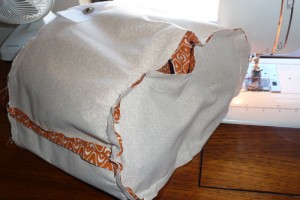 Once you stuff the outer bag into the inner bag, line up the side seams and raw edges and pin. Sew all the way around. I like to sew on the interfaced side because it tends to feed more evenly. Pull the bag right-side out through this hole and smooth it. Pull the lining out. Fold in the seam allowances of the hole in the lining and stitch the hole closed. You can do this either by top-stitching along the edge of the hole or by slip-stitching by hand if you want it to be invisible. Then push the lining back inside the bag and complete the bag by top-stitching around the top, keeping the straps and snap tab free. You’re done!
 [37] [37] |
 [38] [38] |
 [39] [39] |
