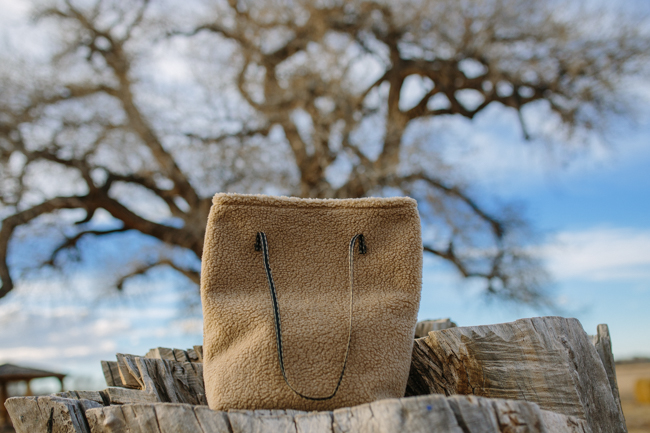
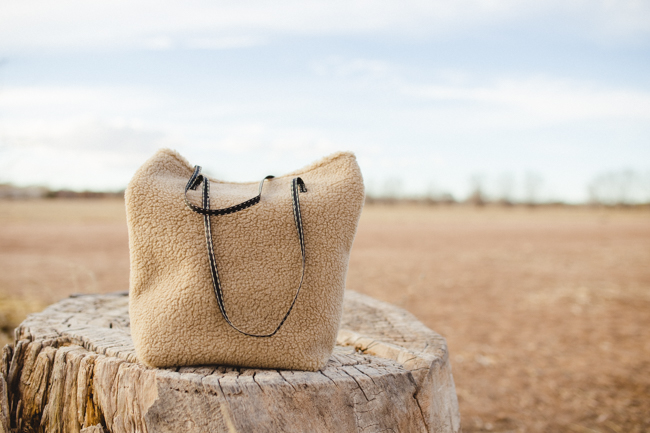
Shearling tote

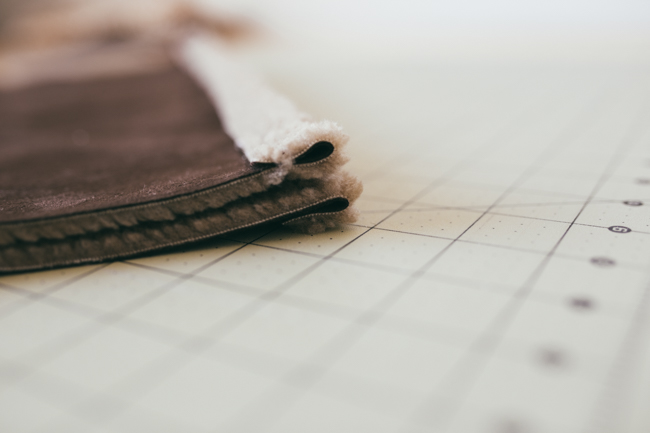
Hi all! Happy weekend again! This week, I thought I’d share one of my favorite projects so far- a shearling tote! A few months ago, I was scrolling through pinterest, looking at cozy winter accessories, and I came across a gorgeous tote from Nordstrom, that was out of stock, and even if it hadn’t been, I’m sure it would have been out of my budget. Anyway, I was reminded of ultra fur chocolate, suede on one side, and shearling/fur on the opposite, and thought maybe I could semi-recreate my dream bag, so here we are.
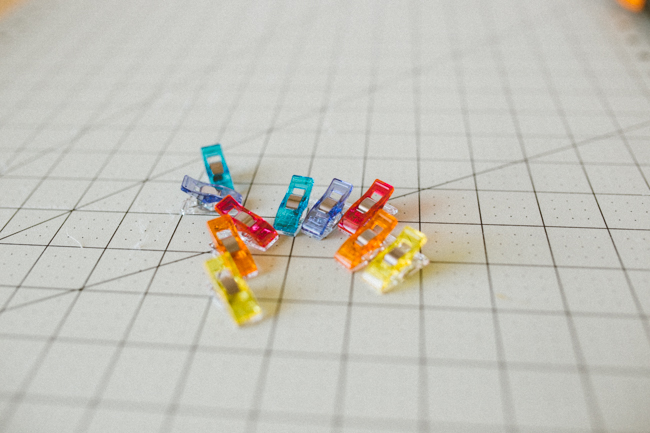
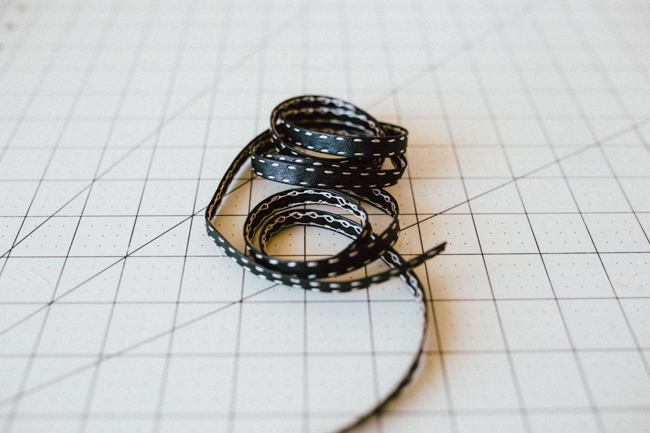
Here’s what you’ll need:
Quilting clips(in lieu of pins), 2 yards of trim for straps (I used 1 1/2, but admittedly think my straps could be a little longer), and 1/2 yard of ultra fur chocolate.

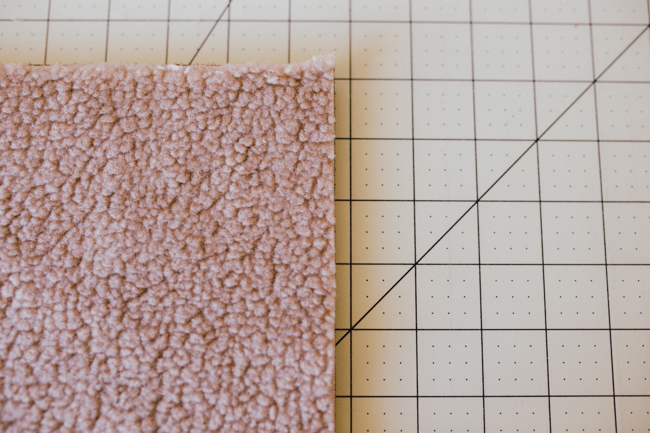
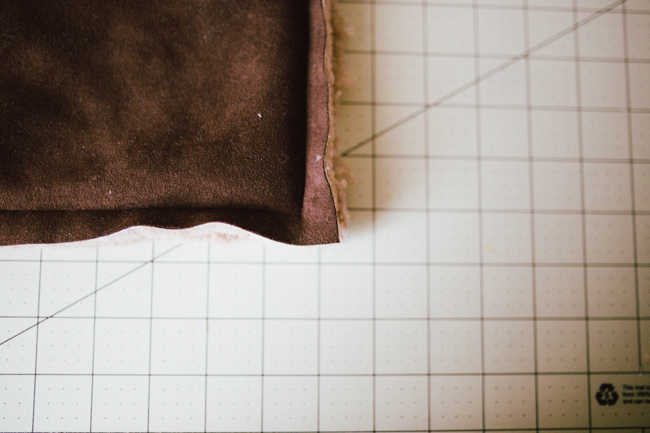
Cut the 2 pieces of your bag- 15″ wide by 17″tall.
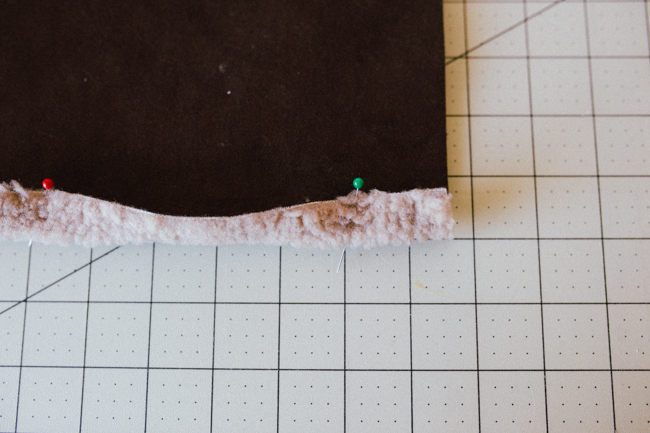
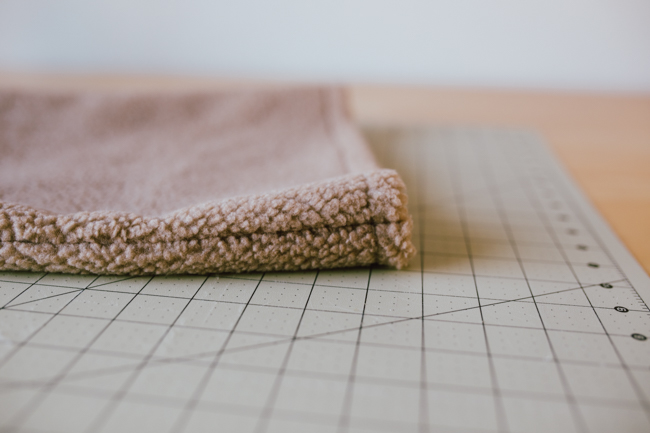
Folder the top edge of each piece 3/4″. (I know, I know, I said clips in lieu of pins and there are pins in this photo, but this is as far as I got with the pins & decided to buy clips after this.)
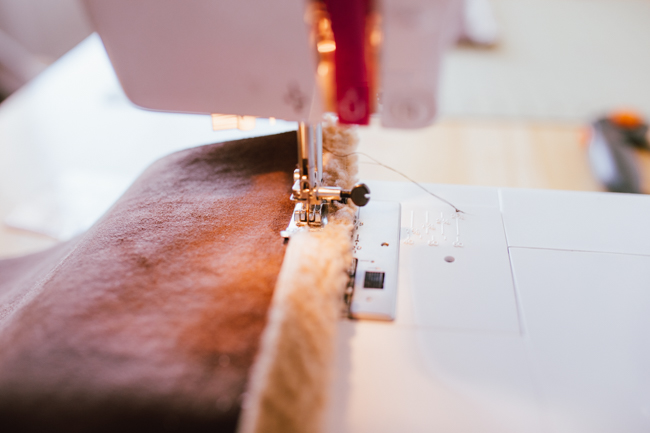
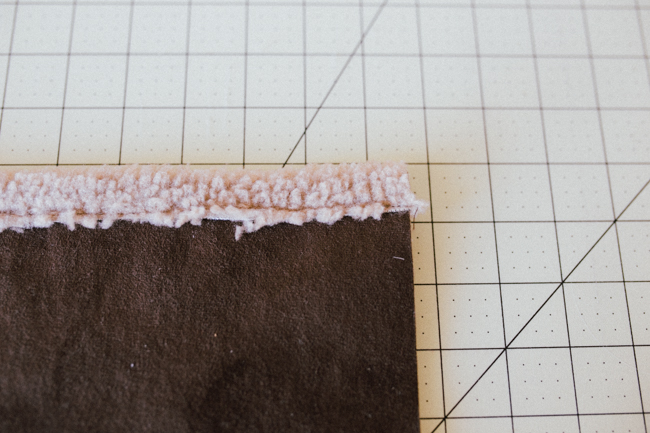
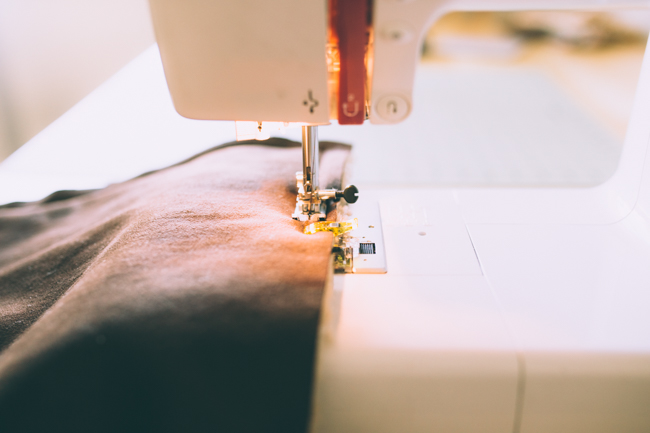
Sew your hem, making sure to back stitch at the both ends.
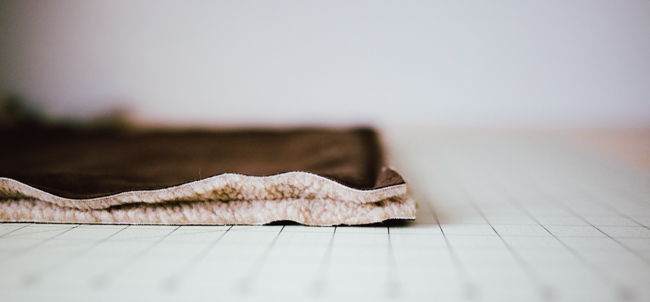
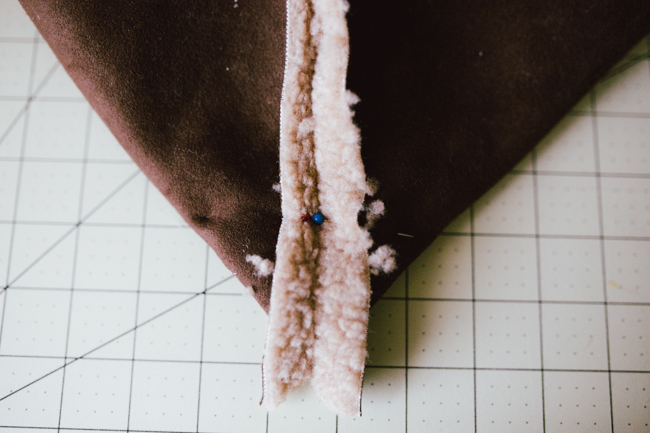
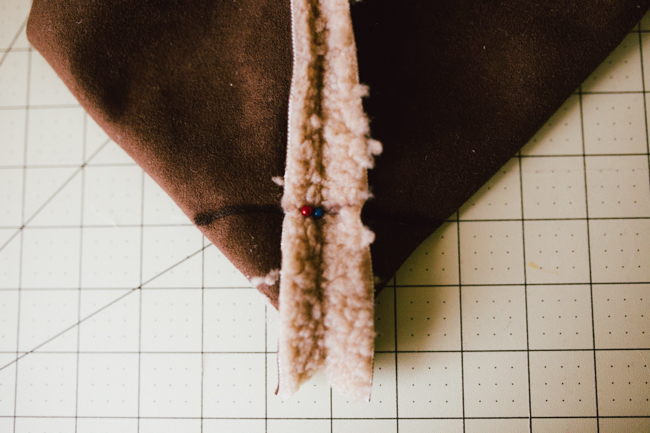
Now lay your pieces together, lining up the top hems.
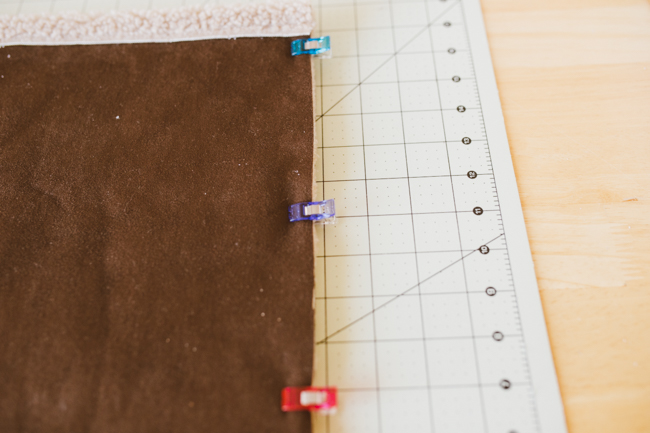
Clip the 2 pieces together.
Sew the two pieces together. Since the fabric is bulky, I gave myself a 3/4″ seam allowance.
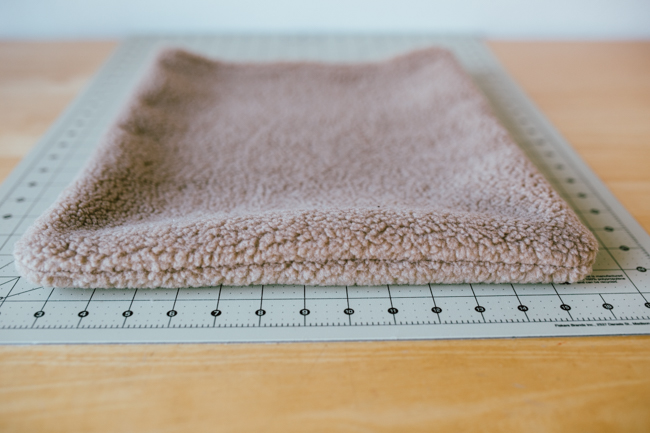
Trim any extra fabric, then turn right side out. Now it’s time to attach the straps.
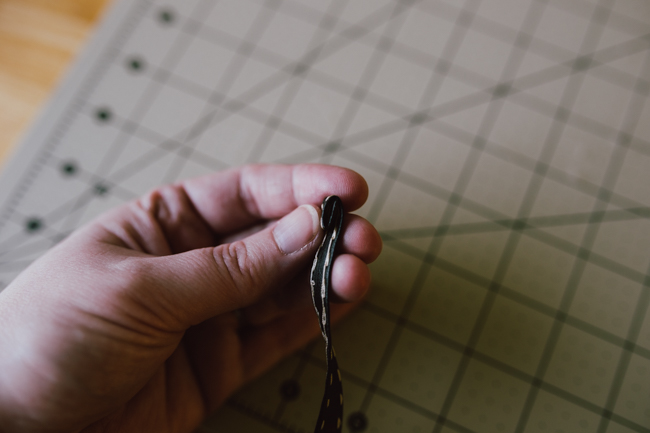
Depending on your choice of straps, you may need to roll the edges in to contain raw edges from fraying. If so, just fold over couple times, then tack it down either with your machine, or by hand sewing.
Next, decide on your strap placement. I attached mine 3 inches down and 3 1/2 inches in from the outside.
I won’t lie- this next part was tricky for me, and for some reason, I forgot to take a photo. Trying to clip the strap in place wasn’t easy. What I ended up doing is clipping the strap in place where it met the top of the bag, then just sewed back and forth a few times to attach it.
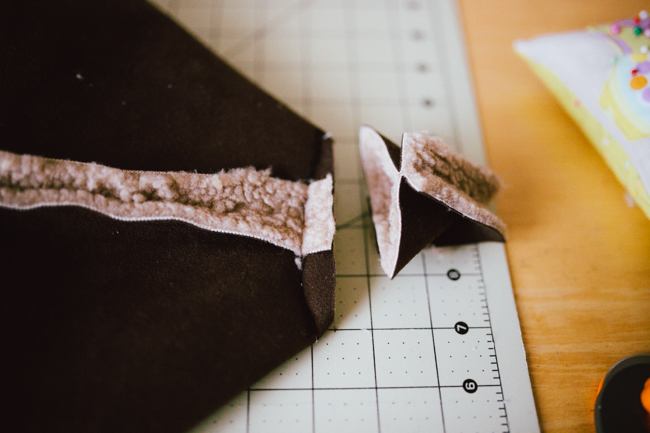
At this point, you can choose to be finished, or you may want to box the corners in order to give the tote a ‘bottom’. To start, turn your bag wrong side in again.
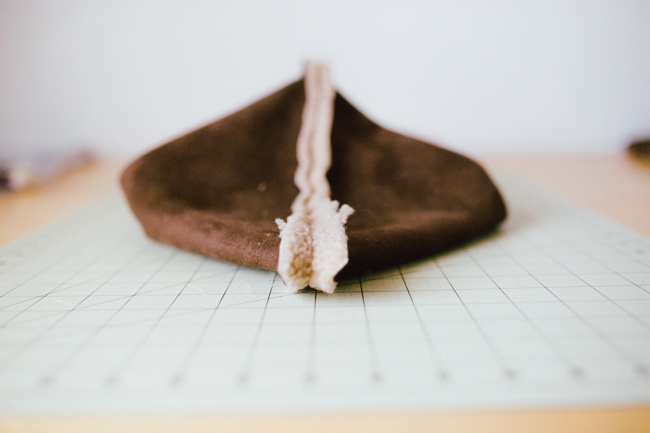
Begin by sticking your finger into one of the corners and pulling the sides out, creating a triangle. Lay it back down on your flat surface and decide how big of a box you’d like to create.
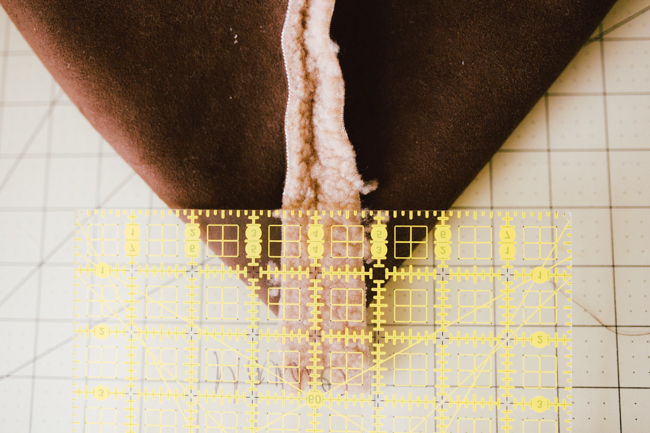
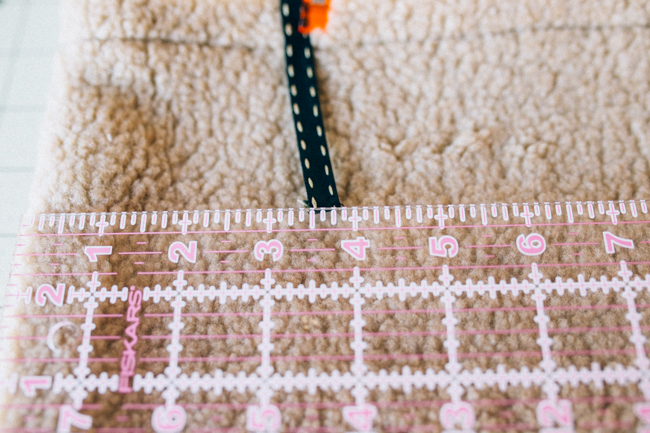
I measured 2″ for mine and am happy with how it turned out, but remember that the longer the length you use, the more shorter your bag will end up being.
Before you sew, either clip or pin where you want your box to be and turn it right side out to ‘test’ it out. 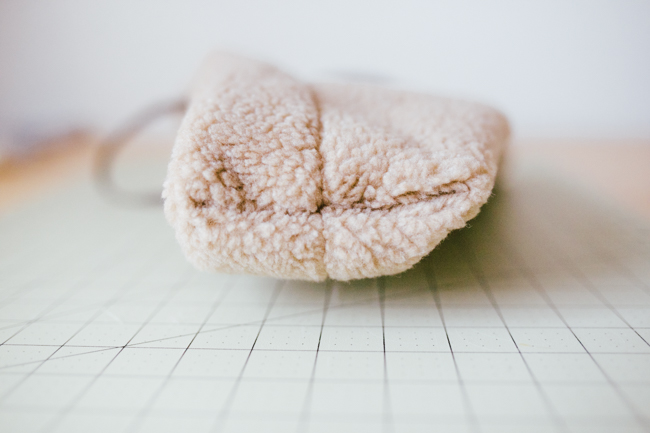
If you’re happy with it, turn it back to wrong side out, draw a line across your desired measurement, and stitch it up!
(It’s hard to see, but there’s a line marked in the above photo.)
Once you’ve sewn your seam (don’t forget to back stitch!), cut the excess corner off. It’s not necessary and it takes up space.
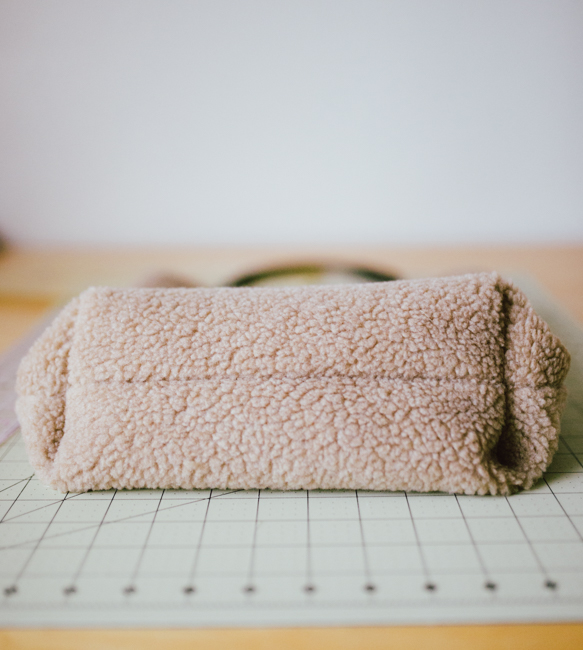
Repeat on the other side & turn it right side out prior to sewing again, just to make sure your seams all line up!