
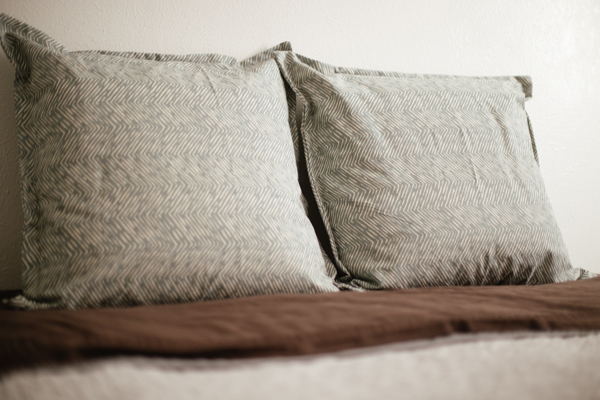
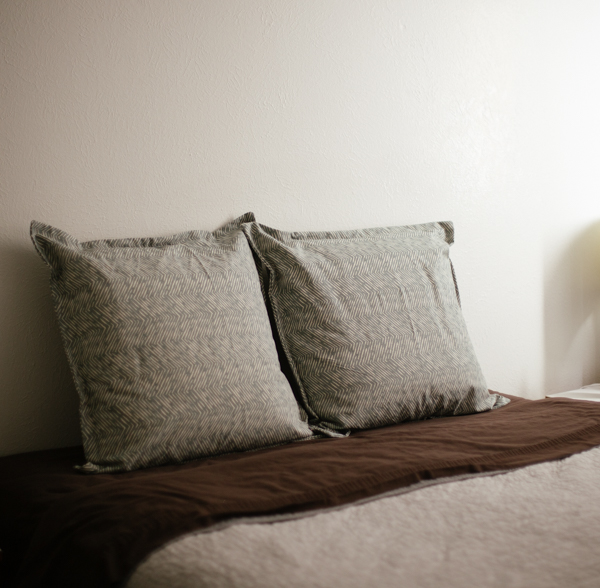
Simple euro shams
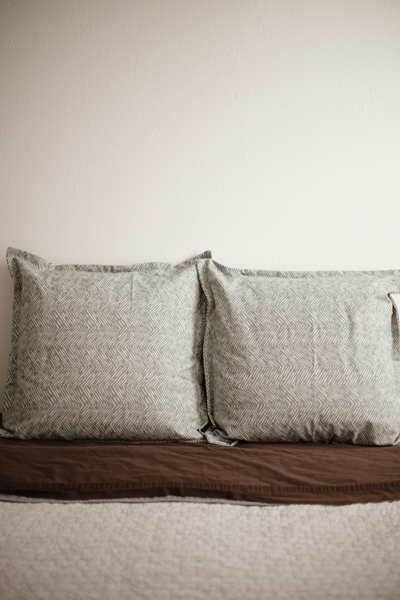
Hello there! I hope your Thanksgiving weekend has been restful! We’ve had the darn stomach flu going around in our home, so my weekend actually has been restful, though not exactly the way I’d have chosen. Speaking of rest(kindof), I’d like to share my latest project with you- euro shams! I bought a grey quilt a few years ago & really love it, but was in serious need of something to dress it up a bit.
Here’s what you’ll need for two euro shams:
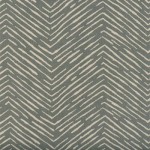
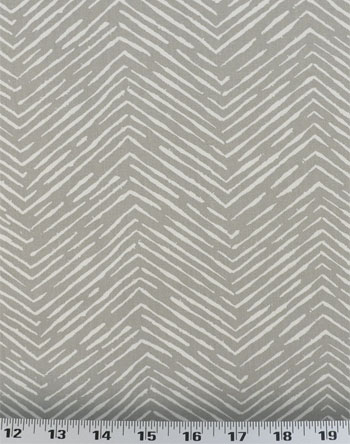
3.5 yards of Cameron Pewter / Natural and (2) 26″ pillow forms. You can get them from Pottery Barn or somewhere similar for under $30 each.
To make two 26″ pillow shams, I cut out the following:
(2) 28″ x 28″
(4) 28′ x 18″
This tutorial is not all that different from a typical pillow cover tutorial, except for one extra step in making the flanges. This requires a tad more fabric, and an extra stitch around the entire square, but doesn’t really add any difficulty- just variety.
 Once your pieces are cut out, take the four rectangular pieces and press the long edge of each over about 1/2″, then fold it over & press again.
Once all four are pressed, you’ll sew your hem over the pressed edge.
When you’re finished hemming all four pieces, lay one of the squares down, right side up. Then take one of your rectangles and lay it on top, matching up corners with the hem running through the middle, right side down.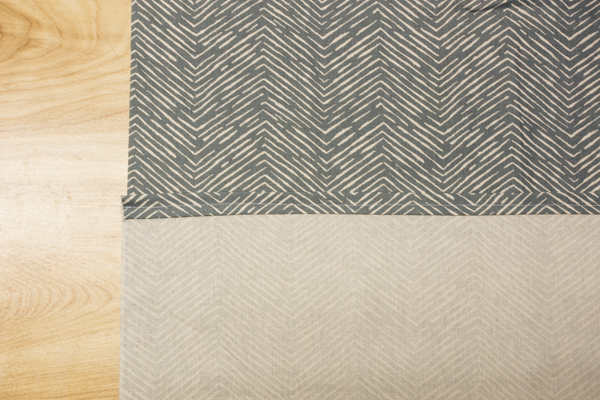
Repeat with the other rectangular piece, only match up the opposite corners. At this point, you can begin pinning the pieces together.
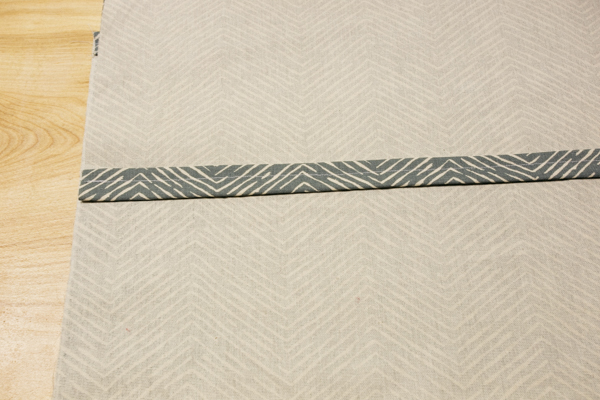
Once the pieces are pinned together, begin sewing at one corner, all the way around the square, backstitching over the hems of the rectangles to reinforce for strength.
 Once you’ve finished, turn it right side out & press the edges flat.
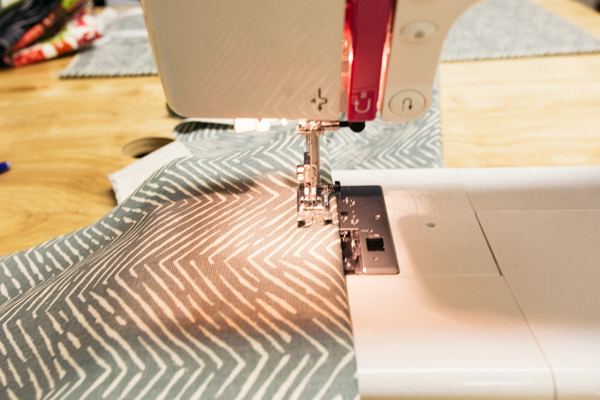
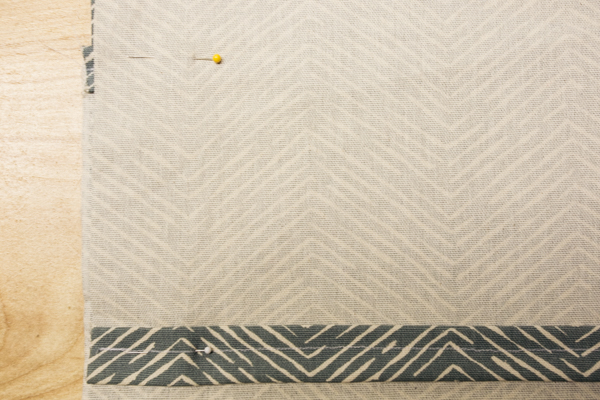
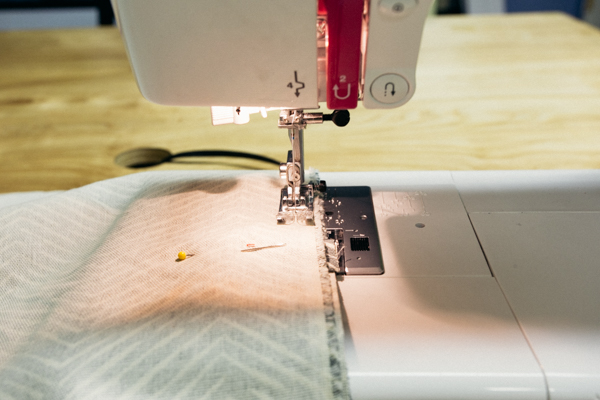
Now we’re going to turn this into a euro sham! We’ll first mark off the spot on your machine that is exactly one inch from where your needle hits. That little black rectangle on my machine is actually exactly an inch from the needle, so I didn’t need to mark it, but if you need to, I recommend placing a piece of masking tape on your machine and just using a pen or pencil to mark it. This will keep you from drawing on your fabric and needing to later erase. It’s worth it!
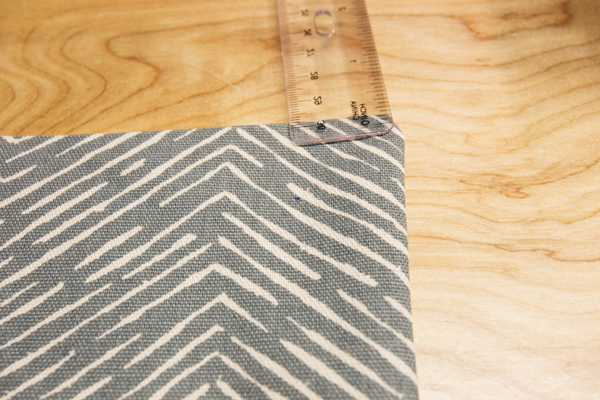
Now you’re going to make a mark-just a tiny one- on the sham. Use a ruler to find the point that is exactly one inch from both edges (top & right in this photo), and lower your needle to that little dot. Make your knot by backstitching, then using the one inch mark on your sewing machine, sew all four sides until you get back to your original spot!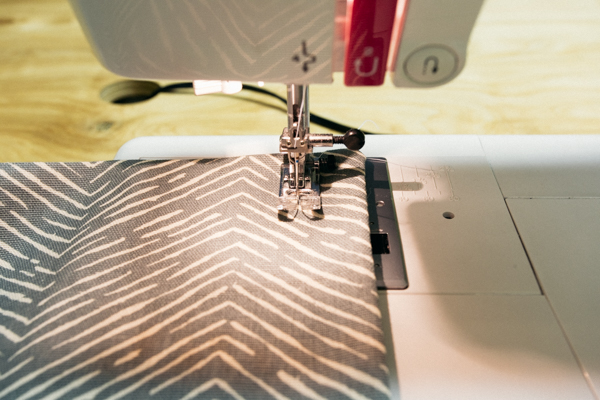
Your first sham is finished- now repeat those step for the second, and you’re finished!


