
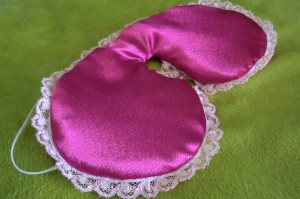
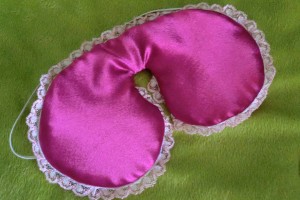
The perfect-fit sleep mask
 A couple of things.
1) Yes, I seem to make a lot of sleep masks/eye pillows, etc. But I’ve mentioned before that I have an insomniac husband who has the TV on much of the night, so I use sleep masks A LOT. And I’m always looking for the one that serves me the best.
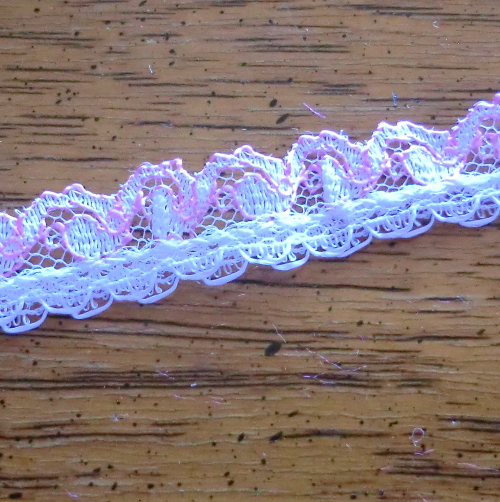
2) This one is a bit froo-froo for my taste, but I wanted to embellish it with something other than piping, which I used on a past one (found here). So you can opt for that, rather than lace, if you want. I got this lace at an estate sale. An elderly woman had saved it for a long time in her sewing stash, and I wanted to rescue it. I’ve just never had a chance to use any of it.
3) The purpose of this particular version of eye mask is that I wanted something with more of a cutout for my nose. With the other eye masks I’ve used, there’s a gap where light gets in because the bridge of the nose pushes the mask away from the face. I kept thinking that there’s got to be a better way. Maybe some people with adorable little button noses don’t have this problem? 🙂
Supplies

The pattern
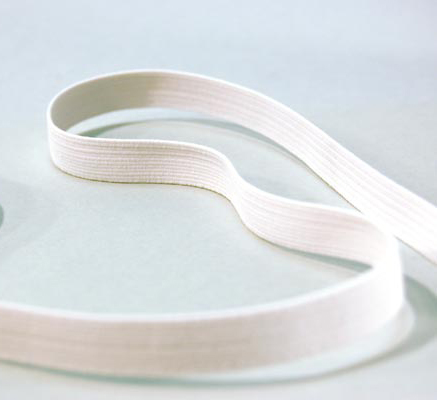
Cut two pieces of fabric and two pieces of batting from pattern. Cut a piece of elastic that fits your head comfortably when stretched a bit. Mine was a thin and easily stretchable elastic (about 1/8″) and measured about 12.5″. Cut a piece of lace or piping that fits around the edge of the mask.
1/4″ seam allowance.
The process
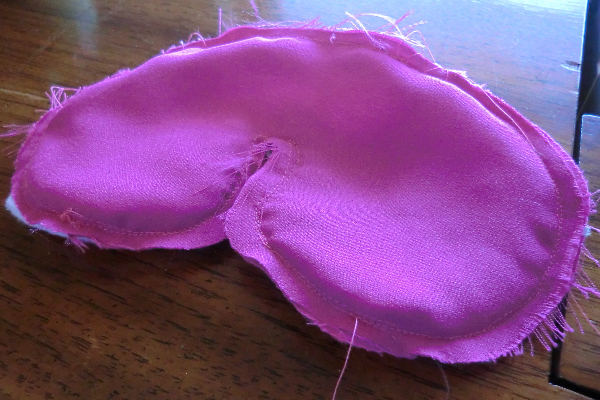
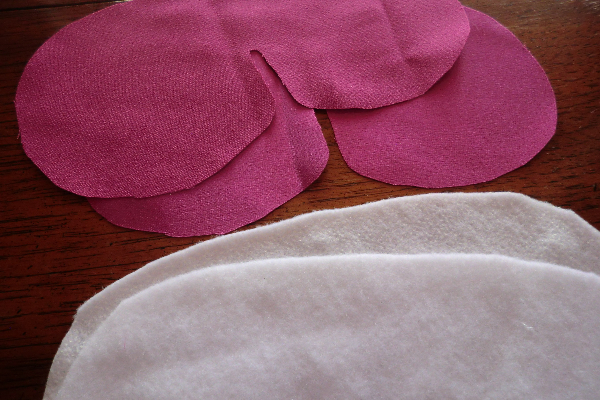 Cut 2 of the pattern pieces from your fabric and two from your batting.
 On one piece of fabric, on the right side, stitch the lace. Place the lace far enough away from the edge so that it’s positioned correctly when you take into account seam allowance. The edge of the lace that you want sticking out on your final product should face inward.
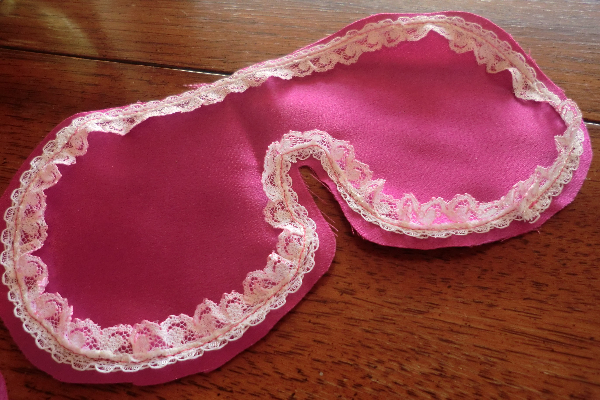 Here’s a picture of the lace sewn on.
 Trim a little bit off your batting all the way around to reduce bulk in the seams.
 Baste the batting to your other piece of fabric, on the wrong side and close to the edge.
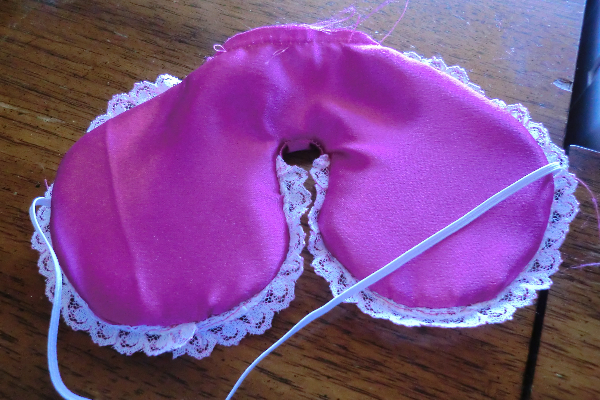
 From the right side, sew the elastic on either side. (If using bead cord, see this tutorial.)
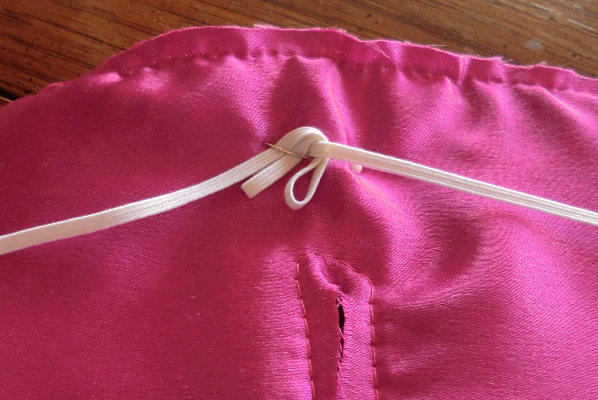 Gather the excess elastic in the center and pin so that it doesn’t get caught in the seams when you stitch the mask together.
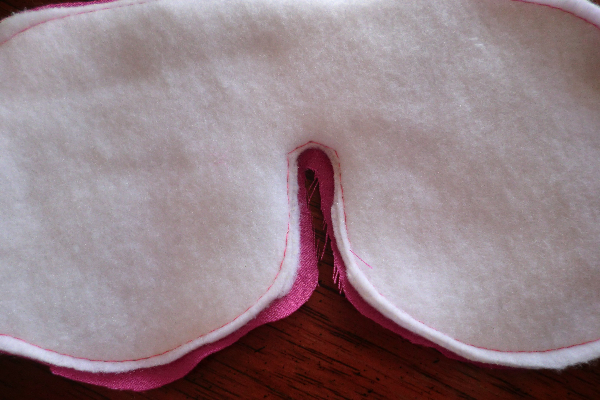
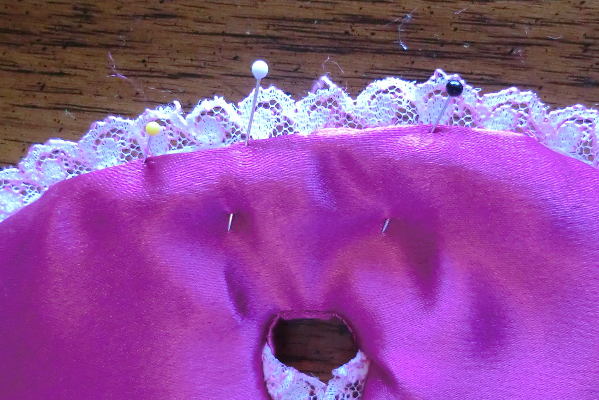
Right sides together, pin your mask. Sew all the way around, but leave a hole at the top to turn it right side out through. You’ll see in the next step that I tucked the lace in to the seam allowance where the top of the nose is. This is optional. It just seemed more comfortable to me not to have the lace bunched up there in that tight curve.
 Turn the mask right-side out (carefully reach in the hole and take the pin out that’s holding the elastic in place so you don’t poke yourself).
 Turn under the seam allowance of the hole and pin in place.
 Hand stitch the opening closed.

