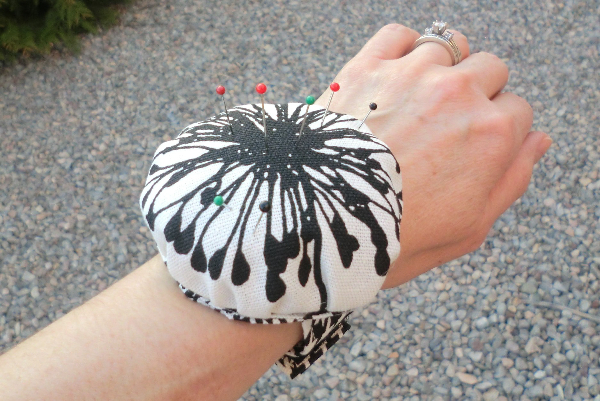
Wrist pincushion (that sharpens your needles, too!)
 I have a lot of pincushions, but they never seem to be within arm’s reach when I need them. A wrist pincushion is very convenient, and easy to make, too!
I’ve been on a pincushion kick, and I’m not done quite yet, either! This one is filled with fine steel wool, which is said to keep your needles nice and sharp. You can use regular stuffing, if you prefer.
Supplies
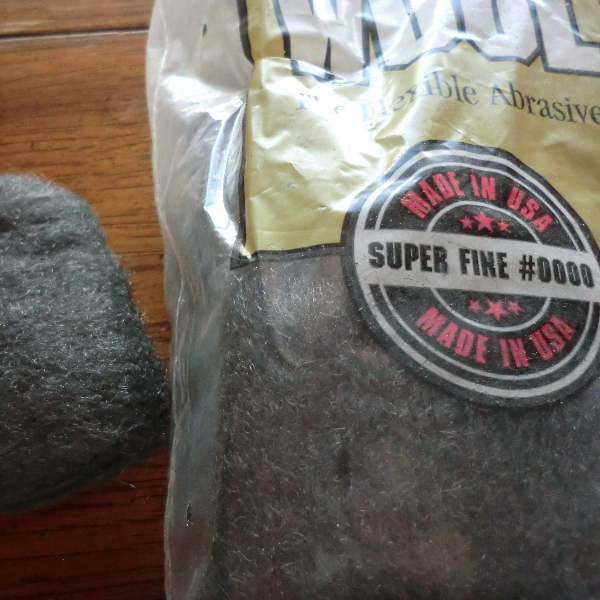

I got this steel wool from a home improvement store. They come in different “weights” (for lack of a better word). This one is #0000, super fine. If you don’t want to buy steel wool, just use regular polyester stuffing. The steel wool is just meant to keep the needles sharp and I thought it was a cool idea when I heard about it. I already had a bunch in the garage.
The jar lid is the flat part of the lids that come with regular ol’ Ball jars. The purpose is to create a hard back to the pincushion so the pins don’t go through and stab you in the arm. So you can improvise with something else if you like.
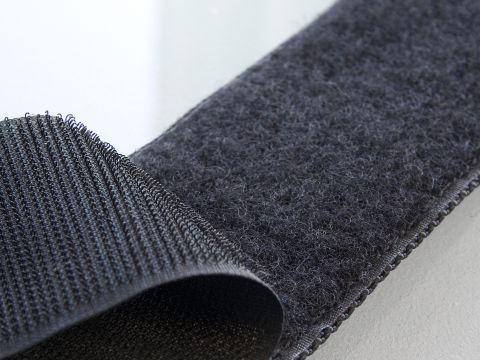
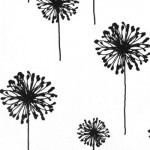
You’ll get by with scraps of fabric and about 3″ of Velcro.
The process
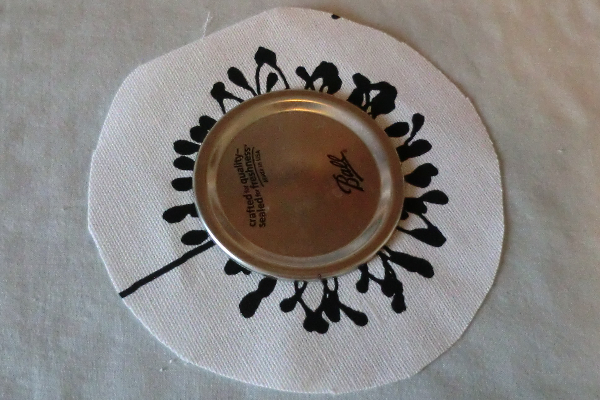
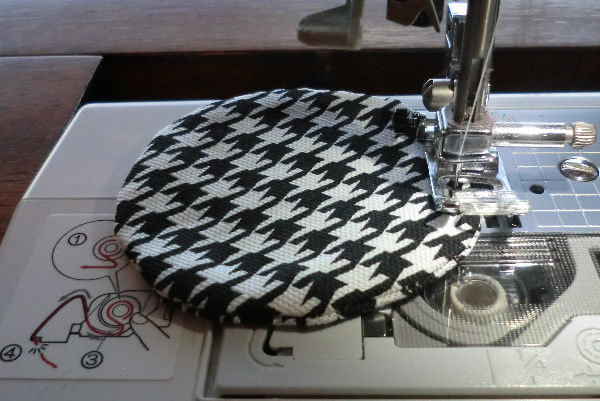
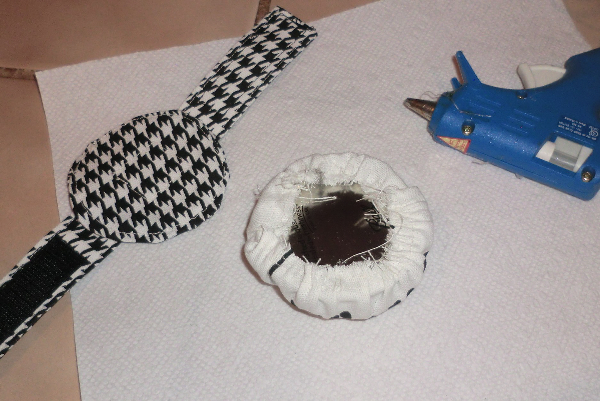
Start by making a circle of fabric that’s bigger than your lid. I don’t have an exact formula here, but you can gauge by looking at my photo. It also depends how puffy you want your pincushion.
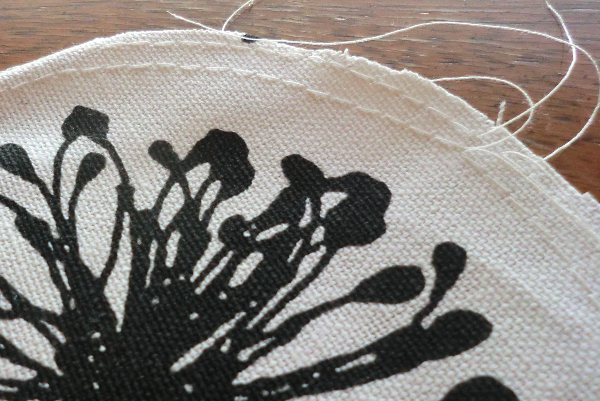
Stitch a couple of rows of basting stitches around the circle so you can gather it up.

Gather it up so it looks like a jellyfish!
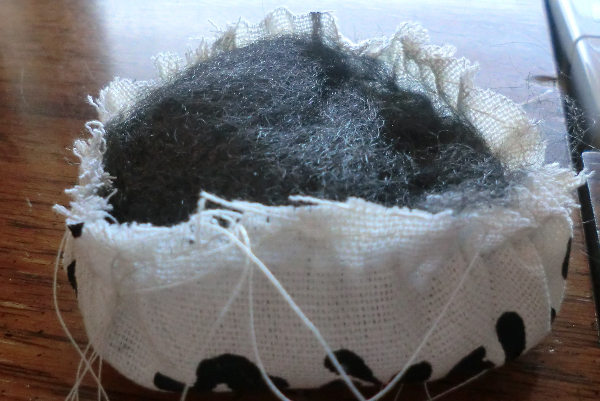
Place some steel wool or stuffing inside.
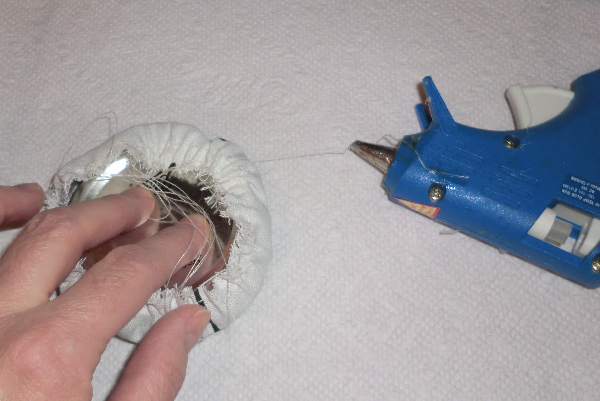
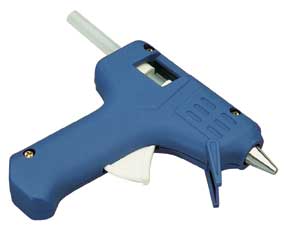
Place your flat jar lid on top and glue the gathered edges to the jar lid using a hot glue gun.

Trace your completed pincushion and then add about 1/4″ around the edge. Then cut two out.

Right-sides together, sew along the inside line, but leave a hole for turning right-side out.

Clip the seam allowance of the circle all the way around, get close to the stitches but don’t clip into them.
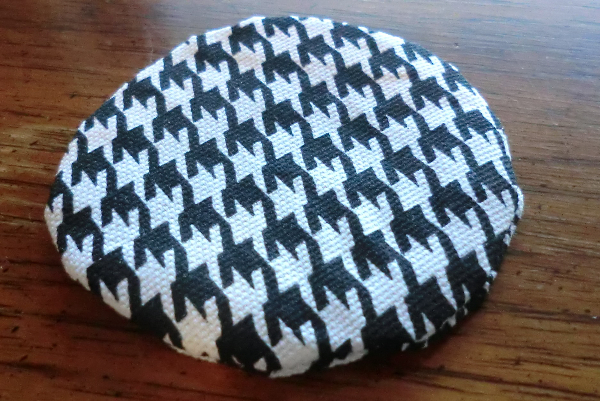
Turn right-side out and press.
Top-stitch all the way around.
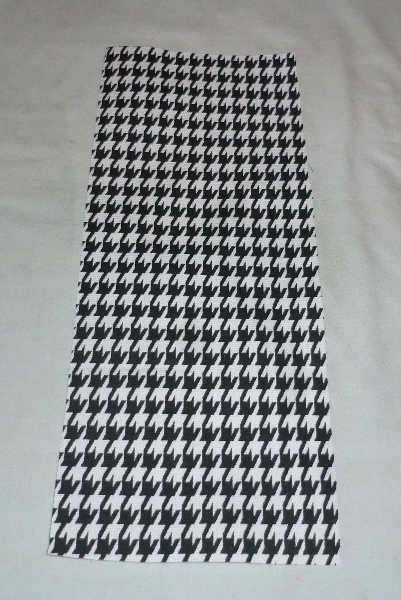
For the strap, cut a piece of fabric 4″ wide by 10-1/4″ tall (that’s just how tall mine came out without measuring, so it doesn’t have to be that precise).
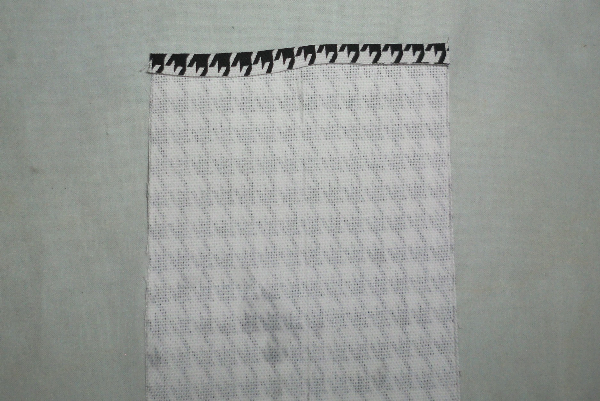
Press under about 1/4″ on either short end.

Fold in half lengthwise and press.

Open it up and press each long edge to the center.
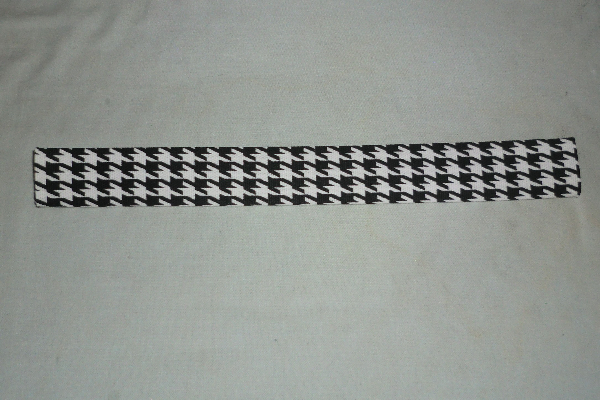
Fold again on that center line and press. Stitch all the way around close to the edges.
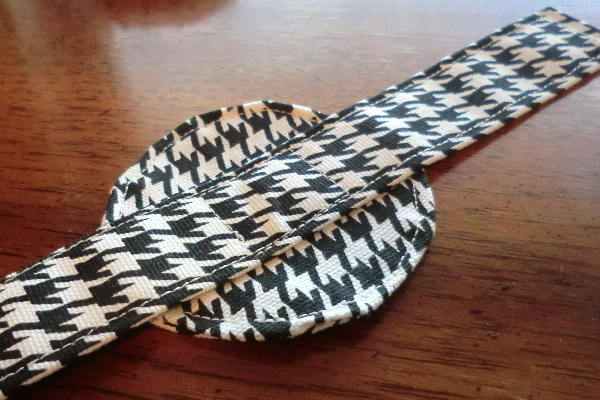
Center the strap on the circle you just sewed and stitch in place, forming a little square about an inch or so long.
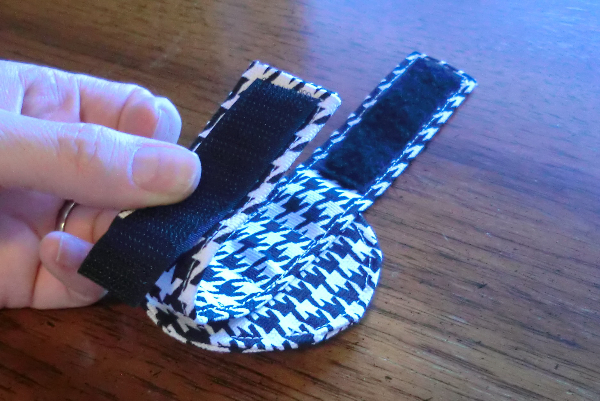
Using a piece of Velcro 3″ inches long, sew on to the ends of the strap as shown. NOTE: The pieces of Velcro are not on the same side of the strap. Otherwise when you overlap them, the Velcro wouldn’t meet up. Notice how the Velcro is aligned.
Using your hot glue gun again, glue the circle with the strap to the back of the pincushion.
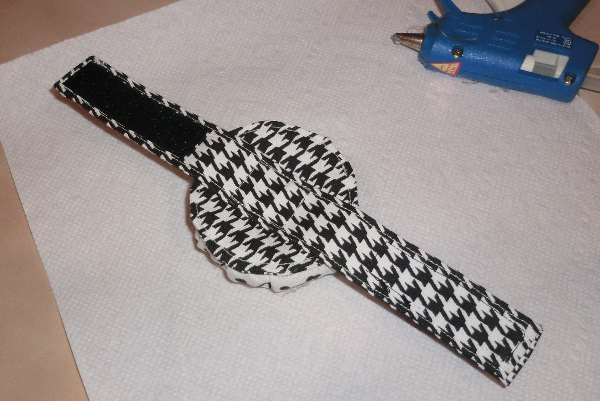
It will look like this. Allow to cool/dry and you’re set!
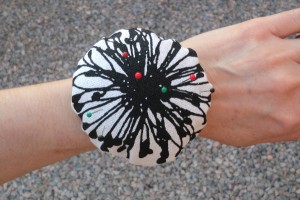
Other views