Little kid’s tool belt
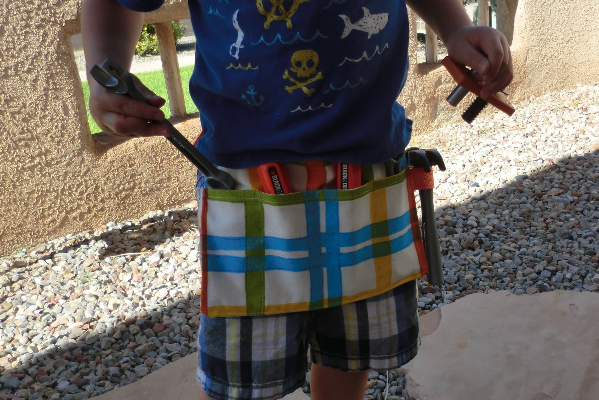
 My son got a bunch of cute little Black & Decker toy tools, but it came with the crummiest tool belt ever. Sewing mommy to the rescue, right? This pint-sized apron has spots for important tools and a loop for hanging a hammer, plus an adjustable belt.
Supplies
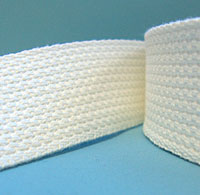

1/2 yard of fabric was plenty, plus 25″ of webbing (I used nylon).
The pattern
Cut two pieces of fabric 11″x8″ (wxh)
Cut two pieces of fabric for the pocket 11″x6″ (wxh)
Cut the nylon strap into three pieces: 4″, 8″ and 13″.
1/2″ seam allowances
The process
 Place the two pocket pieces right-sides together and stitch just along the top edge.
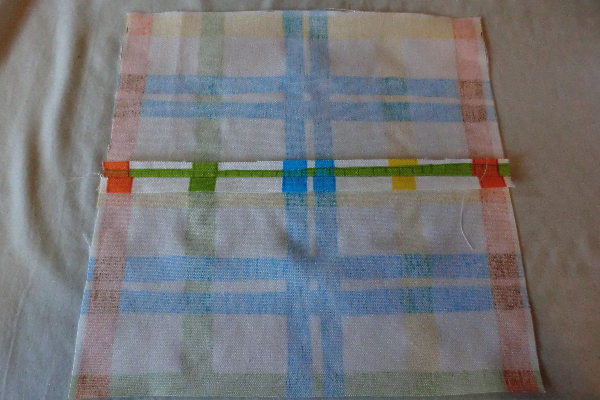
Open up and press seam open.
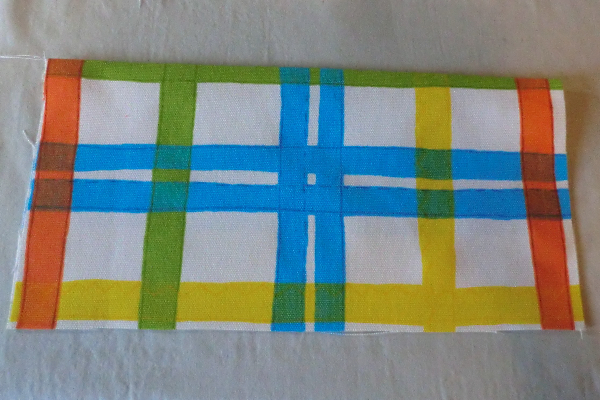
Flip right-side out and press smooth. Top stitch along top edge (not shown above but you can see in the next picture).
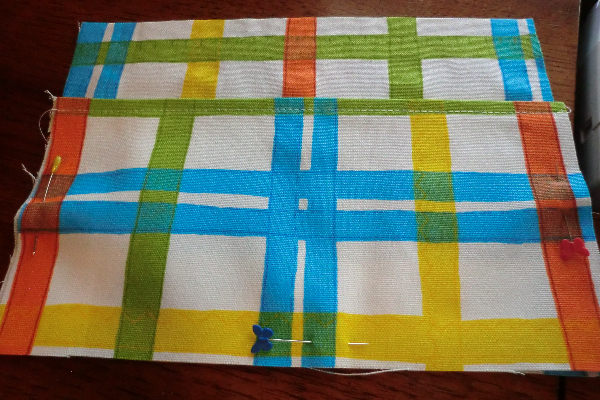
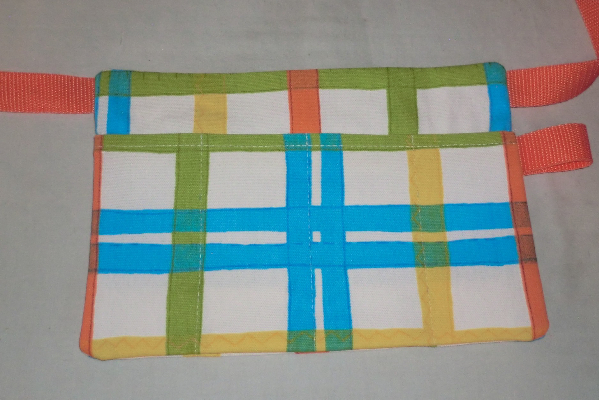
Top stitch along the top of the pocket. Then lay pocket on top of one apron piece and pin around the sides and bottom.
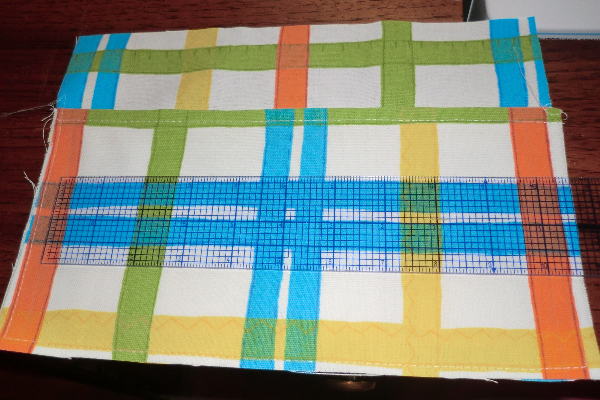
Baste around the sides and bottom. Mark your 1/2″ seam allowances on either side of the pocket. Then make four evenly spaced pockets between those marks (2.5″, 5″, 7.5″, 10″ from left-hand mark).
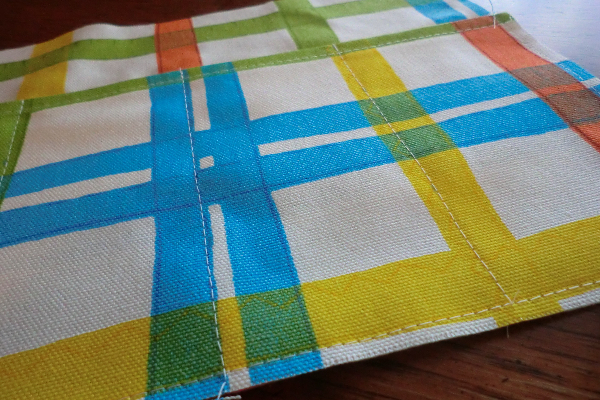
Stitch along those lines to form the pockets. Stitch from the bottom of the pocket to the top, stitching the pocket to the front apron piece.

Take your small, 4″ strap piece and loop it as shown above. Baste to apron near the top of the pocket.
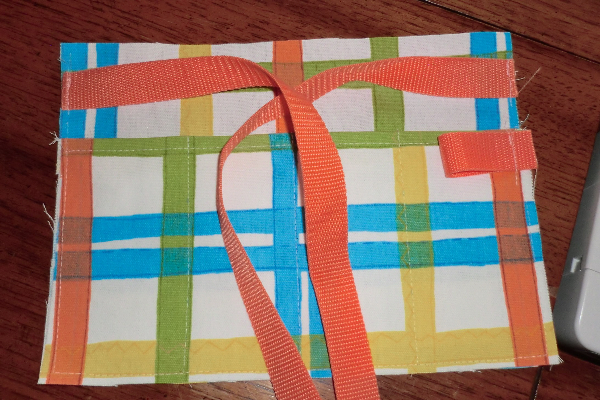
Baste the two belt pieces as shown above, about 3/4″ from the top edge. Tuck those straps into the pockets to keep them out of the way for the next step.
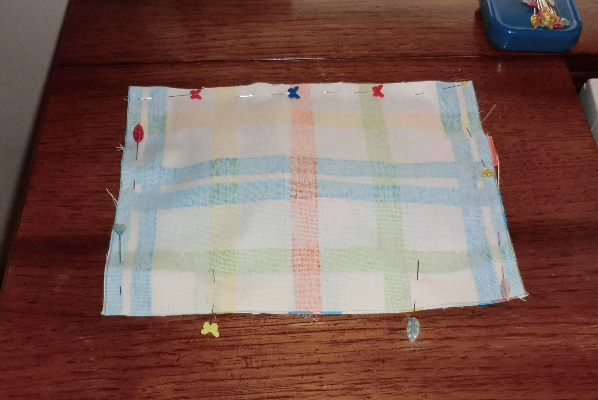
Place the other apron piece on top, right-sides facing and pin together. The two pins at the bottom show where I’ll leave a hole for turning right-side out.
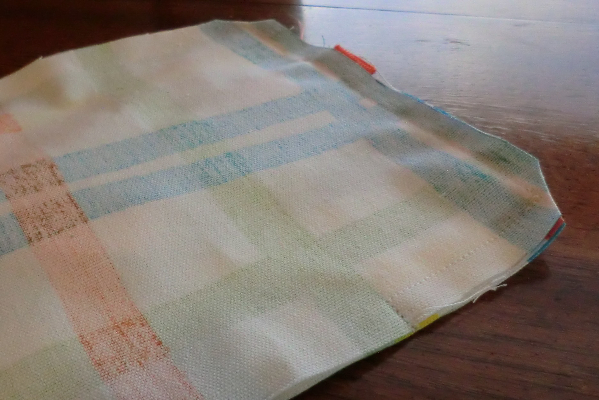
Stitch all the way around, except for the hole. Trim the corners to reduce bulk.
Turn right-side out and gently push out the corners. Press the seam allowance of the hole inward.
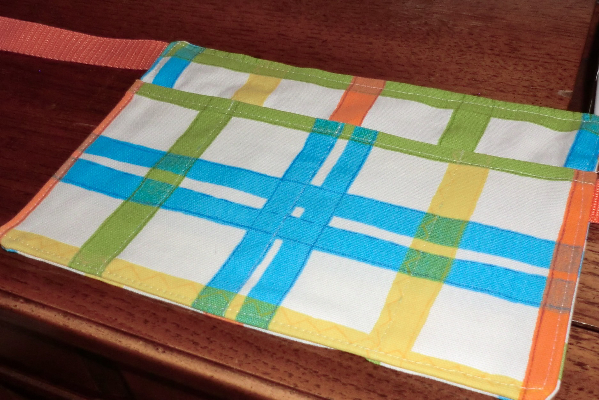
Top-stitch all the way around the apron.
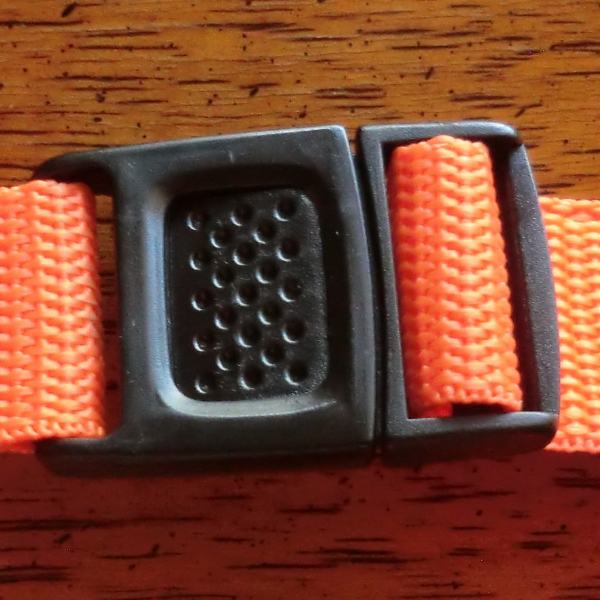
 Take one end of your strap and loop it around your buckle. Fold under edge and stitch in place.
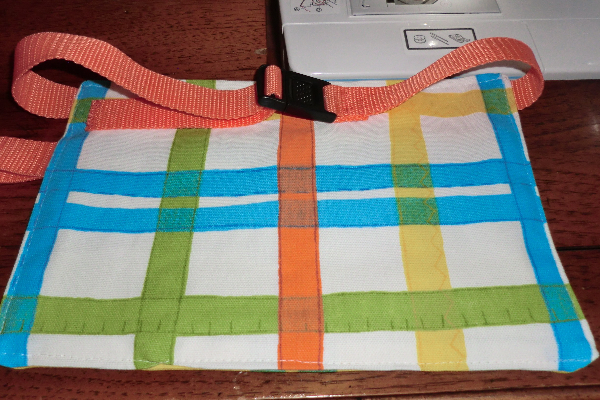
The other side of the buckle may allow for an adjustable strap, so loop the strap through and cut to approximate size. Before cutting, zigzag up and down where the edge will be to keep it from fraying. I find this easier to do in the middle of the strap rather than right on the edge, so that’s why I do it before cutting, then I cut right next to it.
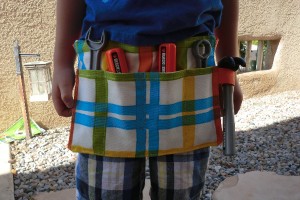
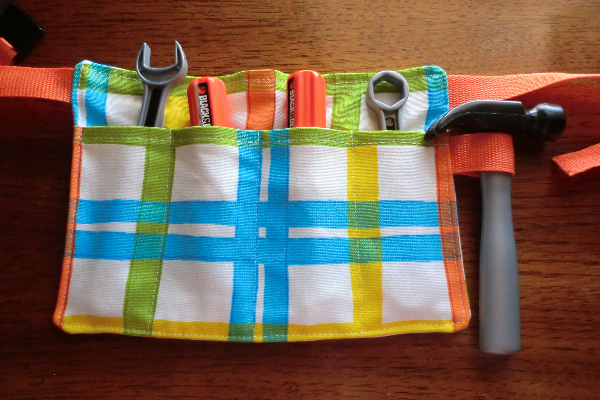 Fill ‘er up with tools and tough guy things.

Find a goofy kid to model it.