Button pillow cover
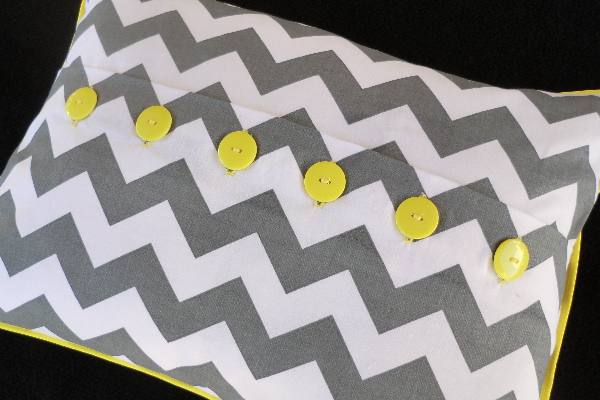
 There are all kinds of pillow form slipcovers — some have zippers, some have envelope closures. This one has buttons. It’s a bit more work, but the point is to make your buttons the focal point of the pillow. Here, I used a fun but neutral chevron fabric and bright yellow buttons and piping to make it pop.
Supplies

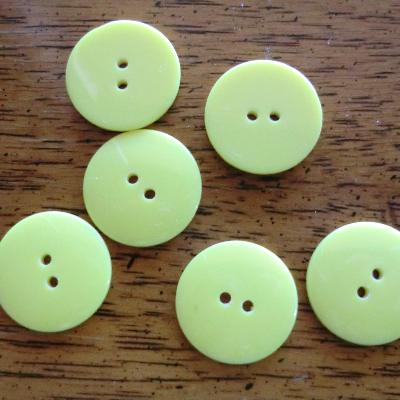
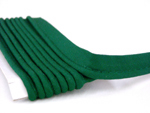
Fabric needs vary depending on the size of your pillow form. My pillow form was 16″ x 11.5″ (wxh). I used one package of piping for this pillow and had a bit left over. How many buttons do you need? I used six, but it depends how big your pillow is. The masking tape is used to align the buttonholes. That is in a separate tutorial that I link to below.
The pattern
 Cut one piece that’s the size of your pillow form plus 1″ each direction (for mine, 17″ x 12.5″). To cut your overlap pieces, take your pillow form width (16). That’s one measurement. The other is to take 1/2 of the height (11.5 / 2=5.75″) Then add an overlap of 1.25″ (5.75″+1.25″=7″) (this is how much the two pieces will overlap each other where the buttons go). Then add a fold over allowance of 1.25″ (7″+1.25″=8.25″) (This is what you’ll be pressing under to the wrong side). Then add 1/2″ seam allowance for the outside edge (8.25″+.5″=8.75″). Add 1″ seam allowance to the width and you get measurements of 17″ x 8.75″. Cut two of those.
The process
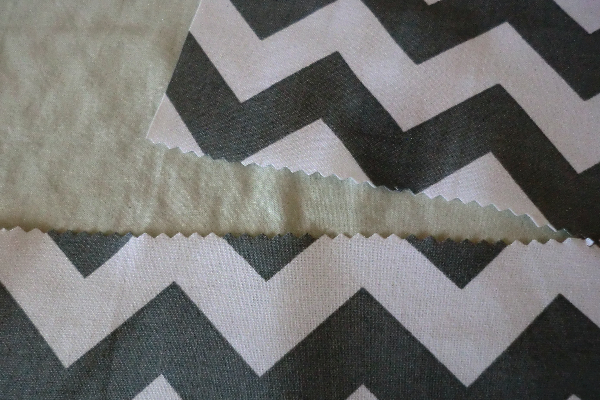
For the button side of your pillow, take the two smaller pieces and lay them one above the other the way you will have them positioned. Use pinking shears to pink the edges that are closest together (top of the bottom piece and bottom of the top piece).
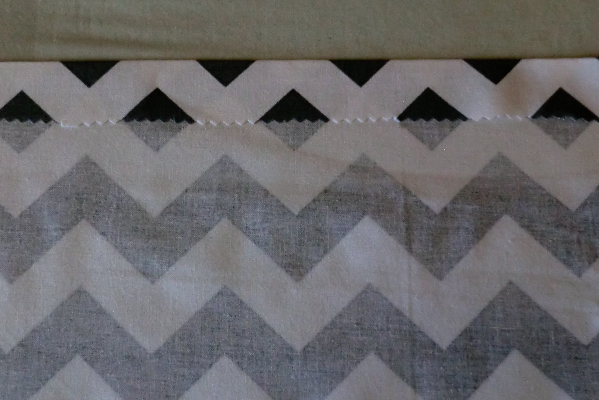
Fold over the pinked edge about 1″ and press.
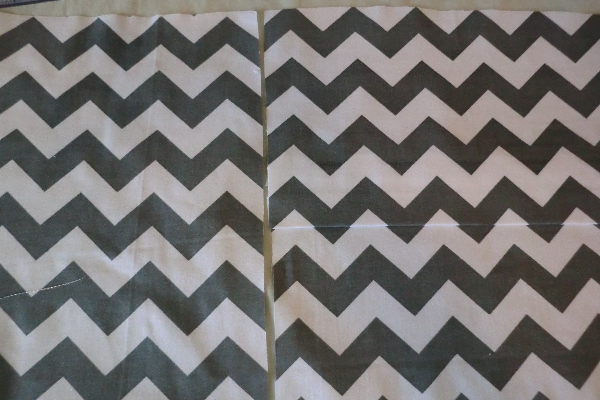
Take your back piece and lay it next to the two pinked pieces. Overlap the top piece over the bottom piece until it forms one piece the same size as the large one. You are simply trying to get equal heights. Mark the fabric so that you can realign it easily later.
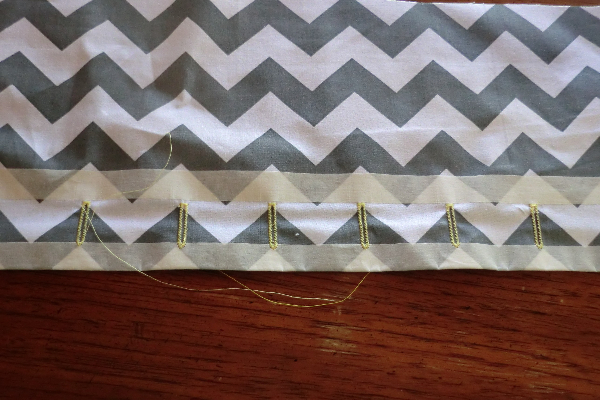
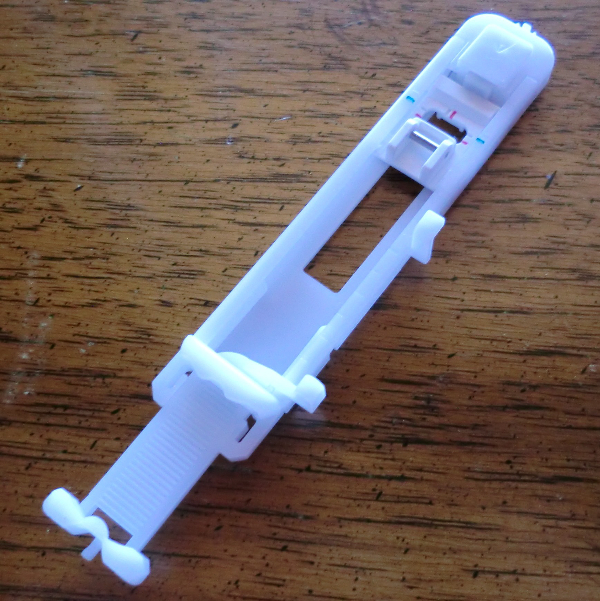
Last week, I did a tutorial how to do a nice, even row of buttonholes. Please reference this tutorial for doing the buttonholes. You’ll put the buttonholes on the top piece of fabric, just above the pressed fold.
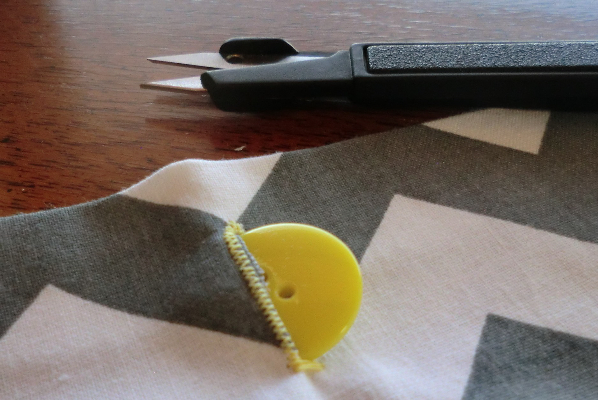
Once your buttonholes are completed, carefully open them up between the stitching. I like to use these little nippers because they give me great control. I fold the fabric and take a tiny snip to get it started and then open it up and carefully cut the rest of the hole. This works better for me than a seam ripper.
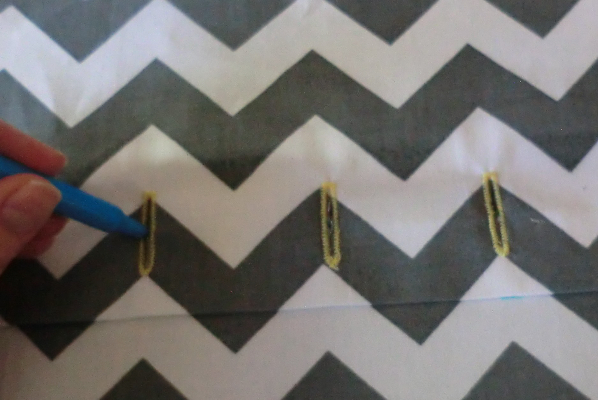
Realign your two pieces of fabric using the marks you did before. Then mark the center of each buttonhole by pressing the marking utensil through the buttonhole onto the fabric below it.
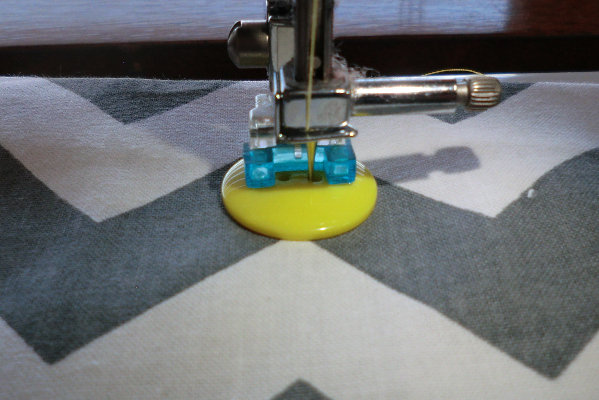
Sew your buttons onto those marks. When I have a lot of buttons, I find it very worthwhile to do them by machine.

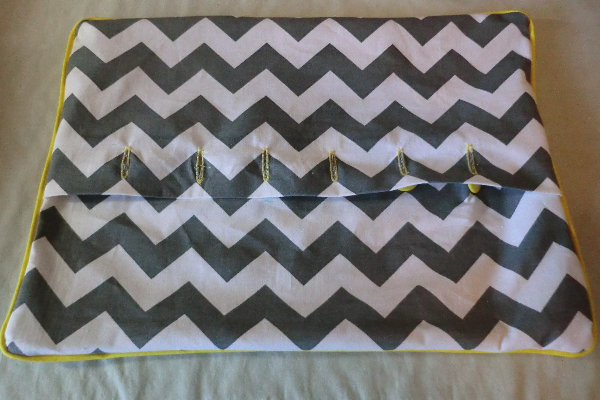
Button your two fabrics together, forming one piece.
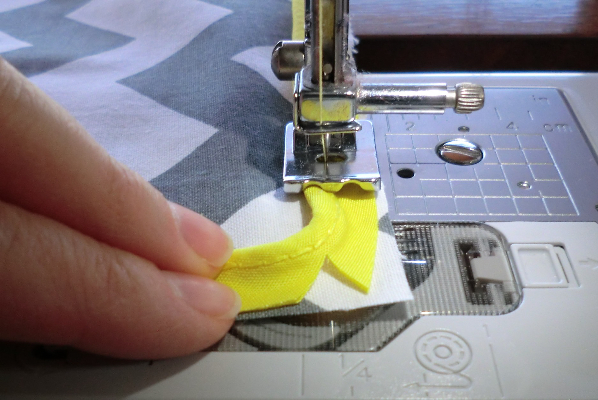
On the other, bigger piece of fabric, stitch your piping around the edge, joining the ends of the piping as shown in this tutorial. Use a piping foot if you have one. I like to make a little clip at the corners to help it turn, but don’t clip too close to the stitching.
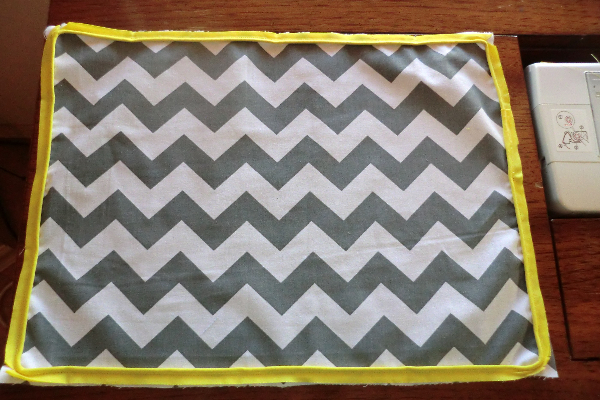
Here is the finished piping/back side of the pillow.
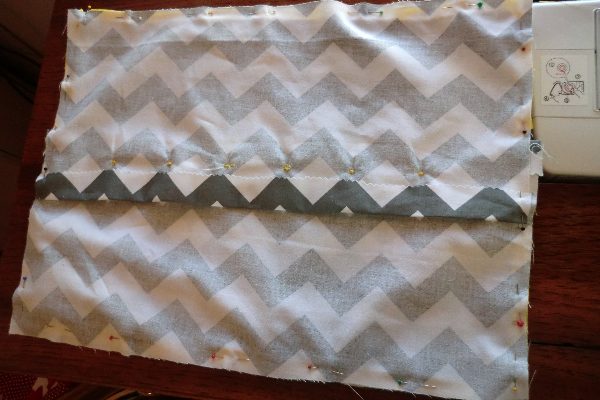
Place the two sides of the pillow cover right-sides together and pin in place. Continue using your piping foot to stitch these pieces together. The piping foot will follow the piping even with the layer of fabric over it.
Turn the cover right-side out. Yeah, you probably still had your buttons buttoned up, but it’s quite easy to unbutton them and turn it around. Press.

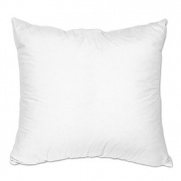
Insert your pillow form and rebutton the buttons.
Other views