Cheater, cheater pillow sham
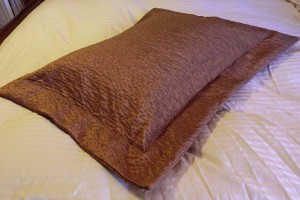 |
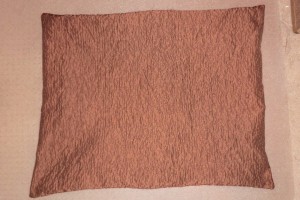
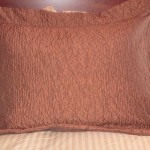
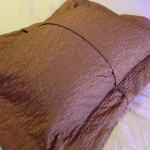
Maybe cheater, cheater pillow sham doesn’t have the same ring as cheater, cheater pumpkin eater, but making a flanged sham in this manner is so easy, you almost feel like you cheated. This method uses just one big piece of fabric for both the pillow part and the flanges. Another method would be to make the flanges separately and miter the corners. I will do one of those soon. |
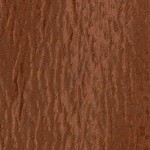
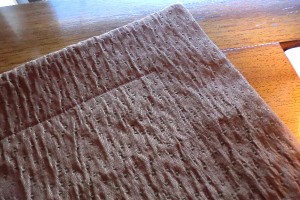
| I used the Dimples fabric, and it’s quite thick. I felt that mitered corners and extra seams would involve too much bulk, so I chose the cheater, cheater method for this one. Sometimes you might prefer the look of mitered corners or they might complement your fabric choice more.
Incidentally, the Dimples fabric is on sale for just a few more days! Through Oct. 31, it’s just $6.98 a yard, down from $12.98 a yard. Hurry and order this gorgeous puckered and dimpled fabric. |
|
Supplies
(Click fabrics for direct links for purchase at Warehouse Fabrics Inc.)
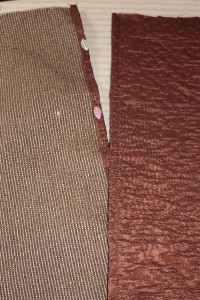
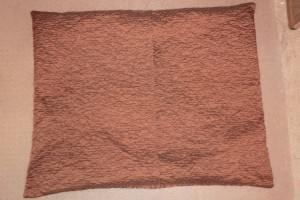
| I had 1.25 yard for my standard sized sham, but because my fabric was directional, I really needed more. The crinkles on the back of my sham ended up running a different direction from those on the front. Therefore, if you have a directional fabric, I recommend 2 yards (each piece is 32.5″ tall) for the standard or 2-1/3 yards for the king sham. If you don’t have a directional print and can rotate one of the pattern pieces, 1.25 yards is probably enough for either one. |
The pattern
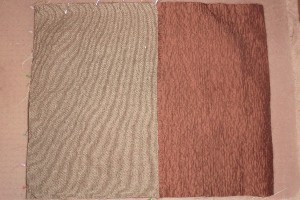
| You’ll need to cut out three rectangles for your sham. Standard sham: front – cut 1 rectangle 26″ x 32.5″ back – cut 2 rectangles 26″ x 18.5″ King sham: This allows a 3″ flange all the way around. You can reduce the size of your flange by subtracting inches accordingly and then sewing closer to the edge in the part where I sew 3″ from the edge.
|
The process
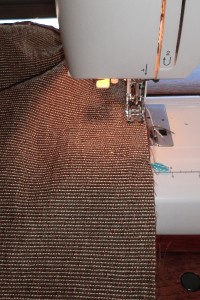 |
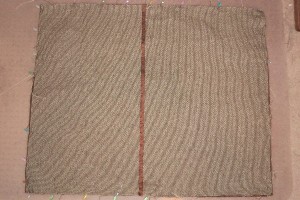
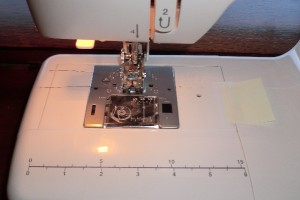
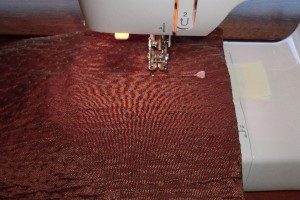
Sew all the way around with a 1/2″ seam allowance. I used my walking foot to help keep my fabric from shifting. Make sure your overlapped back pieces stay in place as you sew. |
Other views
(Click for bigger views)
 |
 |
 |

