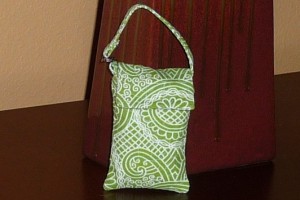
Lined gadget case tutorial
| OK, so I’ve already shown you how to make a big, roomy bag. And, naturally, we put pockets in for phones and such. But sometimes you need a separate pouch for your phone or MP3 player.
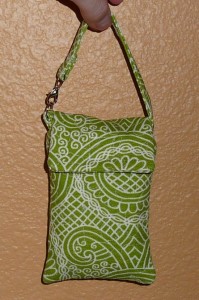
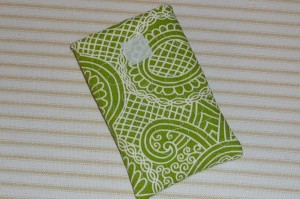
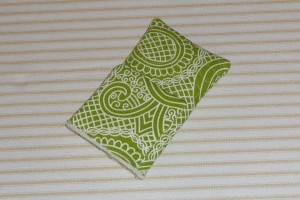
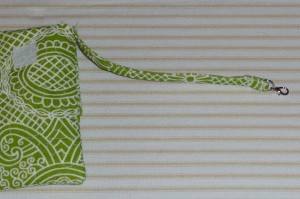
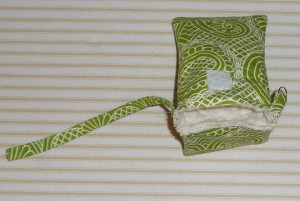
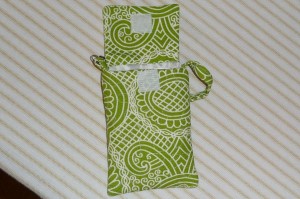
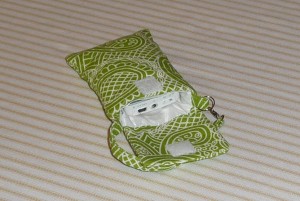
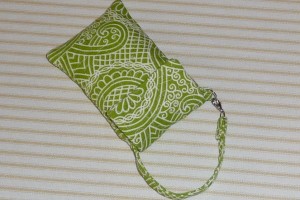
Here’s a lightly padded, velcro-closure gadget case with a cute little strap that you can open and close, in case you want to hook it around something, like a belt loop or purse strap.
|
Supplies
(Click fabrics for direct links for purchase at Warehouse Fabrics Inc.)
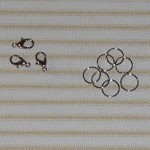
| See pattern below to determine how much fabric you need. The hardware I purchased in the jewelry section at Hobby Lobby. |
|||
The pattern
| You’ll need to cut: Body: 2 main fabric, 2 lining fabric, 2 fleece Flap: 2 main fabric, 1 fleece Strap: 1 main fabric It’s only fair to give credit where credit is due. I made this upon request for a friend, and while looking for ideas that I liked (requirement numero uno for me is that bags be lined. I’m a construction snob) I found this tutorial at Moda, a quilting shop. I used bits and pieces, and changed a few things, so I made up my own tutorial, too. |
The process
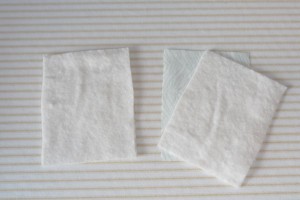
| Lay your batting on the wrong side of the body pieces and the flap piece (not shown). One flap piece will be left alone for now, and will not have any batting or be quilted. |
|
| OK, don’t be confused, but this fabric is slightly different. It was from my practice run, and during the real run, I forgot to get a picture of this step.
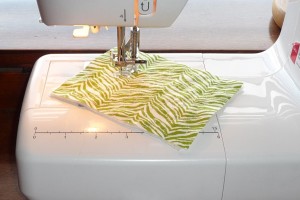
Here, I’m free-motion quilting the body pieces and the flap with the batting. I do this with a darning presser foot. Drop the feed dogs on your machine and do random squigglies. You’ll need to mess with your tension a bit. If you’re unfamiliar with this technique, I’d advise either googling “free-motion quilting” or just using straight lines or squares for quilting. |
|
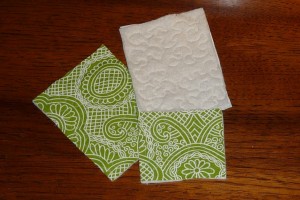
| Here are the quilted pieces. |
|
| Place one square of your Velcro on one body piece at 5/8″ down and stitch.
Place the body pieces right-sides together and sew at a 1/2″ seam allowance along the sides and bottom. Turn right-side out, clip corners and press. |
|
| Sew the quilted flap piece to the nonquilted flap piece, right sides together. Clip corners and turn. Press and baste to one side of the case. |
|
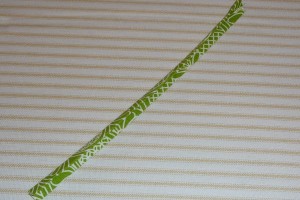
| First, fold under one of the short ends about a quarter-inch and press. This will be encased in the strap and create an end without a raw edge. Fold strap in half lengthwise and press a crease. Fold each long, raw edge to the center crease and press again. Now fold once again on the original center crease, encasing the raw edges. |
|
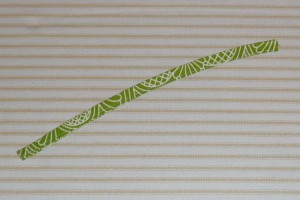
| Sew close to the open edge. Now, trim a two-inch piece off of the end you didn’t fold under. |
|
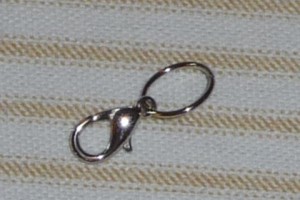
| Take your clip hardware and attach it to a ring. Place the finished edge of the long strap piece through the ring and sew back down to strap. See the next photo. |
|
| Click for a bigger view to see the clip end of the strap.
Baste the strap to one side of the pouch, with raw edge of the strap lined up with the raw edge of the pouch. |
|
| Fold the 2-inch piece of strap in half and place a ring in the fold. Baste the raw edges as above to the other side of the pouch. |
|
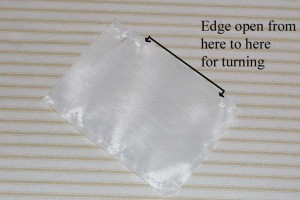
| Sew the lining fabric together, leaving one short end open, and also leaving an opening along one long side for turning. |
|
| With lining wrong-side out and pouch right-side out, place pouch inside lining, with the strap pieces tucked inside. Pin in place. |
|
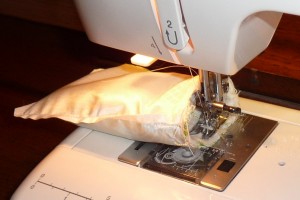
| Sew around the top, with a 1/2″ seam allowance. This part is a bit tricky since it’s so small. I found that sewing along the inside as shown was much easier than sewing along the outside. |
|
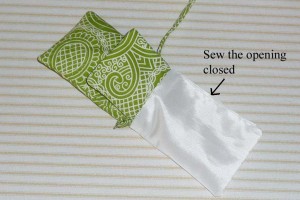
| Turn right-side out through hole in lining and top stitch the lining closed. Tuck the lining in and press. |
|
| Sew the other side of the Velcro to the inside flap after determining the best placement. I place it 7/8″ from the edge. |

