
Sham-WOW! Make a Pillow Sham in Under an Hour
It started with an Elsa event. Elsa, my Huskie mix, has many such “events” that usually involve tearing something up that is fluffy. This time, it was a pillow sham. Thankfully not the pillow, just the

sham. Which didn’t really matter though. I just bought those shams for a staging. Now I had only one and no way to repair it since the machine was packed.
Elsa is fortunate that she has cute going for her…
So flash forward, I still have no matching shams. I could just repair the torn one. But to be honest, sometimes a repair job is just not worth the time, especially when they were cheap to start with.
But wait…I have scraps! Two shams is one yard of fabric. I can do this! You can do this, too! This is one of the easiest, most satisfying projects you’ll ever do. There’s nothing like new pillow shams to dress up a drab bedroom look. So whether you have scraps or not, it’s a one yard, one hour (or less) project.
Standard Pillow Sham
Difficulty Level: Easy (some sewing experience needed)
Materials
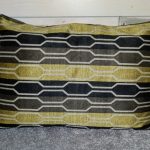
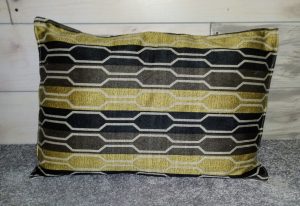
1 yard fabric your choice (fabric shown N/A**)
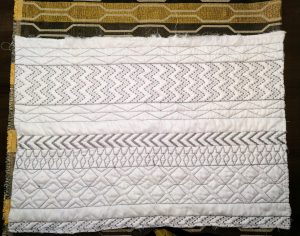
1 yard sheeting or broadcloth to coordinate
Blunt tapestry needle
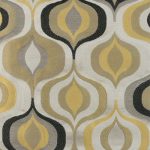
If you follow us Facebook and Twitter , you may have seen a recent post challenging you to show us what you’d do with a scrap yard of really choice fabric. This is my answer to that post. Being a bit of a recovering fabricaholic (fine, I’m not really recovering), this project is exactly why I keep scraps. Do note, you will need a back for your shams. You can be frugal and use pillow cases. Otherwise, inexpensive sheeting or broadcloth does a great job.
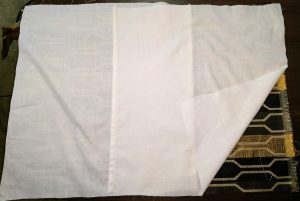
Step 1: I used my old sham (I say old, it WAS new.) as a pattern. After tearing the trim and back off I laid it on top of the new sham fabric that was doubled and simply cut out a new pair of fronts. You can cut each one separate if you’re more comfortable with that. If you don’t have an “Elsa issue”, you’ll cut using 21 x 27 for a standard sham and 20 x 28 for a king size (add an inch if you want a larger overhang that we’ll talk about later).
Step 2: If you’re using the old sham, just like the front, use the back panels as a pattern. Note that if yours has ties, skip that part, it just complicates the project! If you do not have a pattern, using the same dimensions, add five inches and cut two back panels. Find the center and mark five inches from the center and cut. You will have two “halves”, one being five inches longer than the other. This is the overlap.
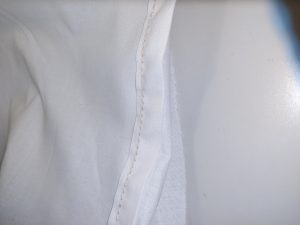
Step 3: For each back panel, turn in 1/2″ along the center edge and press, then once again to make a double roll. Stitch across.
Step 4: Lay the back panels and the front with RIGHT SIDES TOGETHER making sure you have a short and a long back panel and pin together. Stitch all the way around using a 1/2″ seam allowance.
Optional: You can add piping at this point. It’s slightly more advanced but adds a nice finished touch.
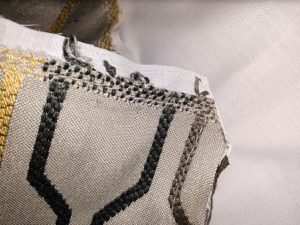
Step 5: Trim the corners by cutting across slightly to reduce bulk when you turn. At this point, I would also recommend serging or zig zagging the edges to prevent raveling.
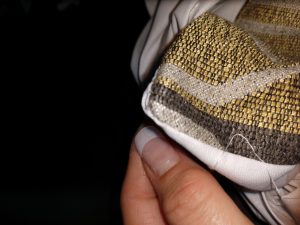
Step 6: Turn right sides out and using a blunt tapestry needle, gently pick the corners out until they are nice and sharp. If this is difficult, trim a little more from the corners. Press so that the sides lay flat. If you’re using delicate fabric, use a press cloth so you don’t ruin it.
(Optional: Topstitch 1/4″ around. Press again.)
Step 7: Stuff your pillow in, take copious pictures and brag to all your friends!
Sew ‘n piece my friends!
BTW…We LOVE braggarts! Post your project to our design gallery and Facebook/Twitter!

