25 yards outdoor use cording (optional if you are unable to salvage welting from your cushions)
6 yards outdoor fabric
4 double fold outdoor cushions with old covering removed and cushions cleaned/sanitized (see Part 1)
24 5/8″ matching plain buttons of your choice
24 matching decorative buttons of your choice
4 yds. sew-on 1/2 ” Velcro (optional)
Leather sewing awl with waxed thread (optional)
Clear nail polish or Fray Stop (optional)
Welcome back!
I trust you had no difficulty cleaning those cushions up. About that…
Funny story…I went to bring the last cushion in from the back porch, all sparkling white and ready to go. How should I delicately put this…
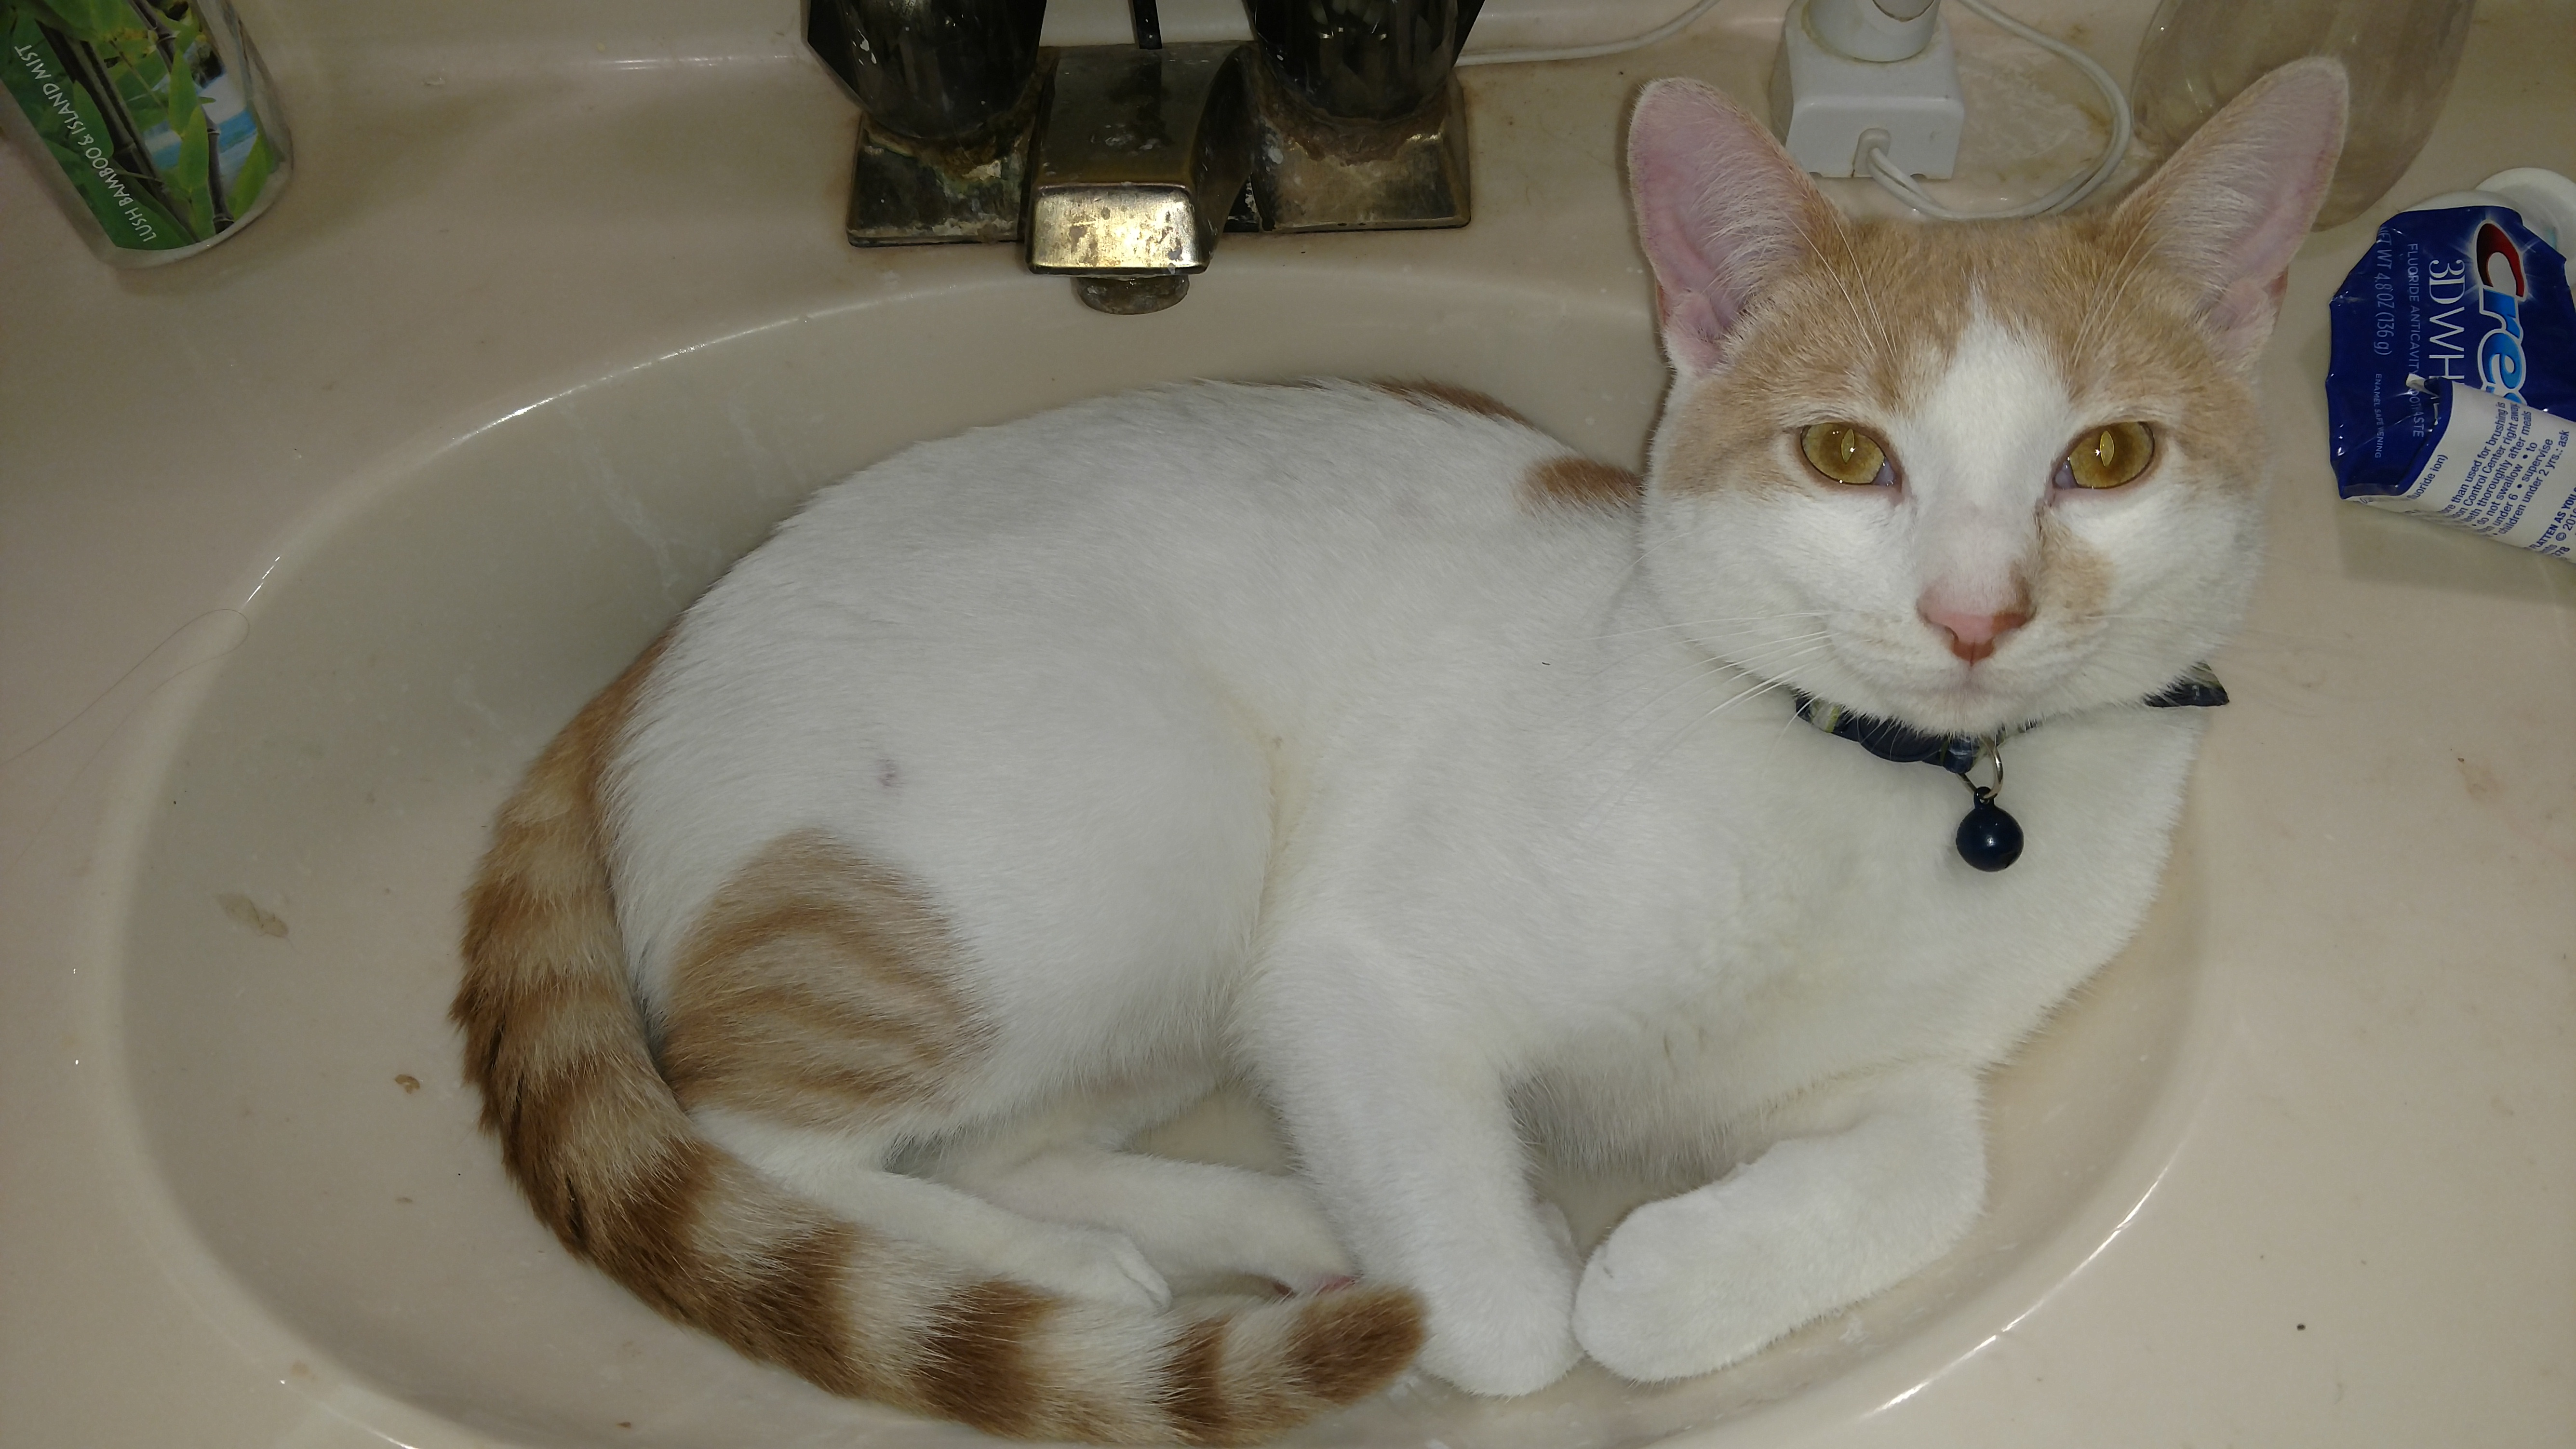
This is Taco.
Do not allow his sublime expression distract you.
He is a fiend.
And he has no shame.
Said cushion was replaced. End of story. I am NOTcleaning that.
So you’ve measured twice and ordered; and your amazing fabric from BFS has arrived! We’re ready to cut out those new covers.
Step one: Relax.
The first cut is the deepest. Baby, I know, the first cut is the deepest.
… Sorry
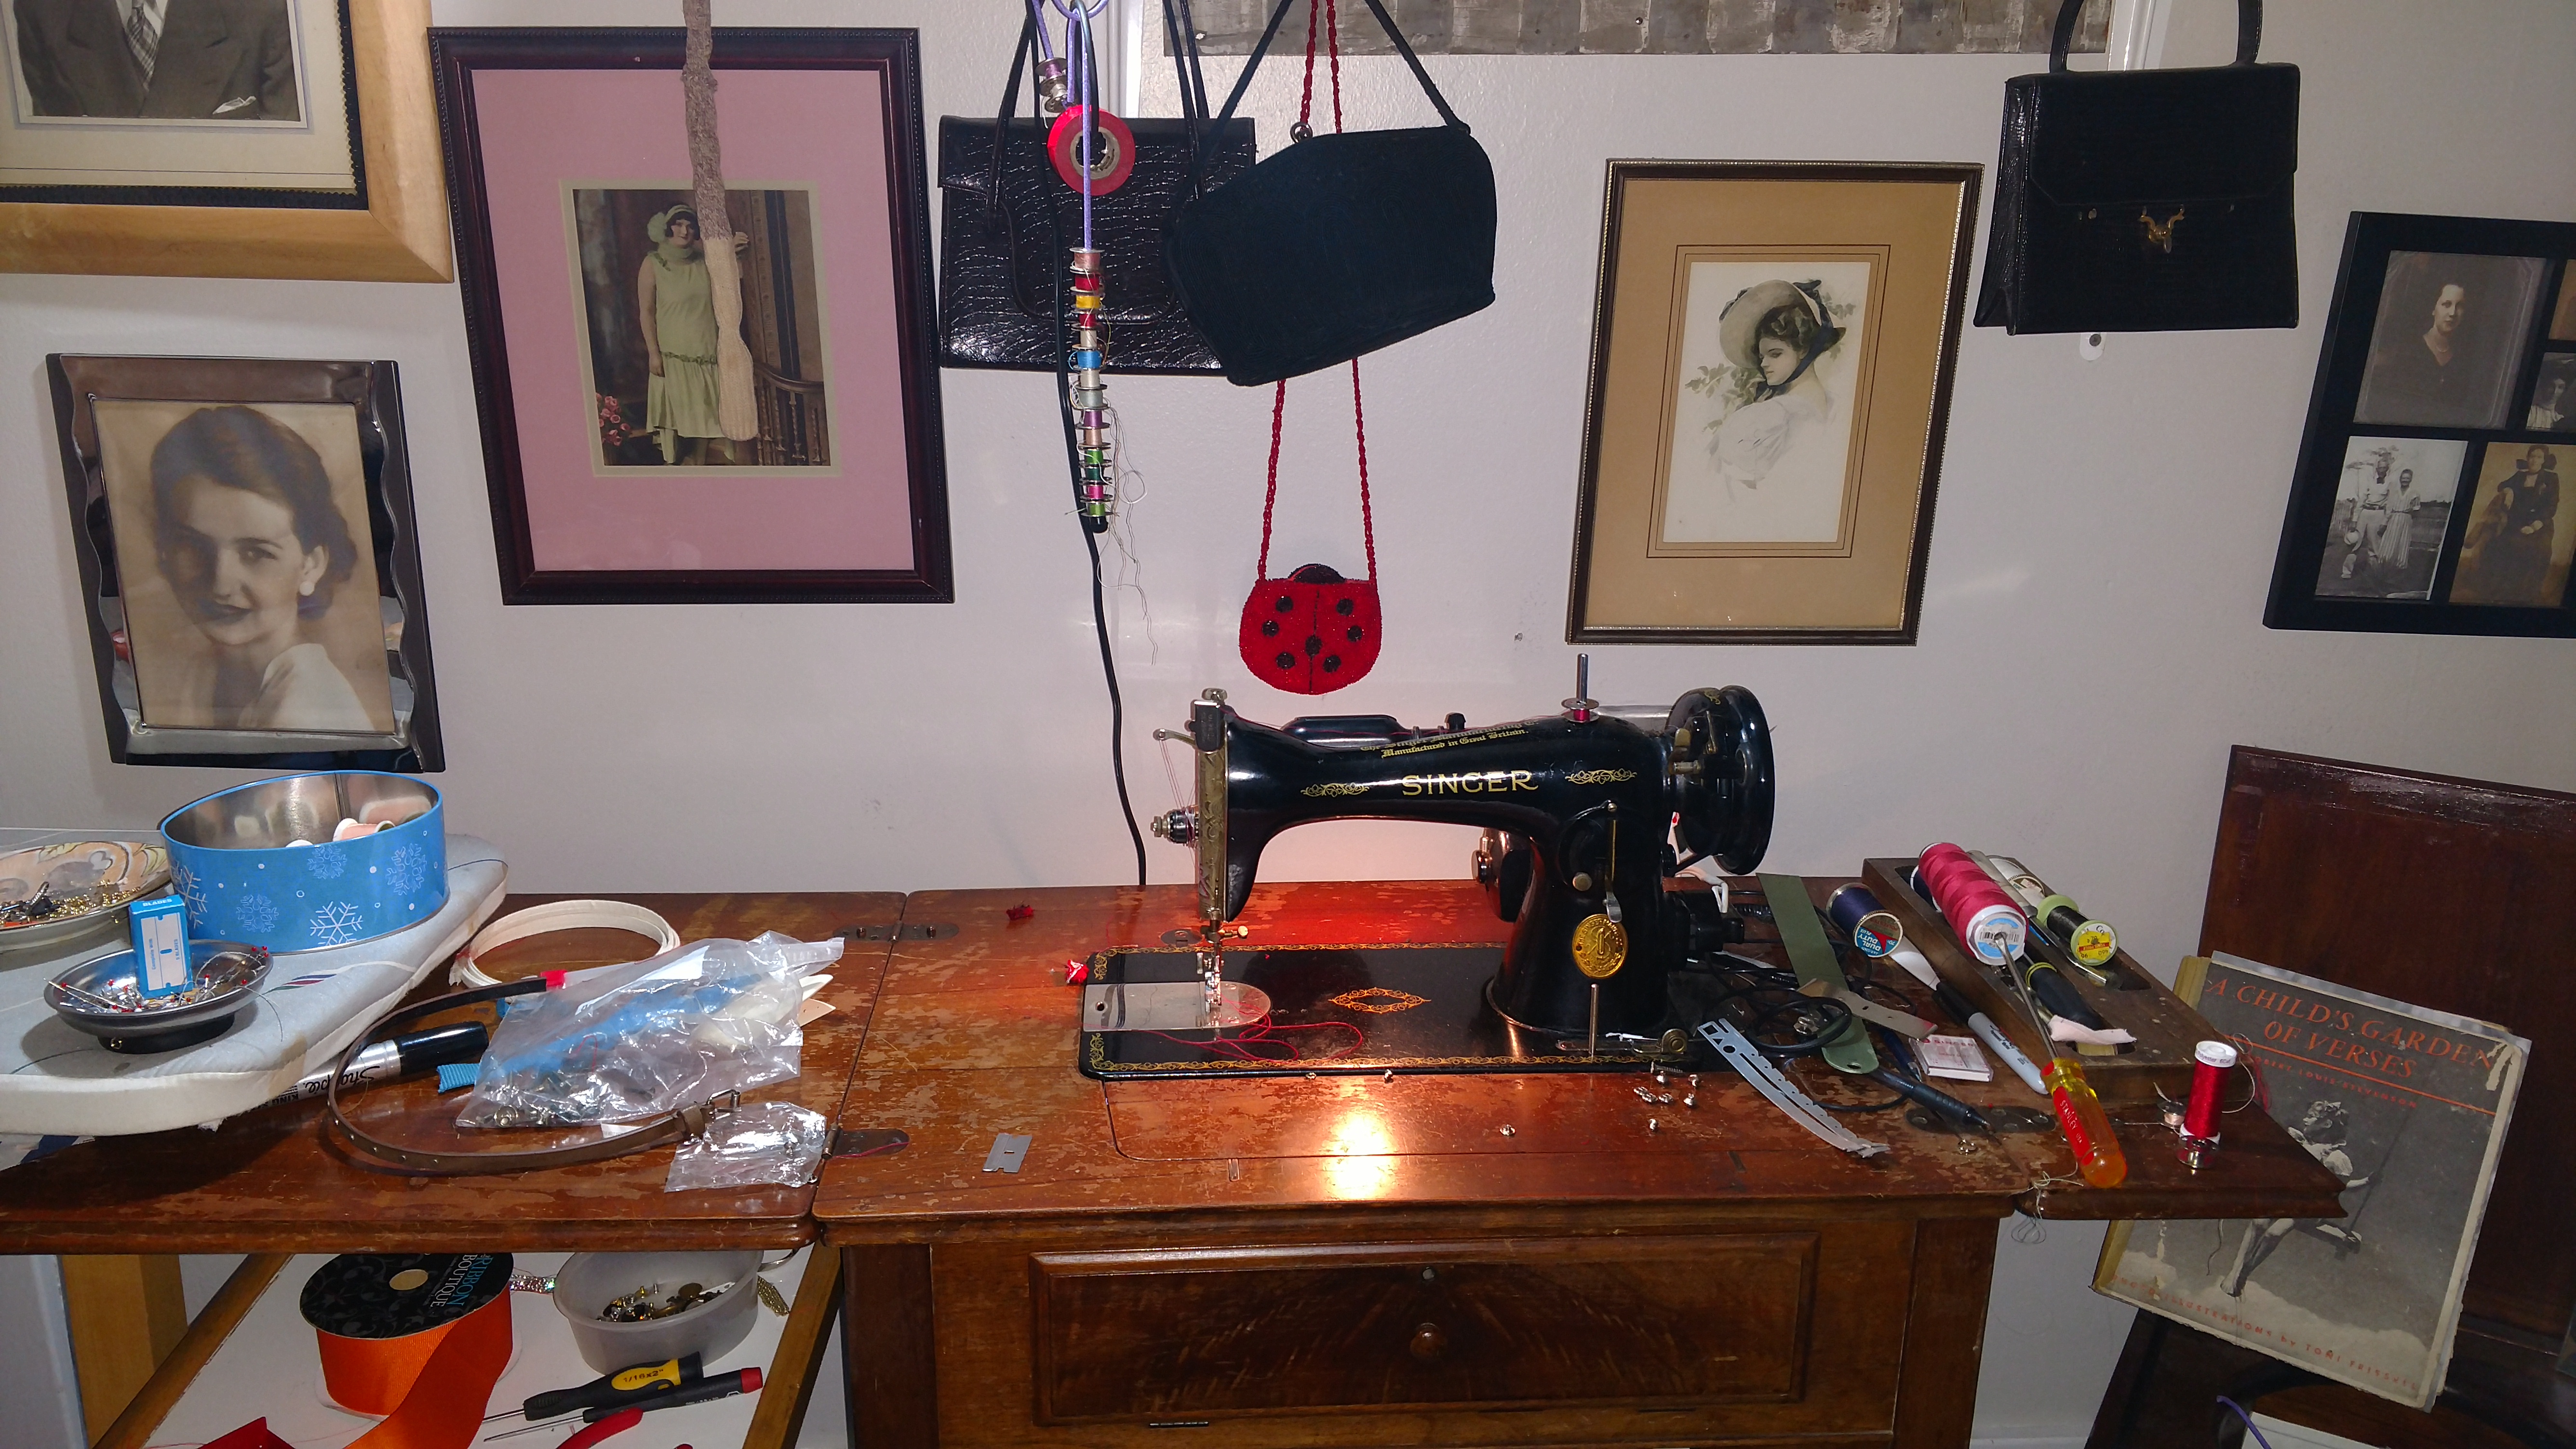
As we get started, I want to show you that this project does not require any special equipment or material. In fact, here’s my “studio” or the Asylum as I see it! I’m as real as you are and I struggle with my projects too.
You’ll recall from part one that we discussed that the width of the cushions (doubled for front and back) compared to the width of our fabric are pretty close. Cutting your pieces will be very straightforward, nearly mistake proof, assuming you measured correctly.
You could simply cut your bolt into four equal portions and be done with it. You’ll probably have some waste on the ends, but you’ll use that. But I always err on the side of caution so let’s measure to be exact. If you saved your tear down, feel free to use it for a pattern. Measure the full length of the cushion. Add the thickness (remember the thickness for later) times two and include a 5/8″ seam allowance, times two or roughly an inch and 1/4. We’re not cutting the sides yet. Here’s the math: length + (depth x 2) + (5/8″ x 2) Leave your fabric folded in half, selvage on the side.Measure all the way around your cushion plus 2-2 1/2 yards. This will be for welting and with the extra 2+ yards, we’ll make tie backs. If you plan to use Velcro instead, just cut enough for welting plus a little extra in case you mess up. Using the excess fabric from the bottom and along the salvage (remember you were to leave a 5/8 ” seam allowance, so think before you cut) cut 2 inch strips with your pinking shears to reduce fraying.
Whatever method you choose, I still recommend that you measure again before you cut just to make sure you have enough length. Better to need an extra yard than to short every single piece you cut.
…Oy. I’ve done that.
Welting (Piping)
Quick lesson so you can talk smart. Welting or piping is fabric (often cut on the bias or diagonal grain) with a cord sewn inside to create a lip which is inserted into the seam or around edges to give a finished look. Cording is the undecorated circular cord that gives welting its shape. I realize, though, that some of you are slowly backing away from the project. It’s okay. I’ve got you. Trust me. We’re going to get through this and you’ll feel like an expert in no time. It’s really not as hard as it looks. …I promise.
With some sewing projects, you can fudge. With upholstery, there are rules. Here’s my secret. Shhhh…Follow the rule of three O’s. Order of Operations. That way, your layers are correct and the project will look professional.
Make the welting first. I always make my welting first. In fact, I make any extra pieces first so I don’t have to stop in a project to make little things. Front end work investment.
I salvaged the scraps, but to be honest, some of the cording came apart and had to be replaced. If that’s your situation, when you purchase new cording, do not use the fiber variety. It’s great for indoor projects that won’t be washed. BFS has a great indoor/outdoor cord you can purchase here.
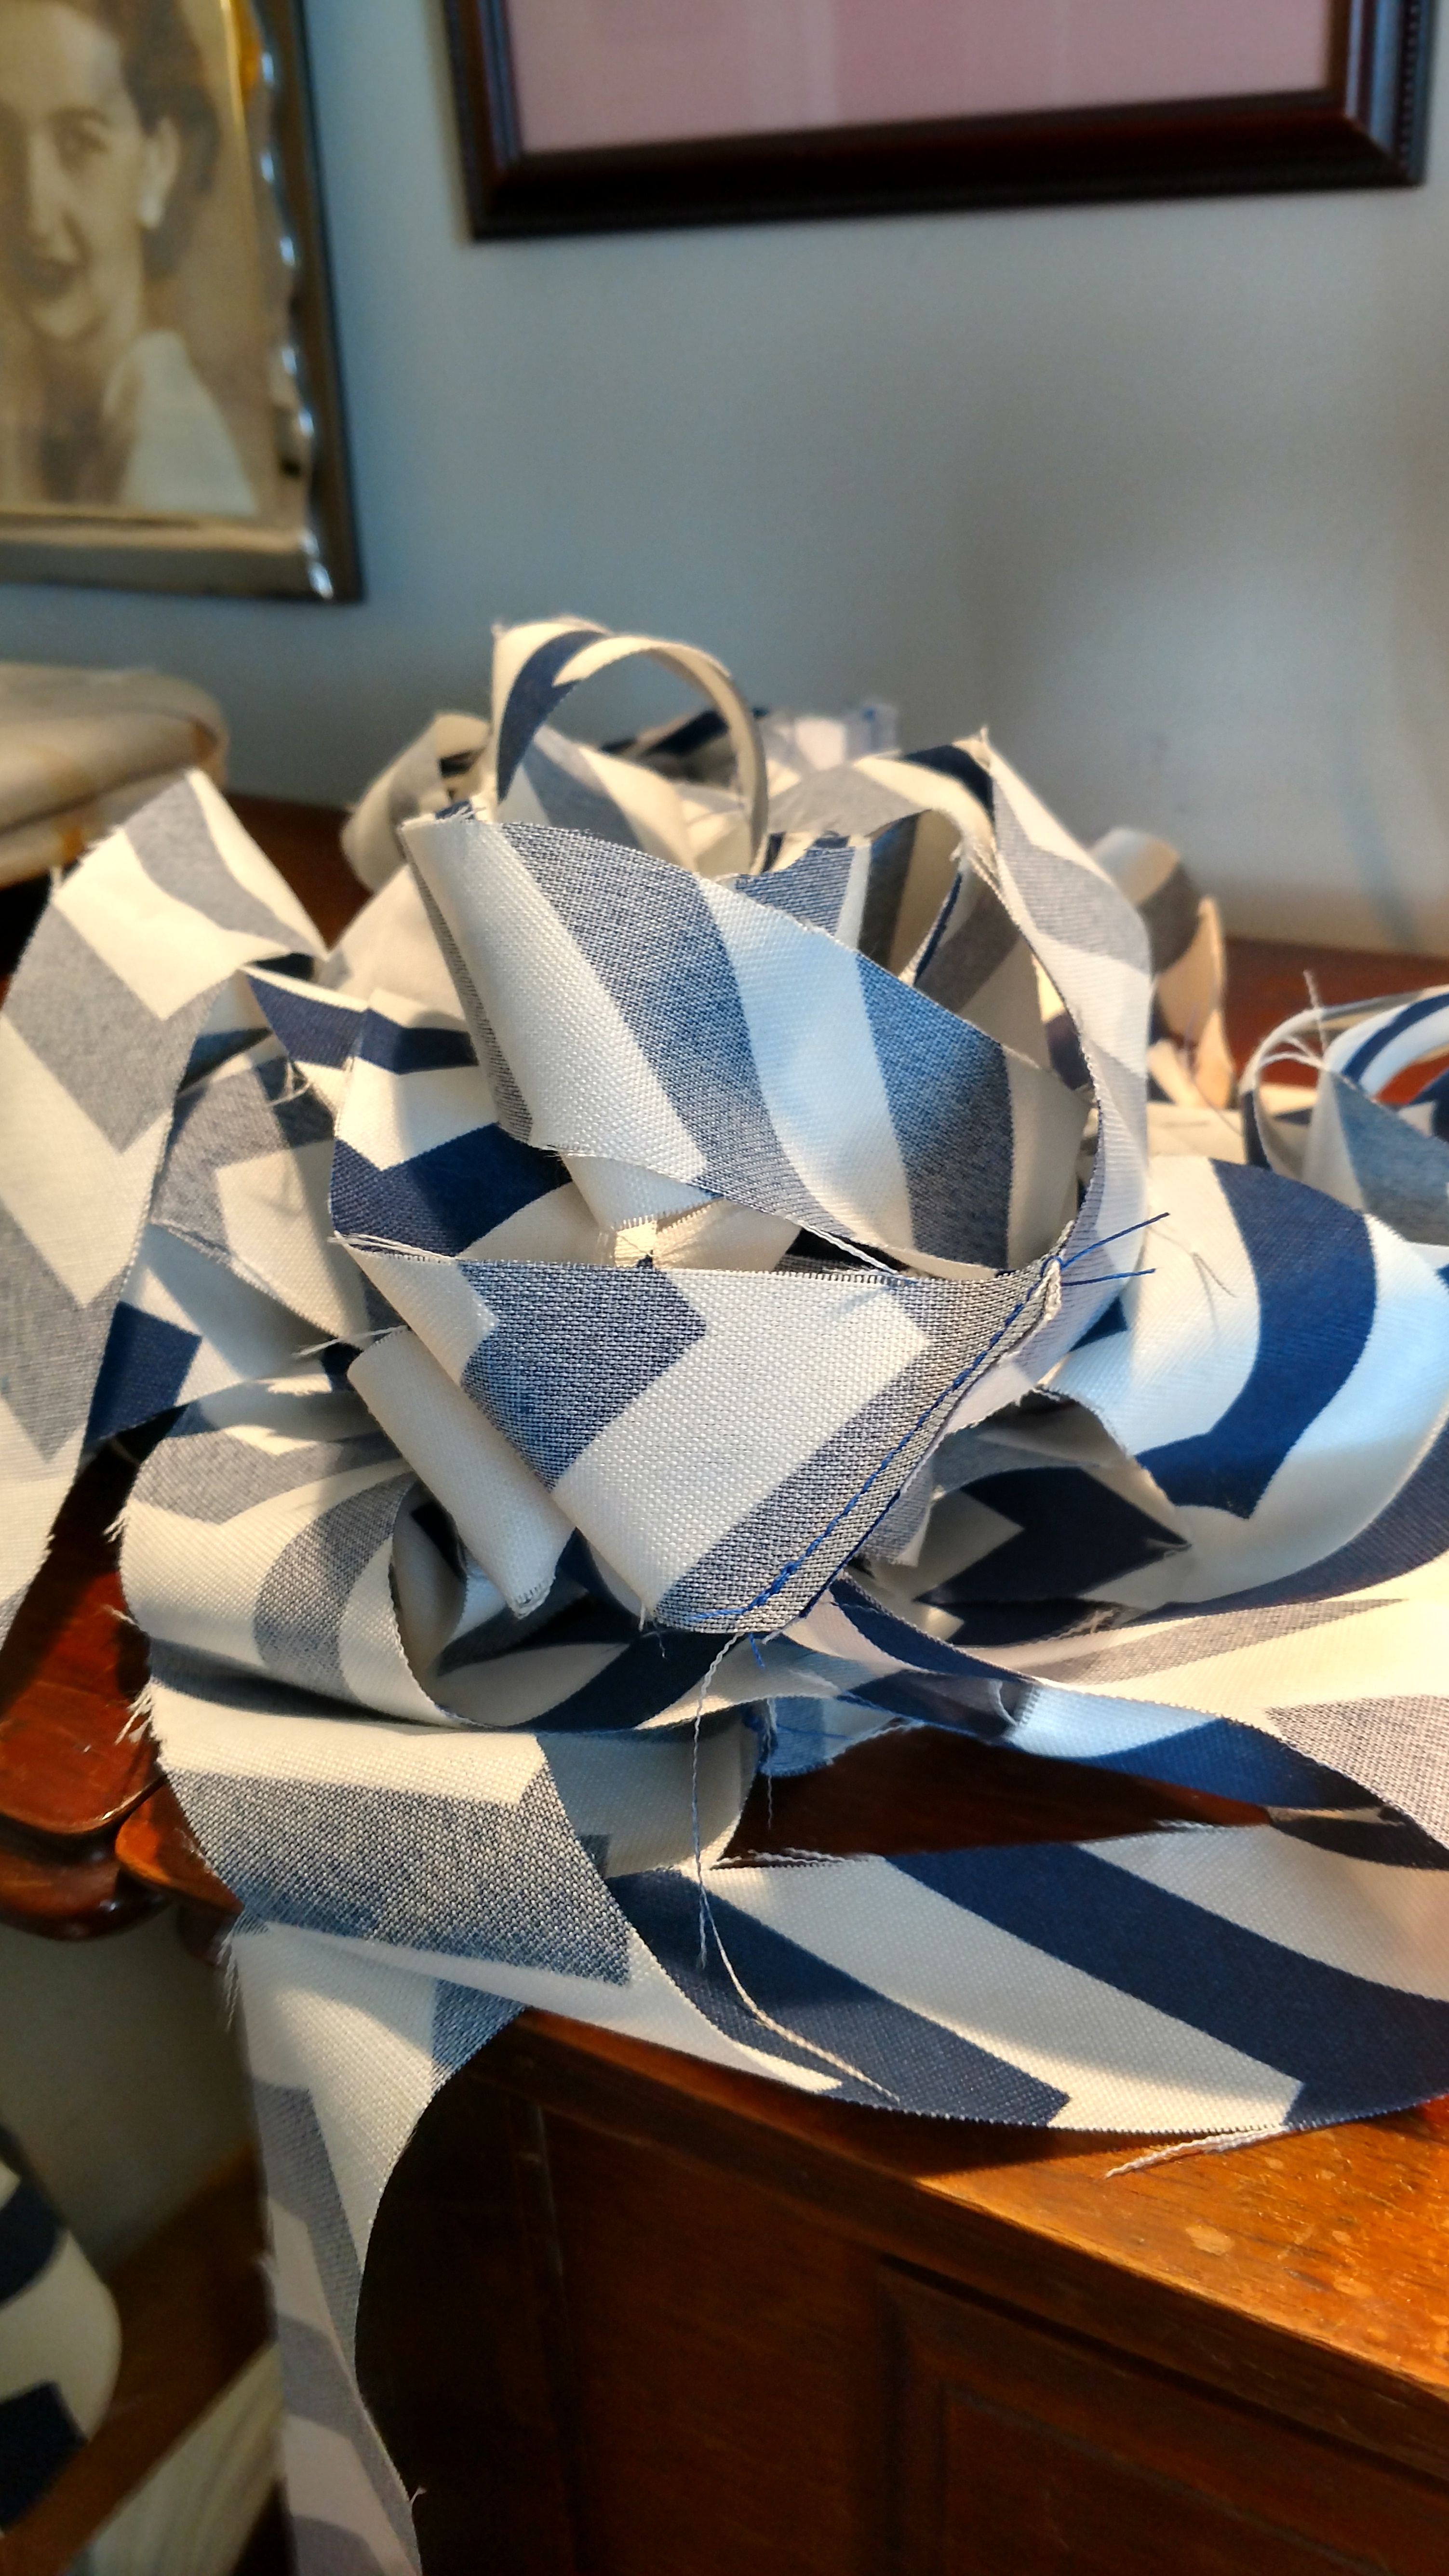
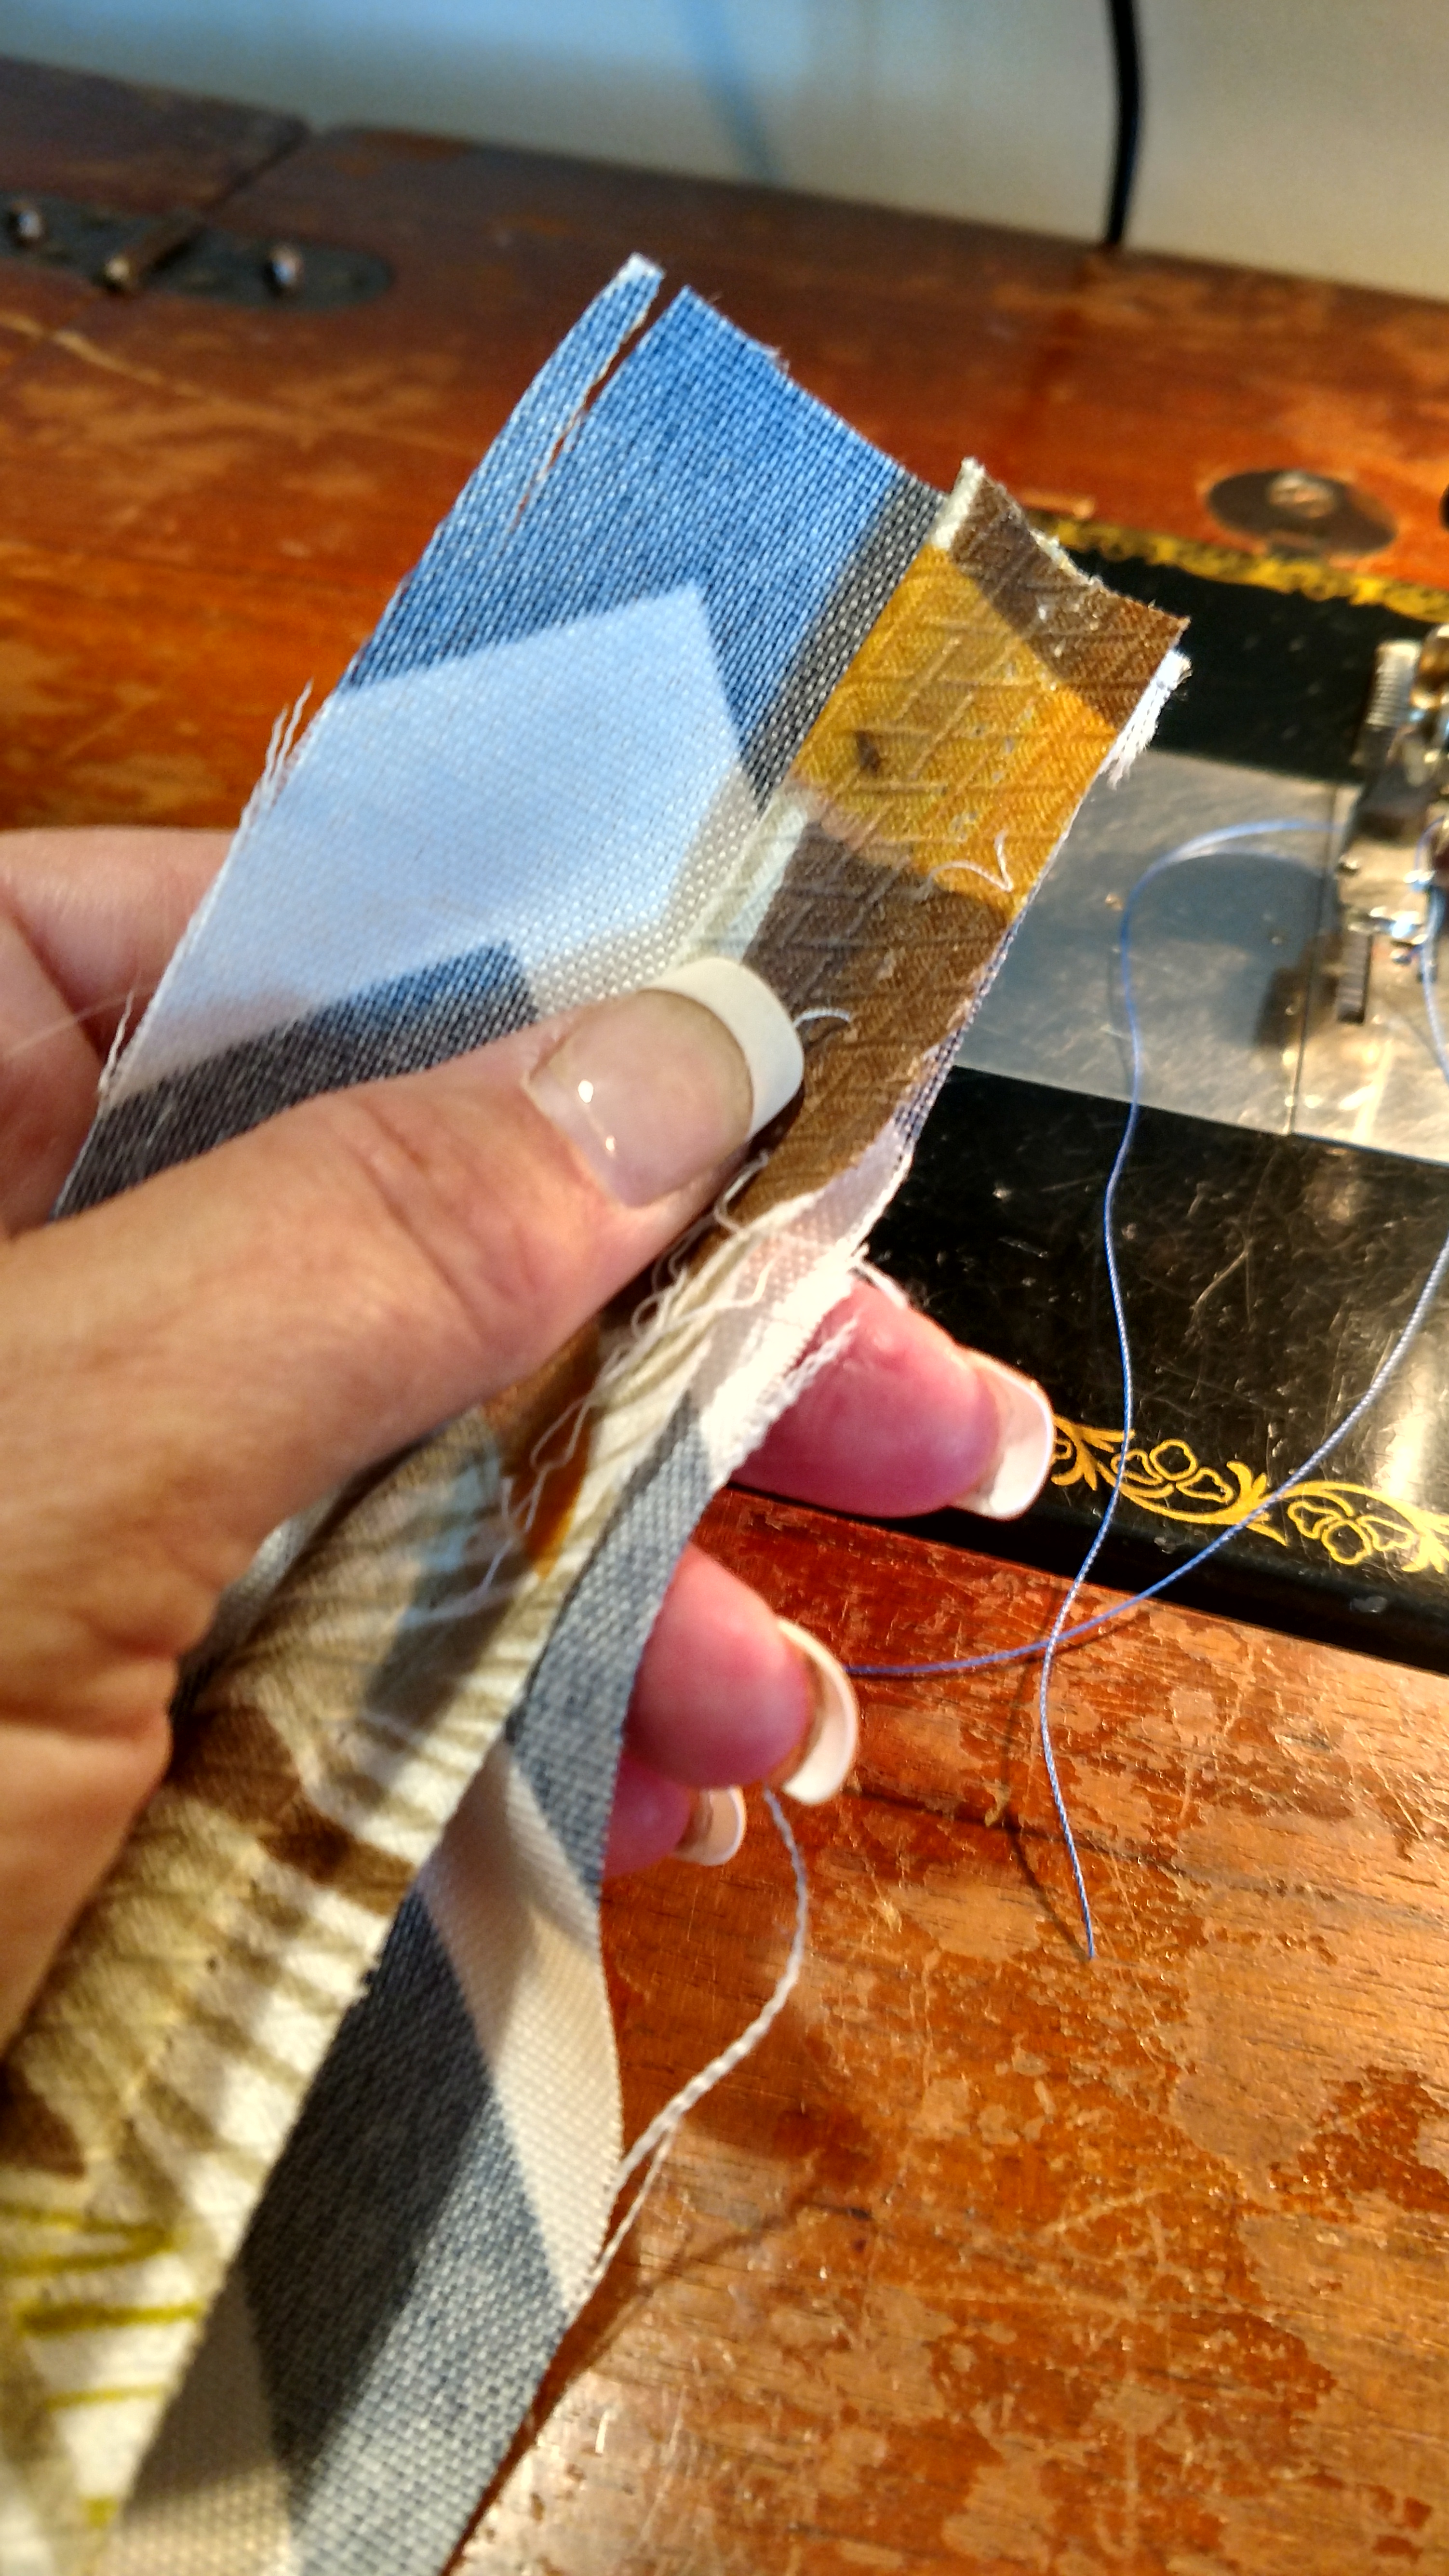
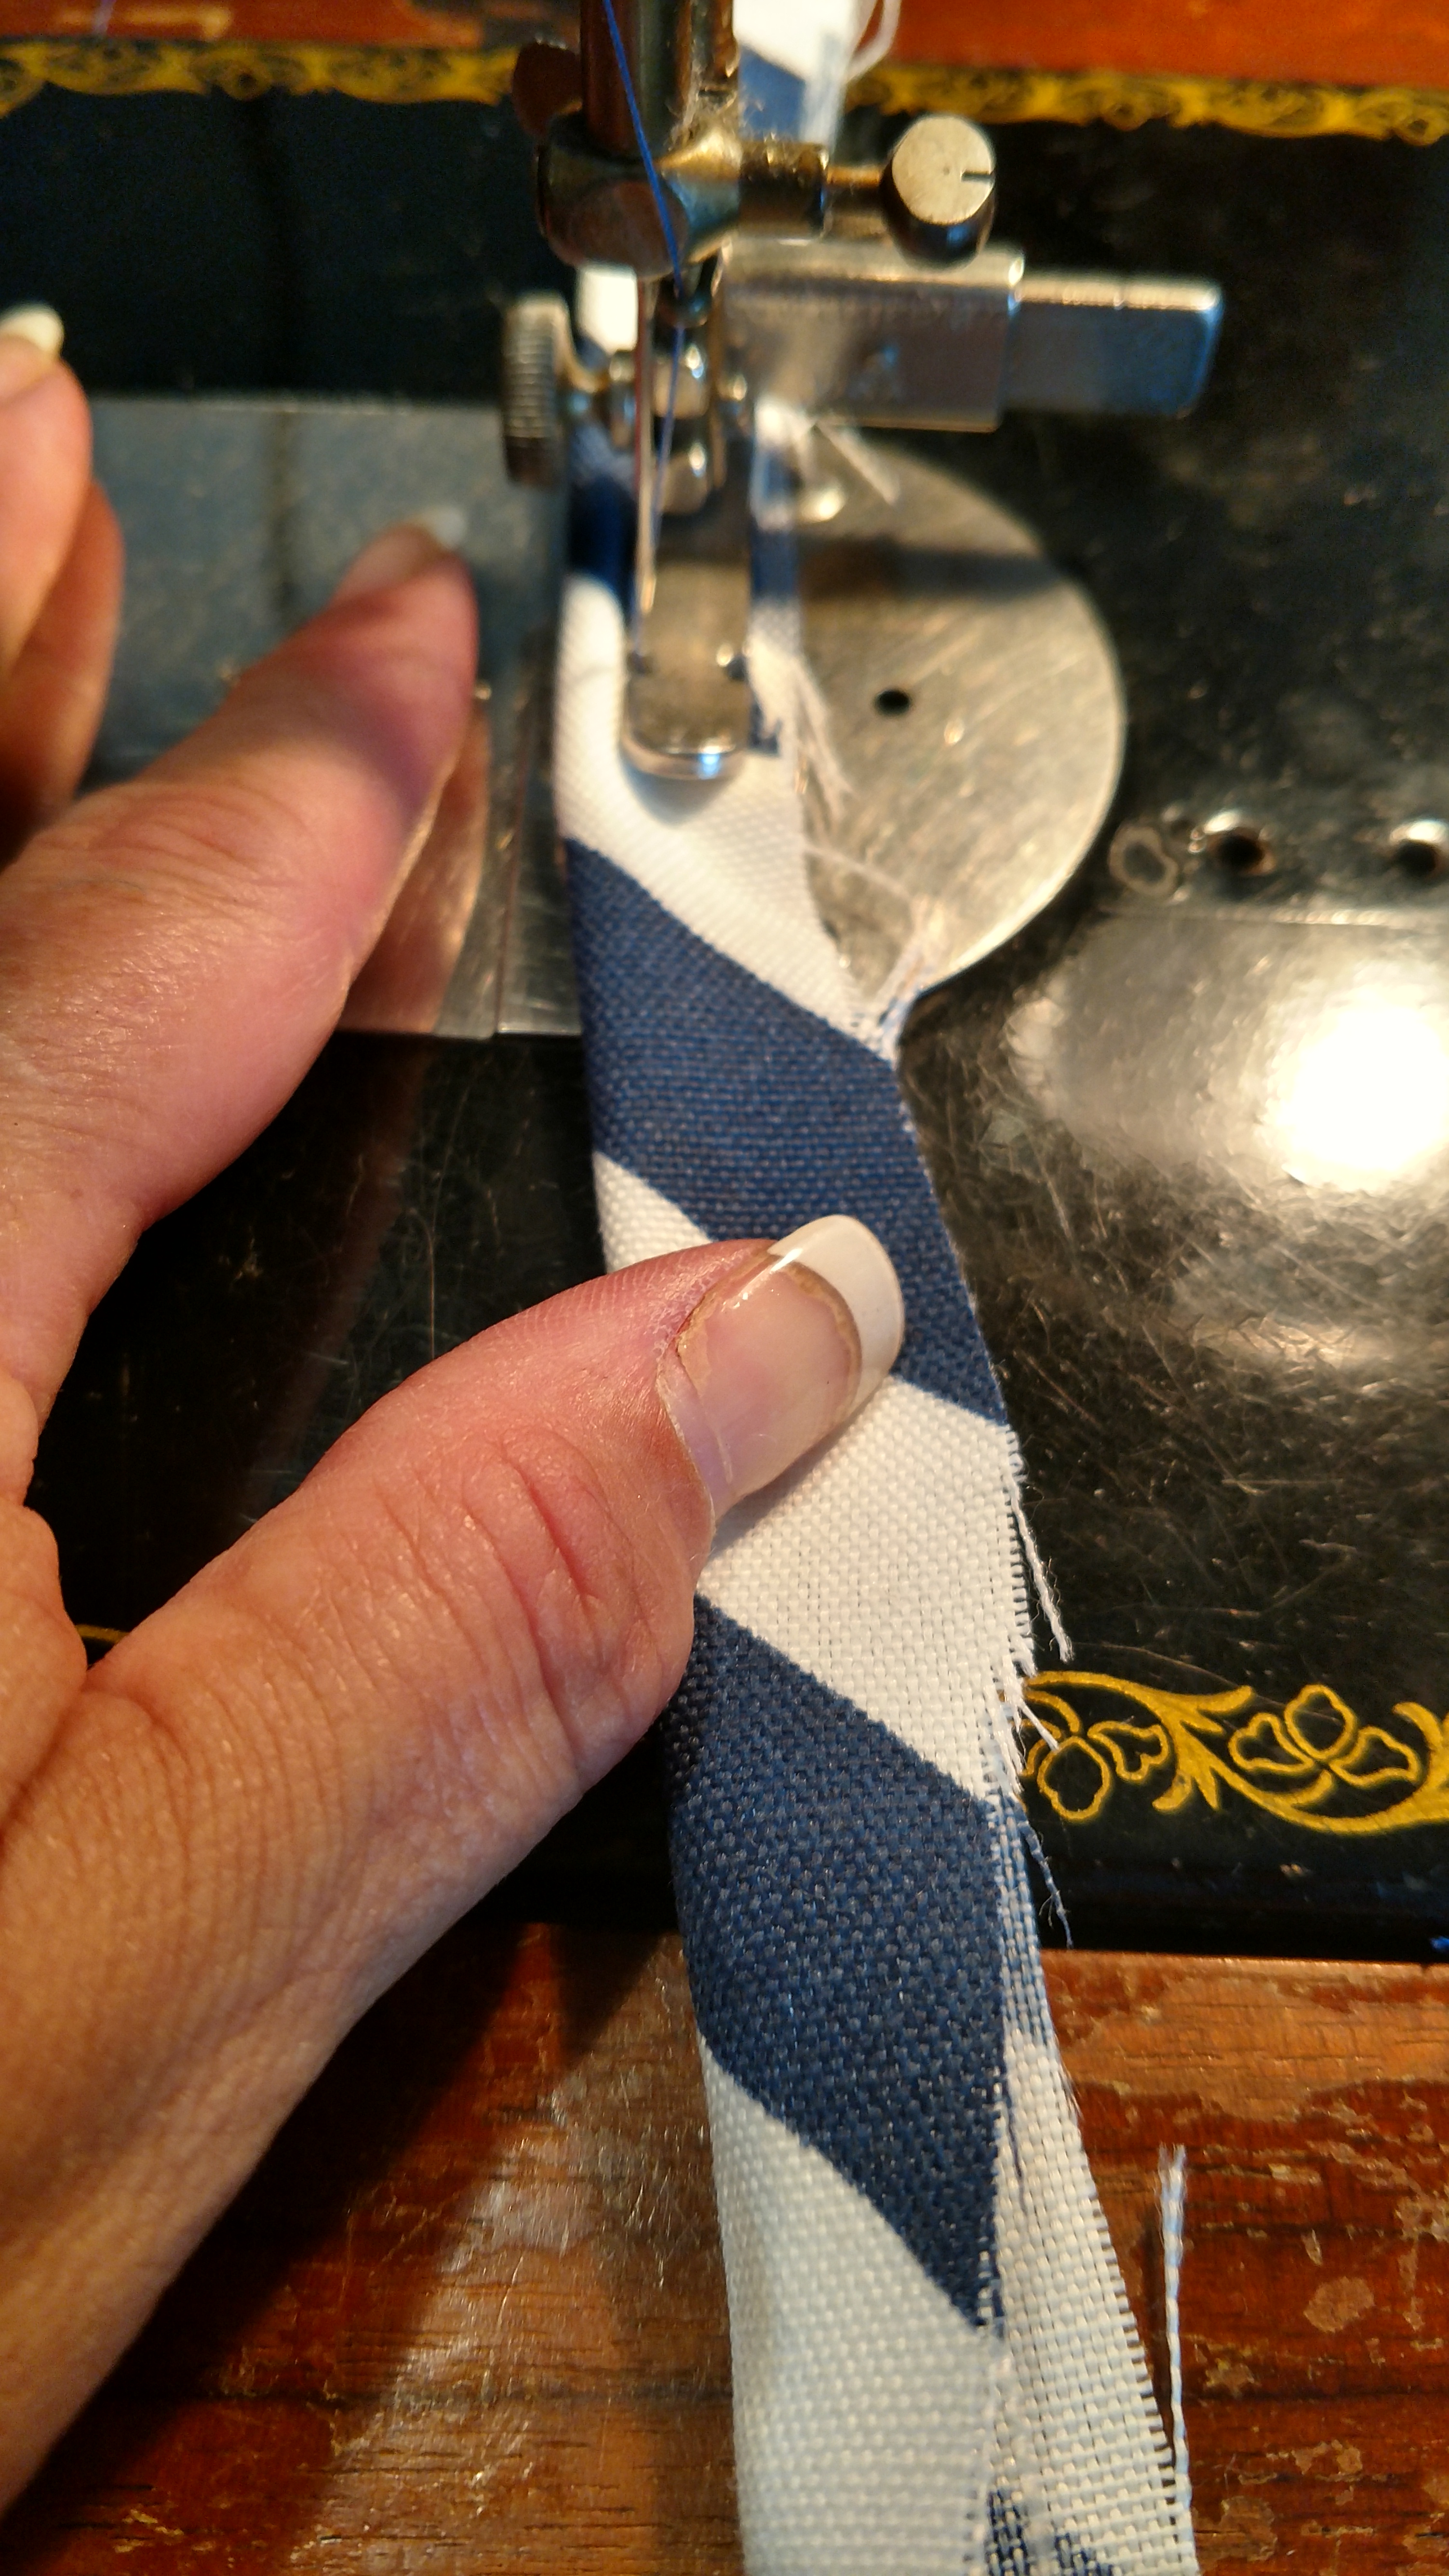
1. You will need to piece together enough strips to go around all four cushions with a little extra just in case. Begin by laying two strips rights sides together to form a right angle from left to right up and down. The top corner will be at the top right. Sew a seam from the top left corner to the bottom right corner as shown. Clip away the excess with pinking shears to prevent fraying to about 1/4″ from your stitching2. When you open this up you should have a single piece. Continue with all your welting strips. Measure to make certain you have enough to go around all your cushions with extra to spare3. Fold your strips in half sandwiching either new cording or the salvaged welting from the tear down. Place the zipper foot along the corded edge so your stitching rides close to but doesn’t catch the cord inside.4. Matching the edges, place your sandwiched cording under the zipper foot (or between the feet if you’re using a channel foot) and bury the needle to hold it in place. Keeping the zipper foot close to the cord, stitch a wide basting stitch. Slow down, this can get away from you. You can do this right or left handed as long as the needle travels along the edge. If you need to add more cord, stop and lay the new piece where you leave off and continue. While we’re at it, let’s go ahead and make those tie backs.5. From your remaining 2 inch strips, cut or make 16 8 inch strips. Fold each strip in half lengthwise, wrong sides together and iron on the highest setting with steam appropriate for your fabric type. Fold each cut edge to the center fold and press. Fold in half again with the sides still tucked to the inside, still with the right side out. Press carefully. Sew as close to the open folded edge as you can making sure you are sewing through both sides. Try to keep this even for neatness sake. Go around the end and sew along the opposite fold and again on the end. You will end where you started. Press. Trim the raw edge and apply Fray Stop or clear nail polish to the cut end to prevent fraying. This step is optional, but if fraying bugs you, it’s worth the little effort it takes.
And in this corner…
Before we start, cut your sections in half so you half a top and bottom. You’re going to carefully cut down the side where the fold is. Before you go to the machine, though, take a second to mark where the tie backs are going to be placed by either marking with a pencil or a small snip.
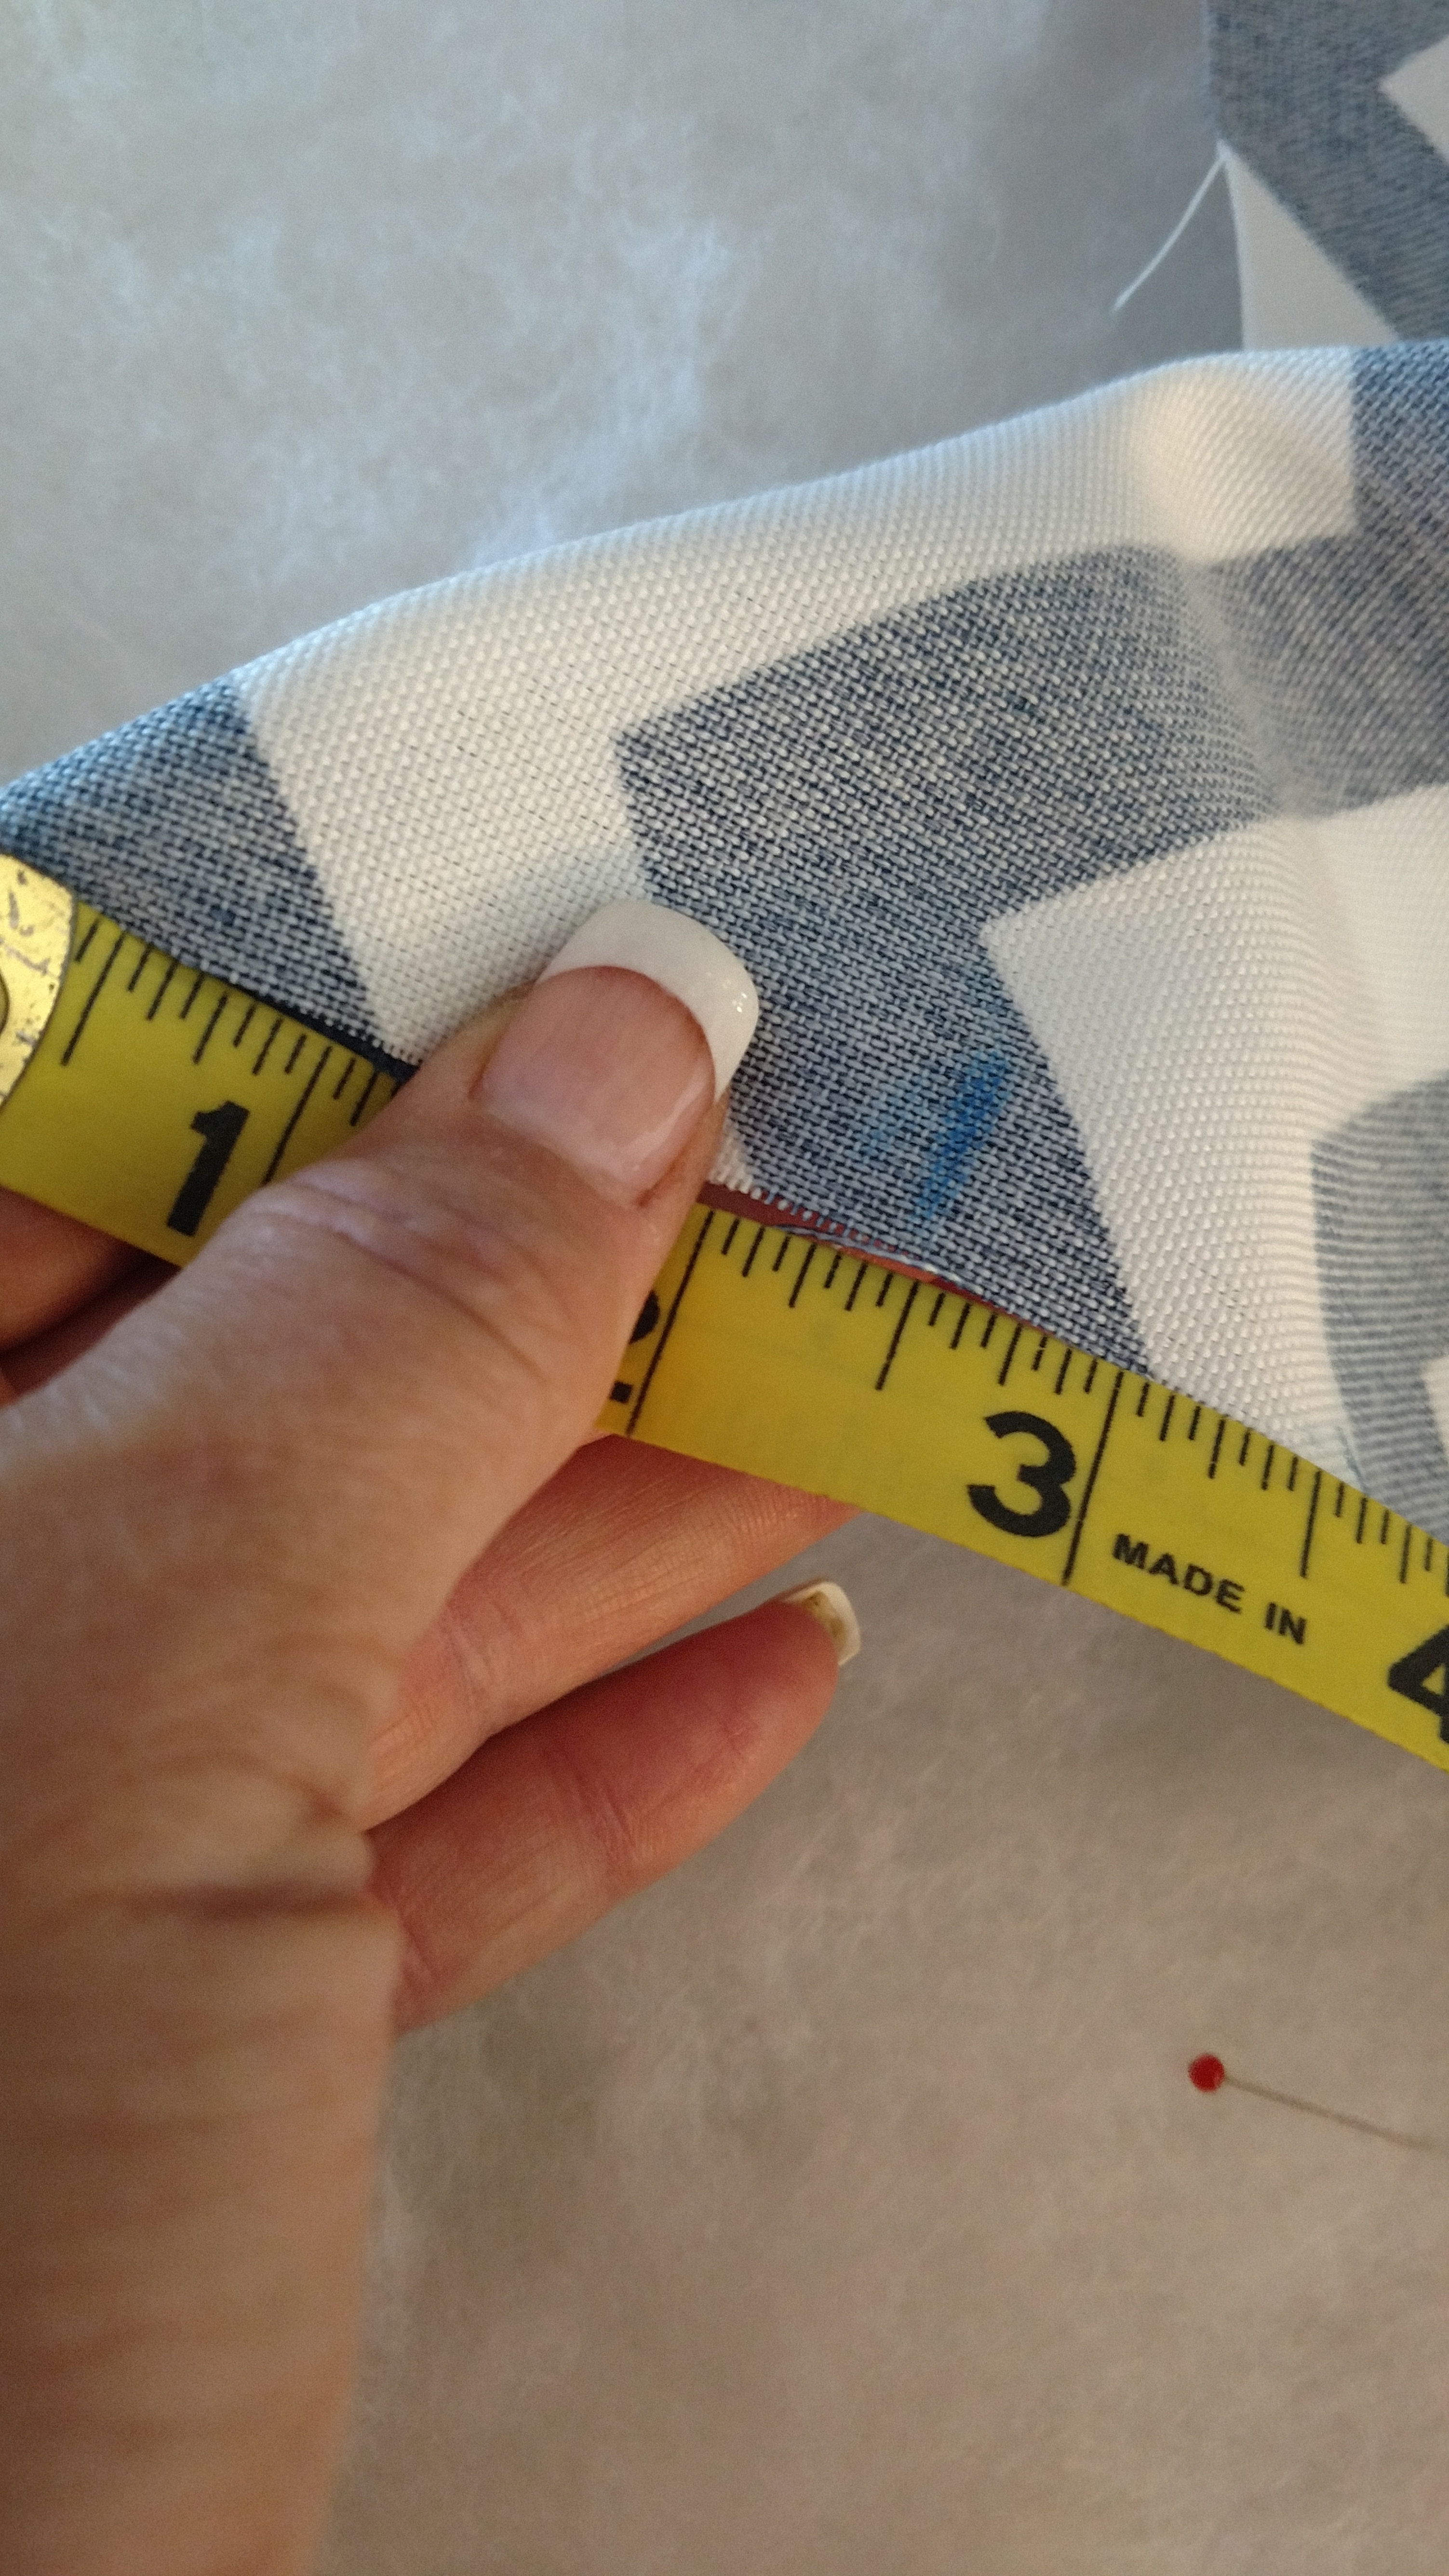
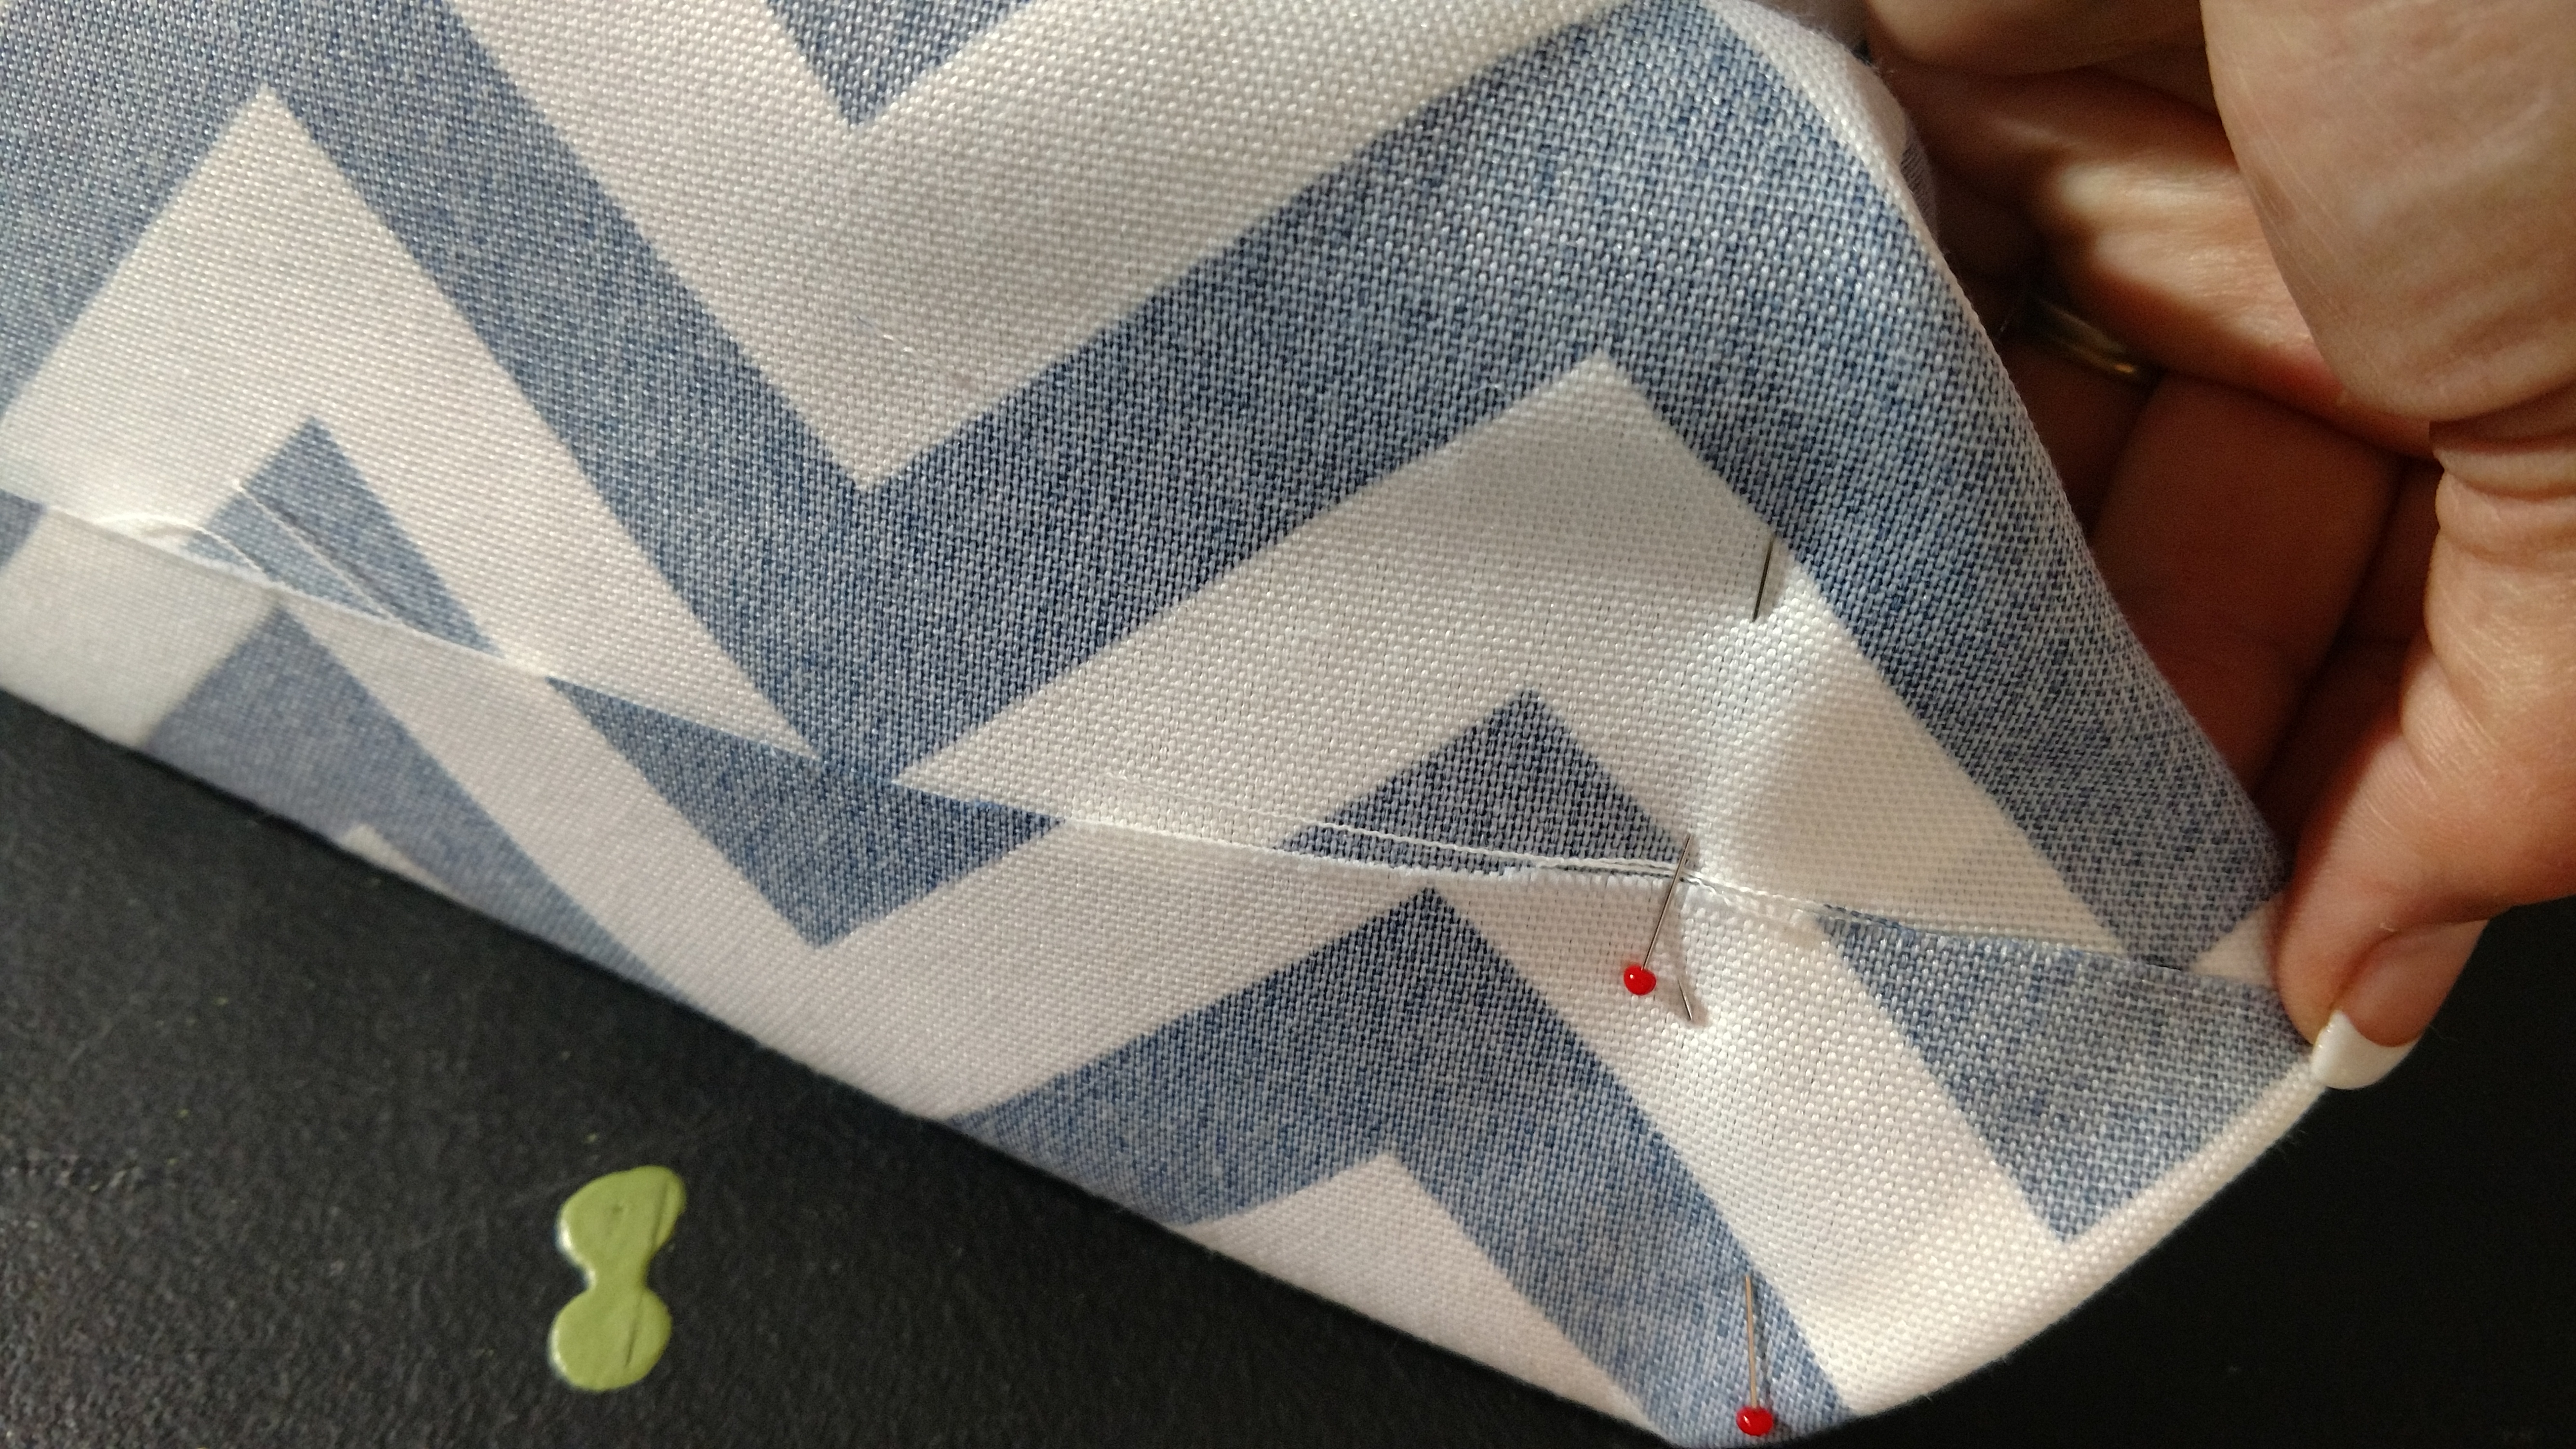
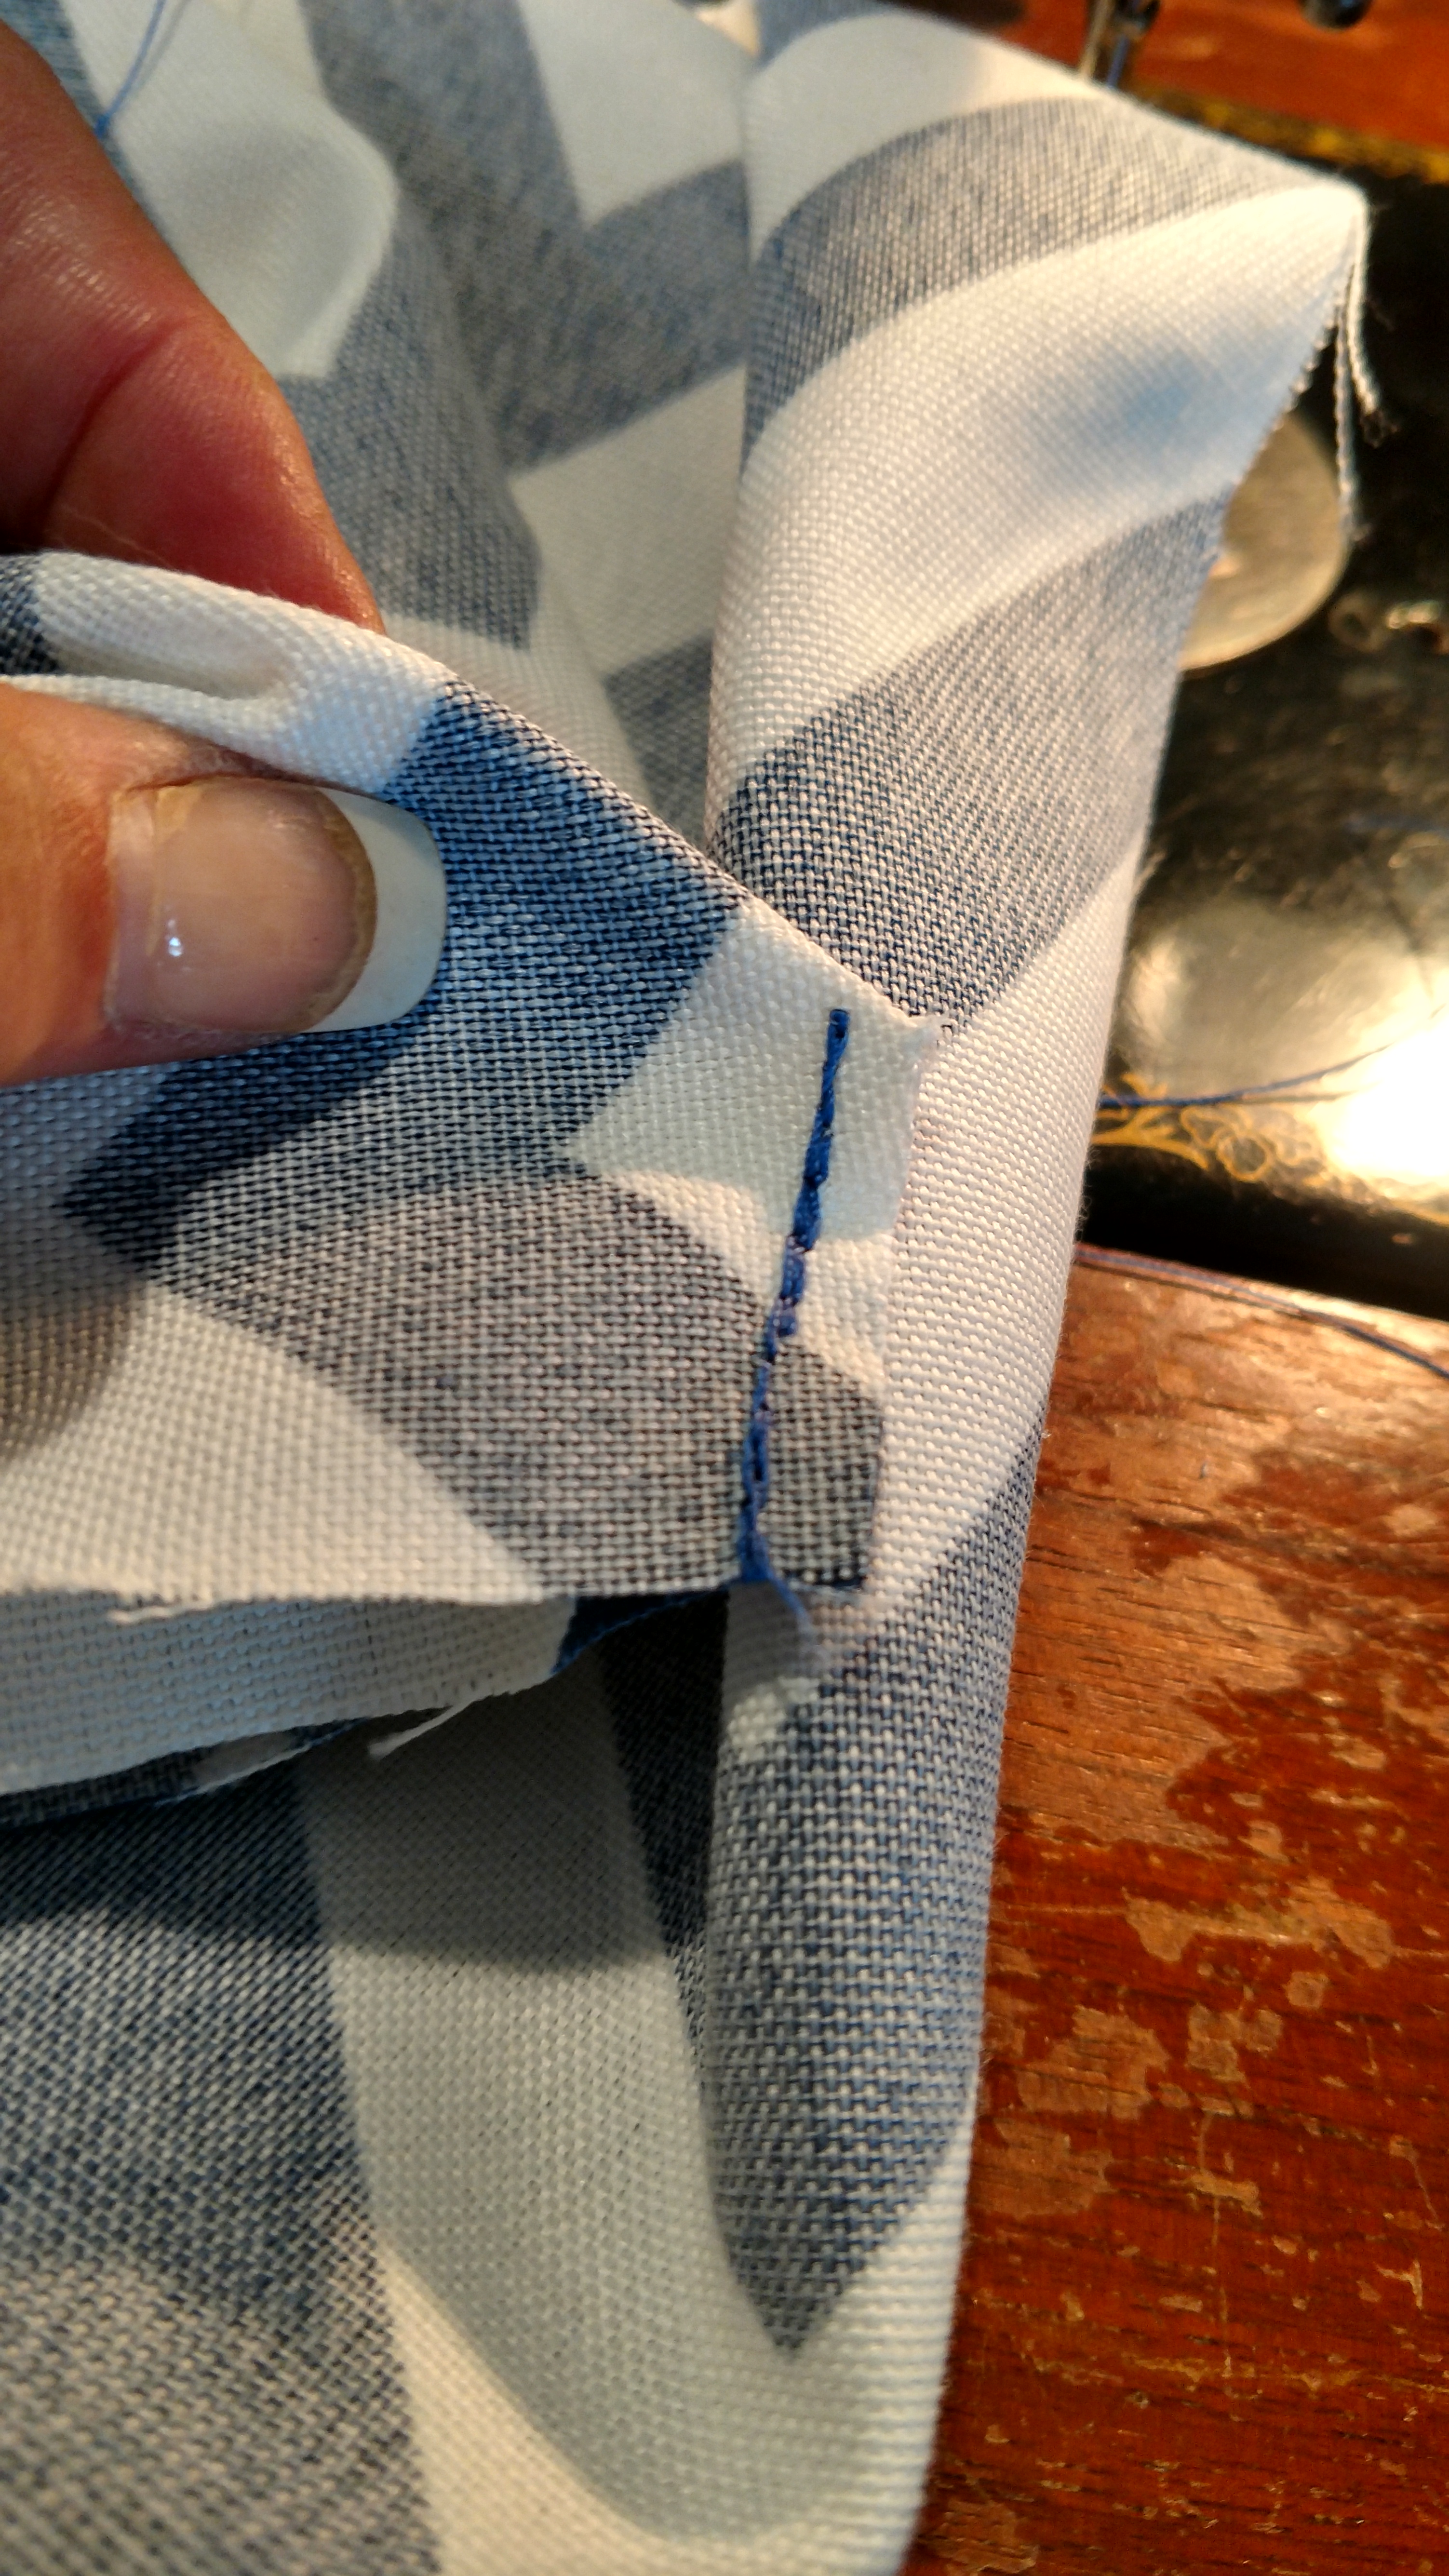
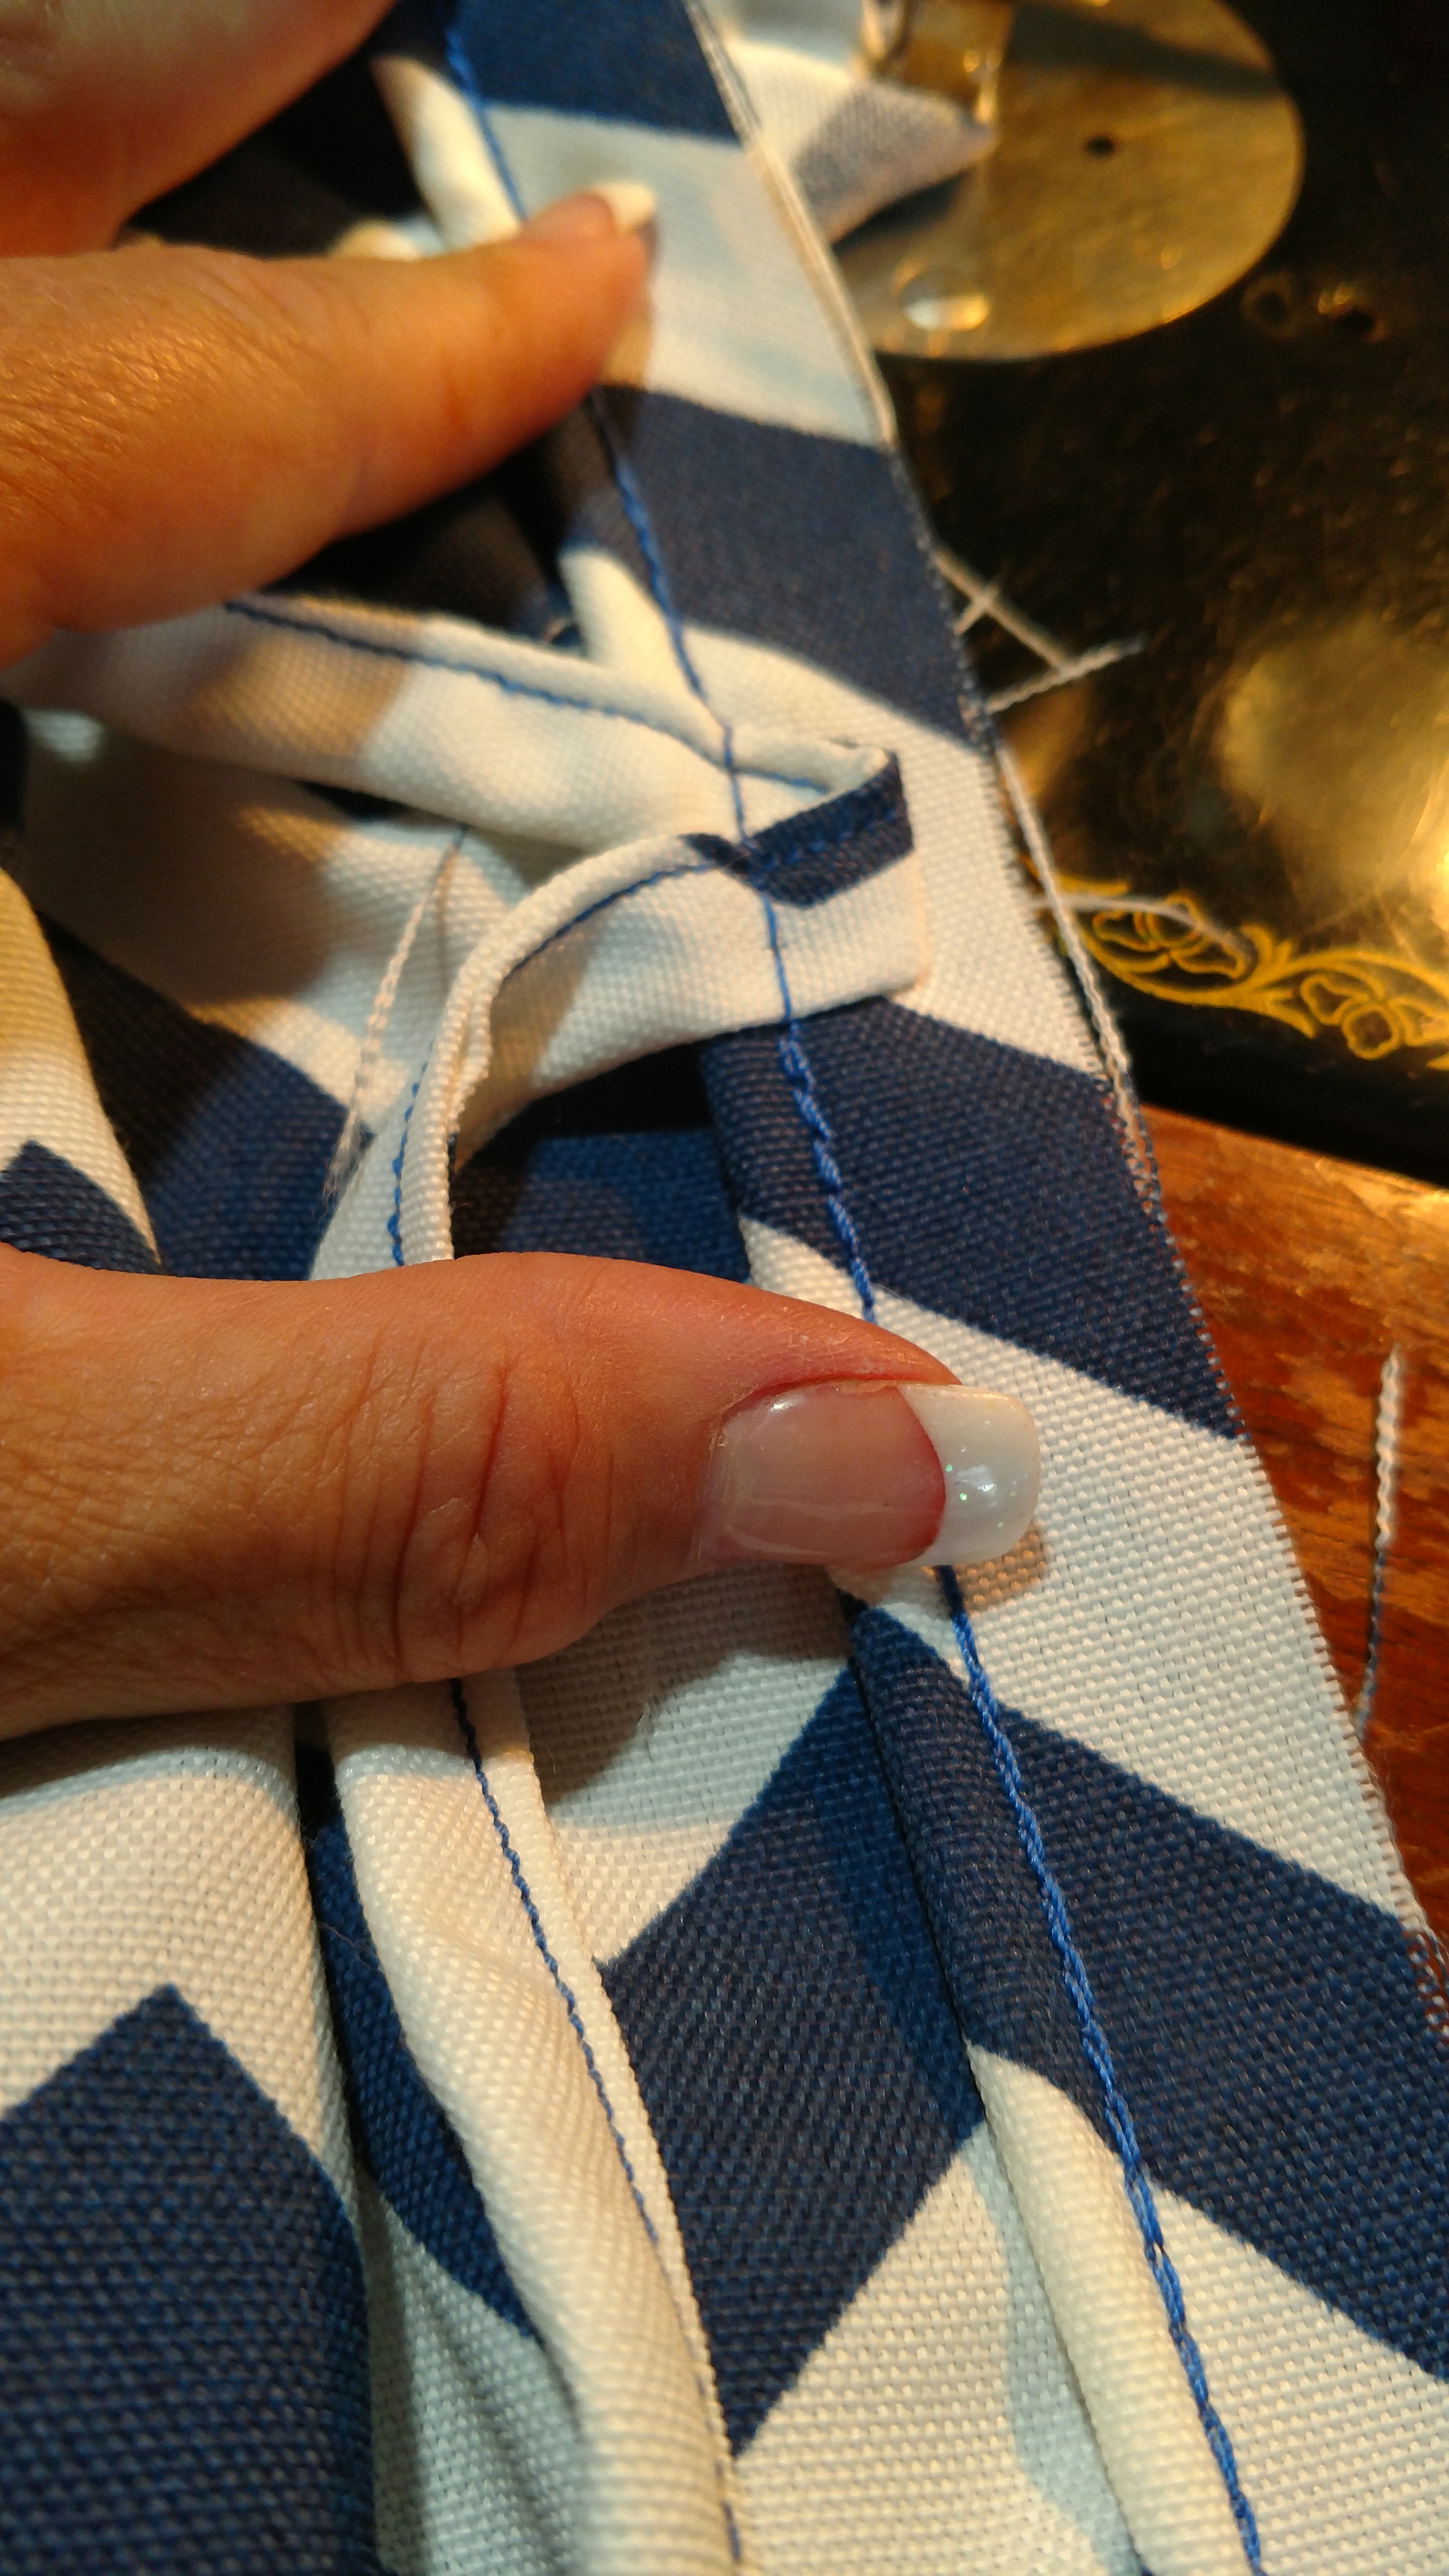
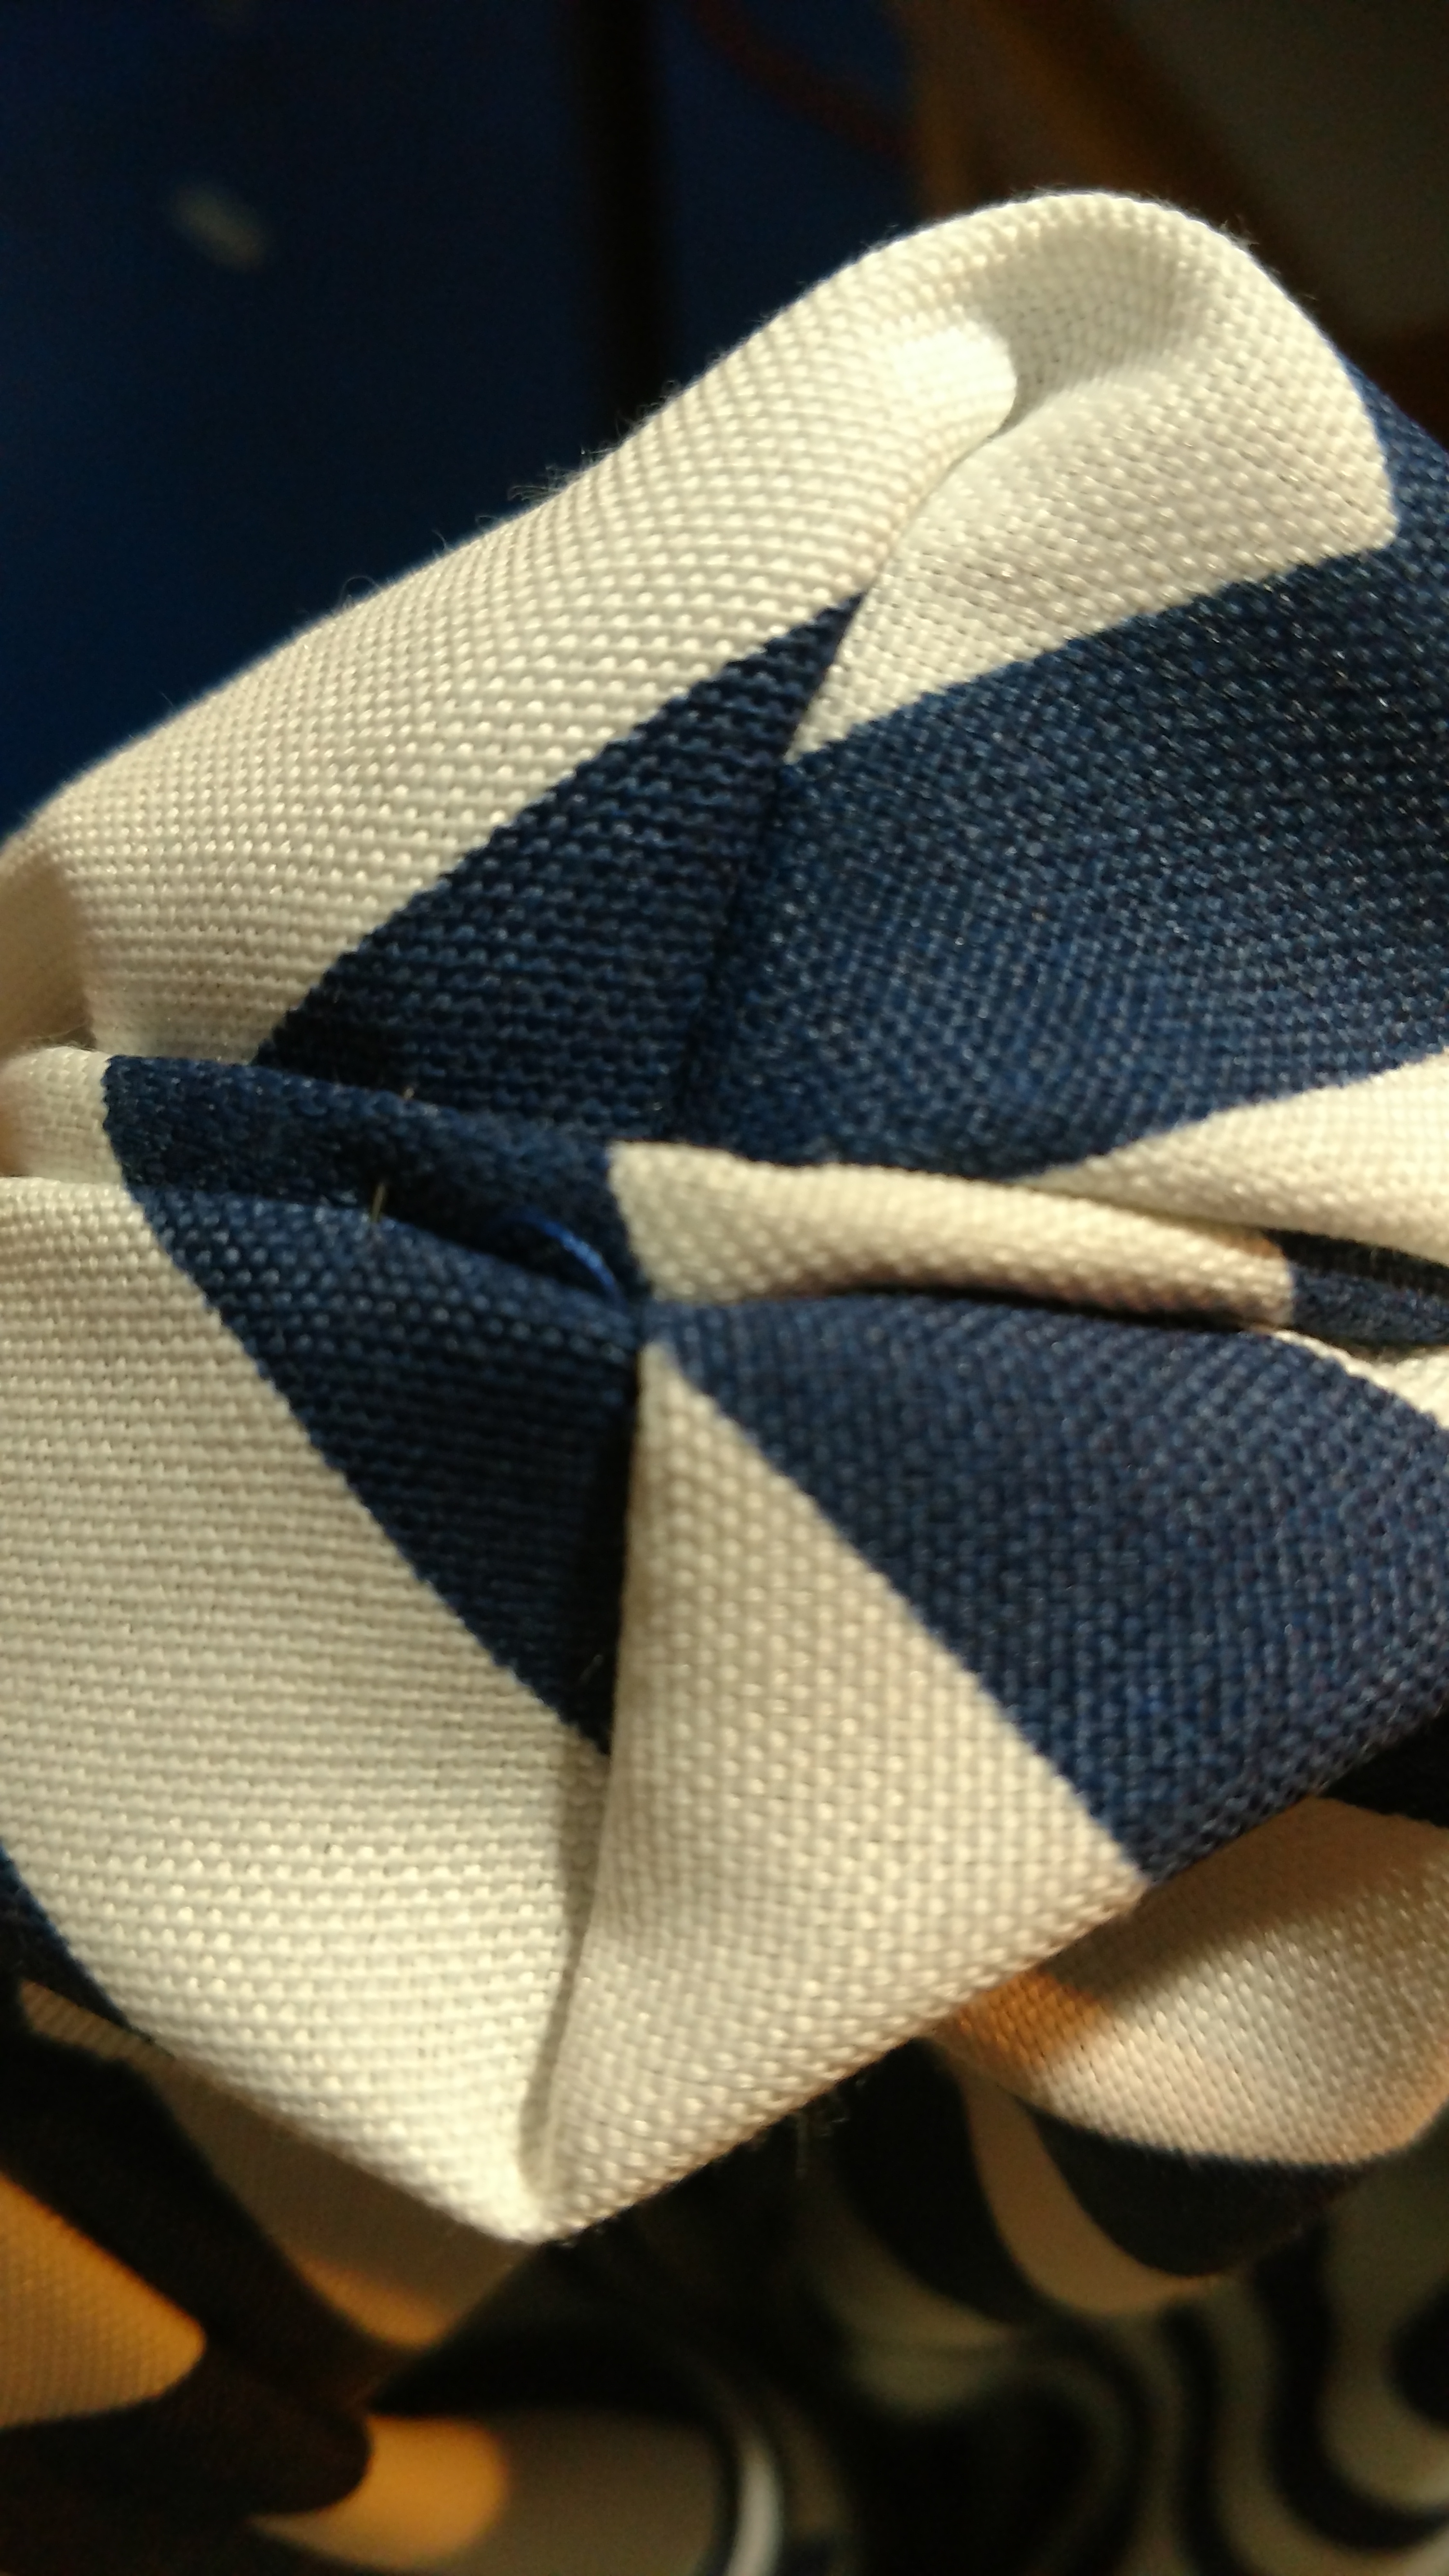
To give you some perspective, this is what it will look like after the corners are made as we “dry fit” the cushion.1. Remember that cushion thickness? Take that measurement and divide it in half and add 1/2″. This will be the corner fold with a seam allowance. Fold your corners so the top edge comes down to meet the side edge. Pin and mark. This will be your stitch line that will run at a 90* angle. Do this for all the corners.
OPTIONAL: If you wanted to, you could create your corners this way. Taking the top and bottom pieces, pinch and pin the corners and mark a stitching line perpendicular to the table top to bottom. If you’re ambitious, this is a foolproof method. (Please ignore that splat of paint on my table.)2. Now stitch from your mark to the folded edge.3. Trim to 1/4″. That’s it. Whaaaaat???? That wasn’t hard now was it! And you were all worried. NOTE: If you’re concerned about your corners, don’t trim them until you are satisfied with how they look put together. Sometimes corners aren’t perfect and need adjusting. You might want that extra fabric.
Sewing the Welting with the Seams
Ready to go? Hold your nose, we’re diving in with both feet. This part goes fast, it’s not as hard as it looks. Relax! You’re going to be astonished at what you’ve just made when we’re finished. You’ll be the envy of all your friends!
1. Begin by lining the raw edge of the welting lip along the middle point of the raw edge on the bottom of one piece, pin if you need to. I like starting at the bottom to minimize how the opening will look once we sew it together with an outside seam. Just like making the welting, place the foot along the fence of the cord so it rides along the first stitches you made. Stitch all the way around. You may find pinning helps, but it’s not hard to place as you go.2. Corners can be buggers when you add layers. To minimize the bulk and give you a soft turn, when you come to a corner, make some little release cuts to help the welting lay smooth. Simply snip where the corner turns without snipping through the stitching. You can make another cut on each side so you have three release cuts about a 1/4″ apart.3. As you come to a mark for tie backs, simply fold one tie back in half and place in the path of stitching with the ends toward the center and the center at a “V”. This will lessen the thickness. For Velcro, place your pieces side by side so it’s less bulky.4. To join the end with the beginning, we’re going to hide the evidence. First, clip the welting about an inch and a half past where you started. . Next, expose the cord on the end by nicking the stitches. Clip the end of the cord so it’s right where the beginning is, but DON’T CLIP THE LIP! WE NEED IT!! Lay the end down under the beginning, trim cord as you need to. Take it out from underneath and fold the cut end over the end of the cord about a half inch from the cut end you made on the cord. Place it back under the beginning of the welting, fold the lip back over and match all the raw edge along the cushion edge. Continue stitching the welting down. You have successfully hidden the starting place! Repeat with the remaining three cushions.
Making It Fit and Checking It Twice…
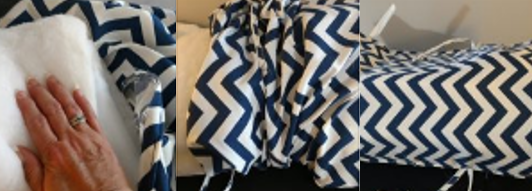
Box cushions can be naughty if you don’t check your corners. Now that you’ve sewn all your corners, we need to do a “dry” fit before we put them together. This takes a few minutes, but it’s time well spent saving you from undo ripping and resewing later. Adjustments are easiest when made before you put the pieces together.
1. Take both halves and place them, right sides down on your cushion. Check to see that the corners line up and make a somewhat snug fit. If any of the corners are way off, simply adjust them by sewing a new seam so they match better.
Let’s Make Those Cushions…FINALLY!
We’re nearly finished! Can you believe how quickly that went? All that’s left is adding the buttons or sewing the gutters. Before you know it you’ll be sipping Mint Juleps on your front porch waving at the neighbors as they admire your swanky new cushions and wondering where you got them. Feel free to tell them where!
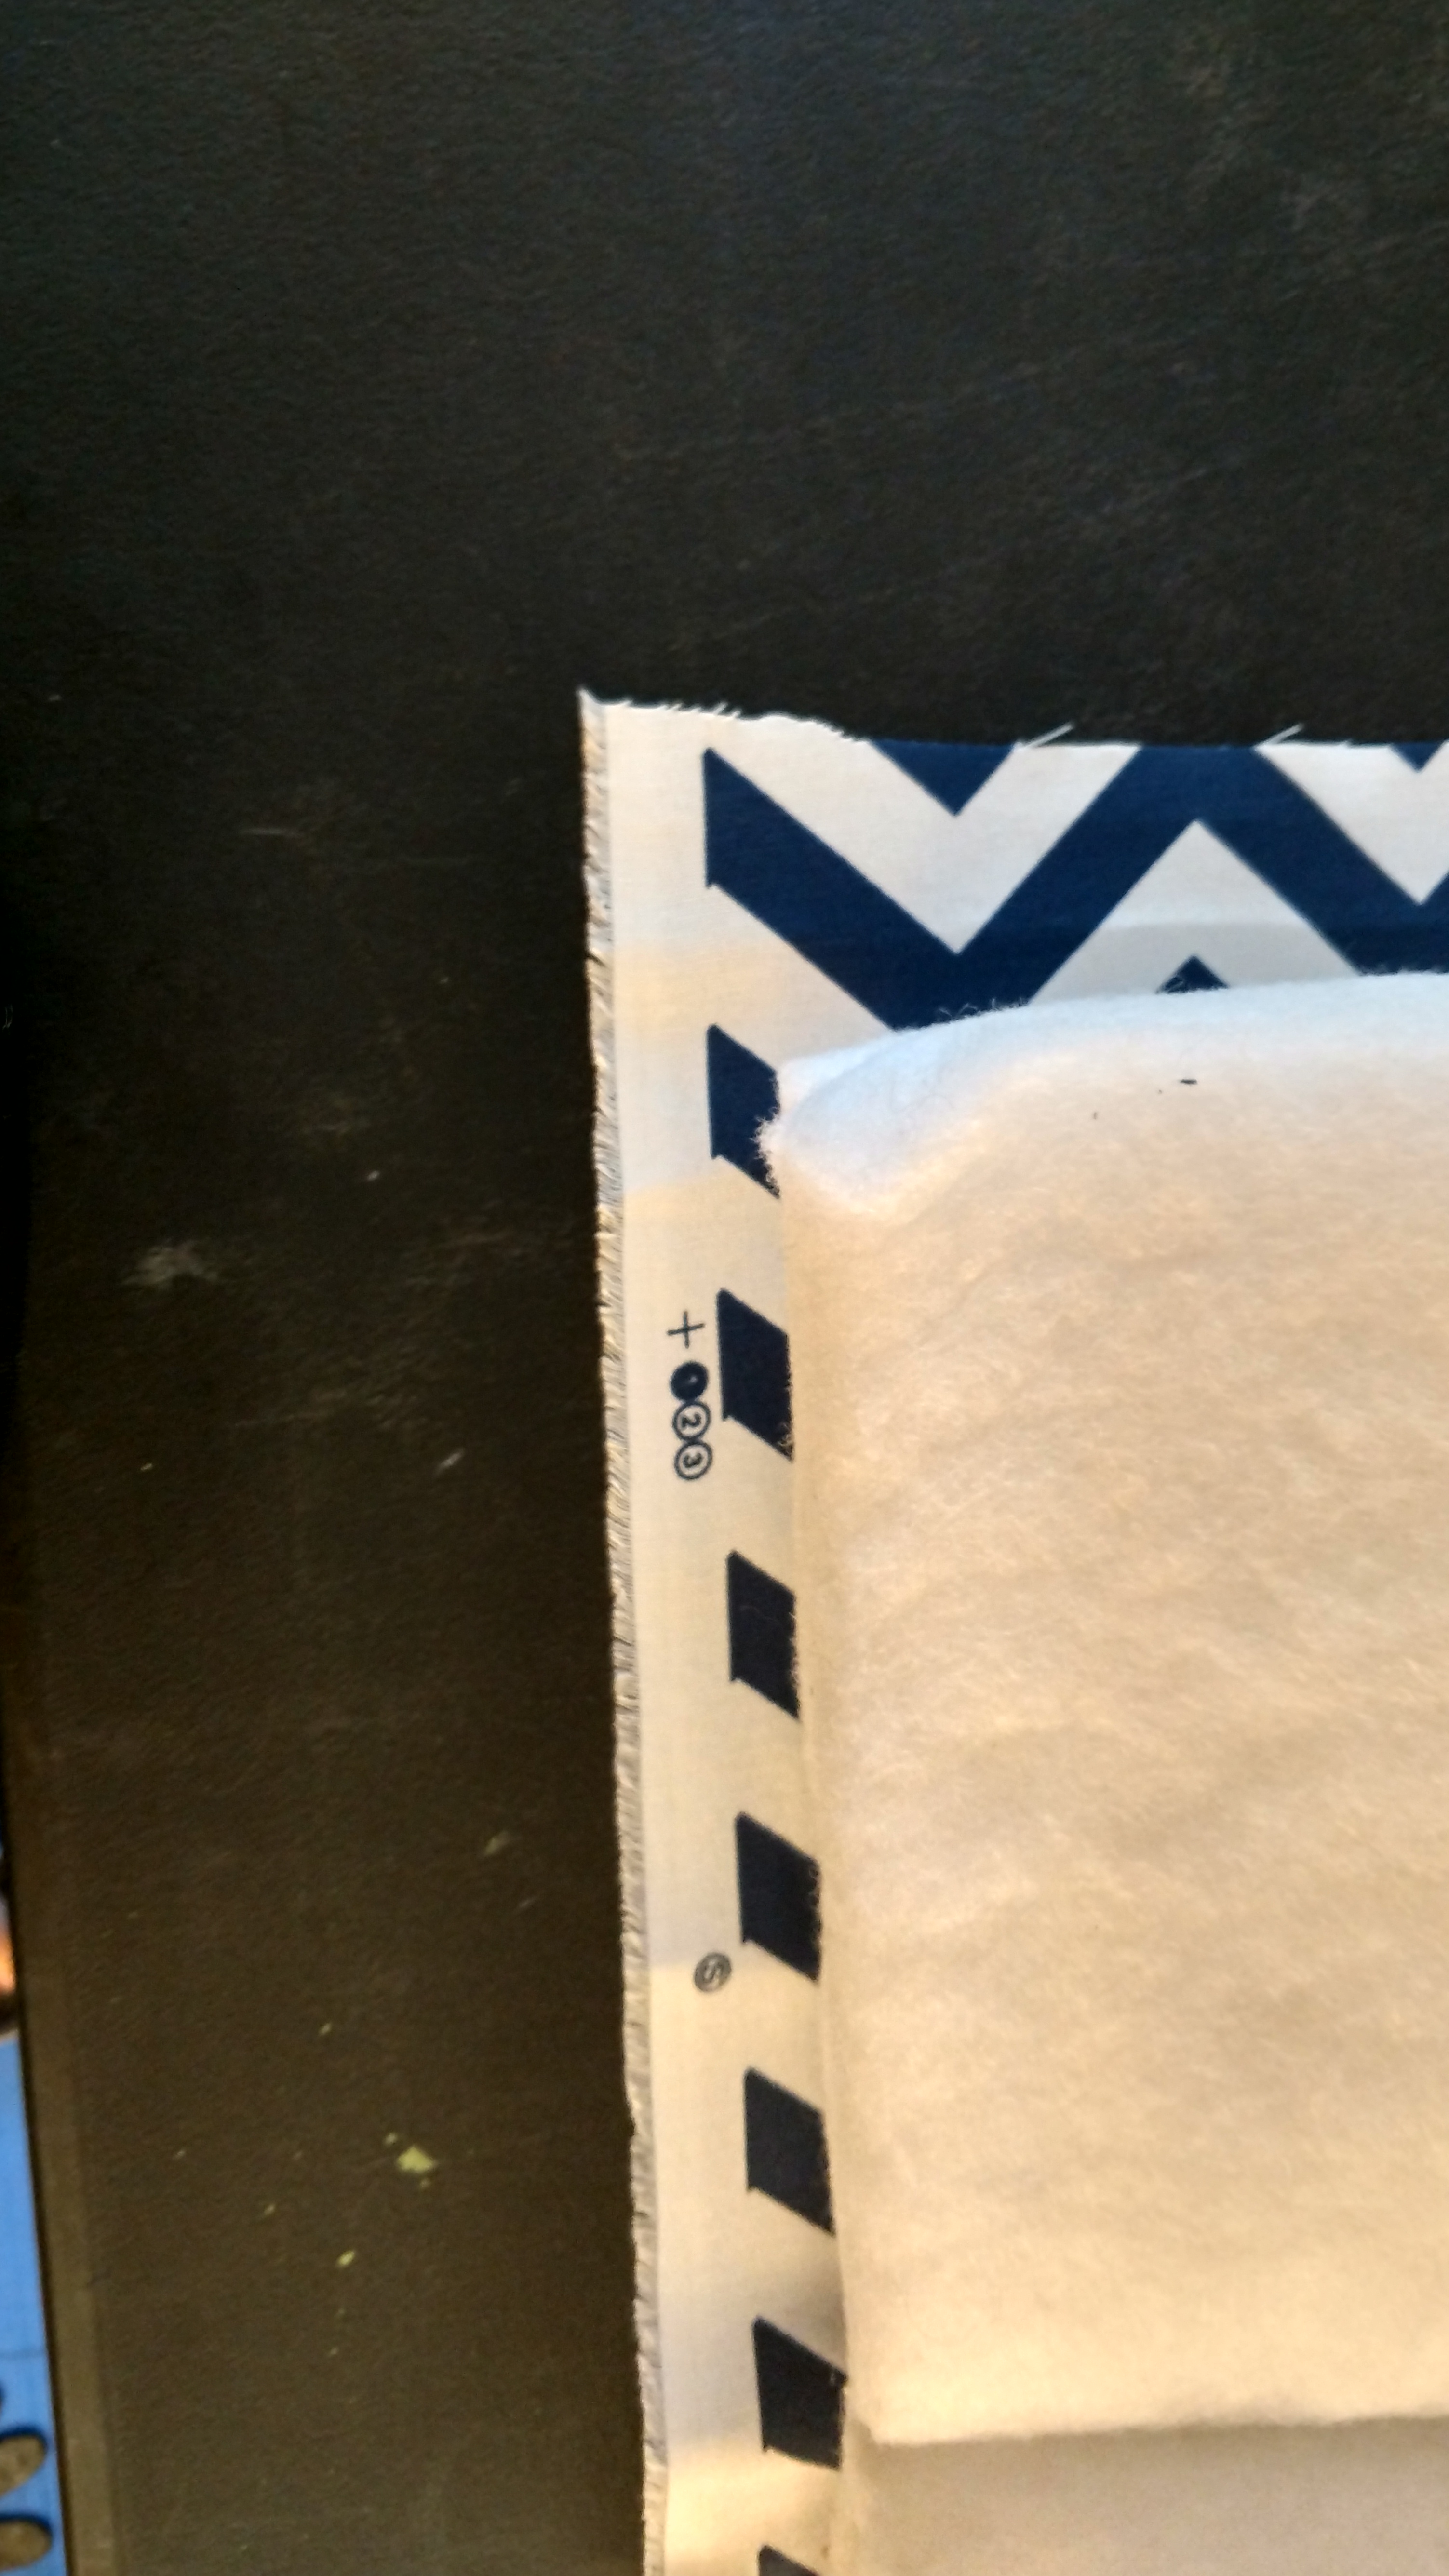
2. With the right sides together, sandwich the top and bottom together. If you’re working with the Navy Chevron, check your pattern match! This is easy on a simple repeat pattern like this and will really make your project look professional. Starting at the bottom corner, about an inch along the bottom edge, stitch around the cushion, keeping your zipper foot along that fence again. It is really helpful to sew on the back side so you can see the stitches holding the welting in place. Carefully go over the tiebacks so you don’t break a needed and remember to clip your corners just as we did when applying the welting. Stop at the opposite bottom corner, again going about an inch along the bottom. This saves you having to make closing stitches over the corners.3. Clip your corners on the inside and turn inside out. If all went well, your corners will look like this. Do this with all the cushions. Don’t you feel like a pro now!
Wer’re ready to stuff the cushions back in. Get yer yoga pants on ’cause we’re in for a workout.
If you’ve ever worn compression socks or even just nylons, you know that once the toe and heel are in, the rest is just a matter of wiggle and fit. So I start at the bottom and do just that. Once the cushions are back in, being careful to keep them from separating or twisting, you can work your arm inside and do final adjusting so the corners are snug.
Closing up the bottom seam
To close the opening, give the cushion a good shake so you can hold on to the edge to be sewn better. Taking the edge WITHOUT welting, simply fold under the raw edge 5/8″ and pin it to the top edge so you basically form a seam from the outside. Give yourself room to work at your machine. Stitch as close to the folded edge as you can, again using the welting as a fence. Voila!
Final Touches
What you do with the cushion to make it your own is up to you. Unless you own a wide arm commercial sewing machine, you’re probably not going to be able to recreate the sewn gutters where the cushion folds. You can, however, do this by hand using a hand awl leather tool. It’s A LOT of work, and I don’t care to tackle it! For purposes of demonstration, though I have sewn one gutter for you so you can see the finished product. If you own one, you likely know how to use it. If not, the instructions that come with a set are dummy proof. You could also hand sew it, but you’d be a glutton for punishment!
Dangerous! Actually, it is very sharp, so please be careful when you’re poking about from the bottom. You’ll shoot yer eye out, kid.
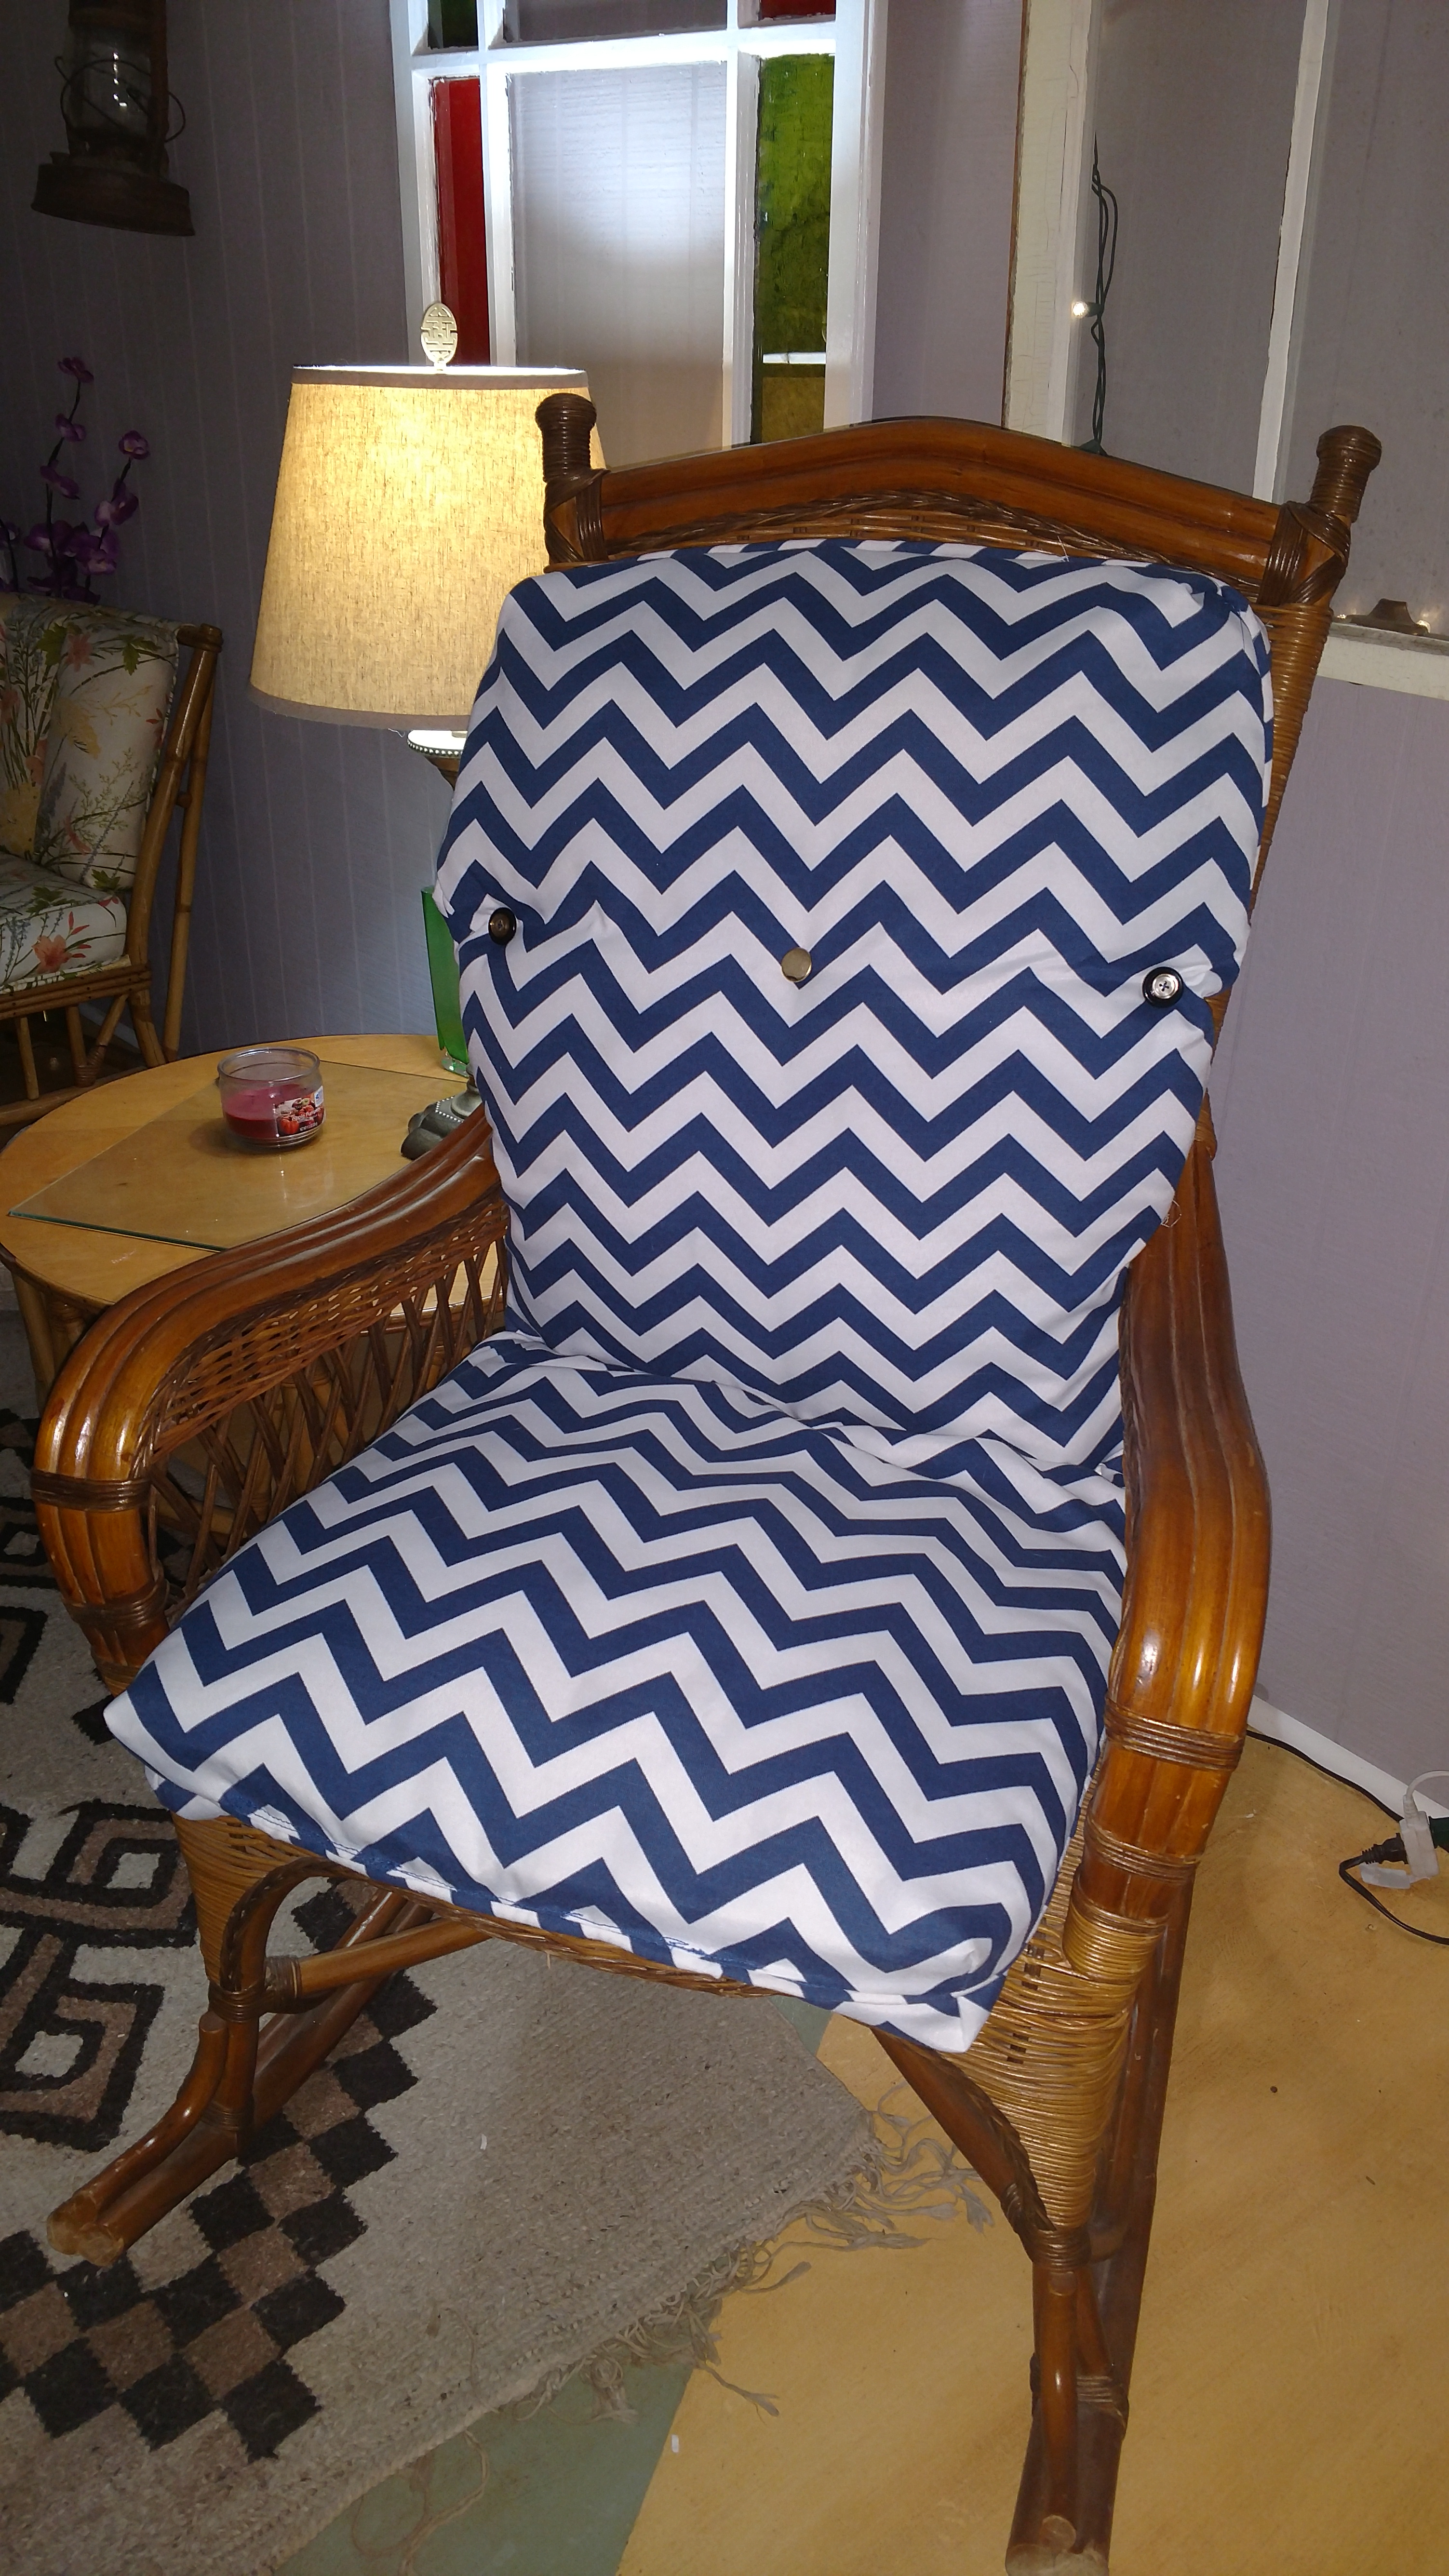
I chose to use buttons. They are economical and I used the ones I had on hand. Remember, this is a salvage project, and I’m all about using up resources. I have a rather large button collection thanks to my mother that was in need of a good culling, so I used them in place of stitching to create definition and a slight fold to the cushions. I sewed buttons on both sides, using plain janes on the back, and decorative ones I layered on the front. But you do whatever strikes your fancy. Buttons are great embellishments. If you’re really ambitious, use a button cover set to make matching buttons from the scrap materials.
I love the versatility of buttons. They give definition and shape to these cushions and really personalize them without too much effort. Just a note. When you sew your buttons on, create a shank on the front by wrapping the thread going through the cushion with your threaded needle to create a covered button shank. This will make the thread stronger and less likely to pop off.
Wow! So versatile!
This nation is far too disposable. Take the time to recognize that many items can be reformed and transformed with just a little effort. Unless an item is infested, unhealthy or beyond repair, most can be given new life. Quite a transformation from a sidewalk cast-off, don’t you think! The Earth is gonna thank you!
BONUS! Like and Share this blog with your friends by going to our Facebook page and sharing. You’ll also find a link on Twitter that you can retweet, or click the icon below to Tweet.
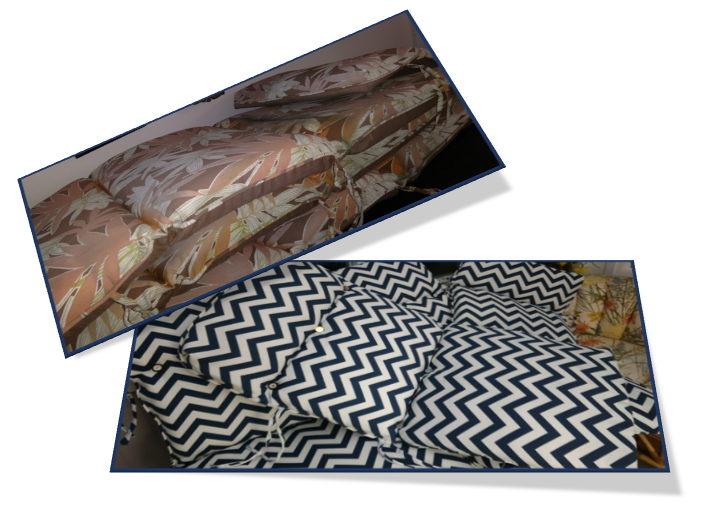
Our followers are super important to us. To say thank you, if you share (and share often!), we’ll pick a winner at random and send you these awesome cushions at our expense. How’s that for an incentive! Increase your odds and share as often as you like, but only one winner will be selected…’cause I only made one set folks.
(Quick note…the fine print…because these are a demo project, there are some inconsistencies in the final project that were added for demonstration purposes only. But you really won’t notice!)